How to Press Summer Flowers and Keep Their Beauty Forever
The moment you spot a bouquet you love, you want to keep it forever, right? Pressing summer flowers is the perfect DIY move—you transform bright blooms into long-lasting, wall-worthy art. It’s simpler than you think, and yes, you can totally pull it off without turning your house into a drying lab.
Pick the right flowers for pressing
Not every bloom behaves the same when you press it. Some hold tight, others wilt faster than your enthusiasm for a gym membership. Here’s how to choose wisely.
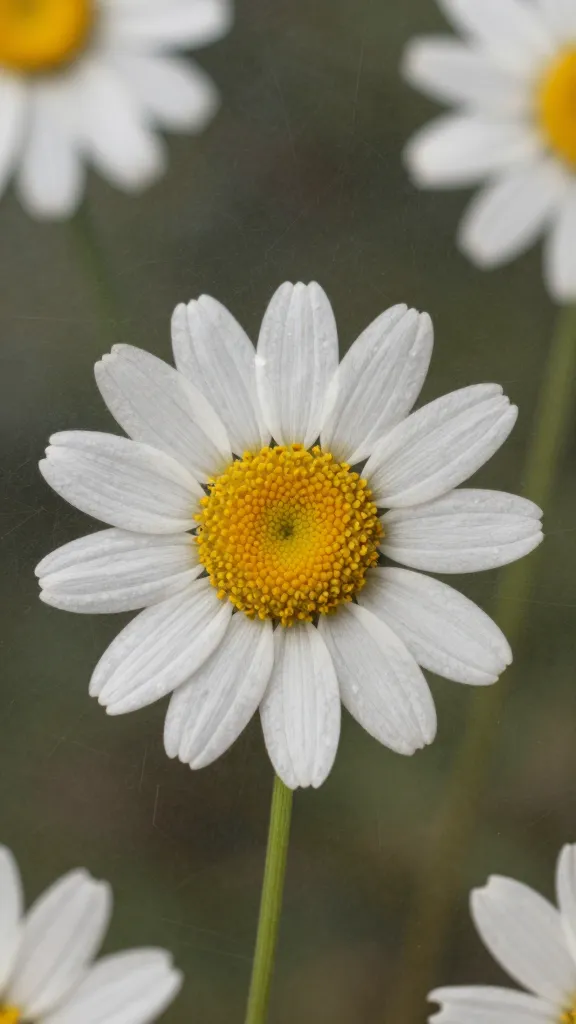
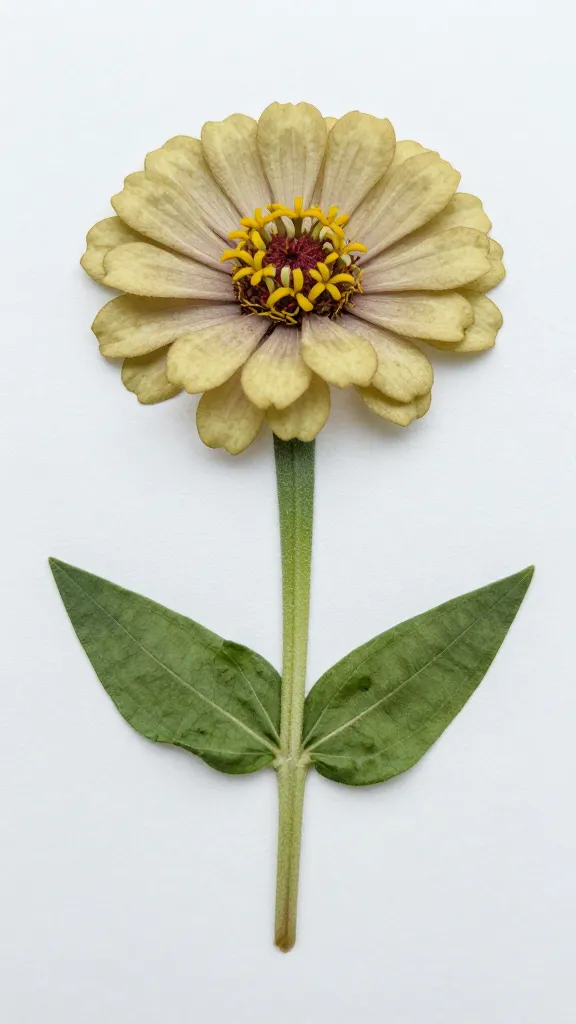
– Choose sturdy varieties: daisies, and some wildflowers, zinnias, sunflowers (petals trimmed), baby’s breath, and poppies tend to press well. Roses and peonies fade quickly and may not press nicely unless you’re patient.
– Go for flat-faced shapes: blooms with a flat or shallow profile press better than chunky, multi-dimensional ones.
– Harvest at the right moment: cut blooms when they’re just starting to open or are fully open but not overblown. Morning buds stay crisper than evening picks.
Arrange by convenience
– For bigger flowers, you might press individual petals separately to avoid bulk.
– For tiny flowers, pinch a few stems together so they don’t shift during pressing.
What you need to get started
You don’t need a full lab setup to press summer flowers. Here’s a simple, effective toolkit.
– A heavy book or dedicated plant press
– Parchment paper or newspaper
– Cardboard or blotter sheets
– A clean, dry surface to work on
– Optional: a transparent pressing frame or a few binder clips to keep things flat
Pro tip: FYI, you’ll want to avoid moisture in your setup. Damp paper = moldy petals. No one wants moldy art, right?
Step-by-step: the classic paper-press method
This is the move you’ll reach for when you want predictable, clean results.
1. Prep the blooms: Gently blot away dew with a soft cloth. Remove excess leaves and thorns that won’t press nicely.
2. Layer properly: Place a sheet of parchment on a page of the book, then the flower face-down. Cover with another parchment sheet, then a blank page. If petals want to curl, flatten them with tweezers.
3. Weight it down: Close the book, add more weight with another heavy object or use a stacked pile of books. You’re aiming for steady, even pressure.
4. Wait: Leave it for 1–2 weeks. Flip the spread every few days to speed up drying and prevent sticking.
5. Check dryness: The petals should feel dry and papery. If they still feel translucent and bendy, give them more time.
Alternative methods that actually work
If you don’t love the idea of a long wait, try these faster or different approaches.
Using a flower press
A real plant press makes life easier. It uses absorbent layers that draw moisture away quickly. You’ll get consistent results and less worry about accidental smudges.
– Layer order: blotter sheets, corrugated cardboard, bloom, blotter, then another sheet. Tighten with straps or screws to keep everything flat.
– Drying time: usually 2–5 days, depending on humidity. Check daily and replace blotters if they’ve darkened with moisture.
Microwave pressing (for speed demons)
Yes, you can press flowers in a microwave. It’s not “chef’s kiss” perfect, but it works in a pinch.
– Use a microwave-safe dish with ceramic or silicone plate.
– Sandwich the bloom between cardboard or paper towels and weight it down.
– Zap in short bursts (10–15 seconds), checking often. Let it cool between blasts.
– Pros: super-fast. Cons: you risk scorching or uneven pressing.
Flair and finish: turning pressed blooms into art
Pressed flowers aren’t just pretty—they’re versatile. Here are some fun ways to show them off.
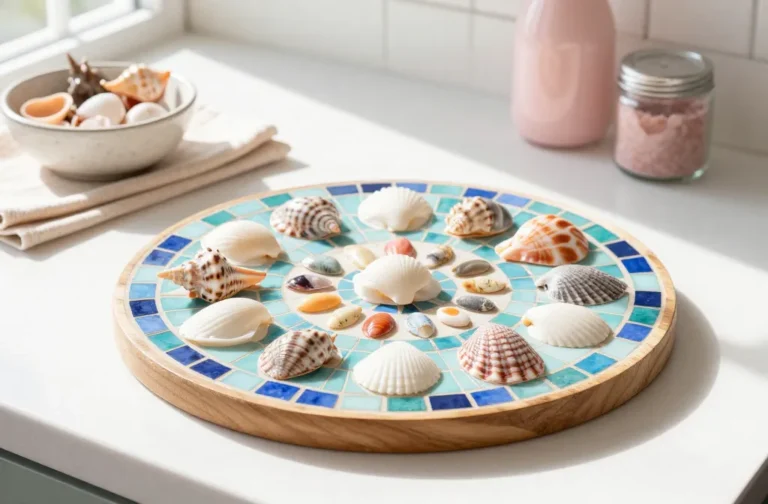
– Framed art: Place blooms between two sheets of glass in a frame. Add a neutral background so the colors pop.
– Greeting cards: Glue mini bouquets onto thick card stock. Include a handwritten note for a personal touch.
– Coasters and bookmarks: Laminate pressed petals onto sturdy cardboard for durable, decorative pieces.
– Jewelry: Small petals can become pendant accents or resin inlays. Make sure they’re fully dry to avoid sticking in resin.
Care, storage, and longevity—keep your art vibrant
A little care goes a long way to keep pressed flowers looking fresh.
– Frame away from direct sunlight: UV light fades colors. Choose a spot with indirect light.
– Control humidity: High humidity can cause curling or yellowing. Keep framed pieces in a cool, dry room.
– Dust gently: Use a soft brush or a microfiber cloth to remove dust. Don’t rub hard—these are delicate.
– Ferdinand the fungus? If you see mold, gently wipe and re-press with fresh paper. Better to nip it early than to let it bloom into a bigger problem.
Common mistakes and how to dodge them
We all mess up a little. Here’s how to avoid the usual suspects.
– Too thick, too soon: Don’t press bulky blooms without trimming excess petals. They’ll crush and smear.
– Wet blooms: Moisture = trouble. Dry petals as much as possible before pressing.
– Sloppiness with spacing: Overlapping petals trap moisture and cause uneven drying. Keep things flat and spaced.
– Ignoring scent: Some flowers release strong scents when pressed. If you’re sensitive, choose milder varieties.
Mini experiments you can try this weekend
Want a playful, low-stakes project? Try these.
– Color swaps: Press two flowers of contrasting colors side by side on a page and compare how they look when dry. Do they bleed a bit? FYI, some color transfer happens with very juicy petals.
– Petal mosaics: After drying, cut petals into small shapes and arrange them on a card to build a tiny mosaic.
– Seasonal swap: Press flowers from your garden, a neighbor’s yard, or a local park (with permission, of course). See how local flora looks in your home.
Conclusion
Pressed summer flowers are basically time capsules you can hang on your wall. The process is approachable, forgiving, and oddly satisfying. With a little patience, you’ll have a stack of delicate, long-lasting blooms to brighten your space all season long.
FAQ
Can I press fresh-cut flowers from the florist?
Yes, you can. Fresh-cut blooms press best when they’re not too heavy or bulky. Trim stems and leaves, remove extra foliage, and press as soon as possible after purchase for best results.
How long do pressed flowers last in a frame?
When kept out of direct sunlight and stored in a dry environment, pressed flowers can last for years. Colors may fade gradually, but a well-sealed frame helps preserve them longer.
Why do some flowers turn brown or yellow after pressing?
This happens if the flowers had moisture left or if they were too juicy. It can also be due to oxidation or sun exposure. Dry thoroughly, and try drier, thinner petals next time.
Do I need to seal pressed flowers with resin or varnish?
Optional, but resin or a clear sealant can protect the petals and add sheen. Be sure the flowers are completely dry before sealing to avoid trapping moisture.
Is there a quickest method if I’m impatient?
If you’re short on time, microwave pressing or using a hot, heavy iron with parchment paper can speed things up. Just monitor closely to avoid scorching.
Can I press leaves along with flowers?
Absolutely. Leaves press well, especially flat, broad ones. Place them carefully to avoid curling, and follow the same drying steps as blooms.