How to Create Outdoor Mosaic Stepping Stones You’Ll Love
If you’ve ever stared at your bare yard and thought, “I could make this colorful path thing happen,” you’re in the right place. Outdoor mosaic stepping stones are basically the edible glitter of landscaping—fun, doable, and surprisingly durable. No fancy diploma required, just a little patience and a lot of imagination. Let’s roll up our sleeves and make something that screams “you” without yelling at your budget.
Start with a vision you can actually walk on
Before you mix a single tile, picture the vibe you want. Do you want a whimsical garden trail, a bold geometric corridor, or a sun-kissed path that catches the late-afternoon glow? The design should reflect how you move through the space. Think about color schemes that complement your plants and hardscape.
– Decide on a general shape: curved, straight, or a playful meander?
– Choose a color palette that won’t clash with your house or fence.
– Consider scale: larger stones feel bold; tiny mosaics feel intimate.
If you’re stuck, doodle quick sketches on paper. You’ll be surprised how fast your vibe solidifies when you see it in imperfect lines.
Gather your materials (without breaking the bank)
The beauty of outdoor mosaics is that you don’t need fancy stuff to get started. You just need the basics plus a dash of creativity. Here’s a practical list to keep you sane at the dollar store or hardware shop.
– Surface: Maxwell-smart choice is a flat, stable base like thin concrete, paving slabs, or compacted sand/gravel with a weed barrier.
– Substrate: If you’re setting stones directly, use a sturdy mortar mix. For loose-set mosaics, a rapid-set concrete or paver adhesive works.
– Mosaic elements: ceramic tiles, glass pebbles, natural stone bits, tiny mirrors, colorful bottle caps, seashells—whatever makes you smile.
– Grout: Make sure it’s weather-appropriate (polymer-modified grout or a masonry grout works well outdoors).
– Tools: chisel or nippers, a rubber mallet, trowel, rubber float, mixing bucket, spray bottle, safety gloves, and eye protection.
– Sealing: a breathable outdoor sealant helps with longevity if your grout isn’t pre-sealed.
FYI, you don’t need all the pieces at once. Start with a small prototype garden stepping stone to test colors and adhesion before you go full cray-cray.
Design tips that actually translate into stepping stones
Here’s how to turn ideas into a path you can step on without stepping out of budget or patience.
– Plan a few “focus stones” that anchor the path. These are bigger tiles or a standout motif that repeat along the way.
– Mix textures for interest. Pair glossy glass with rough stone for depth.
– Respect the footprint. Leave room for grout, but don’t overthink spacing—normally 1/4 to 1/2 inch gaps work well for even you.
– Think about maintenance. Lighter grout shows wear faster; darker grout hides it.
– Consider safety. Use non-slip surfaces and avoid tiny, sharp shards that could injure bare feet.
Pro tip: sketch a light, printable grid of your stepping stones and lay out the stones dry (no mortar) first. This helps you visualize spacing and rhythm without making a messy commitment.
Techniques that keep the project sane
Now the hands-on stuff. Pick one of these routes, or mix and match, depending on your space and vibe.
Direct-set with mortar
– Create a shallow base and smooth it out.
– Press each piece into the mortar, tapping gently with a rubber mallet.
– Work in small sections to prevent the mortar from drying too fast.
– Wipe excess mortar off the stones as you go to keep lines clean.
This method is sturdy and great for a formal look. If you’re new to mortars, practice with test tiles first.
Loose-set with gravel or sand
– Level the ground and tamp down a base.
– Create a shallow bed of sand or fine gravel.
– Place stones and press firmly to achieve a flat, stable surface.
– Fill gaps with kiln-dried sand or fine gravel for a rustic feel.
This is friendlier on the budget and easier to fix if you misjudge a stone.
Adhesive-backed mosaics
– Ideal for small projects or vertical accents.
– Peel-and-stick, then seal with a compatible outdoor grout or polymer adhesive.
– This is fast and forgiving, perfect for beginners who want a quick win.
Color stories and motif ideas to spark joy
Let’s get creative with patterns that bring personality to your yard.
– Seasonal medley: reds, oranges, and golds for autumn vibes; cool blues and greens for a rainy-day mood.
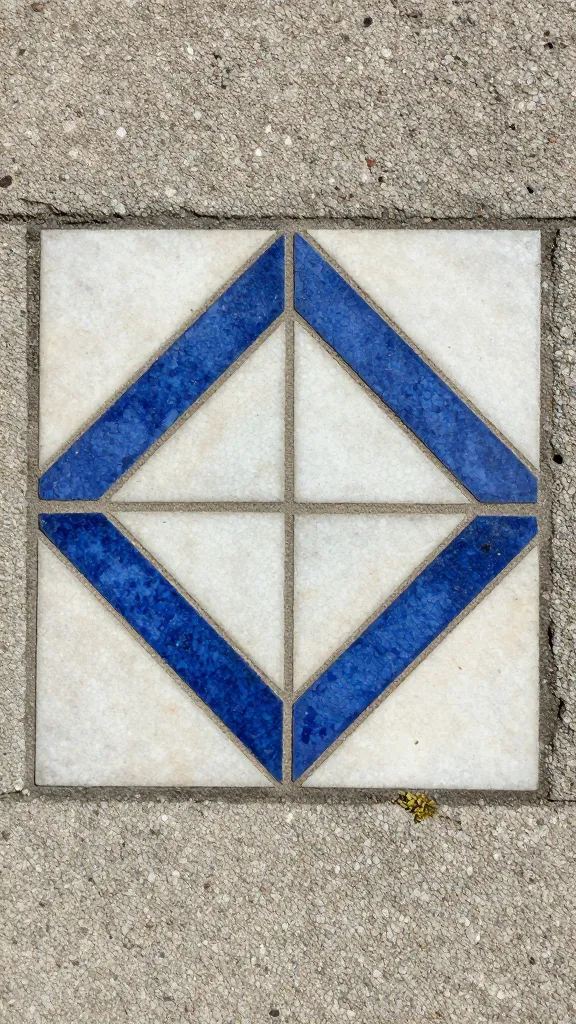
– Nautical nod: blues, whites, and shells for a coastal feel.
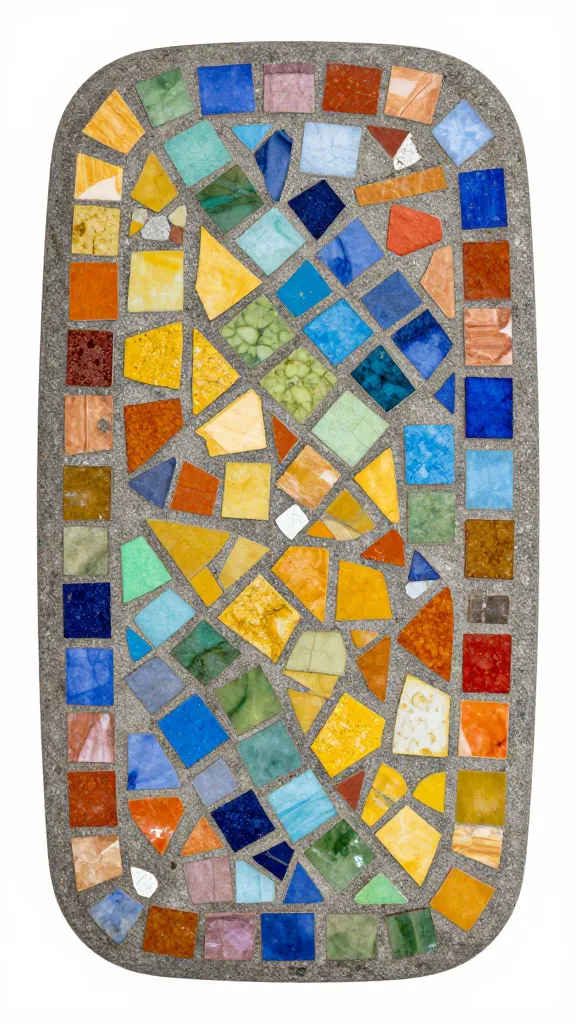
– Bohemian garden: a mix of glass shards, tea-stained ceramic, and bright accents in a random collage.
– Botanical motifs: leaf shapes, petals, or tiny floral outlines repeated along the path.
If you’re worried about clashing, start with three main colors and add one accent color for flair. Bold color pops are easier to pull off than you think—just keep the underlying grout color in mind.
Seal the deal—protecting your mosaic from the weather
Outdoor stones live with sun, rain, and spiky weekend projects from the kids or pets. A little protection goes a long way.
– Allow grout to cure fully according to product instructions before sealing.
– Use a breathable sealant designed for outdoor use; this helps prevent water ingress without trapping moisture.
– Re-seal every couple of years, or sooner if you notice fading or pilling.
Mosaic maintenance is mostly wipe, rinse, and enjoy. If something chips, you can always swap in a new stone or patch with a bit of mortar and let it set.
Placement and longevity: where to put your stepping stones
Location matters as much as design.
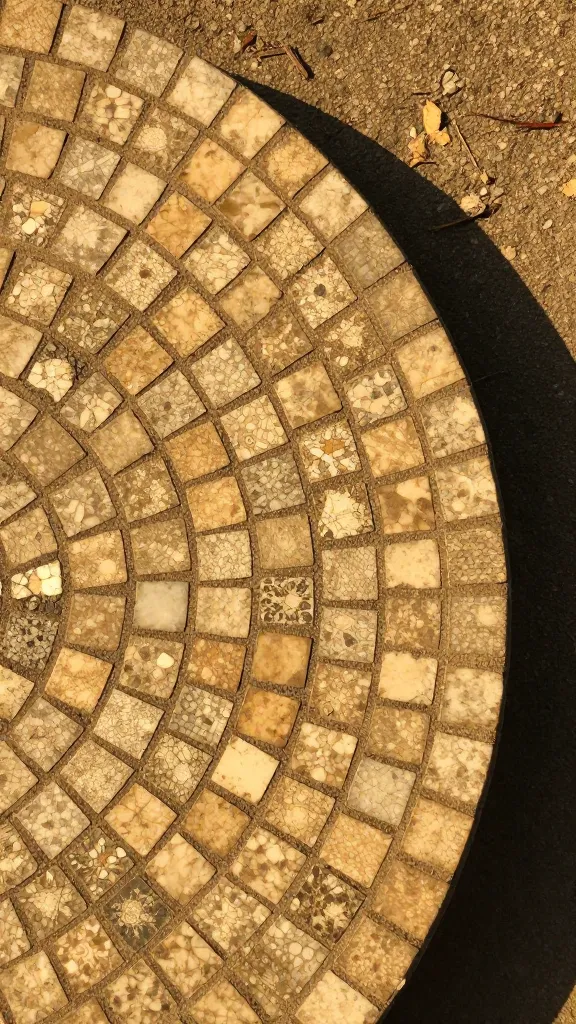
– Sun vs shade: Light colors will fade quicker in blazing sun; consider slightly muted tones if your path is in full sun.
– Foot traffic: Place stones where you actually walk. A path that feels awkward to use defeats the whole purpose.
– Drainage: Ensure the ground drains well so you don’t trap water under the stones. Raised edges can help.
If you’re unsure, set up a temporary faux path with cardboard or foam mats to test comfort and flow before committing to actual stones.
Troubleshooting quick fixes
– Stones rock? Lift and re-seat with fresh mortar or adjusted sand base.
– Grout cracking? It might be a shrinkage issue; re-grout in a smaller batch and seal quickly.
– Fading colors? A light top coat of outdoor sealant can refresh the look, but pick a color-safe sealant that won’t yellow.
– Weeds poking through? A weed barrier under the base is a big help, and a bit of daily weed-pulling keeps it neat.
If you’re laughing about the inevitable nature of DIY, you’re not alone. The key is to start small, test, and iterate.
Conclusion
Outdoor mosaic stepping stones are exactly what happens when creativity meets a weekend project. They’re personal, resilient, and surprisingly forgiving for beginners. Start with a tiny test piece, nail down a palette you actually like looking at, and gradually build a little walking gallery that makes your yard feel more you.
FAQ
Do I need a professional to install stepping stones?
Yes, if your space involves heavy machinery, complicated drainage, or if you want a perfectly level and permanent installation. For simple, small mosaic paths, you can DIY with basic tools and patience.
What’s the best grout for outdoor mosaics?
Look for a polymer-modified or cementitious grout rated for outdoor use. They resist cracking and tolerate moisture better than indoor formulas.
How long does it take to complete a small mosaic path?
A practical small path (8–12 stones) can take a weekend, plus drying time. A larger, more elaborate design might stretch into a few weekends.
Can I reseal my stones later if they look dull?
Absolutely. Cleaning, letting the surface dry, and applying a fresh sealant will rejuvenate color and improve weather resistance.
What if a stone breaks after installation?
If it’s a singular piece, you can carefully remove the fragment, replace it with a new tile, and reseal the grout. It’s easier than you think.