Origami Vs Paper Cutting: Siblings of the Paper World
Origami and paper cutting sit on opposite ends of the same paper, not enemies but siblings with very different vibes. One folds you into a sculpture, the other slices you into form. Both feel magic when you nail that perfect crease or that clean filament of a cut. So, what’s really the difference? And why should you pick one, or mix both, in your crafting life? Let’s dive in.
What origami actually is—and isn’t
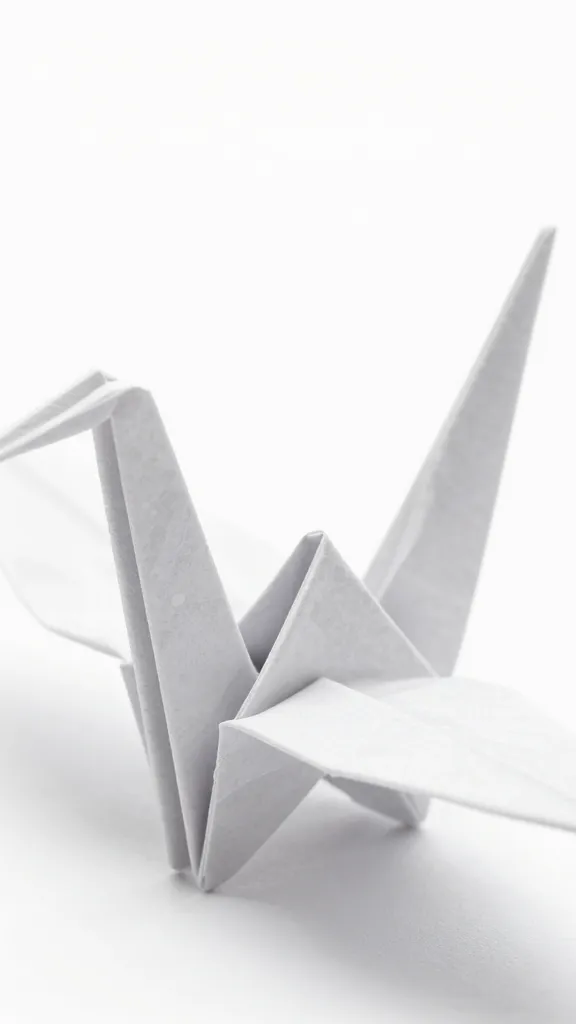
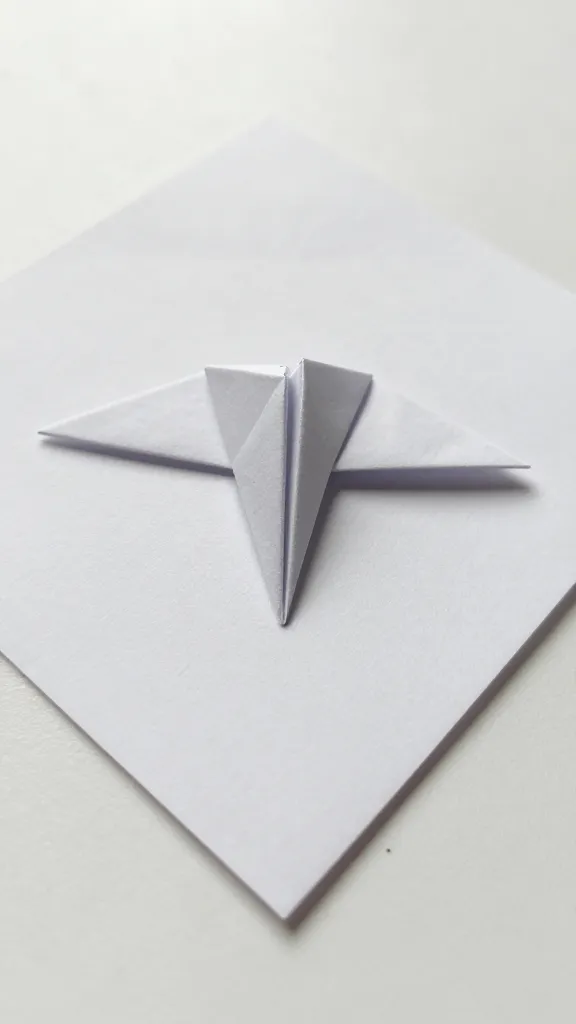
Origami means “folding paper”, but the practice is about shaping without cuts. You fold, tuck, and crease until a figure emerges. No scissors, no tearing, just precision and patience. The charm? A single square sheet can become a dragon, a crane, or a tiny koi—without a single blade leaving the page.
– It trains your hands to listen to the paper
– It rewards quiet, deliberate movements
– It often relies on predicting how folds will behave in the future
But don’t mistake it for magic that requires a temple and incense. It’s nerdy, precise, and incredibly satisfying.
What paper cutting is really doing
Paper cutting, or scherenschnitte, is all about negative space. You start with a single sheet, and you cut away to reveal a picture, silhouette, or landscape in the remaining surface. It’s the opposite mindset: you must think in reverse, because what you remove defines what stays.
– You control drama with edges and shapes
– It thrives on contrast—solid silhouettes sing against a plain background
– It invites bold, high-contrast storytelling
If origami is about prediction and patience, paper cutting is about an artist’s intuition and a sharp blade. FYI, you do not want to rush this one.
Tools of the trade—what you actually need
Both arts start simple, then invite you to upgrade like a video game character.
– Origami essentials: a stack of good (not glossy) paper, a flat workspace, and a lot of patience. Optional: bone folder for crisper folds, a reference book to guide you through modules.
– Paper cutting essentials: sharp scissors or craft knives, a cutting mat, a ruler, and a light touch. A non-slip board helps, because a slip can ruin the entire scene in a heartbeat.
Tips to avoid tears (the paper kind): use thin, sturdy paper for cuts so you don’t tear along delicate lines; use a medium-weight or cartridge paper for folding so folds stay crisp.
Where the creative thrill lives in each
This is where your heart will decide what you love.
– Origami thrill: the “aha” moment when a flat sheet becomes a creature or object. The challenge lies in multi-step folds that build a life form from nothing. It’s math meets sculpture, with a pinch of magic.
– Paper cutting thrill: the reveal of a hidden world. You see negative space as much as positive space, and the act of cutting becomes a performance—snip, snip, reveal. It’s bold, graphic, and often quick to complete compared to intricate folds.
Which path feels more like you? If you want meditative loops of folding, origami might be your jam. If you crave graphic storytelling and stark silhouettes, cut away with gusto.
Honing the craft: methods and mindsets
Both arts reward practice, but they train your brain differently.
– Origami mindset
– Visualize the sequence: imagine how folds stack and bend before you touch the paper.
– Practice “warping” tolerance: some papers wrinkle; others forgive imperfect creases. Learn what your paper will allow.
– Start with diagrams you can trust; simple models first, then scale up.
– Paper cutting mindset
– Plan your negative space: draw or mark where you’ll cut before you touch the blade.
– Embrace clean lines: steady hands beat flashy flourishes.
– Cut once, think twice: rough edges can ruin a clean silhouette, so take your time.
Subsection: common pitfalls—and how to dodge them
– Origami: overfolding or tearing at the wrong stage can wreck a model. Slow down, use a flat crease, and flatten the paper with a bone folder. If a crease doesn’t look right, re-work the creases before moving on.
– Paper cutting: too much speed invites slips. Cut on a stable surface, let your blade do the work, and rotate the paper rather than your wrist for smoother curves.
Combining the two—a fusion you can actually pull off
Yes, you can mix them. Here’s how to play nice with both worlds.
– Start with origami, then cut away some parts to create a composite piece. For example, fold a bird, then carefully remove negative space around it for a shadowy backdrop.
– Use paper cutting to frame an origami sculpture. A delicate silhouette around a folded crane on a card or wall art is striking and modern.
– Create a staged narrative: fold a figure, cut a scene around it, and tell a tiny story with positive and negative space.
Want a quick project to test the waters? Fold a simple crane, then cut a skyline behind it. You’ll see the story emerge in both forms at once.
Choosing when to fold, when to cut—and when to do both
If you’re short on time, origami often wins for a quick, satisfying payoff. You can finish a neat model in an afternoon and feel like a rockstar.
If you crave bold visuals and stark shapes, paper cutting may scratch that itch faster. It’s also incredibly forgiving with practice: you can cut a rough sheet and refine shapes after the fact.
But here’s the kicker: you don’t owe either discipline total loyalty. Try a few experiments—one week you fold, the next you cut. You’ll discover which pace suits your mood and which tool (or combination) sparks the most joy.
Conclusion
Origami and paper cutting share a single goal: making paper talk. One folds the audience into a figure; the other carves out a world for it to inhabit. Both demand focus, patience, and a sense of humor when the paper rebels and the blade slips. So grab a sheet, pick a path, and enjoy the process—whether you end up with a delicate origami creature or a bold paper-cut scene, you’ll have created something uniquely yours.
FAQ
What’s the easiest origami model for a complete beginner?
origami cranes and simple boats are classic starting points. They teach steady folds, basic valley and mountain crease concepts, and a sense of accomplishment without needing an engineering degree.
Can I learn origami and paper cutting at the same time?
Absolutely. Start with one project in each discipline per week. Keep a small notebook to jot what worked, what didn’t, and how the paper behaved under your scissors or your fingers.
Do I need expensive tools to get started?
Not at all. A stack of plain printer paper works for many origami projects, and a basic crafts knife with a sharp blade plus a cutting mat does the trick for paper cutting. Upgrades come later, if you get hooked.
Is there a recommended paper type for each craft?
For origami, use thin origami paper or any lightweight, non-glossy paper that folds cleanly. For paper cutting, thicker, sturdy paper or craft paper helps hold shape and creates clean edges; avoid paper that easily creases or tears.
What’s one tip that will make both crafts more enjoyable?
Practice on inexpensive paper first. It saves your good stock for the real deal and cushions frustration from initial struggles. And don’t rush—these are slow-burn crafts that reward measured moves and careful planning.