9 Cool Paper Crafts for Guys Who Think Crafting Is Just for Girls: Bold & Easy
Think paper crafts are off-limits for the guy crowd? Think again. These nine projects prove you can make impressive, stylish stuff with just paper, a little patience, and a playful mindset. Trust me, they’re quick, doable, and seriously satisfying.
Whether you’re decking out your man cave, gifting something unique, or just killing a weekend, these ideas hit that perfect balance of cool, craft-y, and totally shareable. FYI, you’ll love the mix of bold textures, punchy colors, and practical keepsakes you’ll actually use.
1. Neon Geometric Desk Tray Made from Cardboard and Tape
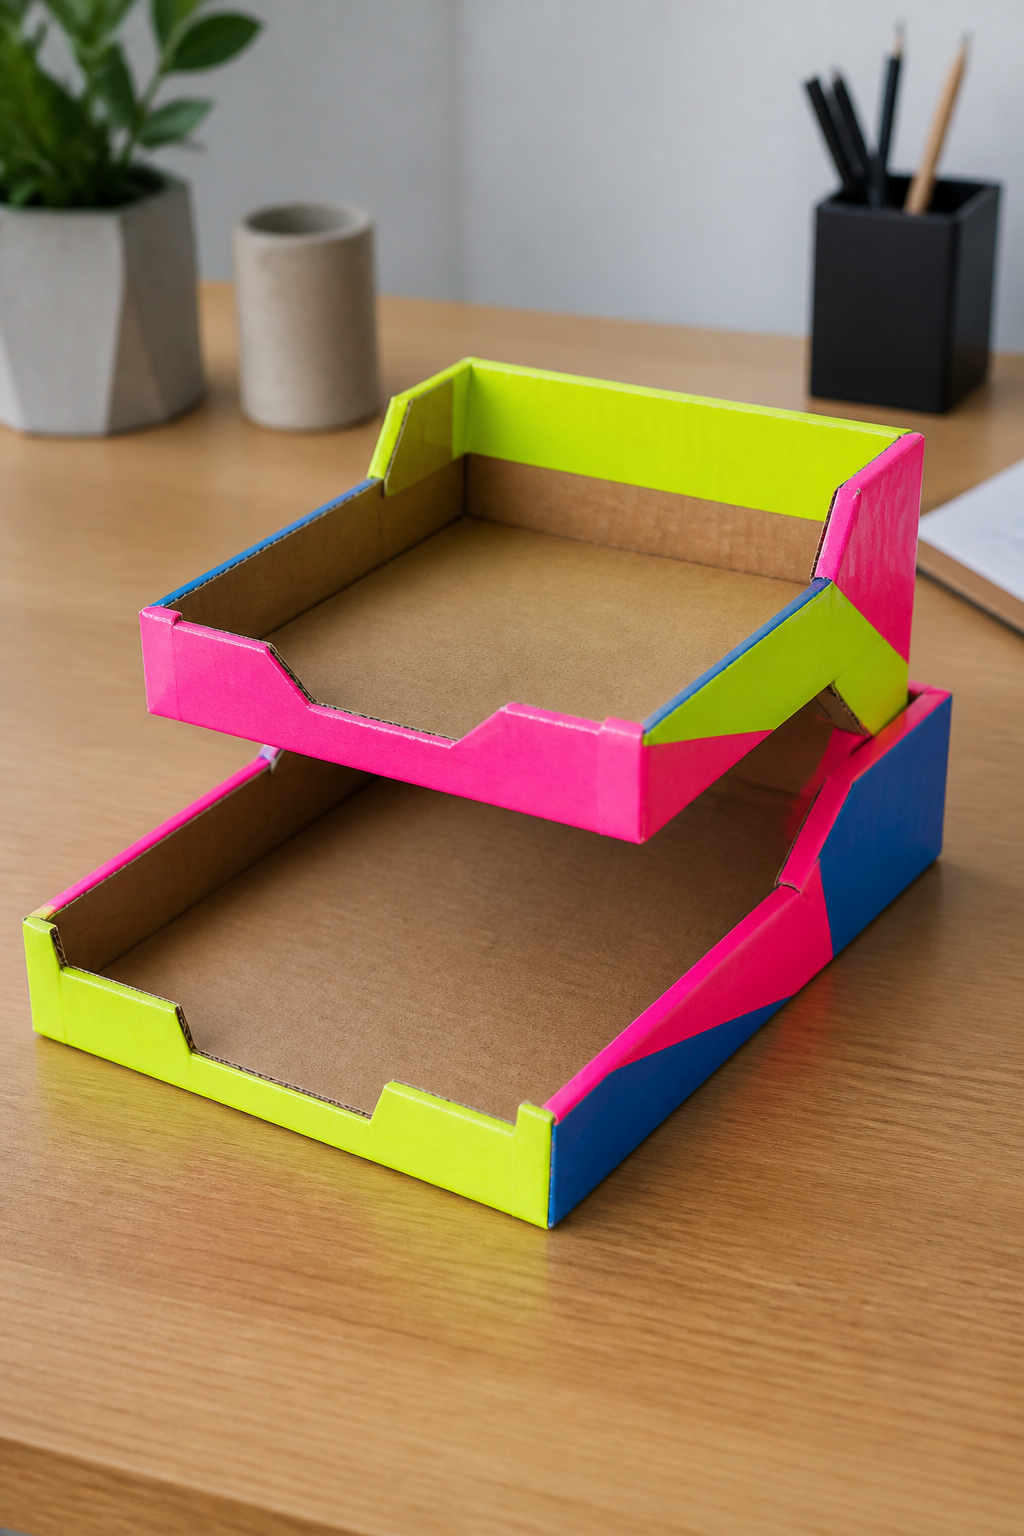
Picture a sleek, neon-accented desk tray that looks professionally cut, but you built from cardboard and craft tape. It’s rugged, modern, and oddly addictive to assemble.
What makes it special is the bold geometry paired with bright pops of color that wake up any desk. It’s simple, but the result feels deliberate and design-forward.
Materials Needed
- Cardboard sheets (recovered is fine)
- Double-stick tape or masking tape
- Ruler and craft knife
- Fluorescent or neon acrylic paint (optional)
- Clear sealant spray (optional)
How to Make It
- Cut a shallow tray shape from sturdy cardboard; score edges to fold up.
- Decorate with diagonal tape lines to create a geometric pattern.
- Paint or leave as kraft for a minimalist vibe, then seal if desired.
Pro Tips / Styling Ideas
- Use strong contrasting colors to mimic a high-energy mood board.
- Place on a desk with metallic pens or a small plant for contrast.
Who would love it: minimalists, home-office setups, and anyone needing a punchy storage solution.
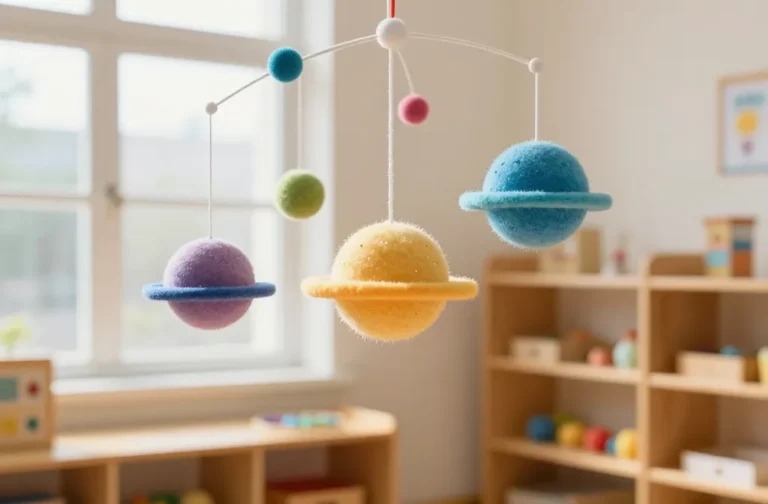
2. Floating Paper Lanterns in Bold Plaid Patterns
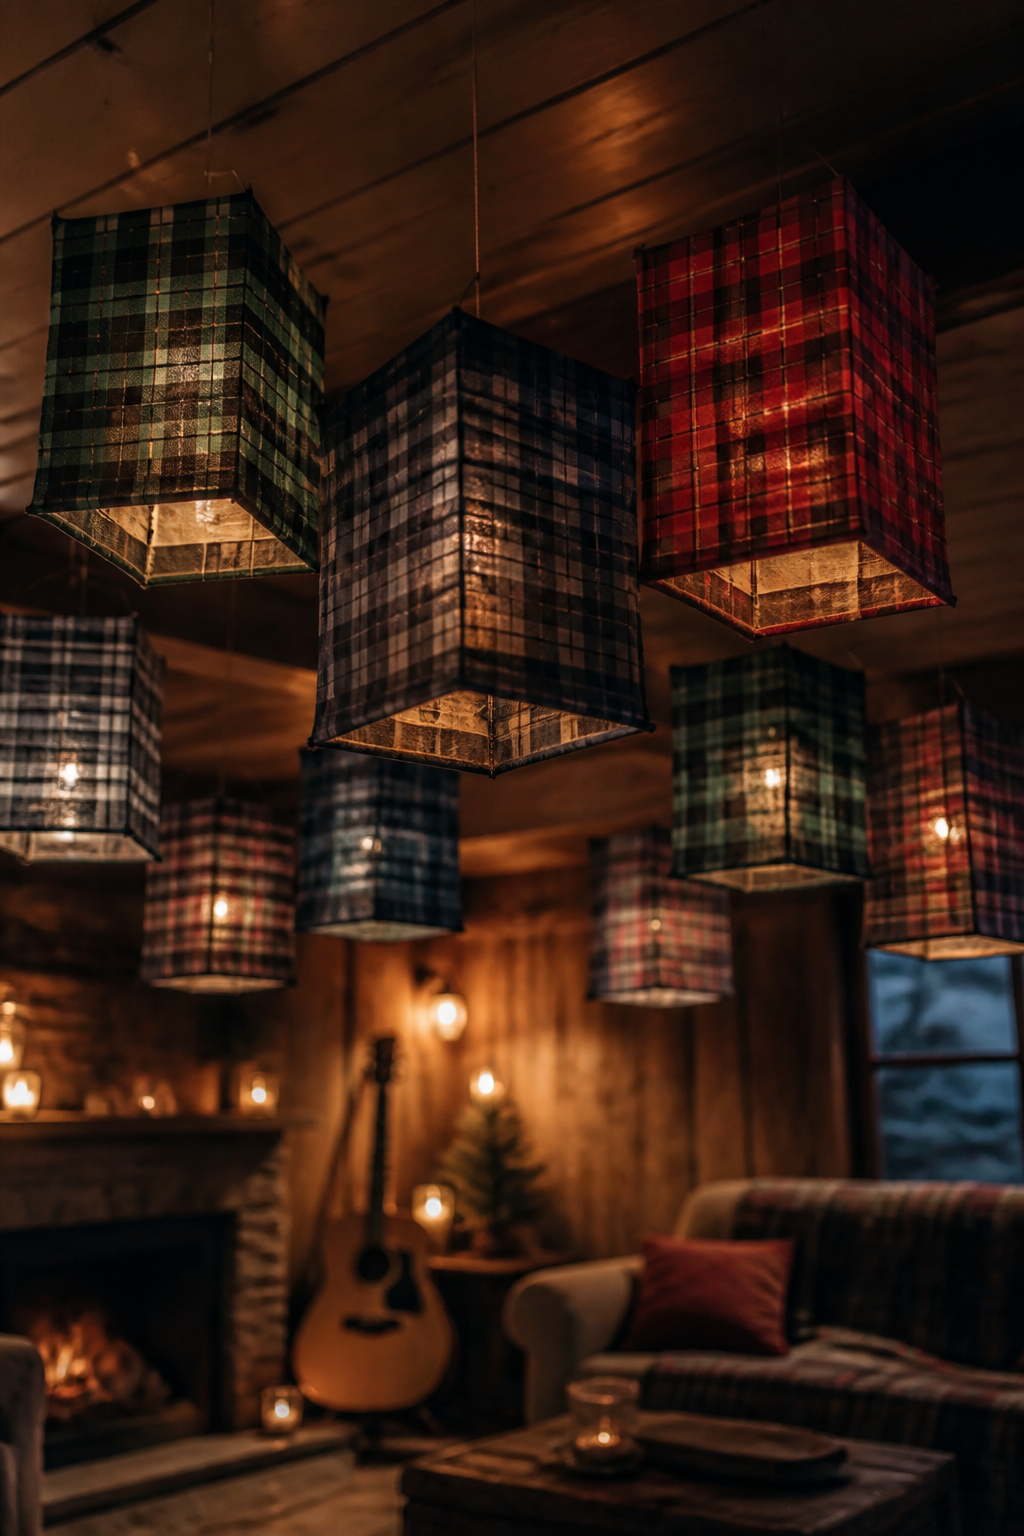
Imagine a ceiling dotted with lightweight lanterns that sway softly as air moves. These are easy to fold, assemble, and hang, turning a plain room into a cozy, atmospheric space.
The plaid patterns give a rugged, outdoorsy vibe—perfect for a man-cave vibe or a seasonal decor refresh.
Materials Needed
- Colored craft paper or scrapbooking paper
- Double-sided tape or glue
- Thin string or fishing line
- Scissors
- LED tea lights (optional)
How to Make It
- Fold and cut paper into square lantern sections inspired by traditional paper lanterns.
- Assemble into a lightweight, hollow sphere or diamond lattice.
- Hang from the ceiling in a cluster or staggered line.
Pro Tips / Styling Ideas
- Mix two or three plaid patterns for a bold, cohesive look.
- Use warm-toned papers for a cozy glow when lit with LEDs.
Who would love it: party hosts, loft dwellers, and anyone chasing a soft, stylish ceiling statement.
3. DIY Pocket-Sized Zen Garden Cards
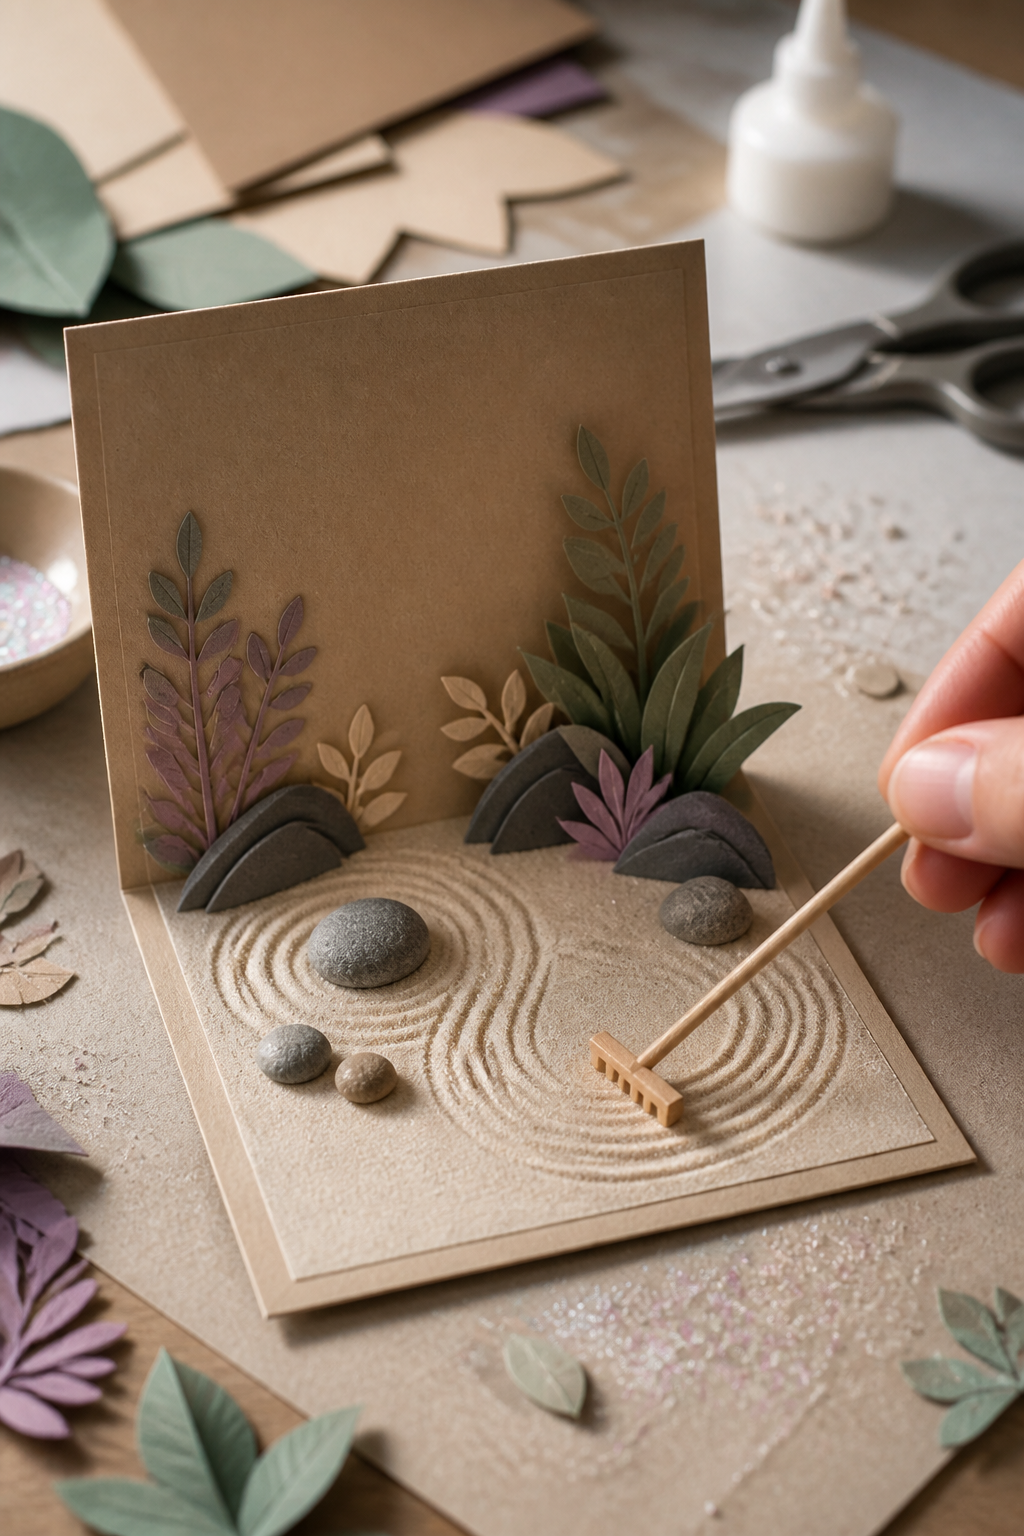
Yes, you can make a tiny, peaceful “zen garden” that doubles as a greeting card. It’s tactile, meditative, and surprisingly impressive when opened to reveal a tiny raked paper landscape.
What makes it special is the playfulness of a tiny landscape you can unfold and gift, turning an ordinary card into a tiny keepsake.
Materials Needed
- Cardstock or heavy paper for the card base
- Fine-grain sand or microbeads (for texture)
- Mini rake-shaped toothpick or skewer
- Colored paper scraps for “plants”
- Glue
How to Make It
- Cut a small pocket inside the card to hold a shallow tray of sand.
- Layer sand and small paper “rocks”; use a toothpick to create shallow grooves.
- Attach little paper plants on the edge for contrast.
Pro Tips / Styling Ideas
- Keep the color palette calm and earthy for a serene effect.
- Pair with a handwritten note for a personal touch.
Who would love it: thoughtful gift-givers, minimalist stationery lovers, and anyone craving a pocket-sized moment of calm.
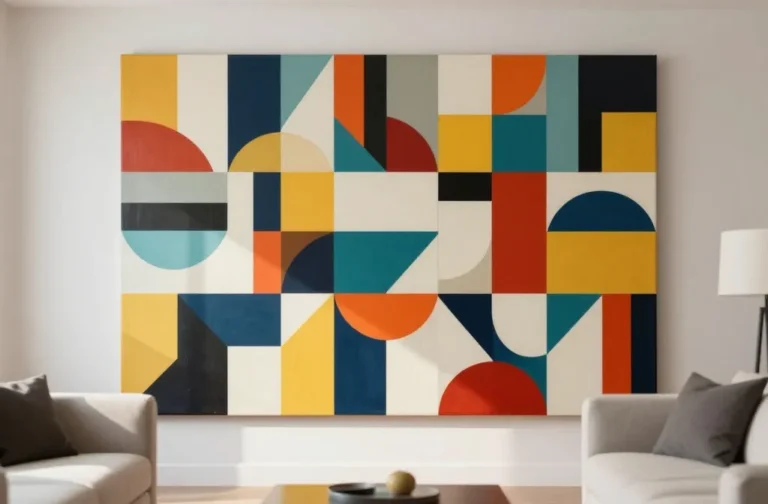
4. Copper-Toned Paper Tape Wall Art
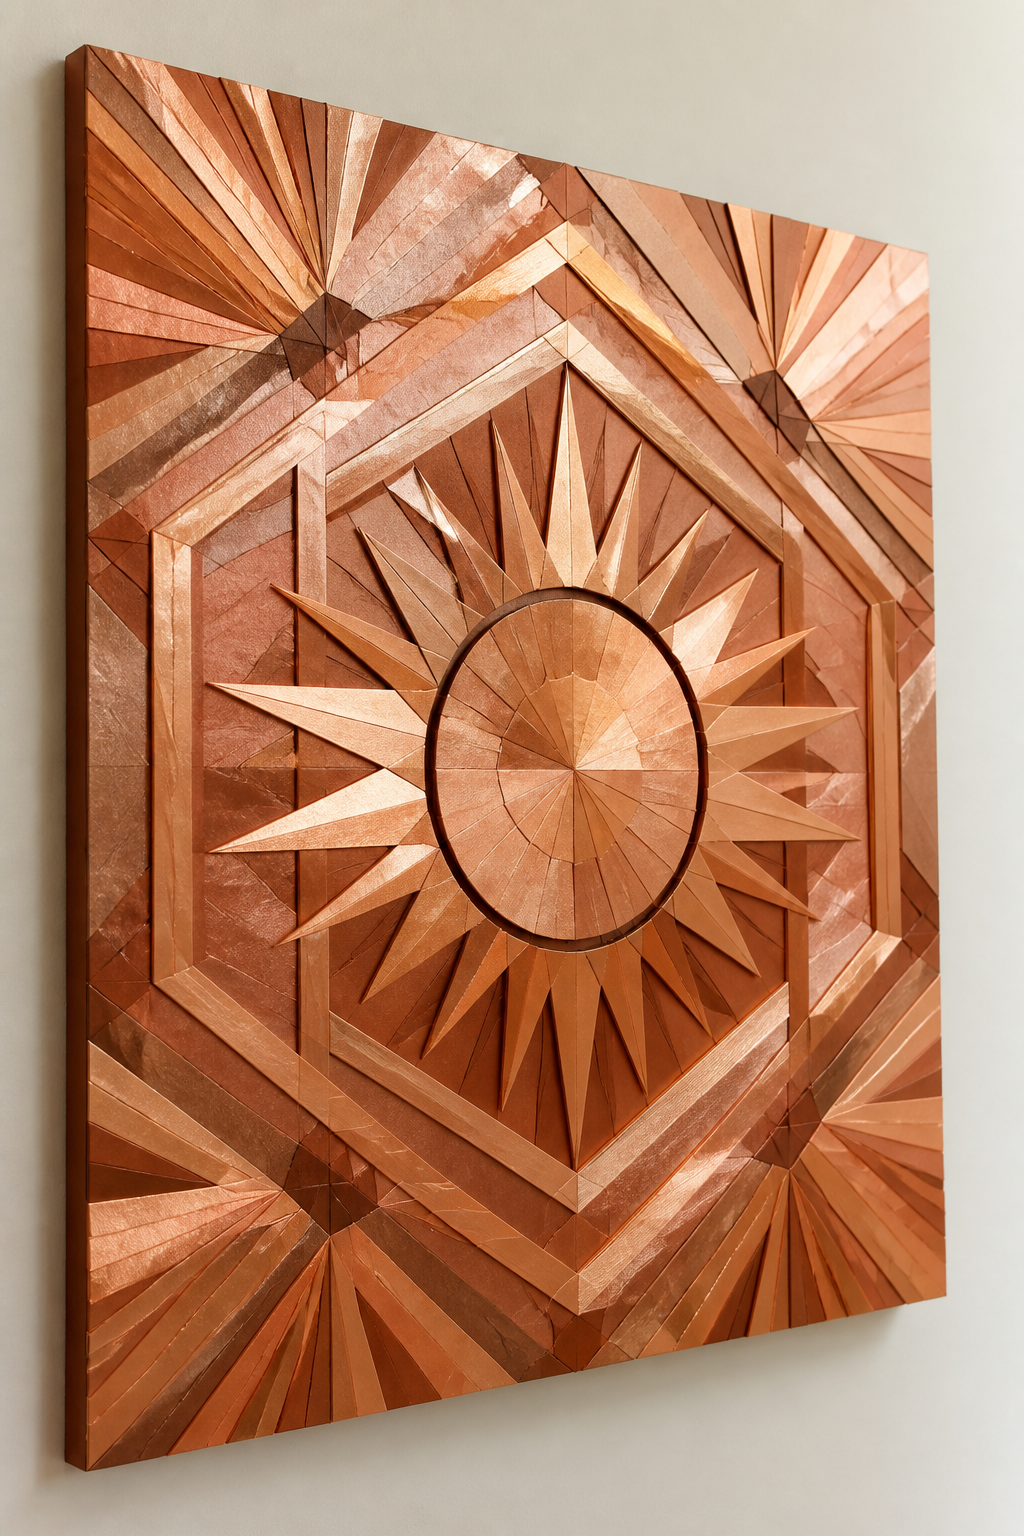
A wall piece that looks like metal but is all paper and tape—count me in. This project gives you a bold, metallic statement with almost zero cost or mess.
The copper tones glow in light, and the layered tape adds depth and texture you can’t fake with paint alone.
Materials Needed
- Heavy paper or poster board
- Copper-toned washi tape or kraft tape
- Pencil and ruler
- Double-stick tape for mounting
How to Make It
- Draw a geometric pattern on the board (think triangles, hexes, or a sunburst).
- Fill the pattern with overlapping copper tape to create a mosaic effect.
- Mount on the wall in a central, high-contrast spot.
Pro Tips / Styling Ideas
- Frame it with a thin black or white border to sharpen the edges.
- Pair with a matte black frame for an industrial edge.
Who would love it: design-curious roommates, bachelors, and anyone who loves a bold wall statement without a big price tag.
5. Folded Book Page Arrow Key Holder
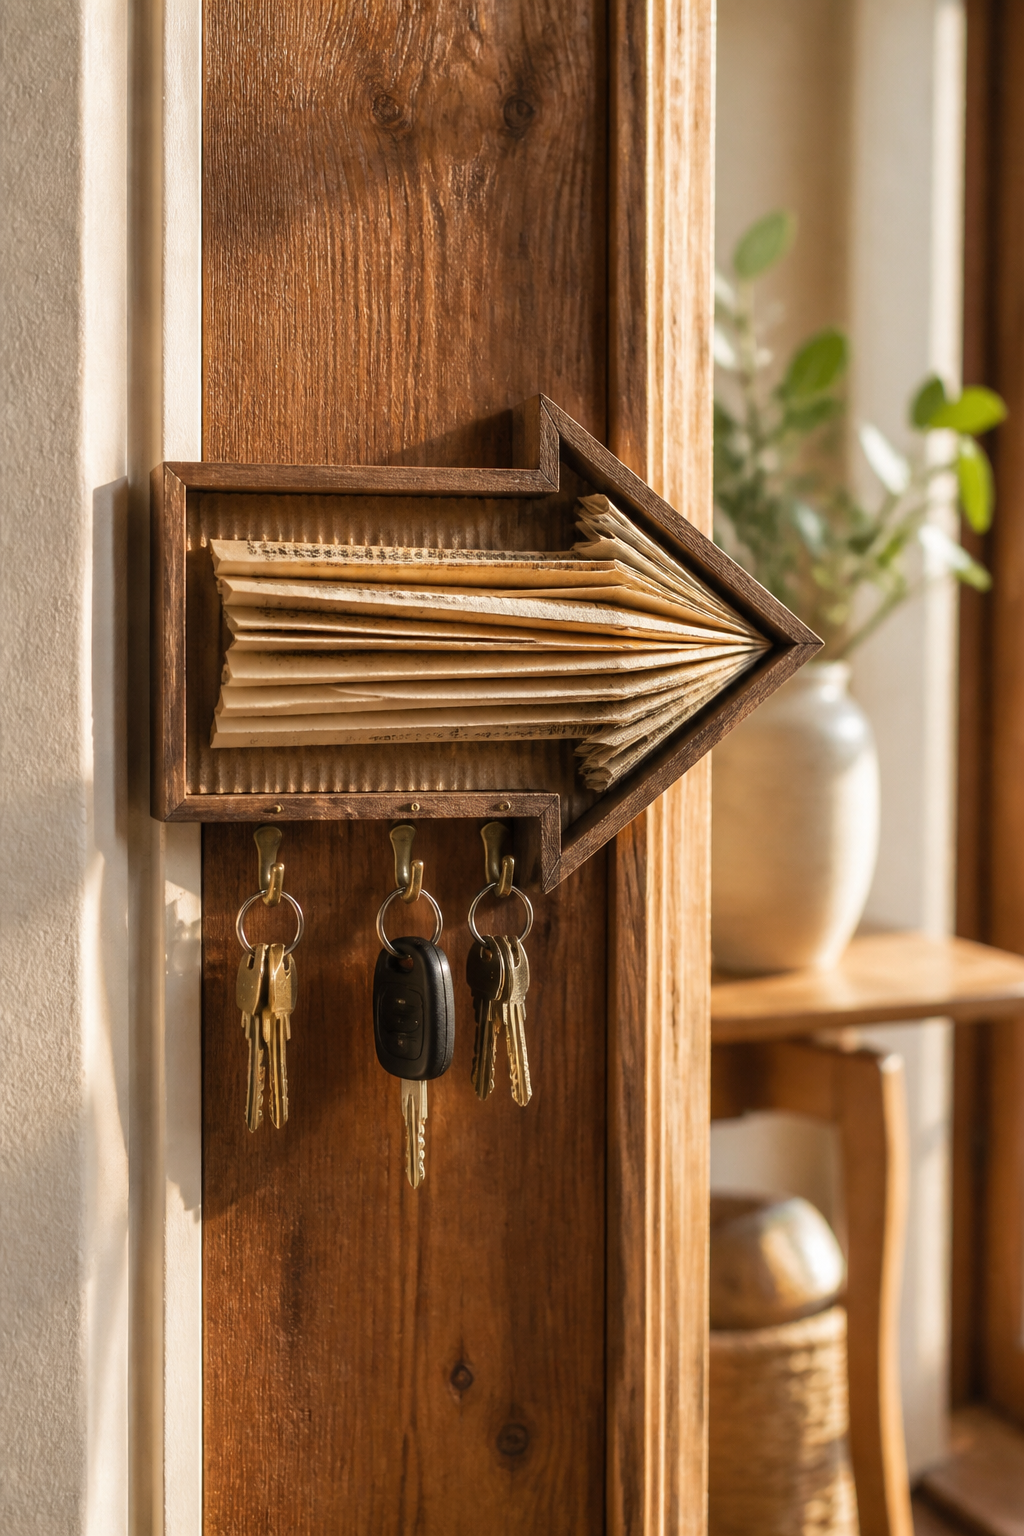
Turn a stack of old book pages into a practical arrow-shaped key holder. It’s a cute nod to typography lovers and a functional piece that lives by the door.
The charm is in the folded pages and the graphic silhouette—simple, clever, and surprisingly sturdy when glued into a frame.
Materials Needed
- Old hardback book or thick paper
- Cardboard or wooden backing
- Glue or Mod Podge
- Small hooks or nails
- Paint (optional)
How to Make It
- Cut out a sturdy arrow shape from cardboard or wood.
- Adhere carefully folded book pages to cover the surface in an outward-facing arrow.
- Attach hooks along the shaft for keys; mount on the wall.
Pro Tips / Styling Ideas
- Use aged pages for a vintage vibe; keep a single color tint for cohesion.
- Hang near the entryway with a small plant nearby for balance.
Who would love it: book lovers, entryway quick-decor upgrades, and anyone who wants a touch of literary charm.
6. Black-and-White Papercut Wall Banner
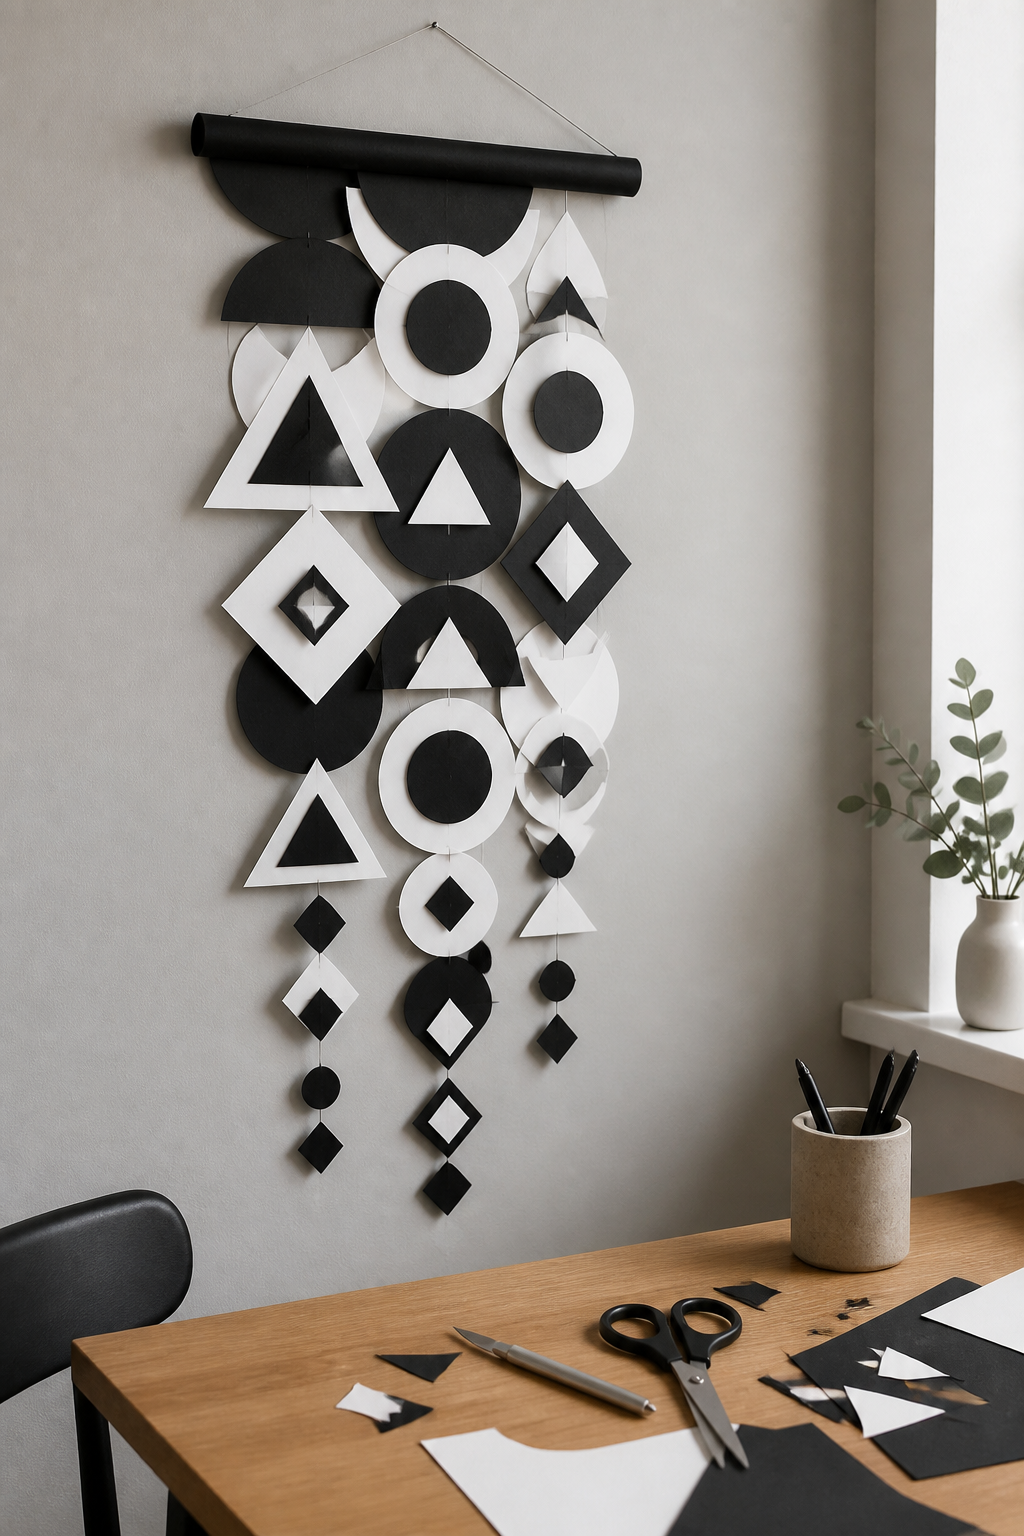
Minimal, graphic, and totally shareable, this papercut banner uses black and white shapes to create an eye-catching cascade down a wall. It’s a modern art piece you can assemble in an afternoon.
What makes it special is the contrast and the precision of shapes—clean lines that look deliberate and bold.
Materials Needed
- Black and white craft paper
- Scissors or craft knife
- String or twine
- Glue or double-sided tape
How to Make It
- Cut a series of geometric shapes (circles, triangles, diamonds).
- Layer and glue them into a cascading banner on string.
- Hang in a straight line against a wall for maximum impact.
Pro Tips / Styling Ideas
- Vary the size of shapes for dynamic movement.
- Pair with a black-framed mirror to echo the color scheme.
Who would love it: fans of modern decor, apartments with limited space, and anyone wanting a quick, high-impact wall accent.
7. Faux Leather Paper Bookmarks With Punch-Out Accents
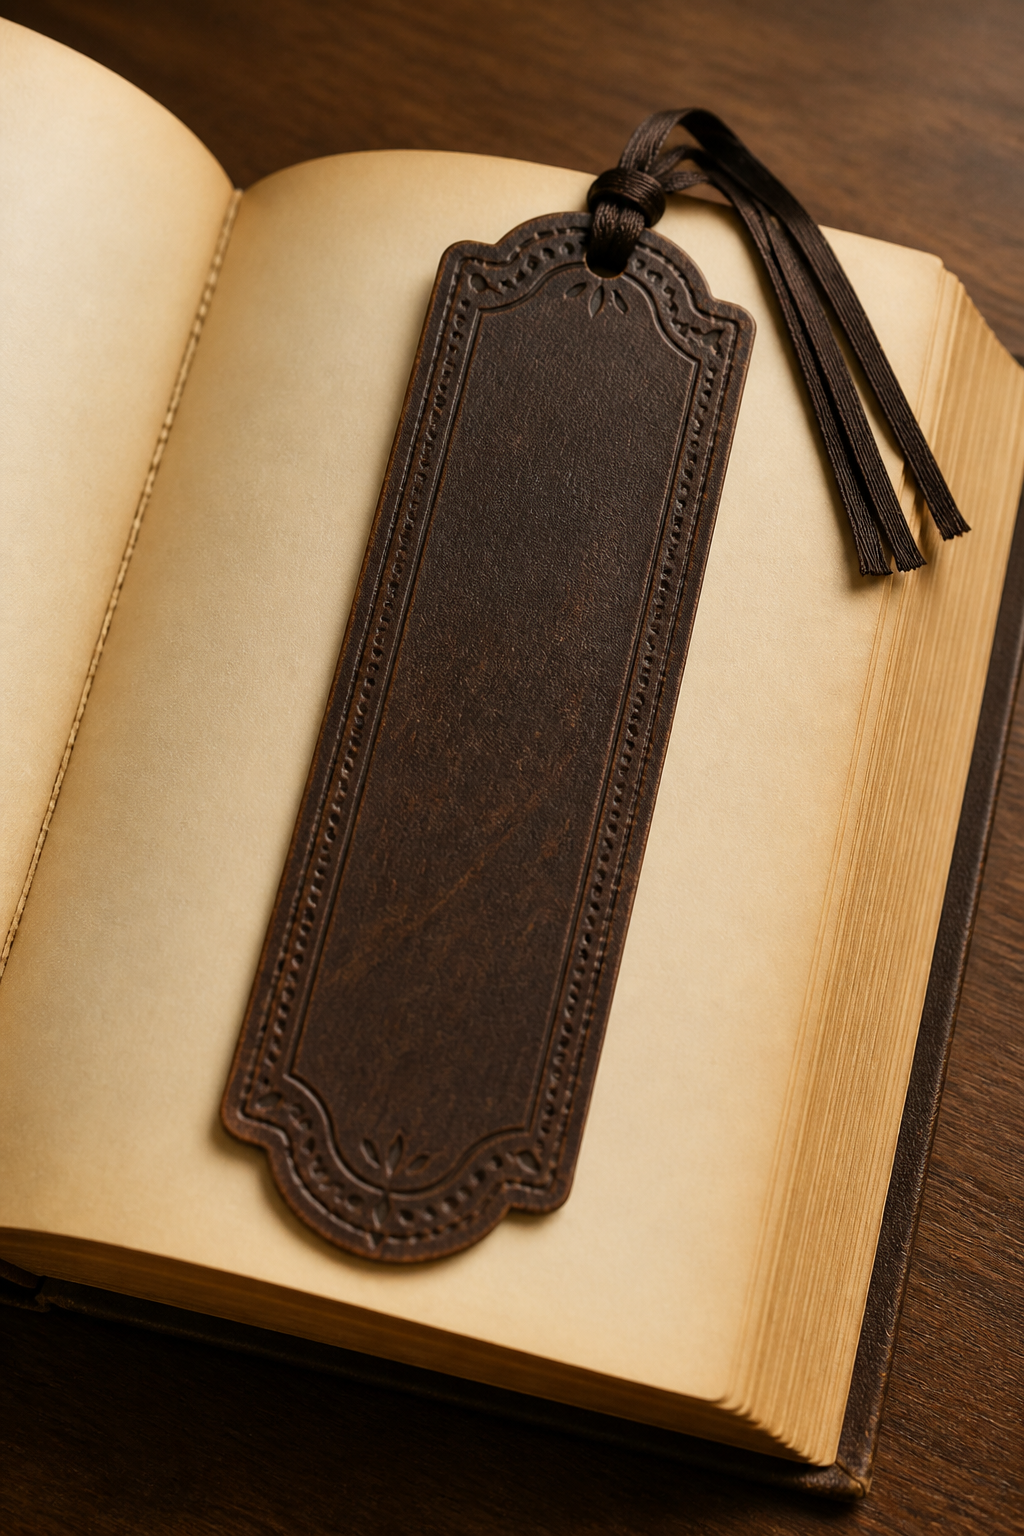
These bookmarks give the look of leather in a fraction of the cost—and they’re actually made from sturdy paper. They’re the kind of project you can customize with initials, motifs, or favorite bands.
The texture and the matte finish scream durability, while remaining light enough to slide into almost any book.
Materials Needed
- Heavy paper or cardstock
- Colored markers or ink for details
- Hole punch (optional for tassels)
- Ribbon or string for tassels
How to Make It
- Cut a slim rectangle that mimics leather proportions.
- Color and texture with markers, add simple stitched lines with a fine pen.
- Optional tassel: thread ribbon through a punched hole.
Pro Tips / Styling Ideas
- Personalize with initials or a favorite quote for gifting.
- Bundle with a paperback and gift-ready packaging.
Who would love it: readers, students, and anyone who wants a touch of luxe in a tiny package.
8. Color-Charge Mosaic Cardboard Coasters

Coasters that pop with color and texture and are surprisingly durable. Build them from layered cardboard and bright accents for a badge of handmade charm on every coffee table.
The mosaic technique gives you a tactile surface that’s comfy to rest a mug on and visually interesting from across the room.
Materials Needed
- Cardboard, thick enough for durability
- Assorted scrapbook paper or colored card stock
- Glue or Mod Podge
- Clear sealant spray
How to Make It
- Cut circles or squares from cardboard as bases.
- Cut small tiles from colored papers and glue them in a mosaic pattern.
- Seal to protect from moisture and set on a flat surface to dry.
Pro Tips / Styling Ideas
- Pick a color palette that matches your coffee setup.
- Gift a random assortment as a housewarming set.
Who would love it: hosts, coffee lovers, and anyone who wants functional art for the living room.
9. DIY Accordion-Style Photo Cards
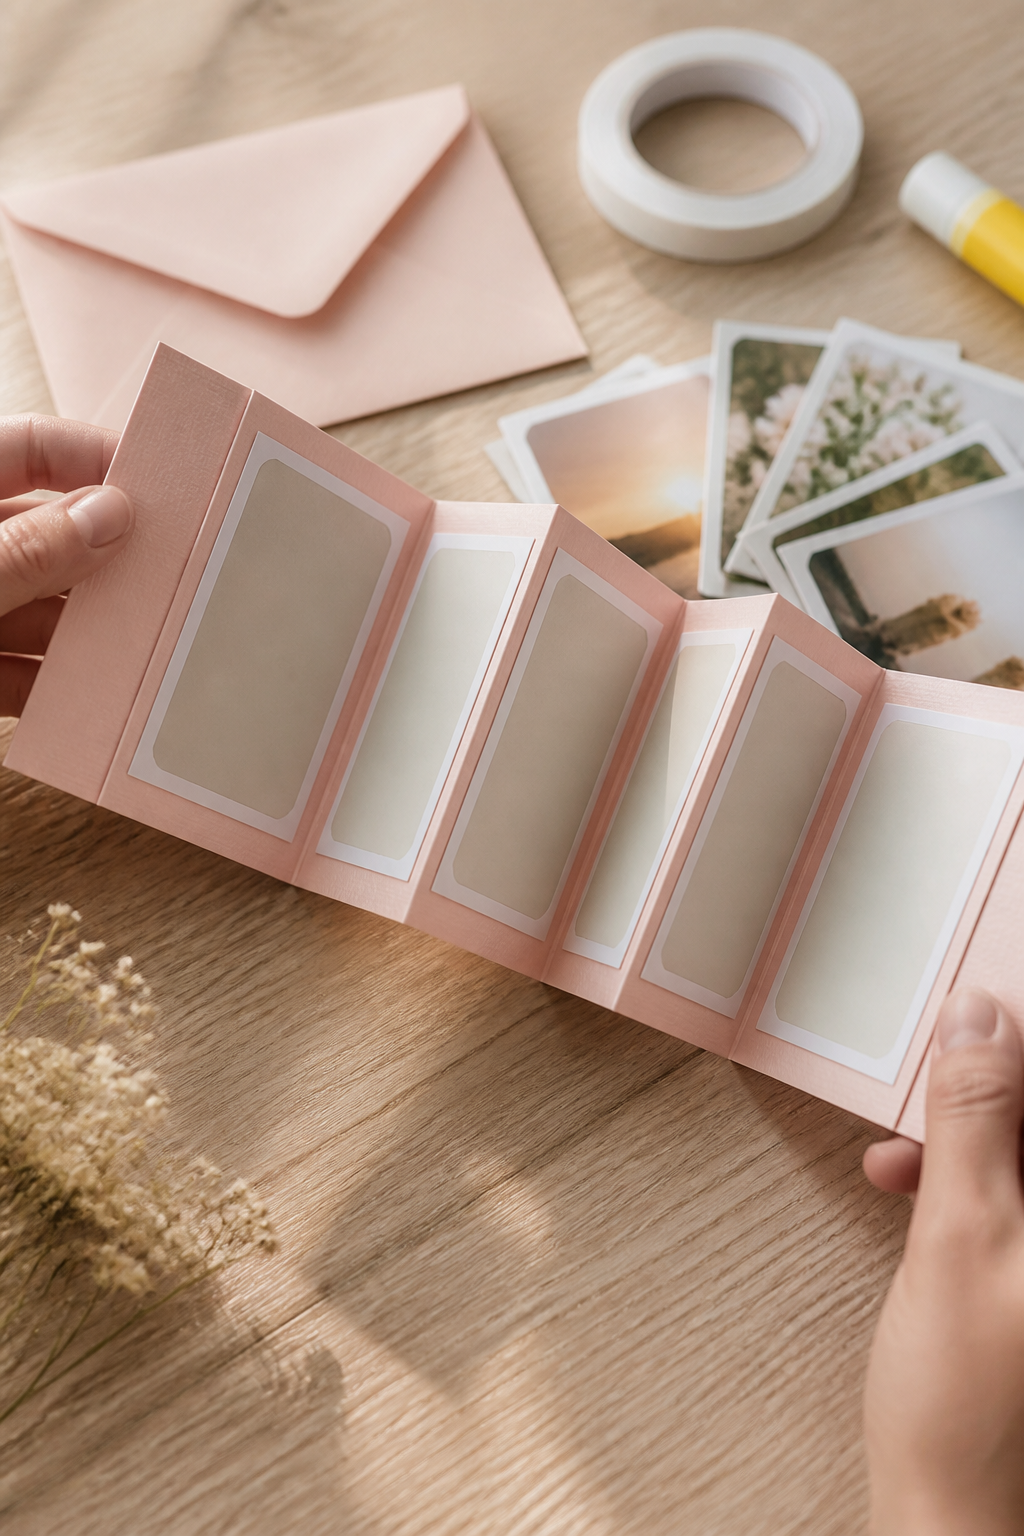
Made from folded paper that unfolds into a mini gallery, these photo cards are both sentimental and display-ready. They’re simple to assemble and endlessly customizable for birthdays, anniversaries, or just because.
The fun is in the reveal—the folded accordion makes each photo feel like a tiny, personal exhibit.
Materials Needed
- Photo prints or favorite images (print at home or a shop)
- Colored paper or cardstock
- Glue or double-stick tape
- Envelope or small frame for gifting
How to Make It
- Fold colored paper into accordion panels and glue photos on each panel.
- Attach the ends to create a connected strip that expands when opened.
- Place in an envelope or frame for gifting.
Pro Tips / Styling Ideas
- Theme the photos (travel, family, friends) for a cohesive gift.
- Match colors to the recipient’s decor to amp up the wow factor.
Who would love it: sentimental folks, long-distance friends, and anyone who loves a personal, portable photo gallery.
Conclusion: Ready to dive in? Each of these nine paper crafts is designed to be approachable, visually striking, and genuinely fun to make. Pick one to start, or go all-in and try every idea—you’ll end up with a gallery-worthy set of pieces that prove crafting isn’t just for the girls. Have fun, tag a friend who should try these, and maybe save a few for future gifts or weekend projects.