9 DIY Quick Crafts Ideas That Actually Work
Ready to crafty-create without the chaos? These nine DIY quick crafts ideas actually work, promise. They’re fast, doable, and totally Pinterest-worthy—trust me, you’ll brag about these at your next get-together.
Let’s dive into nine unique projects that fit into a busy schedule but still feel fresh and wow-worthy. Grab your supplies, choose your vibe, and get ready to style your space with personality.
1. Rustic Mason Jar Lantern With Fairy Lights
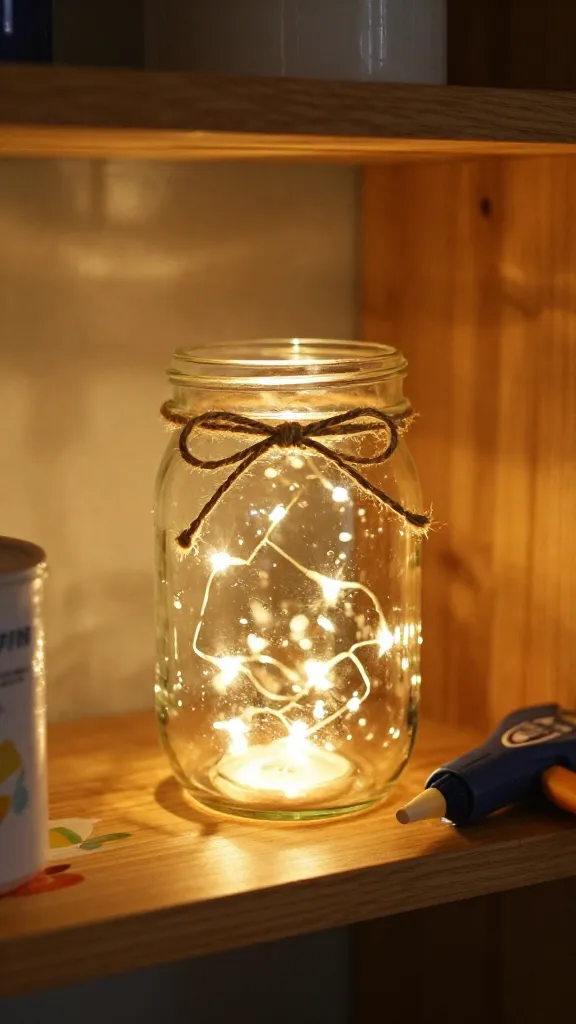
Picture this: a warm, golden glow curling around your shelves, a hint of rustic charm, and zero complicated steps. This mason jar lantern is simple, stunning, and endlessly customizable. You’ll love how easy it is to switch colors for seasons or mood.
Materials Needed
- Clear mason jars (one per lantern)
- Battery-operated fairy lights
- Jute twine or ribbon
- Hot glue gun (low-temp)
- Optional: watercolor paint pens or frosted spray
How to Make It
- Fill a jar with fairy lights, leaving the battery pack outside the jar for easy turning on/off.
- Wrap the outside with jute twine or ribbon for a cozy, rustic vibe. Secure with a dab of hot glue.
- If you want a frosted look, lightly spray the inside with frosted spray or dab on a watercolor wash to the outside.
- Group several jars on a tray or hang with ribbon for a soft, ambient display.
Pro Tips / Styling Ideas
- Alternate jar heights on a mantle for visual interest.
- Use colored lights for a festive twist—red and green for holidays, cool blues for winter, warm amber for fall.
End note: This is a cozy, no-fuss craft that nearly anyone can master. It’s perfect for living rooms, bedrooms, or an inviting entryway—especially if you want a warm glow without candles. You’ll love this for easy, everyday magic.
2. Fabric Scraps Banner With Personal Messages
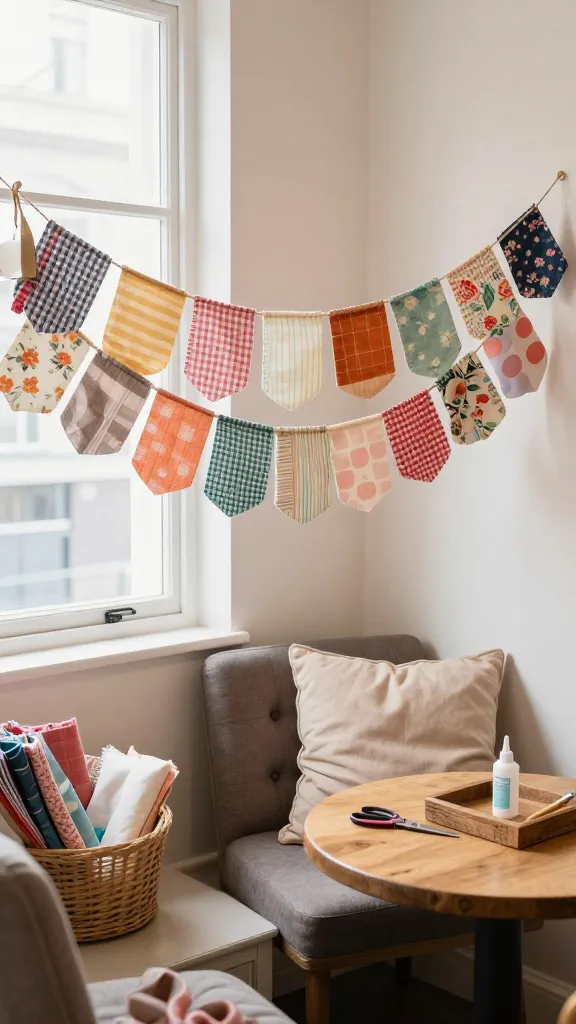
A cheerful banner adds whimsy to a café corner, nursery, or reading nook. This fabric banner is a forgiving, quick project that looks custom-made without a trip to the shop. It’s all about textures, color pops, and a few heartfelt words.
Materials Needed
- Several fabric scraps (2×6 inches each)
- White or light-colored acrylic paint and brush
- Twine or ribbon for hanging
- Fabric scissors
- Non-slip glue or fabric adhesive
How to Make It
- Cut the fabrics into tag shapes or pennants. Round the corners for a softer look.
- Paint short words or letters on each pennant (e.g., “LOVE,” “DREAM,” “HOME”). Let dry completely.
- String the pennants along the twine, leaving equal gaps between pieces.
Pro Tips / Styling Ideas
- Mix textures like linen, chambray, and cotton for depth.
- Add embroidered edges or denim scraps for a rugged vibe.
End note: A banner is the kind of project you can customize endlessly. It’s great for birthdays, nurseries, or holiday greetings. Seriously, you’ll love how personal and welcoming it feels.
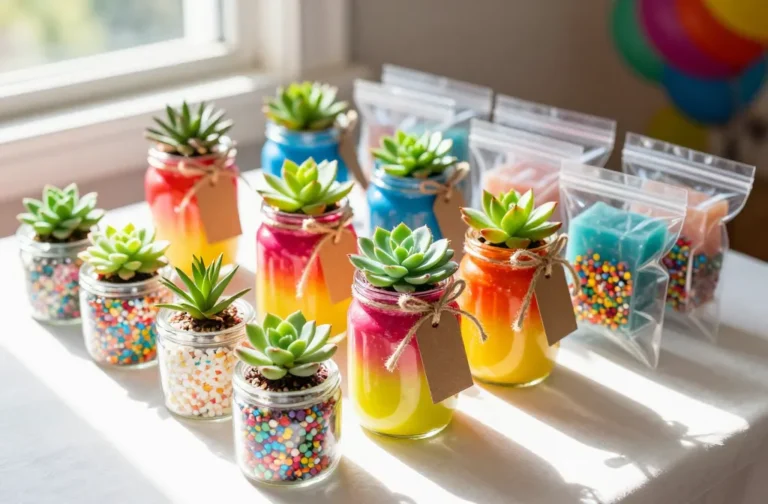
3. Painted Terracotta Planters With Metallic Accents
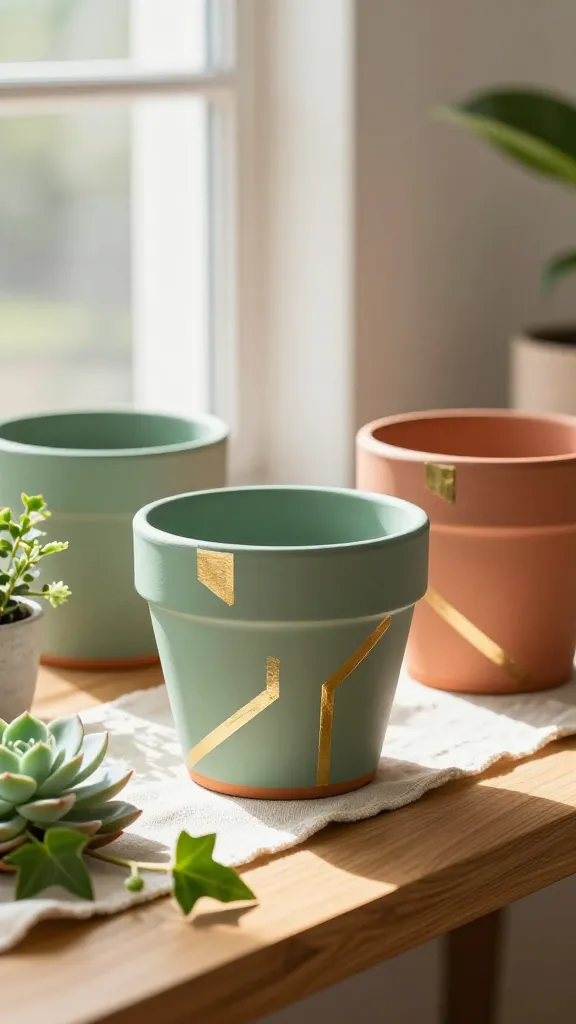
Who knew plain terracotta could look high-end with a dash of color and shine? This quick project yields chic planters that instantly elevate shelves, patios, or windowsills.
Materials Needed
- Terracotta pots (any size)
- Acrylic craft paints in two complementary colors
- Gold or brass metallic paint (optional)
- Painter’s tape
- Brushes; foam brush works well
How to Make It
- Base paint the pots in your primary color. Let dry.
- Apply painter’s tape to create crisp lines or geometric shapes; paint the exposed sections in your second color.
- Carefully remove tape. Add a thin metallic stripe along edges for a luxe touch if desired.
Pro Tips / Styling Ideas
- Pair with a few succulents or herbs for a fresh, modern look.
- Group pots of varying sizes in a corner for a gallery-style display.
End note: These planters blend artisan flair with everyday practicality. They’re a great gift or a quick upgrade for a sunlit corner you want to notice. You’ll love the instant polish they bring.
4. Chalkboard Serving Tray With Hand-Lettered Messages
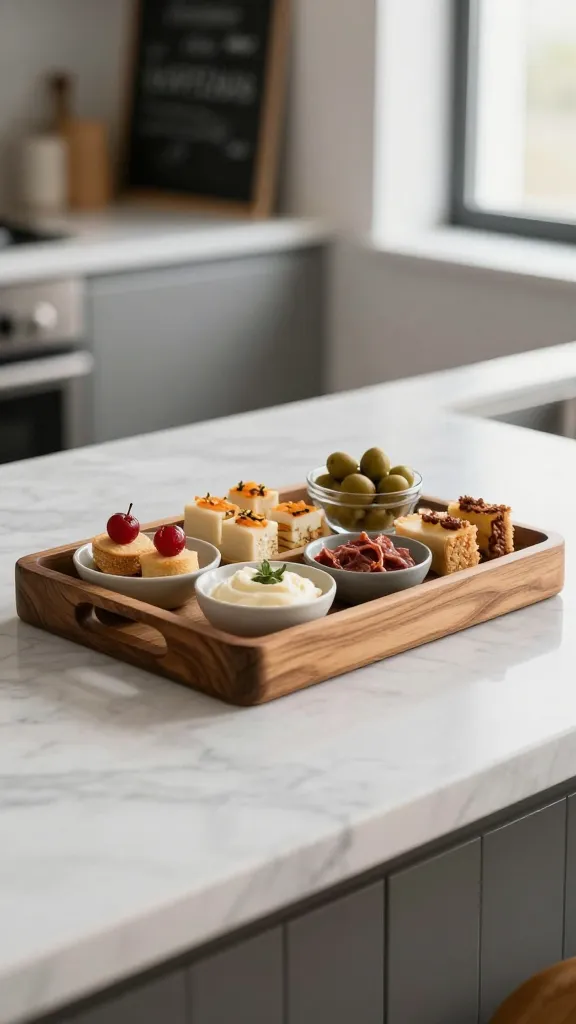
Functional and stylish, this chalkboard tray turns snack time into a mini art show. It’s a playful way to label dips, cheeses, or desserts and swap messages with the season.
Materials Needed
- Small wooden tray
- Chalkboard paint or chalkboard contact paper
- Drop cloth or painter’s tape
- Chalk markers or white chalk for lettering
How to Make It
- Paint the tray with chalkboard paint (or attach chalkboard contact paper to the base). Let it cure.
- Use chalk markers to write a playful message or daily menu. Wipe clean and rewrite as needed.
Pro Tips / Styling Ideas
- Add a linen napkin and a small bouquet of dried flowers for an inviting spread.
- Switch messages for different gatherings—farmhouse chic, brunch vibes, or movie night.
End note: This tray is a practical centerpiece that doubles as a canvas. It’s perfect for entertaining or brightening a kitchen shelf. You’ll love how easily it sparks conversation and color.
5. Silicone Mold Wall Art With Resin Faces
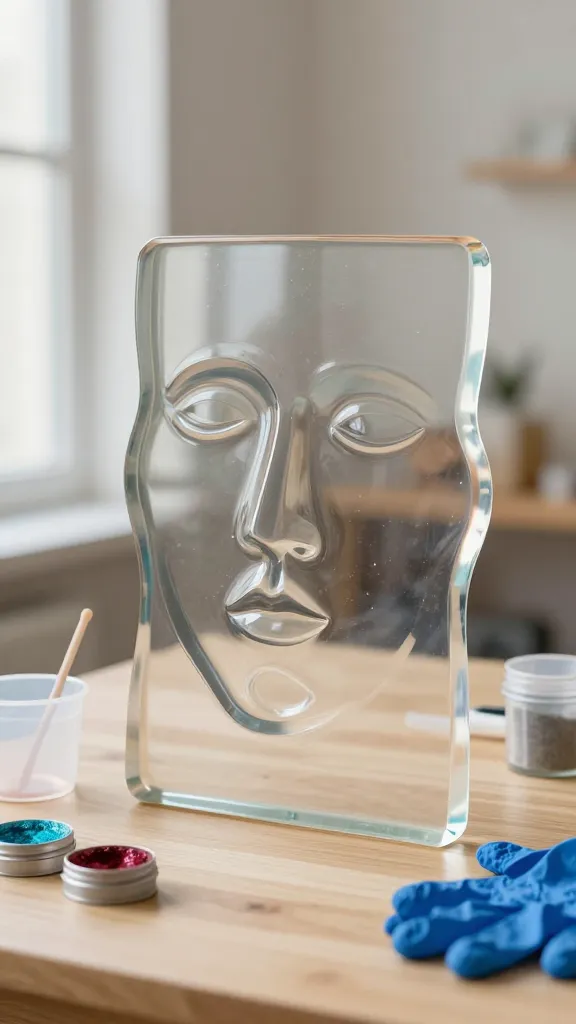
Art that shines—literally. This resin-and-mold piece creates a glossy, abstract silhouette that can anchor a minimalist wall or add whimsy to a creative space. It feels luxe without the studio-time fuss.
Materials Needed
- Silicone mold with an interesting shape
- Clear epoxy resin kit with mixing cups and sticks
- Color pigments or mica powders
- Protective gloves and a work surface cover
How to Make It
- Mix resin per package directions. Add a touch of pigment or mica to create depth.
- Pour into the mold, tap gently to release bubbles, and let cure as directed.
- Carefully remove the cured piece and mount it on a wall with adhesive or a small hook.
Pro Tips / Styling Ideas
- Try a gradient from clear to tinted resin for a modern ombre effect.
- Display solo or as part of a gallery wall with other neutral-toned art.
End note: A resin project that doesn’t demand a full studio can be surprisingly striking. It’s a conversation starter and a bold, glossy statement piece that you’ll be proud to show off.
6. Upcycled Magazine Wall Clock
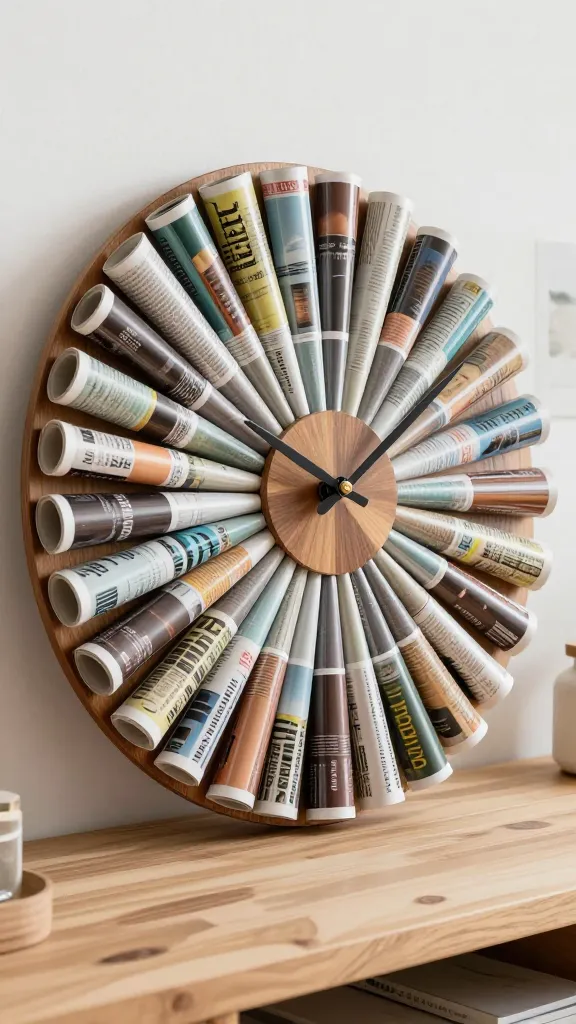
Turn old magazines into a ticking timepiece that’s eco-friendly and visually striking. This project is surprisingly simple but yields a wow factor you can customize to your decor vibe—coastal, glam, or retro.
Materials Needed
- Old magazines (chunky stack)
- Round clock base or a sturdy circular wooden plaque
- Strong adhesive or hot glue
- Clock mechanism kit with hands
How to Make It
- Roll magazines tightly into small cones or tubes; glue them to the base in a circular, layered pattern.
- Continue adding pieces until you cover the shape to your liking. Let dry.
- Attach the clock mechanism on top and snap in the hands.
Pro Tips / Styling Ideas
- Use color-coordinated magazines for a cohesive look or mix vibrant patterns for energy.
- Seal with a light finishing spray to keep papers crisp and protected.
End note: This clock is a clever reuse project that doubles as a bold wall feature. It’s an excellent gift for book lovers or anyone who loves a quirky, artsy home vibe.
7. Velvet Heart Kitchen Cord Organizer
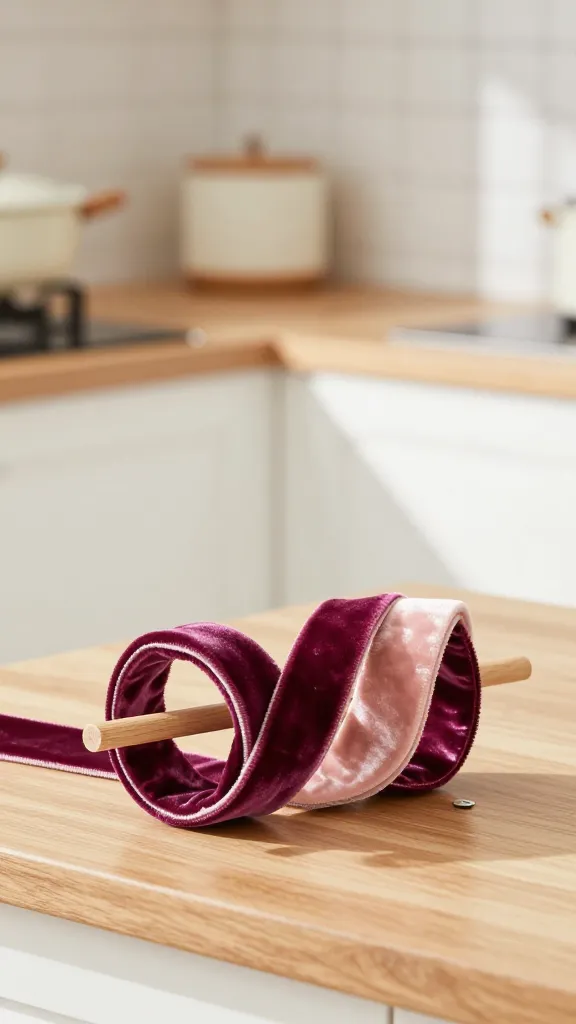
Add a touch of romance to your kitchen with a soft velvet cord organizer. It’s practical, pretty, and surprisingly easy to pull off without fancy tools. You’ll adore the luxe texture against a bright kitchen backdrop.
Materials Needed
- Velvet ribbon or fabric scraps in two complementary colors
- Wood dowel or small wooden rod
- Hot glue or fabric glue
- Optional: small decorative button or charm
How to Make It
- Wrap velvet pieces around the dowel in a figure-eight to create loops that hold cords or utensils.
- Glue the loops in place, and add a decorative end cap or charm for personality.
Pro Tips / Styling Ideas
- Place near the coffee station or on the counter for quick cord management.
- Choose contrasting colors to highlight the velvet texture.
End note: A small, tactile upgrade that makes daily tasks more enjoyable. It’s a warm, chic accessory for kitchens that deserve a little luxury without the fuss.
8. Neon Sand Art in a Glass Bottle
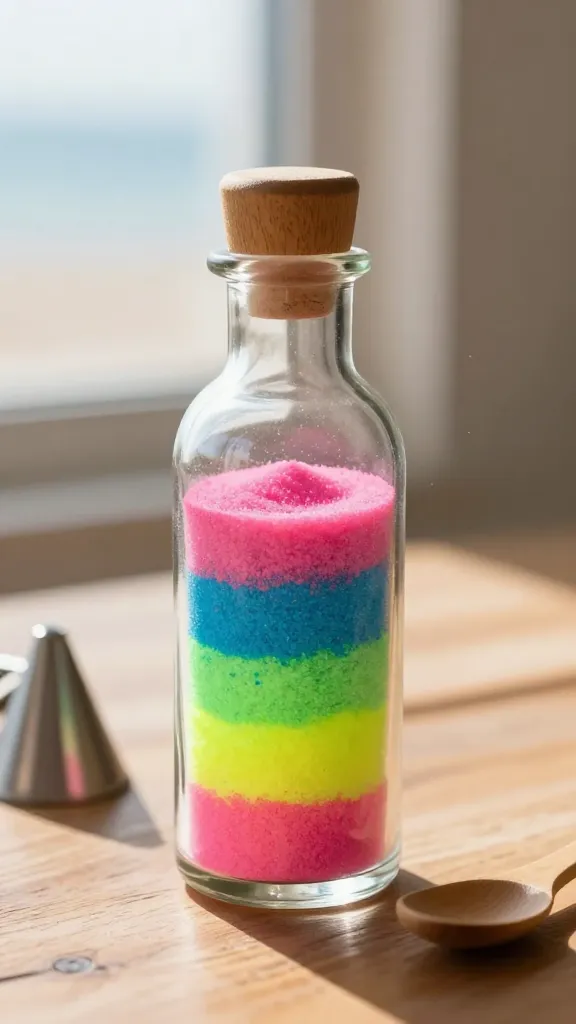
Vibrant, kinetic, and surprisingly meditative to assemble. The neon sand art inside a glass bottle creates a beachy vibe that’s endlessly giftable and totally Instagrammable.
Materials Needed
- Clear glass bottle with a stopper
- Colored sand in bright tones
- Funnel or folded paper to layer sand neatly
- Small spoon or stick for shaping layers
How to Make It
- Pour layers of colored sand through the funnel to create bold, horizontal stripes.
- Repeat with random color sequences or a precise pattern depending on your mood.
- Seal the bottle with a stopper to keep layers pristine.
Pro Tips / Styling Ideas
- Place on a coffee table or desk as a calming focal point.
- Pair with a hexagon tray or plant for an instant vacation vibe.
End note: A meditative craft that doubles as decor. It’s a bright, glossy reminder that playful color combinations can transform a simple bottle into a tiny piece of art.
9. Mini Foil-Pressed Notebooks With Custom Covers
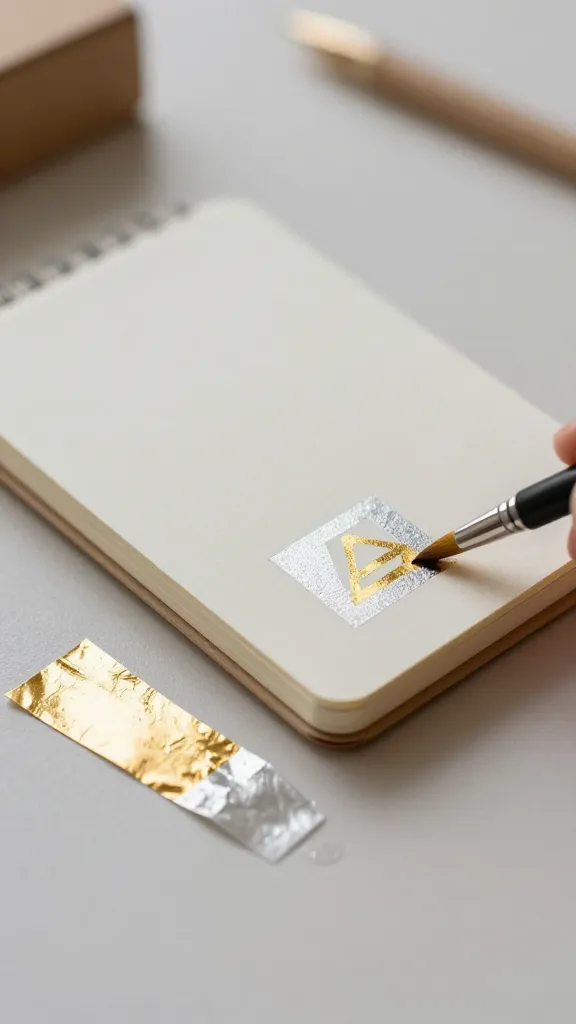
Turn plain notebooks into luxe-sounding little gems with a quick foil-press accent. These are perfect as gifts, party favors, or a stylish tool for journaling and planning.
Materials Needed
- Plain mini notebooks or small journals
- Gold or silver foil transfer sheets
- Thin craft adhesive or transfer glue
- Scissors and a steady hand
How to Make It
- Cut a simple design or initials from foil sheets.
- Use a dab of adhesive to press the foil onto the notebook cover, ensuring it transfers cleanly.
- Seal with a light spray or clear coat for durability.
Pro Tips / Styling Ideas
- Personalize with names, dates, or small symbols for a thoughtful gift.
- Keep some reserved space for writing or doodling alongside the foil design.
End note: These notebooks feel advanced but are delightfully simple to pull off. They’re the kind of gift that makes someone feel seen and stylish in one glance.
Conclusion
Ready to roll up your sleeves? These nine DIY quick crafts ideas actually work, offering fast transformations with plenty of personality. Pick your favorite, or try all nine for a month-long craft sprint. You’ll discover that fun, easy, and rewarding projects can live side by side in your daily routine. Have fun crafting and pinning your new favorites—your home (and your friends) will thank you.