12 Magical Christmas Craft Ideas Painting Ornaments to Try Now
Ready to turn your tree into a glittering gallery of whimsy? These 12 magical Christmas craft ideas painting ornaments are quick, charming, and totally Instagram-worthy. Trust me, you’ll love the cozy creativity they spark during the season.
1. Frosted Glass Orbs: Snowy Night Scenic Ornaments
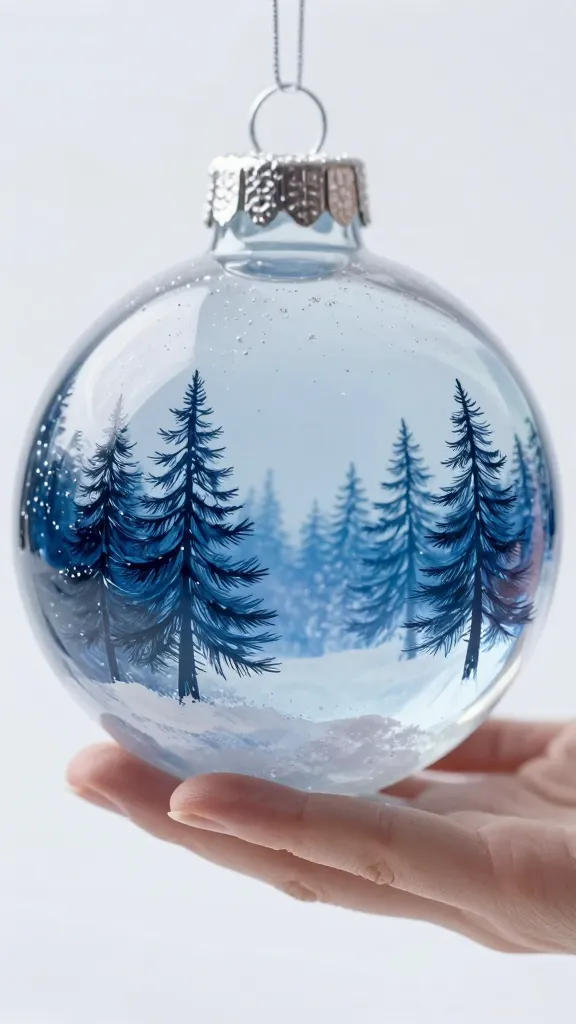
Imagine glass orbs that catch the light like a wintery window—glassy blues, silver specks, and a tiny forest painted inside. These frosted glass orbs feel magical, minimal, and so festive.
Materials Needed
- Clear plastic or glass ornament balls
- Acrylic craft paints (pale blue, white, silver)
- Fine-tipped paintbrushes
- White gel pen or enamel marker
- Fine glitter (optional)
How to Make It
- Fill the bottom of the ornament with a dash of white paint to create a soft base.
- Paint a delicate night sky—deep blue near the rim, fading to white at the bottom.
- Add tiny white dots for stars and a silhouette of a pine forest along the bottom edge.
- Dot silver glitter for a sparkling snowy effect.
- Seal with a clear coast of paint or a small amount of resin for longevity.
Pro Tips / Styling Ideas
- Pair with silver ribbon and a touch of twine for a rustic-chic tree topper.
- Hang in a sunny window to catch light and cast magical shadows.
Who would love it: Minimalists, nature lovers, or anyone who adores a calm, luminous Christmas vibe.
2. Peppermint Stripe Ornaments: Candy Canes That Dazzle
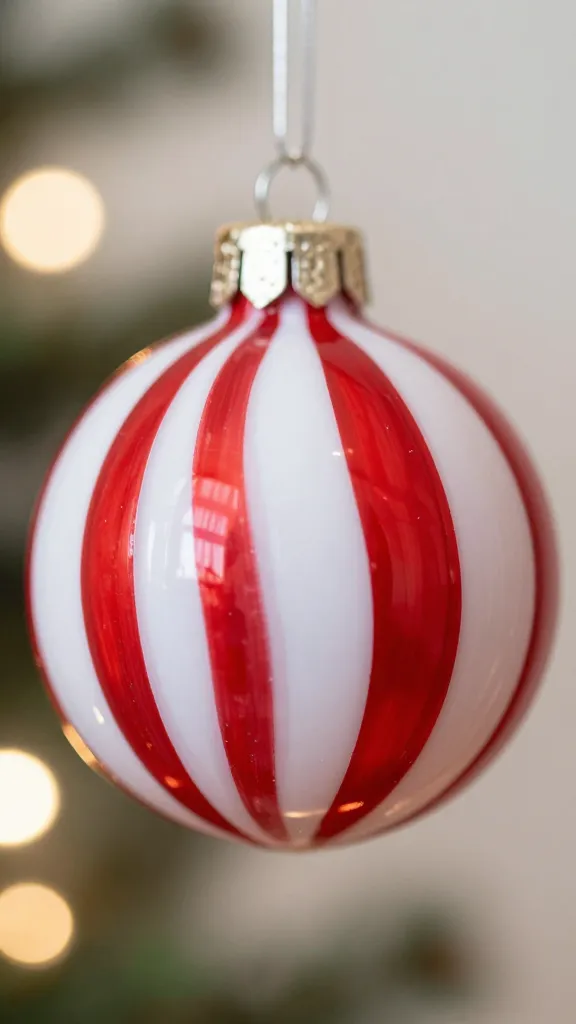
Stripey, sweet, and full of holiday cheer, peppermint-inspired ornaments bring a playful pop to any tree. They’re simple to paint and instantly festive.
Materials Needed
- Ornament balls (glass or plastic)
- Red and white acrylic paints
- Painter’s tape or masking tape
- Small brush and a fine liner
How to Make It
- Mask a vertical stripe along the ornament with painter’s tape.
- Paint the exposed area white, then lift the tape carefully.
- Paint red stripes in even sections, letting each stripe dry between layers.
- Add a glossy top coat to set the look.
Pro Tips / Styling Ideas
- Create alternating wide and narrow stripes for whimsy.
- Finish with glitter-tinged varnish for extra sparkle.
Who would love it: Candy lovers, festive kids’ rooms, or anyone craving bright, bold decor.
3. Rustic Burlap Doily Ornaments: Vintage Lace Magic
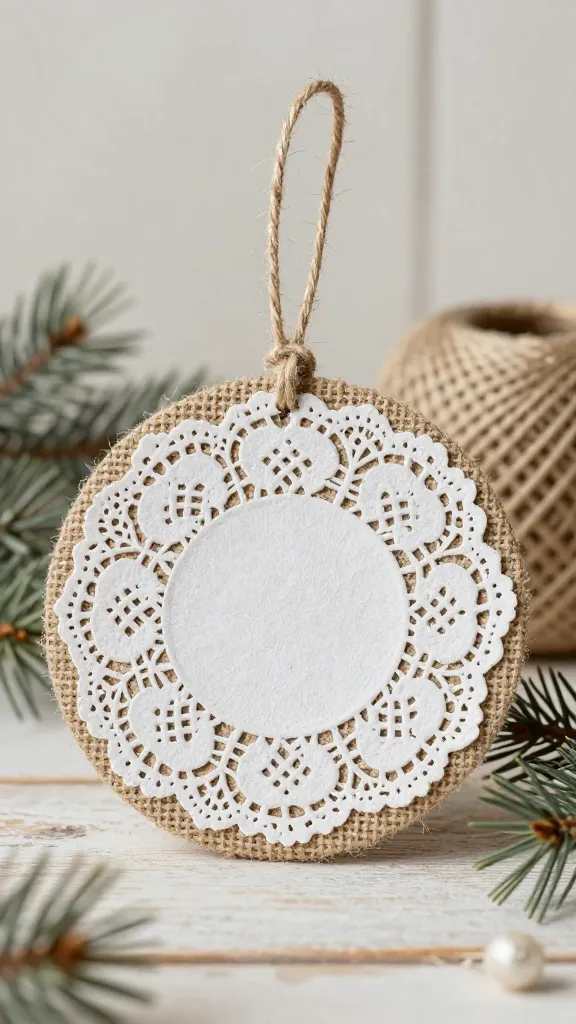
Soft burlap paired with delicate doilies makes a warm, vintage-inspired ornament that feels handcrafted and cozy.
Materials Needed
- Burlap rounds or shapes
- White paper doilies
- Acrylic paint (cream or antique white)
- Hot glue gun
- Jute twine for hanging
How to Make It
- Cut burlap into round discs the size you like.
- Glue a doily to the front, letting the lace edges peek out.
- Paint a soft antique white wash over the burlap and doily for cohesion.
- Loop a length of jute through the top for a rustic hang.
Pro Tips / Styling Ideas
- Add a tiny sprig of evergreen tucked under the doily for a live touch.
- Pair with kraft ribbons for a cozy farmhouse vibe.
Who would love it: Fans of cottagecore aesthetics or those who adore warm, tactile textures.
4. Galaxy Glitter Ornaments: Nebula Nights on the Tree

Turn your tree into a sky full of twinkling stars with cosmic glitter and bold color swirls. These look luxe, but they’re surprisingly easy.
Materials Needed
- Clear ornament balls
- Epoxy resin or chunky glitter and clear glue
- Acrylic paints in purples, blues, pinks, and black
- Small star confetti or stickers
How to Make It
- Pour a thin coat of clear glue inside and swirl with paint to create a nebula base.
- Strand in layers of glitter as the paint dries to build depth.
- Adorn with tiny star confetti before the final seal dries.
Pro Tips / Styling Ideas
- Use a UV resin topcoat for a glass-like finish.
- Hang them in a cluster to mimic a constellation on the tree.
Who would love it: Space buffs, glam lovers, or anyone craving a starry centerpiece.
5. Painted Woodland Animal Ornaments: Little Forest Friends
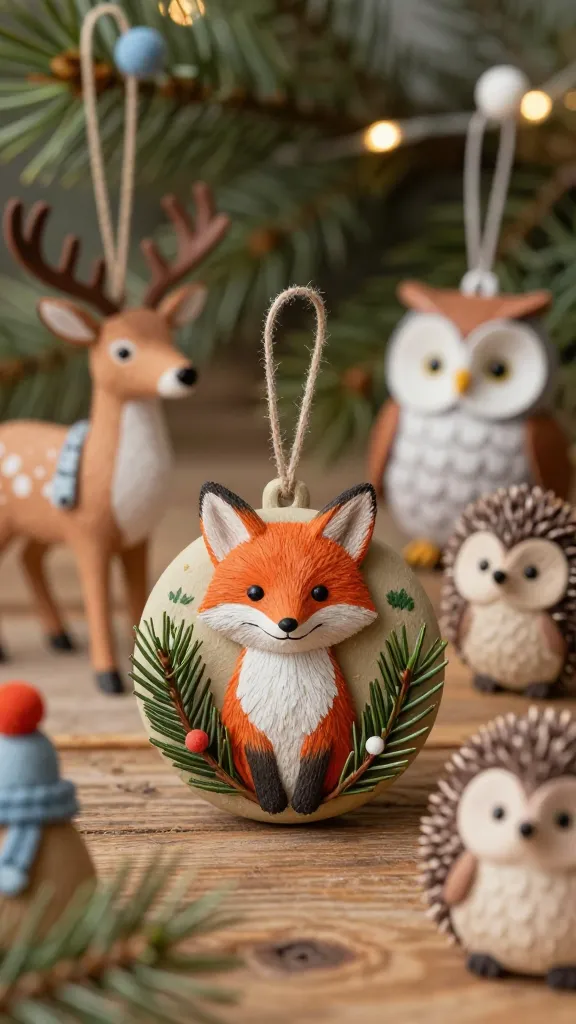
These charming mini animals bring whimsy and a touch of whimsy to your greenery. Cute, collectible, and totally heartwarming.
Materials Needed
- Ornament blanks (round or egg-shaped)
- Acrylic paints (earth tones plus bright accents)
- Fine brushes
- Glue and tiny felt or paper accents
How to Make It
- Paint a simple animal silhouette on each ornament—fox, deer, owl, or hedgehog work beautifully.
- Add tiny eyes, noses, and a splash of color for personality.
- Glue on small felt ears, scarves, or hats for extra charm.
Pro Tips / Styling Ideas
- Group a bunch to form a miniature forest scene on your tree.
- Consider a coordinated color palette for a cohesive display.
Who would love it: Kids and adults who adore whimsy, nature, and little creatures.
6. Metallic Marble Ornaments: Shimmering Spheres
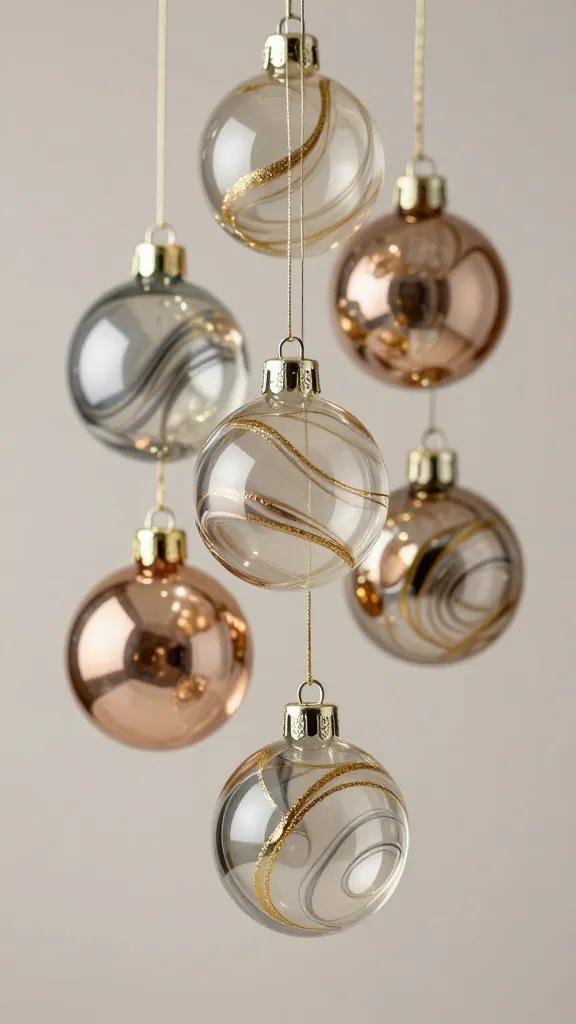
Marble and metallics collide in these glossy, modern ornaments that feel both luxe and playful. They catch light from every angle and look expensive without breaking the bank.
Materials Needed
- Clear ornament balls
- Metallic acrylic paints (gold, silver, rose gold)
- Water and a dropper or straw for marbling
- Gloss sealant
How to Make It
- Fill balls with a few drops of different metallic paints and swirl through the clear ornament for marble patterns.
- Add a final flourish by painting a thin metallic ring around the cap.
- Seal with a clear gloss to preserve the shimmer.
Pro Tips / Styling Ideas
- Hang in twos and threes with matching metallic ribbons.
- Pair with black accents for a dramatic, modern tree vibe.
Who would love it: Glam lovers, modern decorators, or anyone wanting a chic twist.
7. Birch Bark Painted Ornaments: Nordic Natural Charm
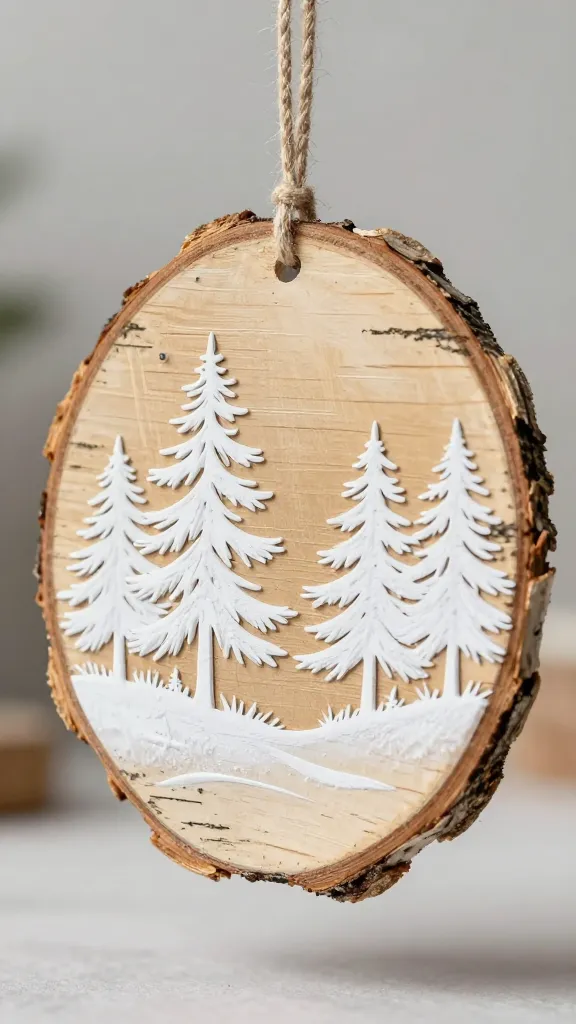
Birch bark textures with painted scenes deliver a cool, Scandinavian-inspired look that feels fresh and outdoorsy.
Materials Needed
- Birch bark slices or faux bark shapes
- Acrylic paints in white, charcoal, forest green
- Fine liner brush
- Clear sealant
How to Make It
- Sketch a simple forest silhouette or snow-scene on the bark.
- Paint with clean, minimal strokes to preserve the natural grain.
- Seal to protect the artwork and enhance the natural look.
Pro Tips / Styling Ideas
- Pair with natural ribbons and pine accents for a woodland display.
- Use as a gift tag alternative by writing a short message on the back.
Who would love it: Fans of rustic, Nordic-inspired decor or nature lovers.
8. Confetti Confessional Ornaments: Fun Fetti Pop
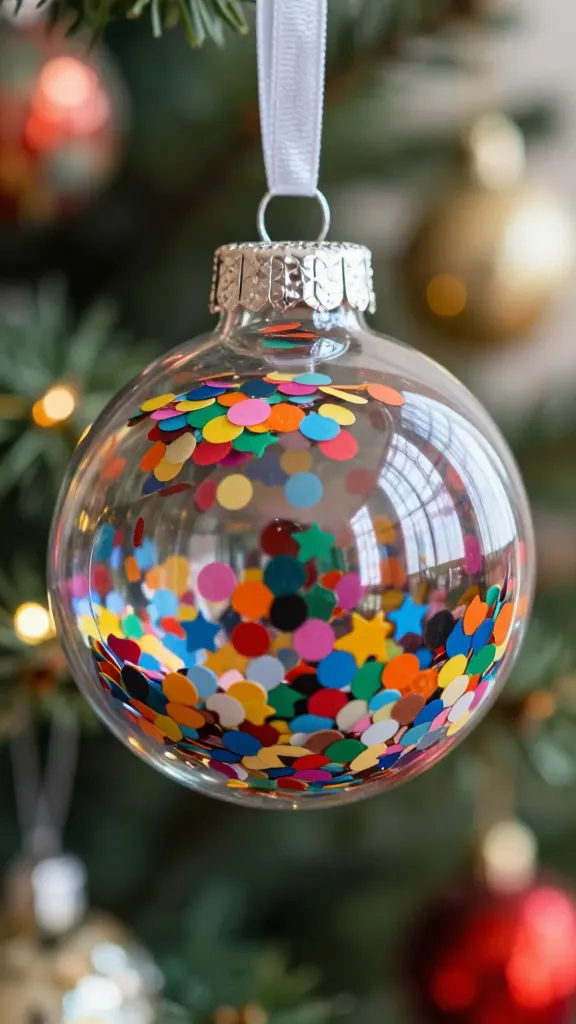
Give your tree a party vibe with confetti-filled ornaments that burst with color as the light hits them. They’re joy in a glass bulb.
Materials Needed
- Clear plastic ornaments
- Confetti in assorted shapes and colors
- Clear glue or clear resin
- Ribbon for hanging
How to Make It
- Pour a small amount of glue or resin inside to coat the inner walls.
- Scatter confetti while the glue is still wet, then seal with another thin layer of glue or resin to enclose.
- Affix a cheerful ribbon and let dry fully.
Pro Tips / Styling Ideas
- Choose a coordinated color palette to keep the look cohesive.
- Hang near windows to catch light and sparkle through the room.
Who would love it: Party-planners, kiddos, and anyone who loves a burst of color.
9. Chalkboard Miracle Ornaments: Messages You Can Reuse
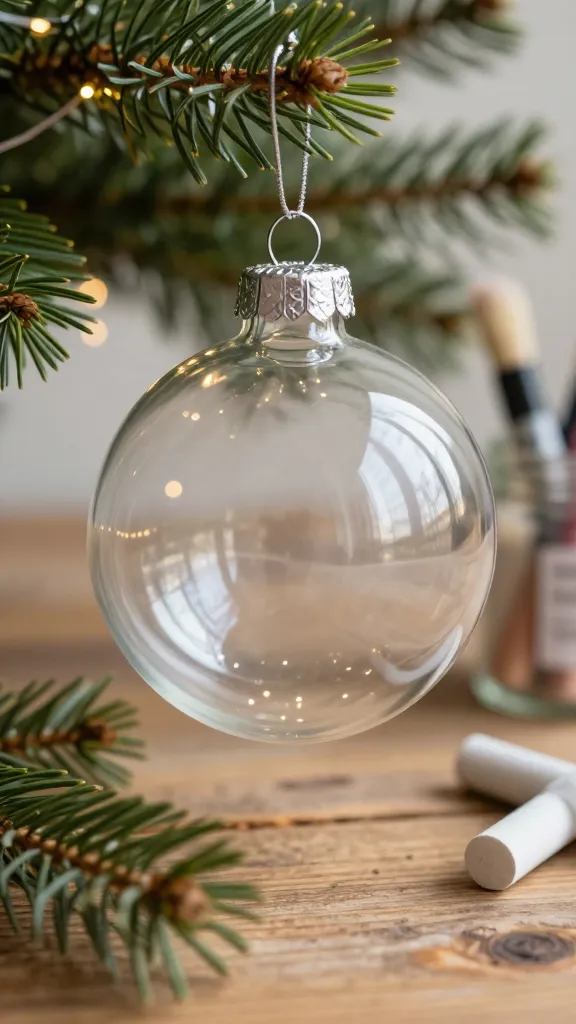
Turn plain bulbs into tiny chalkboards for seasonal greetings and doodles that can be wiped clean later. Adorable and endlessly reusable.
Materials Needed
- Ornament bulbs (clear or glass)
- Chalkboard paint (or adhesive chalkboard vinyl)
- Chalk markers
- Paintbrush and sealant
How to Make It
- Coat the ornament with chalkboard paint; let dry per instructions.
- Use chalk markers to write a message or draw tiny designs.
- Seal with a clear top coat if needed to prevent chipping.
Pro Tips / Styling Ideas
- Wipe clean and rewrite gift notes for a rotating seasonal message.
- Create a set for a “calendar count-down” wall display.
Who would love it: Stationery lovers, organized friends, and anyone who loves a changeable ornament.
10. Marble Painted Snowflakes: Crisp and Edgy Snowflakes

Snowflakes with marbleized backgrounds feel fresh and crisp, like winter art you’d find in a chic gallery. Delicate, geometric, and totally eye-catching.
Materials Needed
- Clear glass or plastic ornaments
- White acrylic paint
- Black or metallic fine liner for snowflake design
- Marbling medium or water and acrylic paints for the base
How to Make It
- Marble the interior with thin swirls of white and light gray.
- Paint a crisp snowflake pattern over the marbled background.
- Finish with a clear sealant to keep colors vibrant.
Pro Tips / Styling Ideas
- Pair with silver accents and sleek ribbons for a modern look.
- Hang in front of a window to capture natural light.
Who would love it: Modern decorators, design lovers, and those who adore crisp winter details.
11. Potion Bottle Ornaments: Magical Miniatures
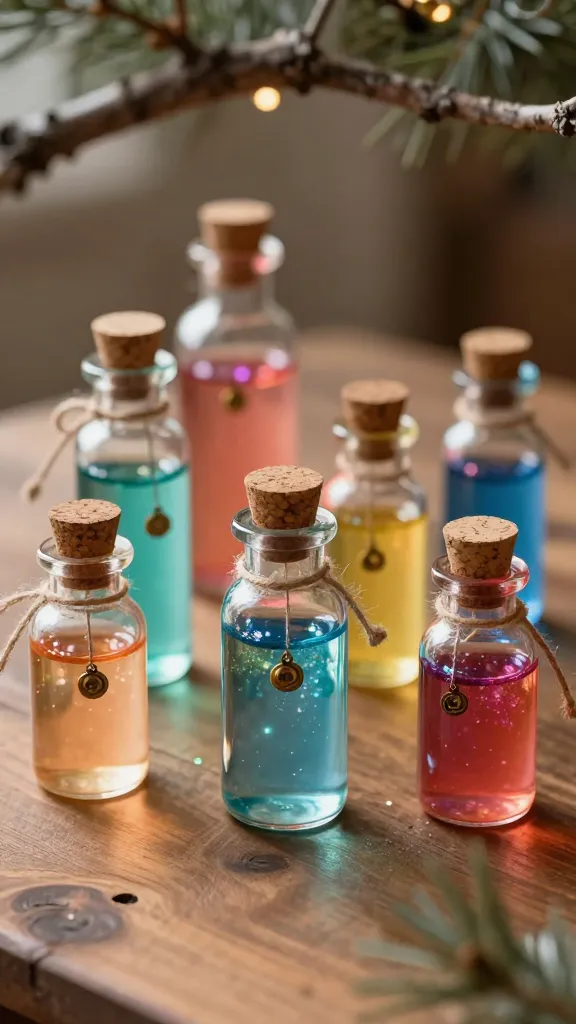
Small, glass potion bottles filled with colored liquids, glitter, and tiny charms create a whimsical cabinet-of-curiosities vibe on your tree.
Materials Needed
- Small glass bottles with cork stoppers
- Colored water or glycerin for density
- Glitter, beads, tiny charms
- Waterproof glue and twine for hanging
How to Make It
- Fill bottles with layered colored liquids and glitter for a magical effect.
- Drop in tiny charms and seal the cork with glue.
- Attach twine for hanging near the tips of branches.
Pro Tips / Styling Ideas
- Label some bottles with tiny handwritten notes for a playful touch.
- Mix color palettes to create a cohesive story across the tree.
Who would love it: Fans of whimsy, alchemy aesthetics, and collectors of oddities.
12. Pinecone and Paint Minis: Rustic Orbs for the Tree
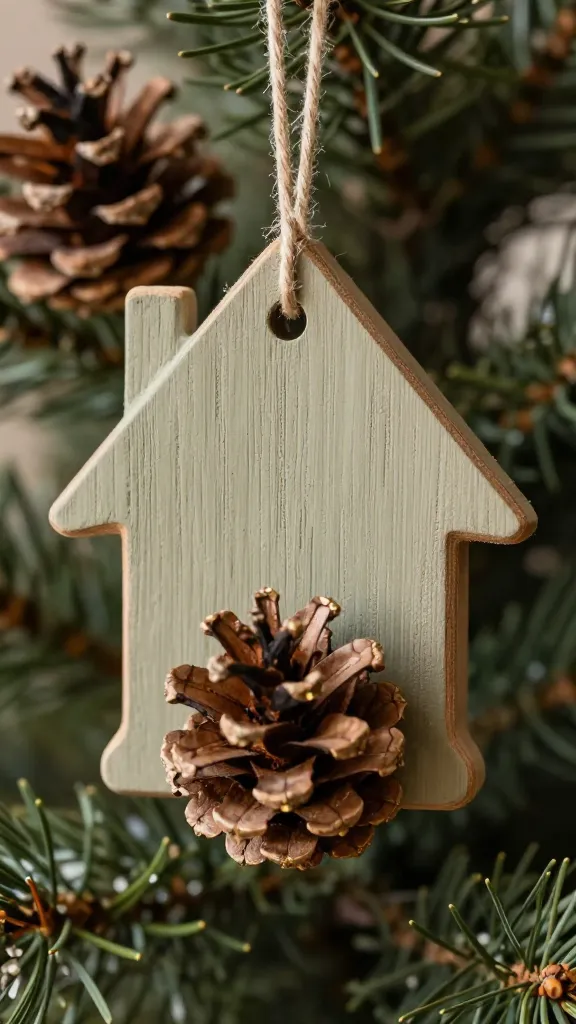
Tiny pinecones glued to painted ornament bases create a woodland, textured look that feels both rustic and refined.
Materials Needed
- Small wooden ornament bases
- Mini pinecones
- Acrylic paints (sage, cream, gold accents)
- Hot glue
- Thin twine for hanging
How to Make It
- Paint the base in a soft, neutral tone.
- Glue a pinecone to the bottom or side, then add small splashes of metallic paint for a touch of glamour.
- String with twine and hang in a cluster or along the garland.
Pro Tips / Styling Ideas
- Create a forest-inspired trio on a single branch for a centerpiece effect.
- Mix with burlap and natural textures for a cohesive rustic display.
Who would love it: Nature lovers, rustic decorators, and anyone who enjoys tactile, organic textures.
Conclusion: Now that you’ve seen 12 completely unique and distinct craft ideas—each offering its own charm and vibe—you’ve got a full bag of winter-worthy inspiration. Pick one (or all) and start painting, gifting, or decorating your tree today. The best part? These projects are fun, easy, and seriously rewarding to see come to life on your own mantel or Christmas tree.