13 Jewelry Craft For Kids
Are you like me and love making jewelry? I know I do. Whether it is beading, sewing, or working with polymer clay, jewelry is always my favorite DIY craft to make.
And if you are looking for a few ideas to get your kids started on making their pieces of jewelry, then this handy list of 13 Jewelry Crafts for Kids is the perfect place to start!
This post will share a range of fun and easy jewelry crafts that kids can create themselves. From no-sew friendship bracelets to intricate beaded necklaces –
there are so many projects here that kids will love making. Each idea also includes a link so you can check out the full tutorial on how to make each piece and get started today!
And don’t forget every child has their unique style when it comes time for them to create something new… so take some time exploring all these creative ideas before choosing one!
Polymer Clay Necklace
Why not try making a polymer clay necklace? This is a great project for kids because it allows them to learn color mixing and texture in the same way that they would with paints, but it’s also fun because of the way you end up with something you can wear.
If you want to keep things simple, this project could be as easy as rolling out some clay and cutting out circles or squares with cookie cutters. Then, let your child paint each piece with any colors they like by using paintbrushes made out of feathers (or cotton balls).
For more advanced techniques like mixing colors or adding glitter to make your piece look extra special, check out this article on how exactly to do so!
Once your pieces are painted, bake according to package directions until firm. Once hardened completely, string them together onto ribbon or cord using jump rings (available at craft stores), and voila! You’ve made an easy bracelet or necklace for yourself or someone special!
Gem And Yarn Necklaces
If you’re looking for a jewelry craft for kids to do, but don’t want to go searching for the perfect beads and gems, try making gem and yarn necklaces.
You’ll only need a few things.
- Yarn
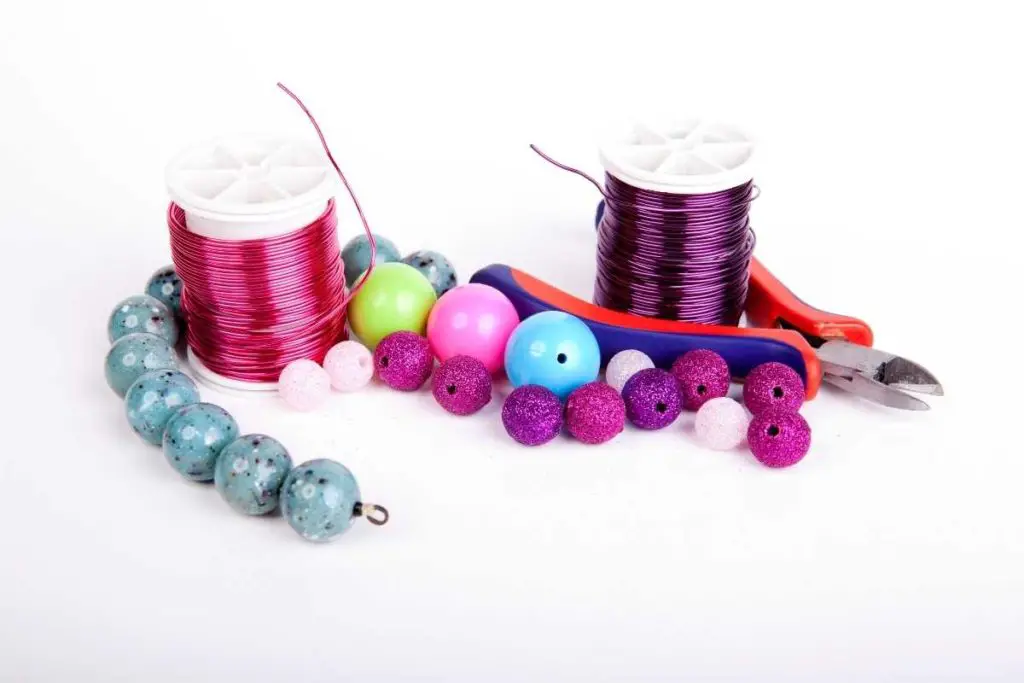
- Beads
- Jewelry clasps (like these)
You can choose any color combination that suits your child’s taste, as well as different sizes of beads. Try using different shapes as well! For example, if they like dogs or cats, try using animal shapes like hearts or squares instead of round ones.
You can also use materials other than yarn—you just have to be careful not to let them get tangled around the child’s neck when they wear it (or else there may be some tears). The thread would work better than string because it won’t snag easily; however, if it does snag then just cut off what got caught so that nothing gets broken off in their neck area (yes this happened once).
Pom Pom Jewelry
Making pom-poms is one of the easiest and most fun crafts for kids! It’s also a great way to use old yarn or wool scraps, so you can recycle.
To make a pom-pom.
Cut off a long piece of yarn or wool. Wrap it around your hand until you have enough to make a nice, full ball (about 1 inch in diameter). Tie off the end with another piece of yarn or wool and cut both pieces at once. You now have an adorable little pom!
You can use these for all sorts of jewelry projects—a simple bracelet made from two pieces of string tied together, or maybe even an actual necklace made from several strands joined together with knots between each strand.
Washi Tape Ring
What you need
- Washi tape (or another decorative tape)
- Scissors
- Straw
- Glue or glue gun
- Hole punch (optional)
How to make it
Cut a piece of washi tape. You can cut it any size you want, but make sure the length is longer than the straw.
If you want to use two colors, cut two pieces of washi tape and lay them on top of each other with parts overlapping. Make sure they are centered before gluing them down! If there isn’t enough overlap, one side will be too short and won’t fit snugly around your finger when worn as a ring—so pay attention here!
It’s also important that if you’re using different colors together both sides are equal in thickness so that when you stretch one layer over another without any gaps between them then there will be no color difference visible from inside outwards.
Wrap it around your finger several times until all edges meet up at one endpoint (where there should still be some overlap). Trim off excess with scissors if desired; this step isn’t necessary but may help keep everything neat looking if done carefully enough.
Apply glue or melt ends together with a gun depending on what kind of adhesive was used during Step 2 above; let dry completely before wearing!
Magna Tiles Name Bracelet
How to make it
Cut the magnetic strip into 12 pieces, each about 2 inches long (you’ll need 1 per bracelet).
Attach a magnet tile to each end of each strip with hot glue or super glue and let dry completely before continuing to step 3.
Glue one end of your strip to a craft stick so that it stays in place while you work, as shown above—it helps if you have an adult hold this piece steady for you!
Then place another craft stick under your bracelet frame and glue down another magnet tile-topped strip there as well, making sure both sides are level with one another so that when you’re finished all twelve strips will be aligned perfectly inside your bracelet frame (this is where having an adult help out comes in handy again!).
Beaded Wrap Bracelet
Take a length of cord, ribbon, or string and wrap it around your wrist a few times.
Tie the ends together with a knot. Attach one bead to secure the knot and make sure that there is enough space between each bead for you to slide them on your arm easily.
Button Bracelets
To make a button bracelet, you will need.
- Buttons (for example, matching buttons for a set of clothes or jewelry)
- Ribbon or string to tie around the button bracelet
- Scissors to cut ribbon/string
To decorate your button bracelets you can use paint or stickers. To make the button bracelet, you will need.
- A ruler to measure how long to make your ribbon/string.
- A pair of scissors
- A pencil so that you can sketch out what size and shape that fits best on your wrist
Beaded Thread Bracelet
Use a needle and thread
Use a bead and thread
Use a bead and elastic thread (elastic cord)
Use a bead, yarn, or ribbon. For example, knitters can use the end of their yarn to string the beads on, then tie it in a knot at both ends to make something like an I-cord bracelet.
Yarn and bead bracelets are also very popular for children’s jewelry-making because you can do them using any colors of yarn you want!
Use buttons for closure instead if you’re not comfortable with tying knots yet. You can sew buttons onto both ends of your bracelet after you’ve strung all your beads onto one side of it.
Or alternately just glue some cute buttons on there! If this sounds like too much work though then just skip this step altogether because those aren’t technically “knots”. They’ll still look cute though!
Nylon Thread and Bead Bracelet
- Take a needle and thread, and put the bead on the end of it.
- Thread the needle and sew through the hole in the bead, making sure not to go all the way through but enough so that you can get your hand through it!
- Tie off your thread by making a knot at one end of it; then cut off excess material from both ends of your bracelet using scissors.
Friendship Bracelets
Friendship bracelets are a quick and easy craft for kids. They can be made with simple materials and can be personalized to suit any occasion or mood.
Friendship bracelets are often made with embroidery floss, but you can use yarn if you prefer. You’ll need two strands of thread for each bracelet you make—one for the weaved portion and one for tying knots in the ends. The color of your thread will depend on what kind of friendship bracelet you want to make!
To start, fold a length of yarn in half twice so that it forms a loop (or “ring”). Hold both ends together where they meet at the center fold, then bring them up above this point until they form another loop—this time around all four strands together instead of just two like before.
Now weave each side through its loop from left to right under different pairs: first over/under then over/under again; then repeat by weaving through new loops on either side until there are no more left (you’ll end up bringing these same set into themselves).
When finished weaving through all four strands, as shown above, tie off securely by making two tight knots near each other at opposite ends where all four lines meet inside one another’s loops after unweaving from underneath first before pulling off any loose threads from around them (these should stay put once pulled).
Salt Dough Ring Dish
You will need
- salt dough
- a ring dish
- a clay tool (optional)
Mix 2 cups of flour, 1 teaspoon of salt, and 1 cup of water until all the ingredients are well combined. The texture will be similar to normal playdough once you’ve mixed it for about five minutes or so.
Knead the dough on your work surface until it’s smooth, then roll into a ball and flatten slightly with the palm of your hand (this makes making rings easier). If you have time before baking it, leave it in an airtight container overnight –
this helps dry out any excess moisture in the salt dough so they are less likely to get soft when they’re baked later on! 3. preheat oven to 200°C/400°F/Gas 6 4-5 minutes before baking your rings and set aside one large tray lined with greaseproof paper;
if using colored icing sugar dusting instead then wrap some clingfilm around each finger before starting as this will keep them clean while working with them for 5-10 minutes at room temperature after mixing equal parts caster sugar icing sugar cocoa powder water food coloring (optional).
Beaded Necklace with Yarn tassels
Using yarn tassels to finish off a necklace is a great way to make it more decorative. The process is really simple and all you need are some basic supplies from the craft store.
First, cut several strands of yarn at about 8-10 inches long each. You can use any type of yarn for this project but we like using wool because it’s sturdy and won’t fray easily when you’re working with it!
Tie the ends together tightly so that they don’t unravel; if you want to make sure nothing comes undone throughout the rest of your project, use some glue on top of these knots before you move on to step two!
Next up is making your tassel itself: simply wrap each strand around itself several times until they start forming a nice little bundle (you’ll know what I mean once we get there!).
Finally, attach your tassel(s) at both ends by looping them through holes at either end and tying them securely underneath where it meets up with another segment of chain maille rings (or whatever method works best for attaching things).
Now comes time for us gals who want something extra fancy: add some beads into those empty spaces between each ring! You could also add them along other parts such as sides or bottom depending on how much space remains available after making sure everything else fits snugly together without overlapping too much.”
Rubberband Rings
Materials
- 1 rubberband
- 1 bead
- 1 button
- 1 pom pom (optional)
Kids Can Craft Their Jewelry With These Simple Tips And Tricks
- Polymer clay
- Yarn
- Magna tiles
- Beads
- Buttons
- Nylon thread (and needle)
To use the nylon thread, the child should run it through the sewing machine. After that, they can cut the thread into lengths of about 10 inches each.
Then, they will have to take one end and start wrapping around a button over and over again until it looks nice and shiny. The kid can then glue on an earring back or other closure to finish their work!
Conclusion
Making jewelry is a fun activity to do with your kids, especially if you’re looking for something that will keep them entertained for hours. It’s also a great bonding time and an opportunity to teach them how to be creative. Plus, you can let them have their own little jewelry business and sell their creations at school!


