6 Genius Popsicle Stick Crafts Your Kids Will Love
Kids + crafty popsicle sticks = endless giggles and glorious DIY wins. These six ideas are simple, adorable, and totally shareable—perfect for a weekend project or a curious-afterschool session. Trust me, your kitchen table will become a tiny art studio in no time.
Grab a glue gun (or a trusty glue stick), a splash of imagination, and let’s dive into some seriously satisfying popsicle stick crafts that will have the whole family cheering for more.
1. Whimsical Popsicle Stick Birdhouse Hideaway
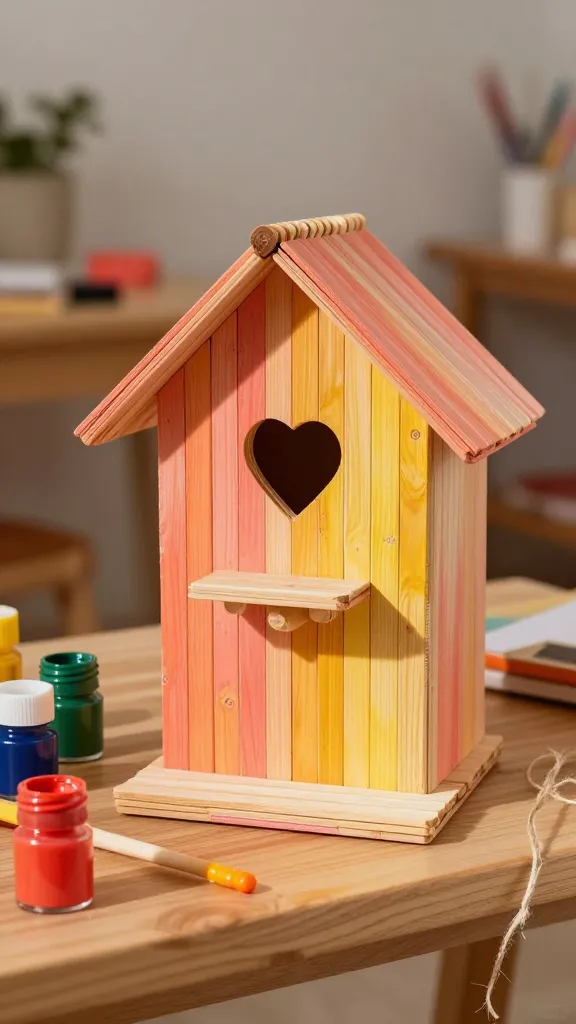
Picture this: a cheerful little birdhouse perched on a shelf, painted in sunset hues, with a tiny balcony for morning song. This birdhouse is sturdy, charming, and surprisingly easy to assemble with just a handful of sticks and a dab of imagination.
Materials
- Popsicle sticks (120–150, depending on size)
- Wood glue or craft glue
- Acrylic paints in bright, kid-friendly colors
- Paintbrushes, scissors, and a small piece of twine for hanging
- Optional: small decorative bottles or beads for a tiny mailbox or window panes
How to Make It
- Glue a square base using four sticks, then build up a simple box frame with additional sticks. Leave a small opening for the entrance.
- Create a pitched roof with two long sticks trimmed to fit. Secure with glue and add a decorative edge with mini sticks as trim.
- Paint the exterior in cheerful colors. Add a tiny balcony railing by layering thin sticks across the front.
- Finish by attaching a loop of twine at the top for hanging. Optionally, line the interior with patterned paper for a cozy feel.
Styling Ideas
- Place it on a windowsill or in a garden-themed display with faux moss and tiny felt birds.
- Use as a seasonal decor piece—paint in autumn oranges and browns, then add a small felt acorn for fall vibe.
Who’ll love this
Young builders who adore tiny homes and nature; gift it as a cheerful doorbell-friendly house for a grandparent’s garden nook.
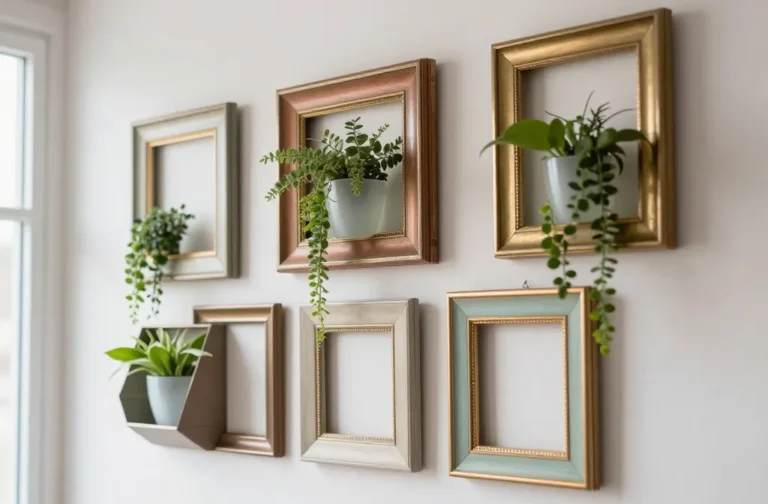
2. DIY Popsicle Stick Photo Frame With Mini Mosaic
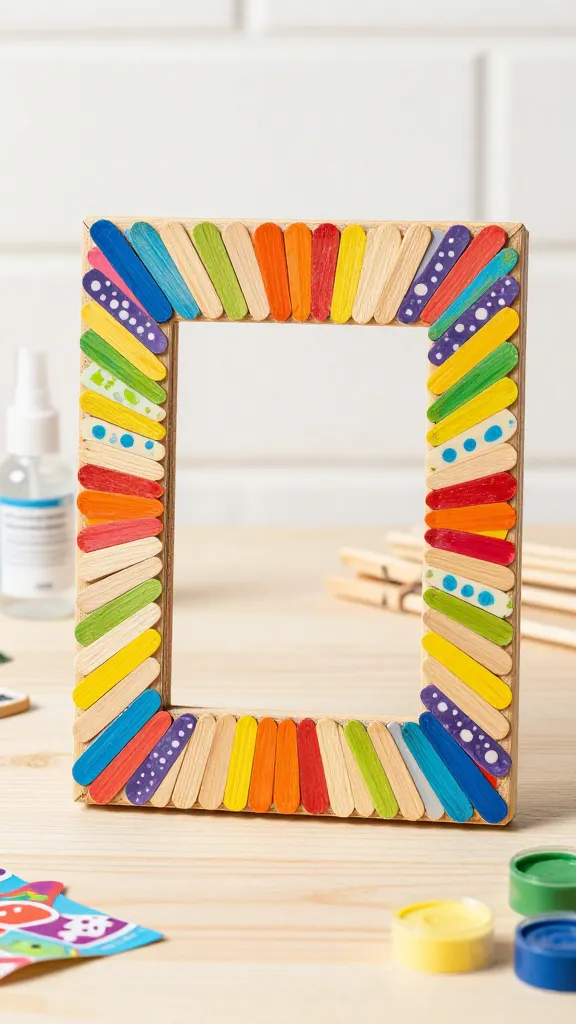
Imagine snapping a favorite memory and sliding it into a frame that looks like a cheerful mosaic. This frame is sturdy, colorful, and a memory-keeper that doubles as wall art.
Materials
- Popsicle sticks (about 40–50)
- Wood glue or strong craft glue
- Acrylic paints or decorative paper scraps
- Mini clothespin or clip for holding the photo
- Clear sealant spray (optional)
How to Make It
- Lay sticks into a rectangle frame and glue them edge-to-edge, layering two or three sticks for thickness.
- Decorate the frame with a mosaic look by gluing on painted sticks, beads, or small paper squares.
- Attach a backing piece of cardboard and secure a photo with a clip or small magnets on the back.
- Seal with a light spray for durability if desired.
Styling Ideas
- Coordinate colors with a living room palette or a child’s bedroom for a personalized gallery wall.
- Turn into a magnetic frame by attaching a magnet strip to the back.
Who’ll love this
Families wanting a quick, heartfelt gift; perfect for birthdays or Mother’s/Father’s Day with a cherished snapshot.
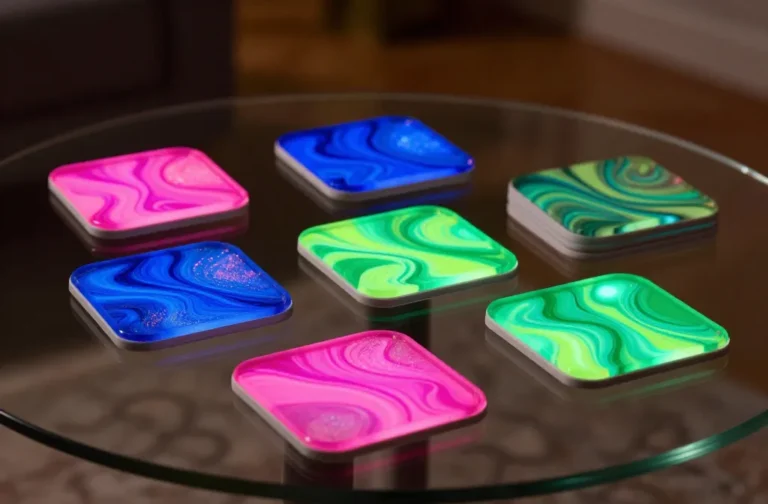
3. Miniature Popsicle Stick Tile Coaster Set
Coasters that are adorable, functional, and totally Instagram-worthy. This coaster set brings a splash of color to any coffee table and teaches little ones about symmetry and design.
Materials
- Popsicle sticks (enough for 4–6 coasters)
- Non-slip cork or felt pieces for bottoms
- Decorative paper or painted designs
- Strong glue and clear acrylic sealer
- Ruler and pencil for precise spacing
How to Make It
- Arrange sticks into a square frame (use two layers for thickness) and glue firmly. Let dry flat.
- Fill the center with decorative paper or paint in a geometric design, allowing each coaster to have a unique pattern.
- Cut cork or felt circles to fit the bottom for grip and surface protection.
- Seal with a clear acrylic spray for durability against moisture.
Styling Ideas
- Pair with matching mugs or a coordinating set of napkins for a complete tablescape.
- Gift as a housewarming present with coffee sachets or tea bags tucked beneath.
Who’ll love this
Cozy home-lovers and DIY beginners who want a quick two-hour project that looks polished.
4. Popsicle Stick Plant Markers Garden Set
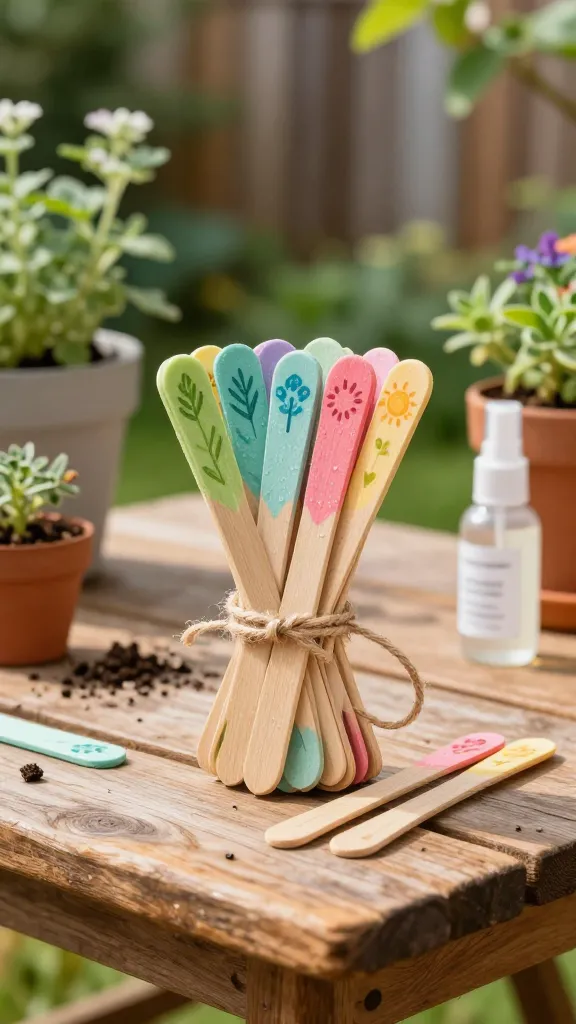
Your kitchen window box or herb garden gets a personality boost with these charming plant markers. They’re weather-friendly, easy to read, and utterly whimsical.
Materials
- Popsicle sticks (8–12, depending on plant variety)
- Paints or permanent markers
- Clear sealant spray (optional)
- Twine or string for a hanging option
How to Make It
- Paint each stick with the plant name and a simple doodle (leaf, sun, flower). Let dry completely.
- Seal lightly to resist moisture if you’ll keep them outdoors.
- Attach a small string loop at the top to hang from a trellis or plant pot, or simply press into soil.
Styling Ideas
- Coordinate colors with the garden theme—soft greens, sunny yellows, and sky blues.
- Create a mini label system: use initials for each plant to keep things tidy.
Who’ll love this
Garden lovers and parents who want an educational, tactile way to teach kids about plants.
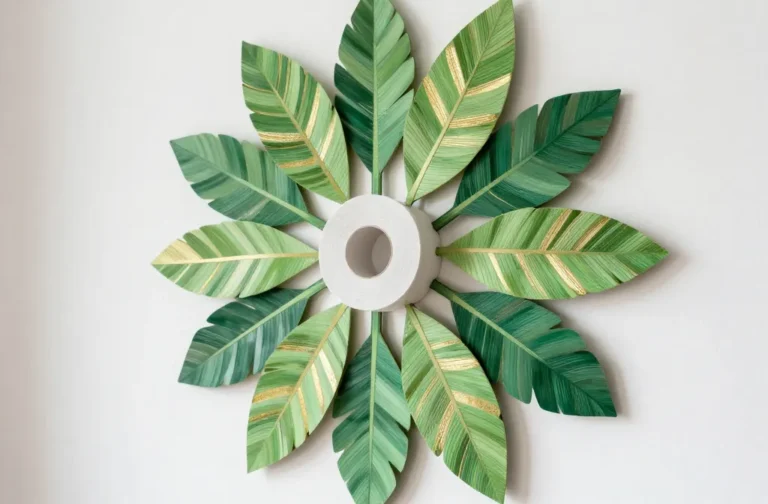
5. Popsicle Stick Wall Art: Nature Collage
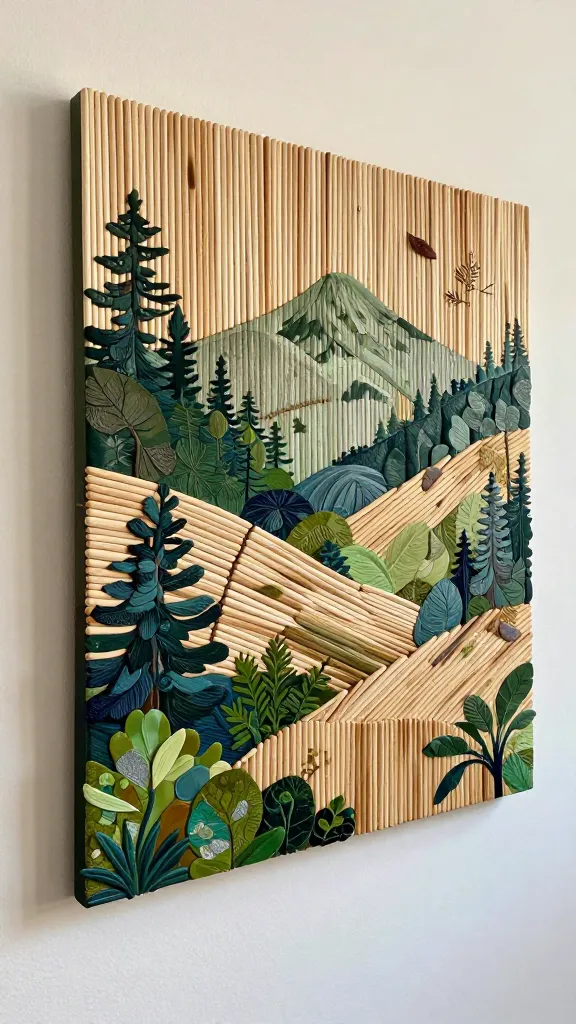
Turn a pile of sticks into a lush, nature-inspired mural that you’d swear was purchased from a boutique shop. This wall art is forgiving, customizable, and surprisingly bold once assembled.
Materials
- Popsicle sticks (a few dozen)
- Acrylic paints or watercolors
- Canvas or thick cardboard as a backing
- Glue, scissors, and a pencil for sketching shapes
- Optional: pressed leaves or tiny fabric scraps for texture
How to Make It
- Sketch a simple nature silhouette on the backing (tree, mountain, or abstract leaf pattern).
- Begin layering painted sticks to echo the design, gluing them edge-to-edge to fill the space.
- Add texture with a few sticks glued diagonally to suggest branches or stems.
- Let everything dry, then hang with a lightweight frame or put directly on the wall with adhesive putty.
Styling Ideas
- Choose a color story: earthy greens and browns for a forest vibe or bright teals and coral for a modern look.
- Add a small quote on a painted strip of wood for a personal touch.
Who’ll love this
Anyone who loves natural aesthetics, kids’ art walls, or a bold DIY statement piece.
6. Popsicle Stick Craft Clock: Timeless Fun
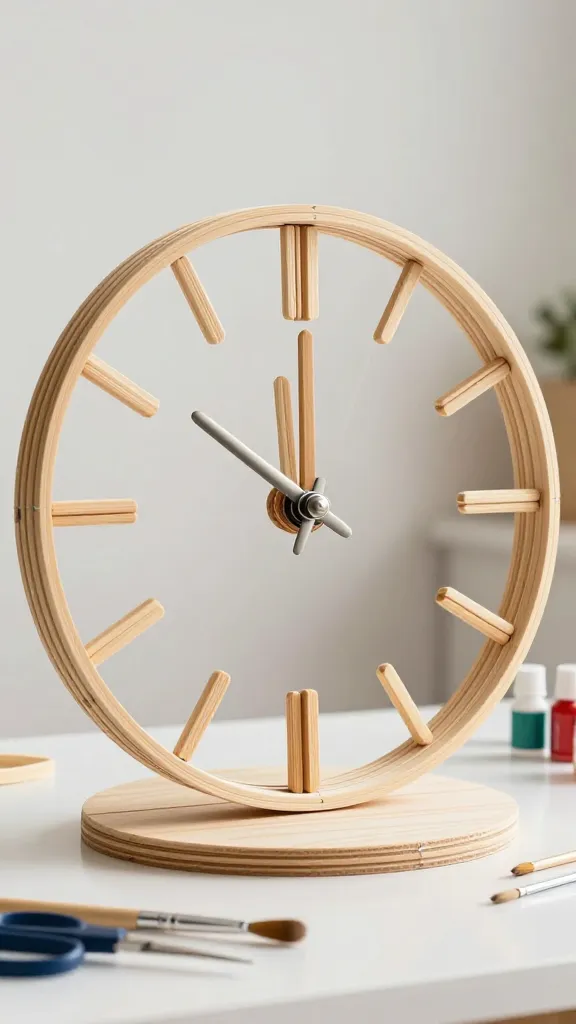
Yes, you can craft a real working clock with popsicle sticks. This project blends engineering with art, resulting in a playful desktop or wall clock that doubles as a teachable moment for time-telling.
Materials
- Two circular cardboard or lightweight wooden bases (one for clock face)
- Popsicle sticks (to frame the clock and create hour marks)
- Clock mechanism kit (with hands and motor)
- Acrylic paints, markers, and brush for decoration
- Glue and scissors
How to Make It
- Assemble a circular frame using sticks around the edge of the clock face. Glue in place and let dry.
- Paint the clock face with numbers or markers, then attach the clock mechanism in the center, following the kit instructions.
- Decorate the outer frame with alternating colors or a repeating pattern for a playful look.
- Install the hands and set the time. Hang or place on a desk for a functional art piece.
Styling Ideas
- Use bold contrasting colors to make time-reading fun for kids learning to tell time.
- Embed small decals or pressed flowers between two clock faces to create a layered effect.
Who’ll love this
Young learners and families who want a tangible, interactive way to practice time-telling—plus a unique decor piece.
Conclusion
These six Genius Popsicle Stick Crafts Your Kids Will Love bring color, creativity, and a dash of whimsy to any day. Each project is built to be accessible, visually appealing, and incredibly satisfying to complete. Pick one (or dare to try them all) and watch your little crafters beam with pride as their rooms fill with handmade goodness you’ll both be proud of.