7 Creative 6-Year-Old Birthday Party Craft Ideas
Planning a birthday for a lively six-year-old? You’re in the right place. These seven crafts are colorful, kid-friendly, and totally shareable on Pinterest. They’re designed to be easy, doable in an afternoon, and perfect for a party vibe that screams “fun.”
Trust me, these ideas spark creativity without turning you into a full-time art director. FYI, the best part is watching the little guests glow with pride as they finish something they’ll actually want to take home.
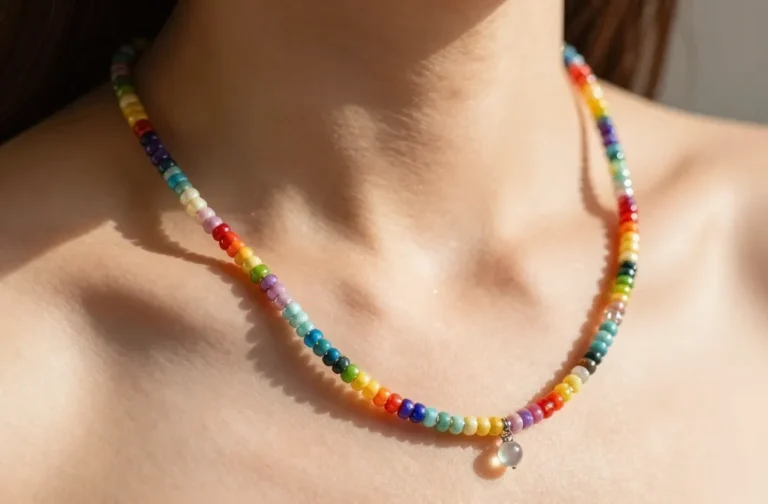
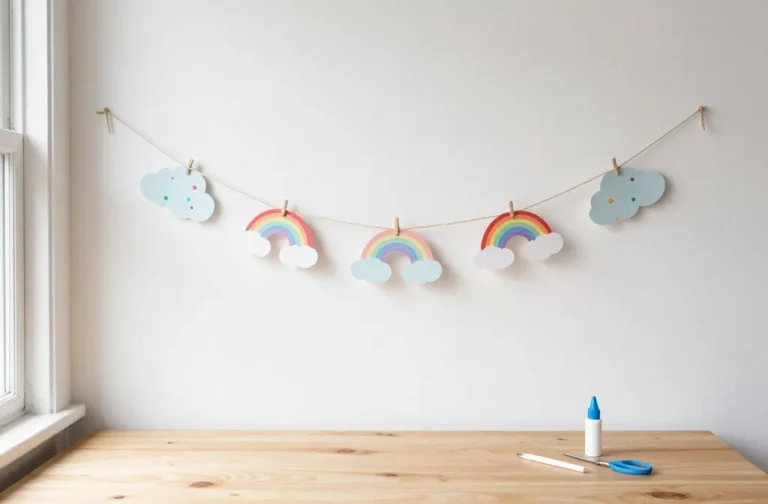
1. Rainbow Paper Carousel Flags
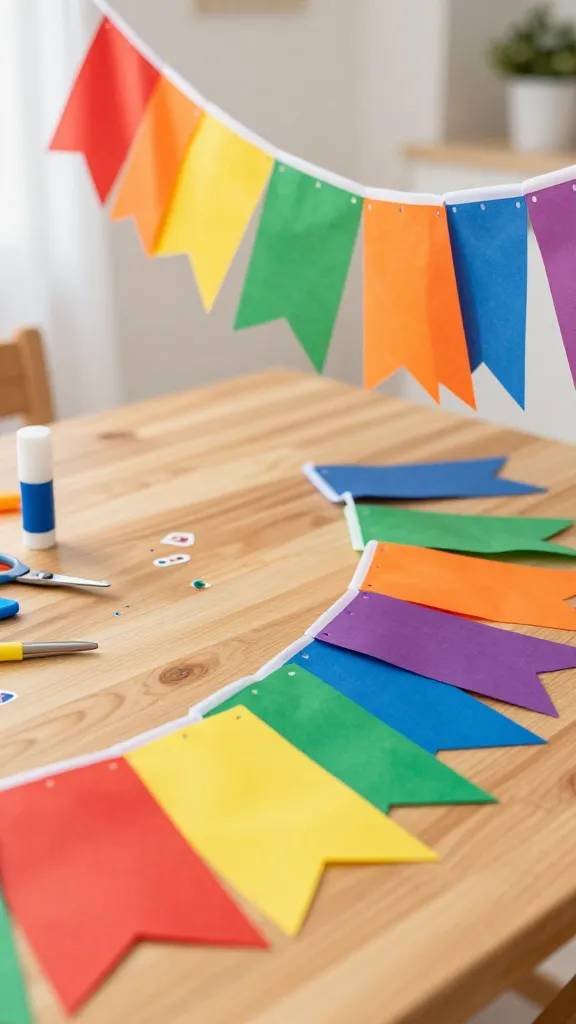
Imagine a mini parade of flags fluttering with every color of the rainbow. This craft gives you bright, cheerful decor and a handy take-home banner for guests. It’s simple, tactile, and endlessly customizable.
Materials Needed
- Colored construction paper in at least six hues
- White craft string or ribbon
- Scissors
- Glue stick or craft glue
- Hole punch or pointed scissors
- Optional: glitter, sticker shapes, twine for a garland finish
How to Make It
- Cut small pennant shapes (roughly 4×6 inches) from each color.
- Fold a small tab at the top of each pennant and punch two holes.
- Thread the string through the holes, alternating colors to create a rainbow sequence.
- Secure the ends and trim any excess string. Space the flags a little for a fluttery effect.
Pro Tips / Styling Ideas
- Hang the flags over a dessert table or doorway to create a festive frame for photos.
- Add tiny doodle stickers on each pennant for extra personality.
Who would love it or when to use it
Perfect for early-party decor, photo backdrops, or a cute ceiling garland that guests can unwound and reuse at home. This is seriously a crowd-pleaser for color lovers.
2. DIY Confetti Crinkle Bow Napkin Holders
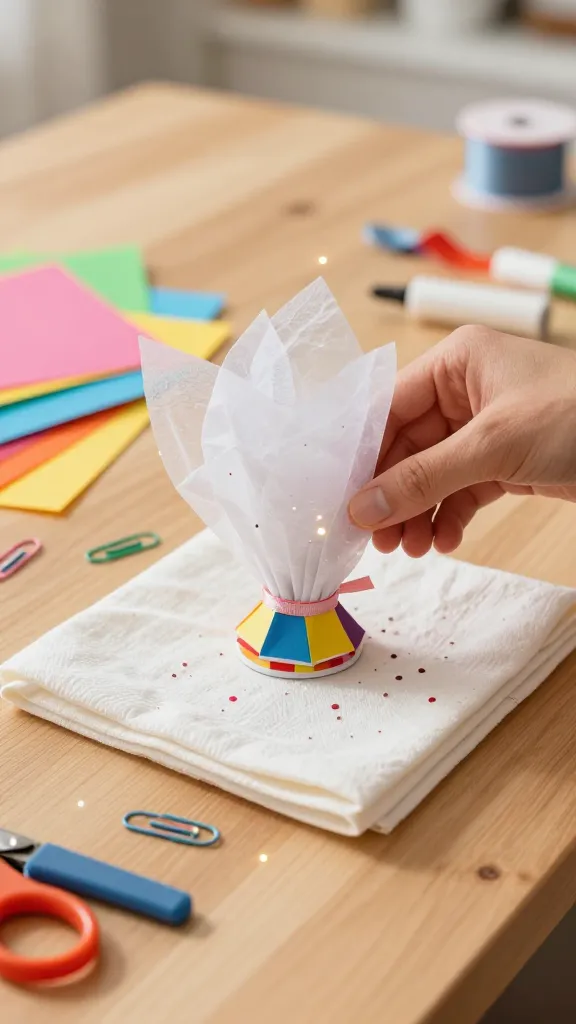
A small, sparkling detail that makes every place setting feel special. These napkin holders are easy to assemble and add a dash of whimsy to the table. Your little helpers will love placing them together.
Materials Needed
- Colored tissue paper scraps
- Colored cardstock (for base)
- Ribbon or yarn
- Scissors
- Glue or double-stick tape
- Mini paper clips (optional)
How to Make It
- Cut 2-3 small tissue paper squares and a thin strip of cardstock in a color that matches your theme.
- Layer tissue squares and crinkle them by scrunching gently, then secure with a dab of glue.
- Attach the tissue bunch to the cardstock strip and wrap a ribbon around the base to form a cute bow shape.
- Slip the napkin through the middle or clip it with a mini paper clip for a neat hold.
Pro Tips / Styling Ideas
- Use the same color family as your party’s main palette for a cohesive look.
- Vary the sizes for a playful, mixed-height centerpiece vibe.
Who would love it or when to use it
Great as a quick place-setting upgrade or as a party favor when kids grab their own napkin holders on the way to the table. It’s cute, practical, and surprisingly sturdy for a kids’ craft.
3. Marshmallow Catapult Party Sticks
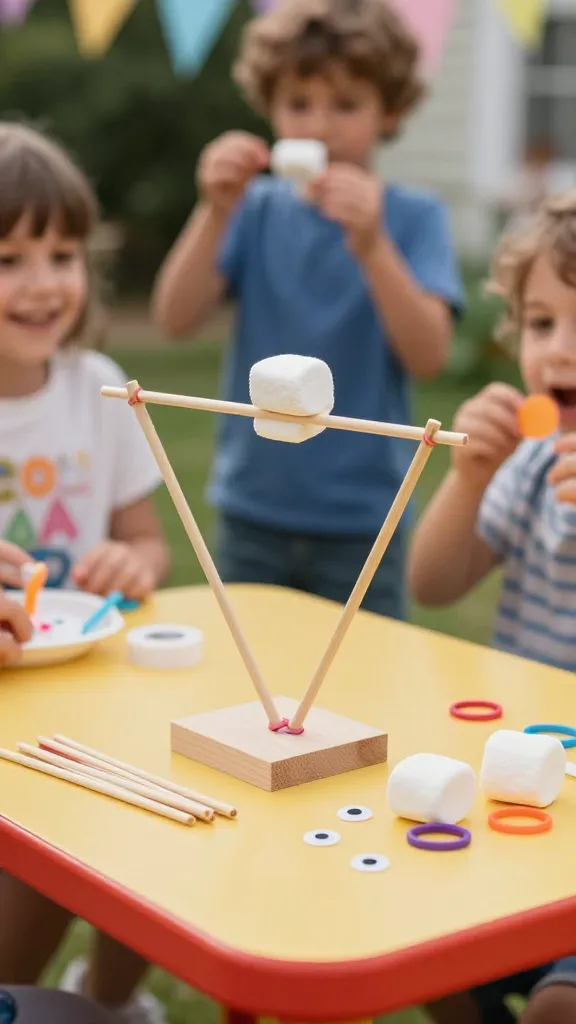
Science meets snack with these playful catapult sticks. They’re interactive, a little goofy, and perfect for a quick party activity. Kids get to launch mini marshmallows (or cotton candy, if you’re feeling fancy) and then snack with pride.
Materials Needed
- Sturdy craft sticks (pop sticks)
- Mini rubber bands
- Plastic pom-poms or large marshmallows
- Glue or tape
- Googly eyes or tiny stickers (optional for decoration)
How to Make It
- Create a simple launcher by stacking two craft sticks and securing with a rubber band at one end.
- Attach a small rubber band bridge to hold a marshmallow/pom-pom at the target point.
- Decorate sticks with faces or colors to give each catapult character.
Pro Tips / Styling Ideas
- Set up a “target wall” with baskets and chalk-drawn rings for scoring.
- Turn this into a countdown challenge to keep the energy high.
Who would love it or when to use it
Ideal for a quick, giggly activity that doubles as a snack moment. It’s a hit with curious kids who love a tiny burst of competition.
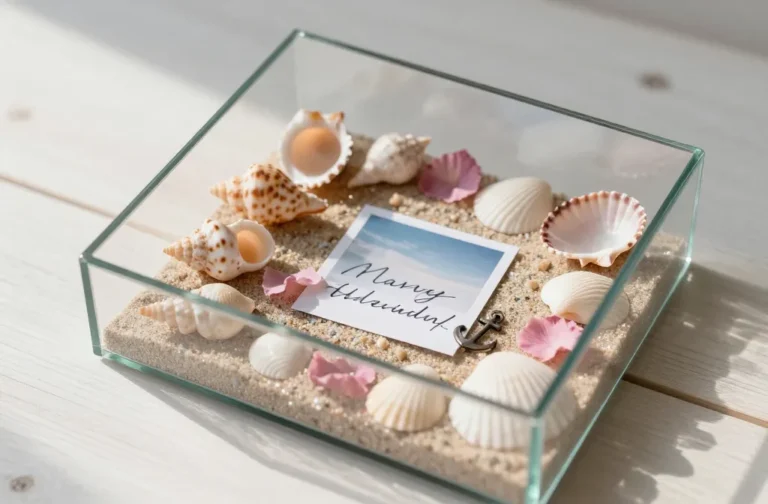
4. Mini Garden Fairy Pot Kit
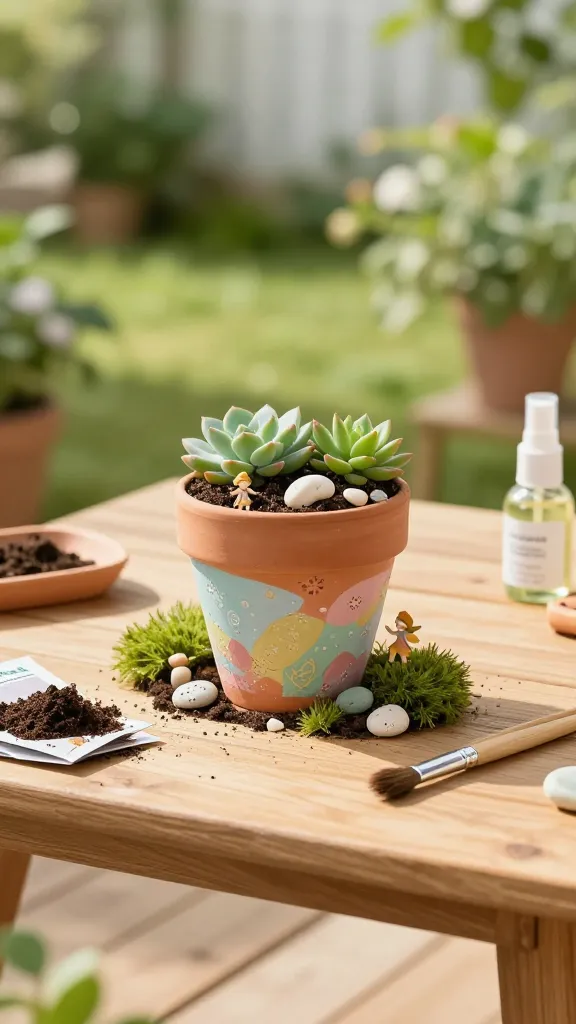
Turn tiny planters into magical fairy gardens, a gift and a party craft in one. This idea blends tactile play, color, and a little nature—plus it’s incredibly shareable on social media.
Materials Needed
- Small terracotta or plastic pot (4-6 inches)
- Soil or seed starting mix
- Mini succulents or fast-growing grass seeds
- Moss, tiny decorative stones, and miniature figurines
- Paint or paint pens for decorating pots
How to Make It
- Decorate the outside of the pot with paint, stickers, or markers to give it a whimsical vibe.
- Fill with soil, press in a small succulent or seeds, and add moss around the base.
- Place a tiny fairy figurine and sprinkle decorative stones for sparkle.
Pro Tips / Styling Ideas
- Include a care card for kids and parents—tiny watering tips and sun needs.
- Pair with a small label featuring each guest’s name as a custom name tag you can plant and keep.
Who would love it or when to use it
Perfect for a nature-inspired party corner or a gift that keeps growing long after the candles are blown out.
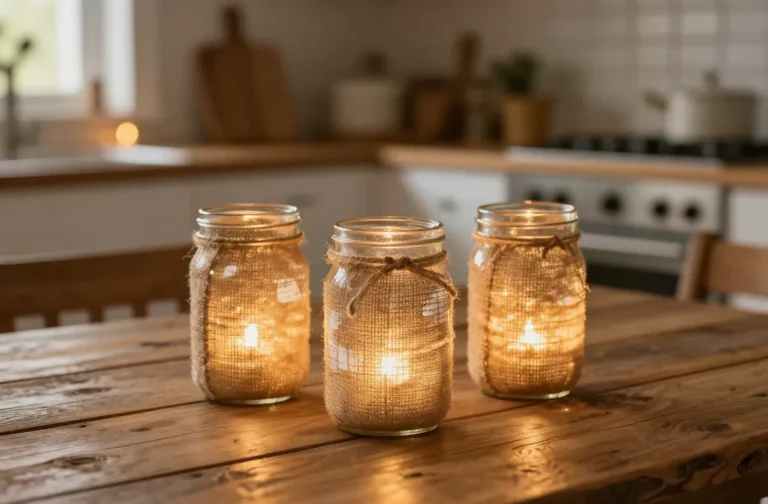
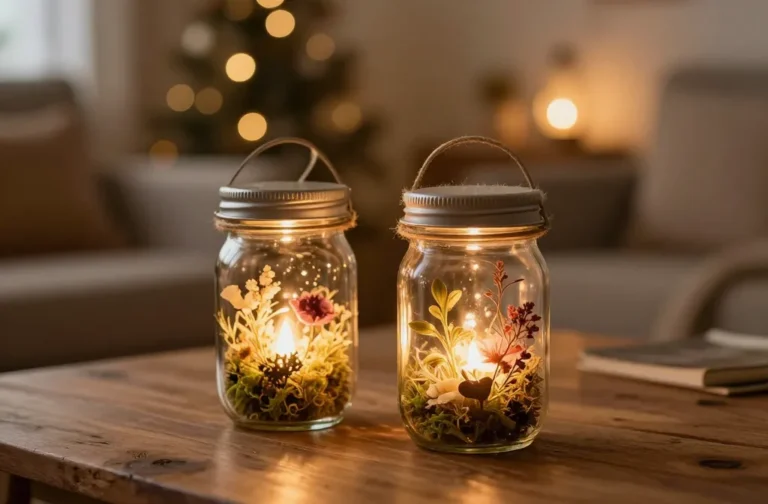
5. Glow-Trace Night Sky Lanterns
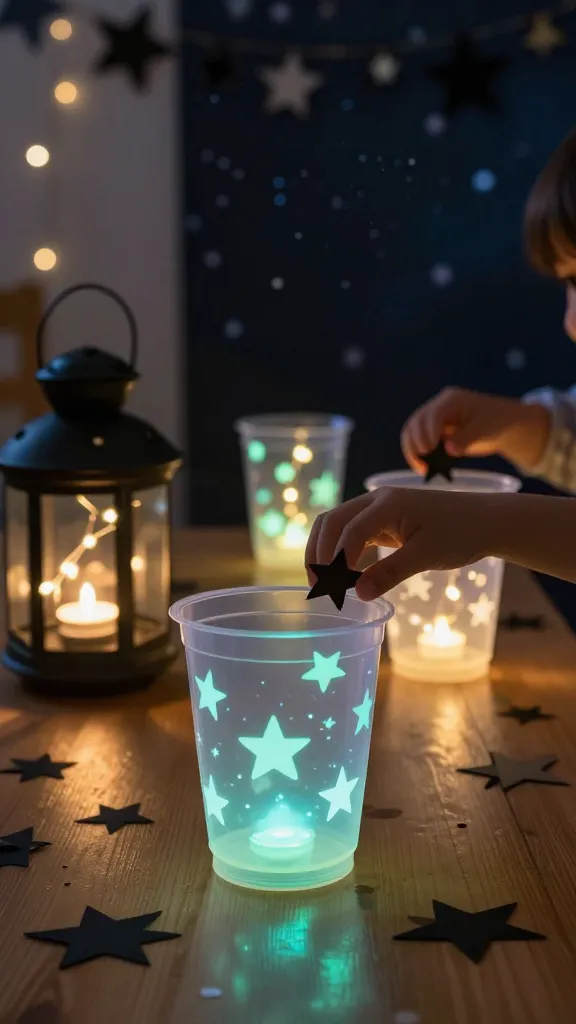
Glow-in-the-dark crafts are a celebration staple. These lanterns create a cozy, dreamy party vibe and give late-night photos a magical glow. Simple to assemble and endlessly customizable.
Materials Needed
- Clear plastic cups
- Glow-in-the-dark paint or tape
- Black construction paper for star shapes
- String or ribbon
- LED tea lights (optional for extra glow)
How to Make It
- Paint or decorate the outside of the cup with glow paint or tape in a starry pattern.
- Cut out star shapes from black paper and tape them onto the cup to create a night-sky scene.
- Attach a string for hanging or place a lightweight LED tea light inside for additional glow.
Pro Tips / Styling Ideas
- Line a string of these lanterns along a walkway or the edge of a play area for a magical entrance.
- Use different shades of blue and purple for a dreamy gradient effect.
Who would love it or when to use it
Great for an after-dinner glow session, storytelling corner, or outdoor party where the kids can chase shadows and chase light.
6. Bubble-Print Party Toppers
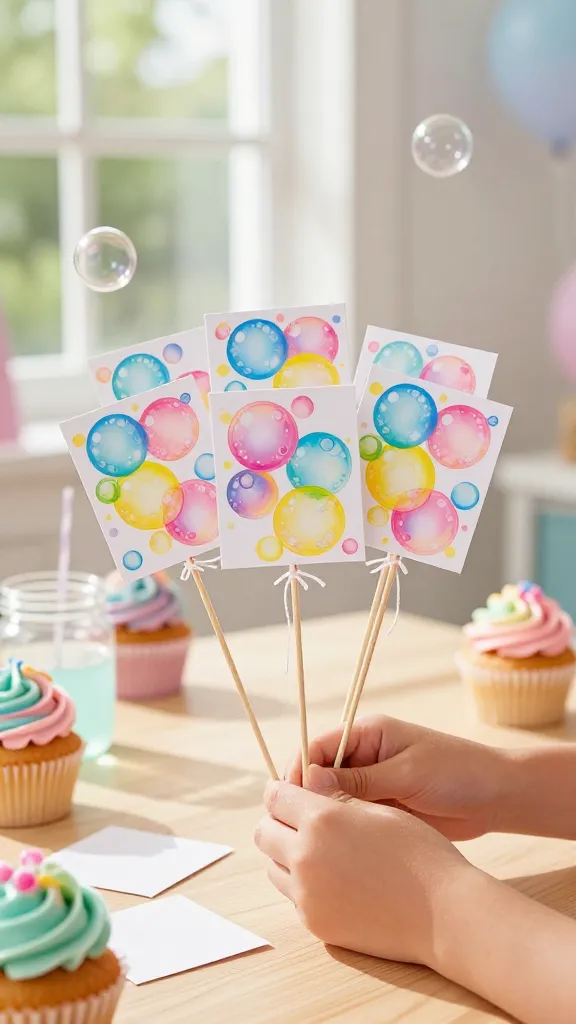
Bubbles are timeless with little kids. Turn bubble prints into adorable toppers for cupcakes, cards, or mini banners. It’s a bubbly, giggly craft that doubles as dessert decor.
Materials Needed
- Bubbles solution (or soapy water)
- Food coloring (choose bright hues)
- Sticky paper or blank card stock
- Skewers or toothpicks
- String for tying the toppers to sticks
How to Make It
- In small shallow containers, mix bubbles with a drop of food coloring to create vivid bubble rings.
- Dip a
liitle card stock cut into circles or shapes into the bubble mix, then press onto a sticky backing to transfer the print or let dry on a surface for bubble-pattern shapes. - Attach to skewers or toothpicks with a piece of string and let them dry completely.
Pro Tips / Styling Ideas
- Pair with bright cupcake wrappers or use as cake toppers for a cohesive party look.
- Create a gradient effect by using multiple colors in the bubble mix.
Who would love it or when to use it
Perfect for a dessert table with a playful, science-meets-art vibe. You’ll love how instantly cheerful these toppers look.
7. Felt Emoji Wall Gallery
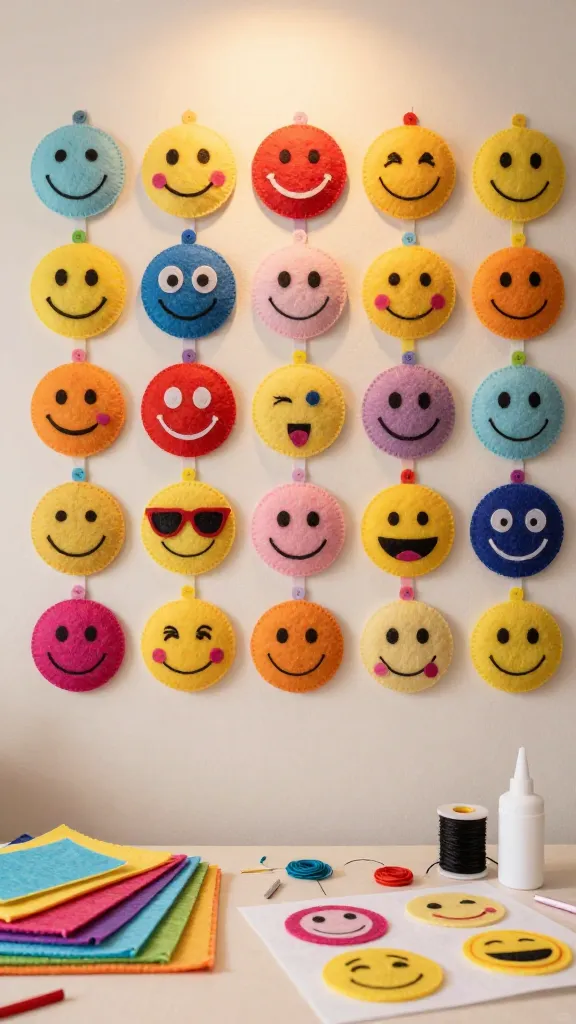
Turn a plain wall into a gallery of tiny felt emoji characters that kids can customize and rearrange. This craft is cozy, colorful, and highly interactive—perfect for stealing the show in photos.
Materials Needed
- Various colors of felt
- Needle and thread or fabric glue
- Velcro dots or magnetic strips for easy rearranging
- Black embroidery floss for facial features
How to Make It
- Cut out circular felt shapes for faces in a range of colors.
- Stitch or glue on simple facial features to create expressive emojis.
- Attach to the wall with Velcro dots or magnets so kids can swap expressions and create new combos.
Pro Tips / Styling Ideas
- Invite guests to design a favorite emoji during the party and add it to the wall as a collaborative portrait.
- Switch up the mood by featuring seasonal emoji sets (sunny faces for summer, cozy faces for fall).
Who would love it or when to use it
Ideal for a quiet corner during a bustling party or a photo-friendly backdrop that invites candid smiles and goofy poses.
Conclusion
These seven ideas are designed to be playful, approachable, and highly shareable. Each craft is unique, with its own vibe—from glittery flags to glow-lit lanterns—so you can mix and match to fit your space, theme, and time. Give one (or all) a try, and watch the party come alive with color, creativity, and confidence.
Ready to pin, save, and start crafting? Grab a few supplies this weekend and surprise your six-year-old with a birthday party full of DIY magic. You’ll love how simple, joyful, and rewarding these projects are—trust me, your future self will thank you for the extra burst of creativity.