8 Fun & Simple Craft Ideas for 6-Year-Olds
Hook your little maker and watch their imagination explode into color and creativity. These crafts are quick, easy, and proudly toddler-free on adults’ timelines, so you can actually finish something together. Trust me, your Pinterest board will thank you—and your kiddo will brag about their magical, handmade treasures.
1. DIY Cardboard Creature Passport Station
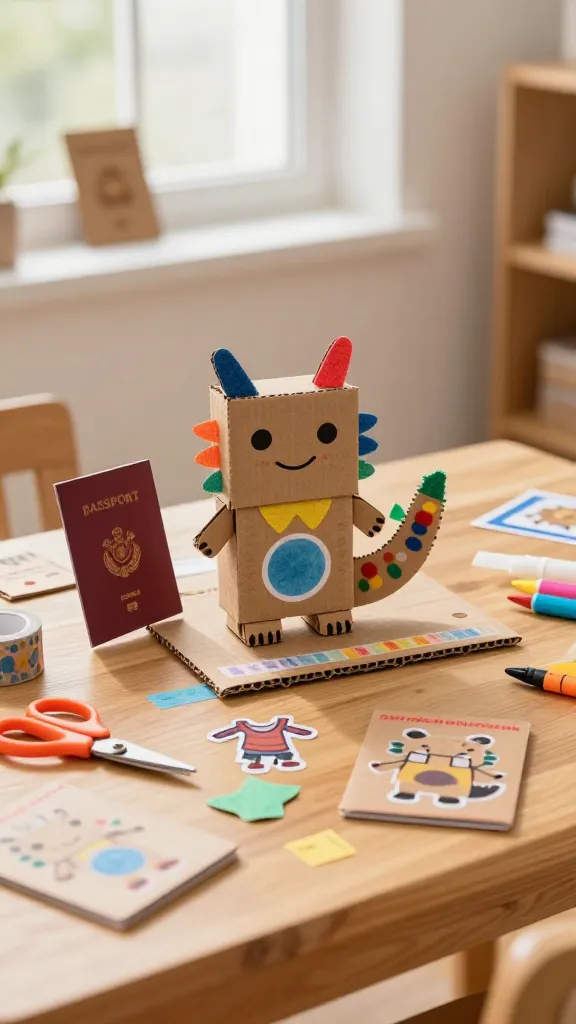
Picture a tiny world on a tabletop: cardboard creatures, stamped outfits, and a pretend passport that travels from shelf to window sill. This project blends recycling with imaginative play and a dash of cut-and-paste magic. It’s light, bright, and endlessly repeatable.
Materials Needed
- Corrugated cardboard (old cereal boxes are perfect)
- Non-toxic markers, crayons, and stickers
- Washi tape for color and pattern
- Scissors and a safe, kid-friendly craft knife (optional supervision)
- Glue sticks or white glue
- Index cards or thick paper for passports
How to Make It
- Cut out small “creature cards” from cardboard, giving each a goofy name and a tiny, simple drawing.
- Decorate with markers, stickers, and washi tape. Let textures shine—felt, foil, or fabric scraps add personality.
- Make passport-sized cards for each creature. Stamp pages with colors or doodles to denote adventures.
- Create a little cardboard “passport desk” where pretend stamps can be pressed—simple foam stamps work great.
Pro Tips / Styling Ideas
- Use mismatched embellishments to emphasize each creature’s unique vibe (shiny eyes, goofy hats, etc.).
- Glue a string loop on the passport desk so it can hang on a wall or a shelf edge.
Who will love it: imaginative kids who adore role-play and tiny worlds. Perfect for rainy days or a quiet corner of the playroom.
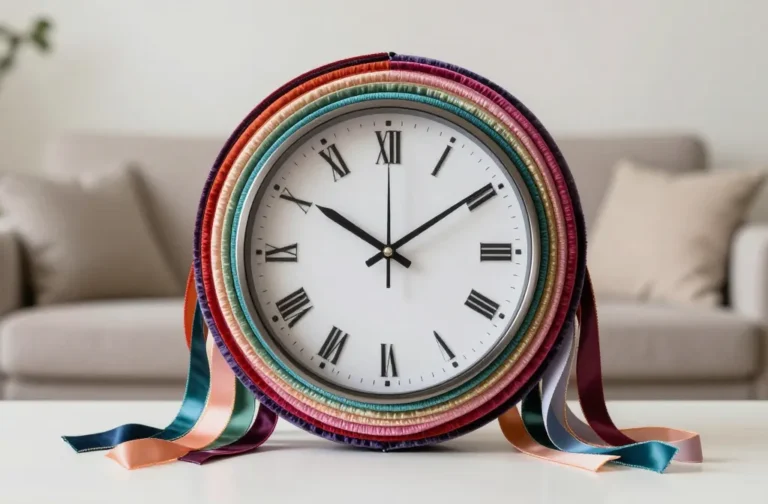
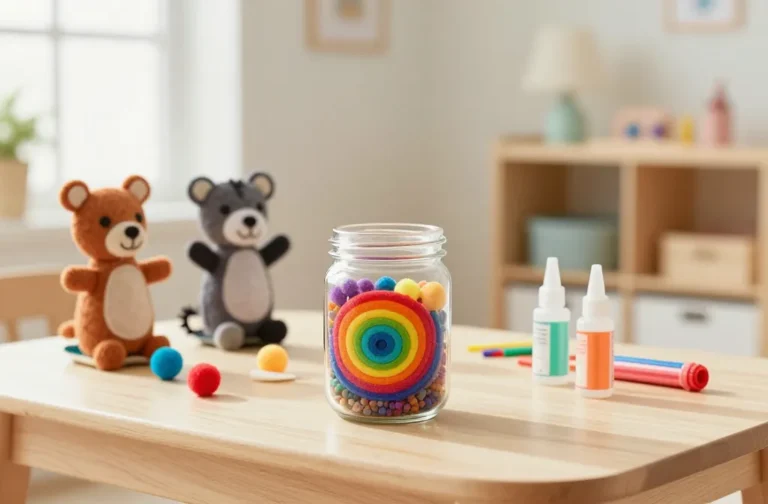
2. Felt Button Art Mini-Wall Hangings
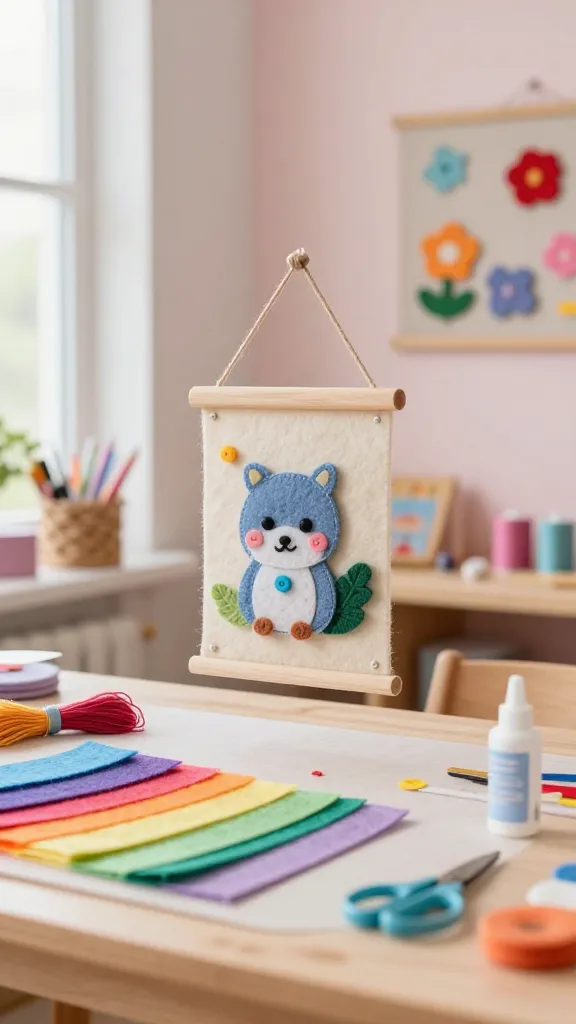
A tiny gallery you can swap out like an artist’s mood board. These soft, tactile wall hangings celebrate color, texture, and simple shapes that six-year-olds can assemble with pride. It’s artsy, cozy, and seriously bookmark-worthy.
Materials Needed
- Sheets of felt in a rainbow of colors
- Fabric scissors
- Embroidery floss or yarn
- Felt glue or a hot-glue gun with adult supervision
- Backer board or a lightweight wooden dowel for hanging
- Optional: Buttons, pom-poms, stitched details
How to Make It
- Cut simple shapes (circles, stars, hearts) from felt. Layer different sizes for depth.
- Stack pieces and glue to a small felt square to form a mini composition.
- Attach a few stitches with embroidery floss to add texture and hold pieces together.
- Hang on a string or mount on a backing board with a dowel for a gallery look.
Pro Tips / Styling Ideas
- Mix metallic felt with matte for visual pop.
- Create a seasonal set—pumpkins for autumn, blossoms for spring, stars for holidays.
Who will love it: little artists who enjoy tactile projects and room decor—great for a bedroom wall or hallway display.
3. Snack-Scented Rainbow Crayon Candles
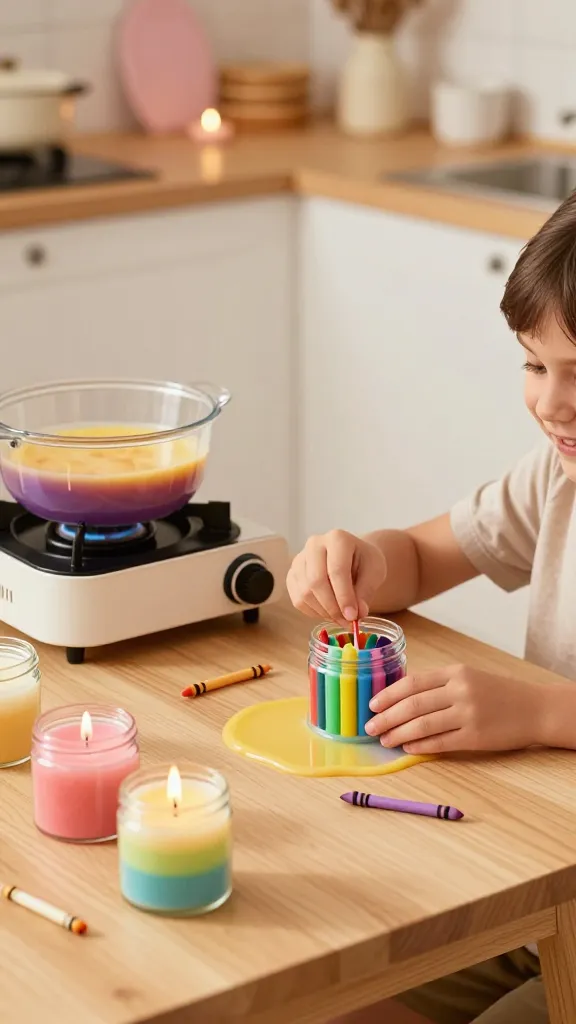
Yes, candles that smell like crayons—and you can actually make them with safety in mind. They’re colorful, whimsical, and smell like pure playground joy. Lighting them up turns a simple night into a cozy, crafty celebration FYI.
Materials Needed
- Paraffin or soy wax, wax crayons in assorted colors
- Wick sticks with tabs
- Small jars or tin containers
- Double boiler or a heat-safe bowl over simmering water
- Optional: essential oil drops for extra scent
How to Make It
- Melt the wax in a double boiler, stir in one color at a time, and pour into a jar with a wick centered.
- Layer different colors in sections to create a rainbow effect as the wax cools.
- Let each color layer set before adding the next to keep sharp boundaries.
Pro Tips / Styling Ideas
- Label jars with silly names like “Sunset Sparkle” or “Berry Bright.”
- Place them along a windowsill for a cheerful glow that doubles as room fragrance.
Who will love it: kids who adore color experiments and cozy, glow-up nights with a warm, scented twist.
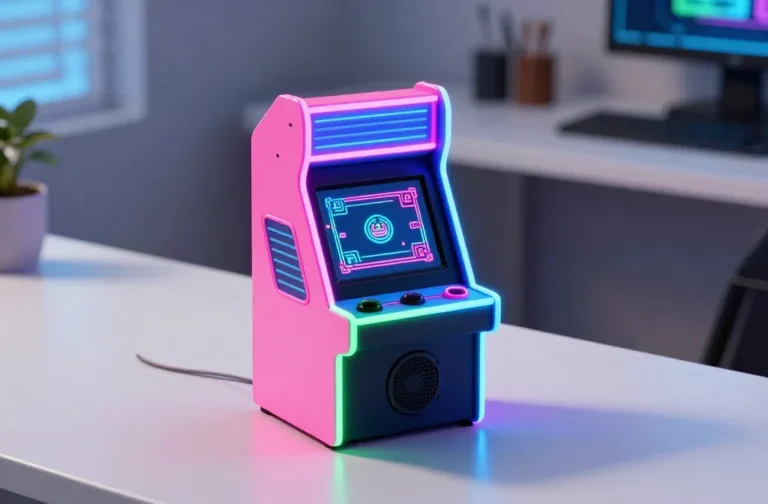
4. Paper Plate Puppet Showtime
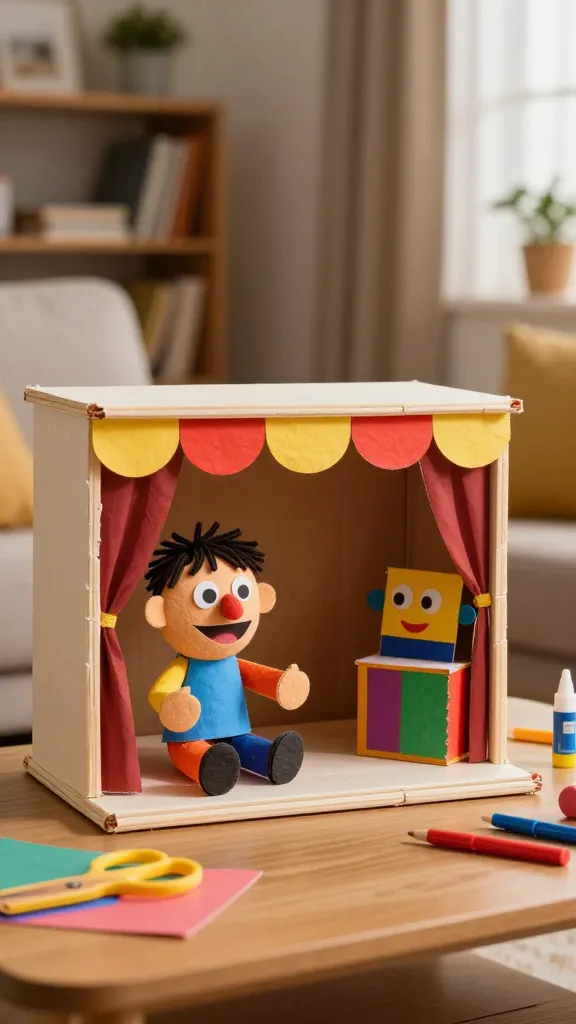
Transform humble paper plates into characters with their own tiny stage. It’s theater, storytelling, and a dash of improv all rolled into one bright craft. Your living room becomes a mini puppet theater—grab the popcorn (pretend, of course).
Materials Needed
- Paper plates
- Colored paper, markers, and glue
- Googly eyes, yarn, buttons for facial features
- Popsicle sticks for puppeteer handles
- Scissors
How to Make It
- Cut out features from colored paper and glue onto the plate to create faces or characters.
- Attach a popsicle stick to the back as a handle, turning the plate into a puppet.
- Decorate the stage around the plate with extra paper cutouts for a mini theater backdrop.
Pro Tips / Styling Ideas
- Mix a few plates to form a small show—let the kids design a 2- or 3-character scene.
- Use yarn for hair or beards; create mood lighting with a tiny LED tea light behind the “stage.”
Who will love it: tiny performers, future storytellers, and giggly family nights. It’s a performance in a plate—pulled together in minutes.
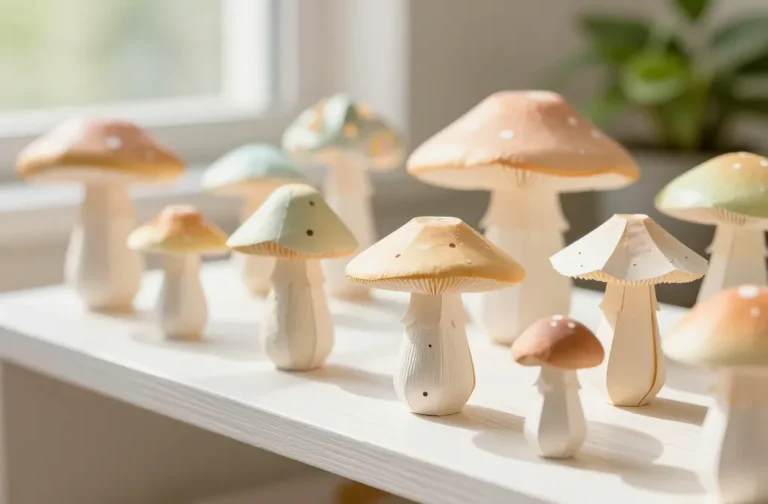
5. Nature-Inspired Shadow Stamps Kit

Turn leaves, pinecones, and cardboard into a stamping paradise. This project feeds curiosity about nature, plus you get a printable pattern gallery to display on the fridge after stamp-touch-ups. It’s earthy, educational, and wonderfully artful.
Materials Needed
- Leaves, twigs, pinecones collected outside (clean and dry)
- Foam stickers or corks for stamping
- Non-toxic ink pads or washable paint
- Thick paper or canvas sheets
- PB&J napkins or paper towels for quick cleaning
How to Make It
- Dip natural stamps into ink and press onto paper to create a forest of shapes.
- Arrange prints into a simple landscape—sun, hills, trees, and clouds using different colors.
- Let dry and add doodled details with markers for a finished look.
Pro Tips / Styling Ideas
- Create a seasonal set—flowers in spring, pumpkins in fall, snowflakes in winter (with white ink).
- Frame a favorite sheet to celebrate the little artist’s first nature-inspired gallery.
Who will love it: budding scientists and nature lovers who want to capture the outdoors in a colorful print run.
6. Sparkly Sock Puppet Friends
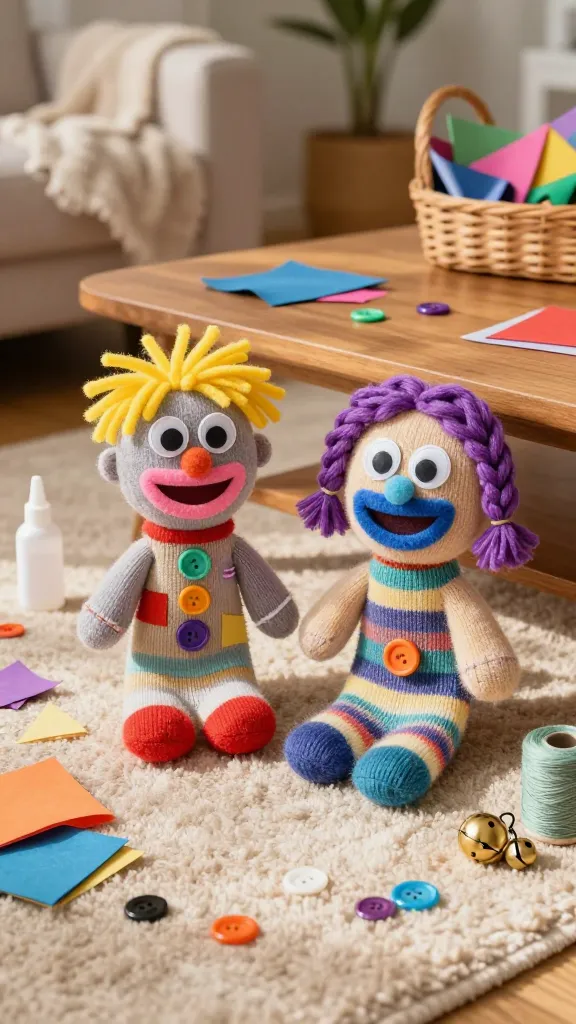
Turn mismatched socks into friendly puppets with silly personalities. It’s a two-step party—design and perform. This project brings a cozy, homey vibe to playtime and makes great gifts for family members who love a little whimsy.
Materials Needed
- Old socks (clean, colorful pairs work best)
- Googly eyes, fabric scraps, buttons
- Yarn for hair, felt for mouths
- Fabric glue or needle and thread (adult supervision for sewing)
- Optional: small bells or ribbons for extra charm
How to Make It
- Turn the sock inside out, stitch or glue on eyes and a mouth, then add fun accessories.
- Turn the sock right side out and slip your hand inside to control the puppet.
- Give the puppet a voice and a backstory to kickstart a tiny show.
Pro Tips / Styling Ideas
- Match sock puppets to tell a short, silly story—practice lines and perform for family or stuffed animals.
- Use a small tote bag as a puppet theater backdrop for added stage vibes.
Who will love it: kids who enjoy silly characters and spontaneous storytelling sessions. Also a fantastic gift idea for best friends and grandparents.
7. DIY Marbleized Mallax Tray Coasters
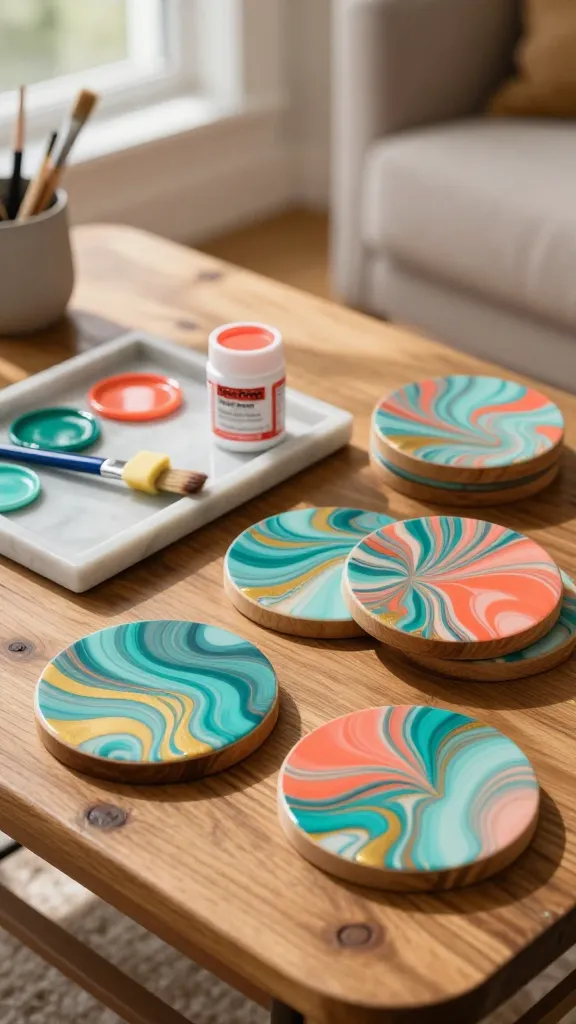
Colorful, mesmerizing, and incredibly satisfying to stamp, this coaster project combines creativity with practicality. They’re sturdy enough for everyday use and pretty enough to leave out on the coffee table as decor. Seriously, who can resist swirly marbling?
Materials Needed
- Thick cardstock or lightweight wood slices
- Acrylic paints in two or three colors per coaster
- Water and a shallow tray for marbling
- Mod Podge or clear sealant
- Foam brushes or marbling tools
How to Make It
- Fill a shallow tray with a little water and drop in paint colors one by one to swirl them.
- Lay the coaster candidate face down on the paint to pick up the marbled design.
- Let dry, then seal with Mod Podge for durability.
Pro Tips / Styling Ideas
- Use contrasting colors for bold marbling or soft pastels for a delicate look.
- Pair with a simple ribbon or twine bow to gift as a set.
Who will love it: little hosts who adore coffee-time vibes, or anyone who loves a handmade, functional piece.
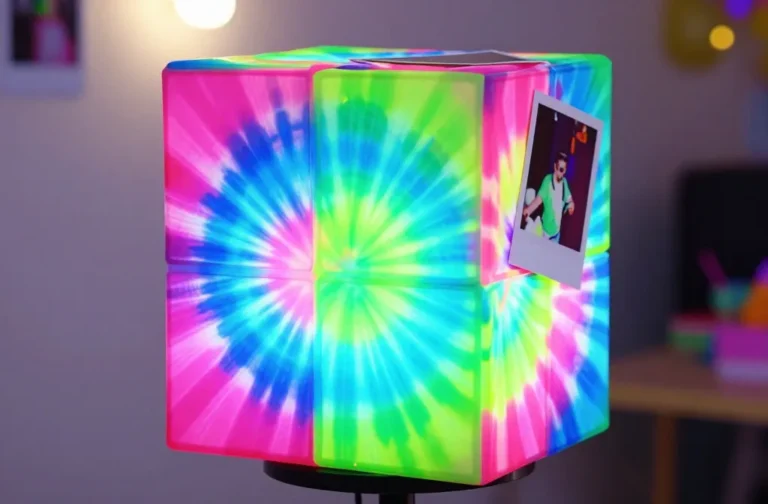
8. Glow-in-the-Dorest Lantern Jar
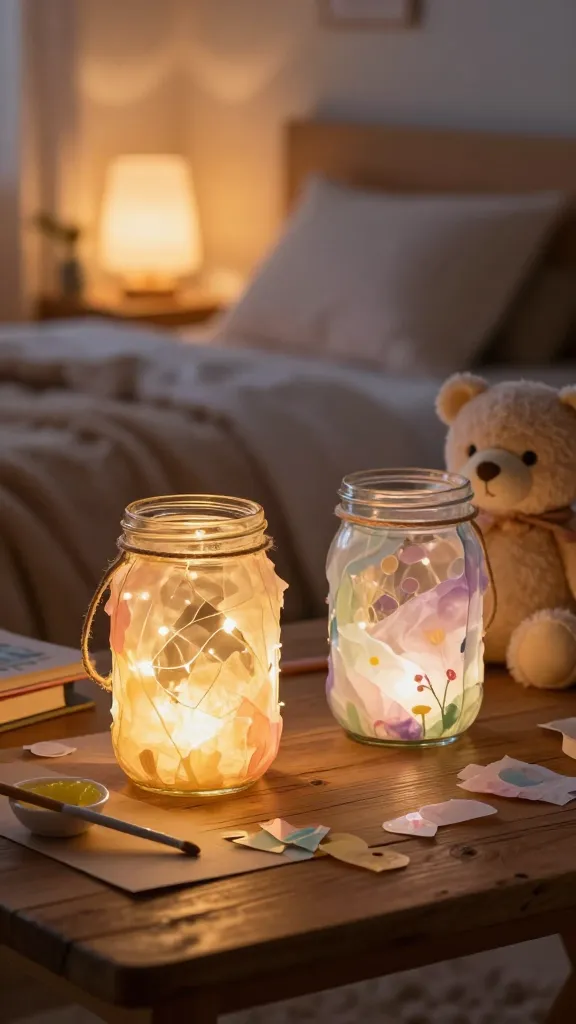
Light up a cozy corner with jars that glow softly like fireflies. This project doubles as a sleepover nightlight or a calming bedside lamp. The glow adds a dreamlike magic that kids adore and parents appreciate for bedtime routines. FYI, it’s easier than you think.
Materials Needed
- Two clean mason jars or small glass jars
- Battery-operated string lights (warm white works best)
- Funky tissue paper or translucent stickers
- Mod Podge or clear-drying glue
- Ribbon or twine for hanging handles
How to Make It
- Cut tissue paper into shapes and glue onto the outside of the jar to create a light-catching mosaic.
- Slip in the string lights and seal any gaps with more tissue for a soft glow.
- Optionally wrap a ribbon around the neck for a finished touch.
Pro Tips / Styling Ideas
- Place a couple of jars along a bed or shelf for a mini glow garden.
- Switch colors by season—gold and orange for autumn, pastels for spring, emerald for winter nights.
Who will love it: dreamers who enjoy a gentle night light, and parents who want a decorative, calming bedtime setup.
Conclusion
These eight ideas prove that six-year-olds can do joyfully big things with just a splash of color and a pinch of imagination. Each project is unique, easy to tailor, and designed to fuel tiny creators without long instructions. Pick one (or all eight) and dive into a playful crafting session that ends with proud, display-worthy creations you’ll both love.
Ready to start? Grab a tray, some friendly supplies, and let the crafting magic begin. You’ll love how simple, cozy, and rewarding these projects feel—and so will your kiddo.