Easy Vs Advanced Craft Ideas for School: Quick Wins
The simplest craft idea today could be the one that actually sticks. No glitter explosion, no tears, just something you’ll want to show off after lunch. Easy vs advanced craft ideas for school isn’t a competition—it’s a spectrum. Let’s map it out so you can pick the perfect project for you or your class.
Why the craft spectrum actually helps (and how to use it)
Crafting isn’t about proving who’s the artsy-est. It’s about learning, experimenting, and finishing something you’re proud of. Easy ideas let you nail the basics and boost confidence. Advanced ideas push problem-solving, planning, and creativity to the max. FYI, you can mix things up—start easy, add a twist, then call it “advanced light.” Ready to pick a lane?
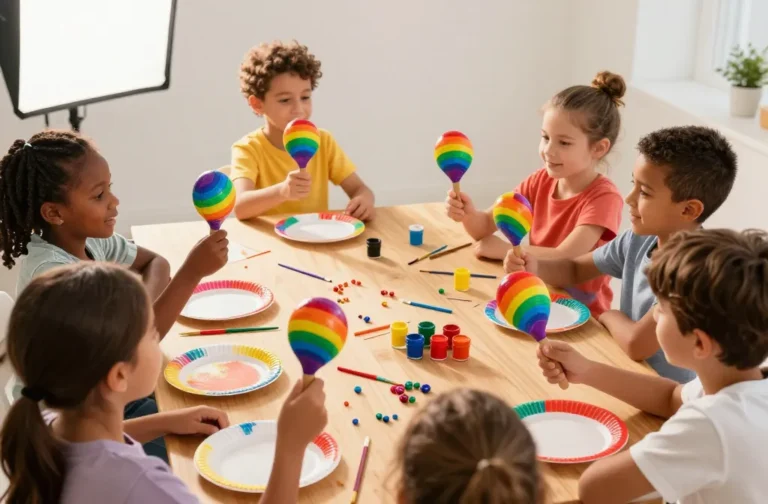
Easy wins that still look seriously impressive
– Quick setup, quick finish: Projects that take under an hour and use common supplies.
– Clean results: Items that look neat with little fuss or messy gluey chaos.
– Low risk: Fewer steps mean fewer chances to derail your whole afternoon.
Simple paper crafts with big impact
– Origami with a twist: Simple modules become wall decor or a mini garland.
– Card swaps: Design a pop-up or layered card for a friend or teacher.
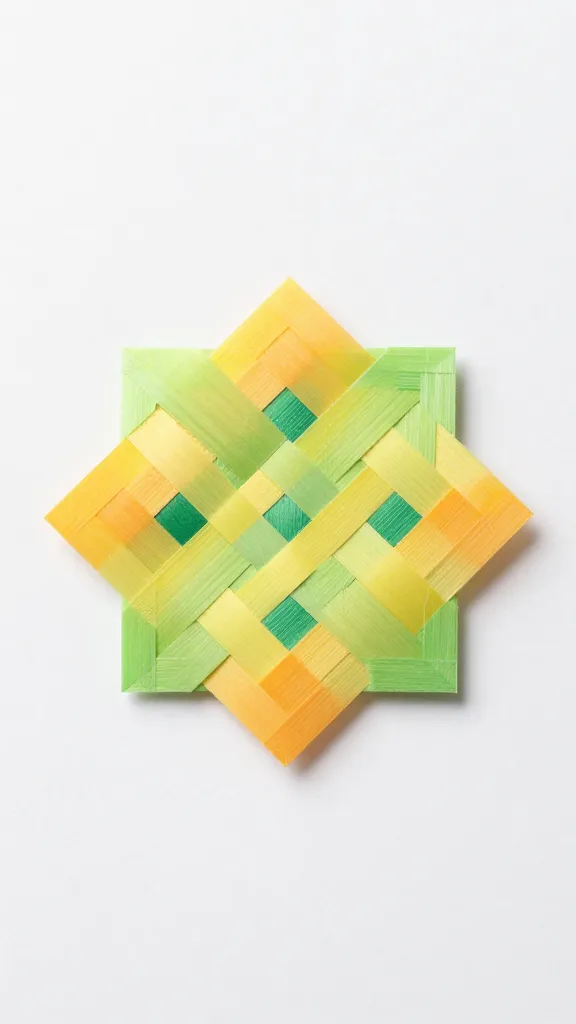
– Paper mosaic: Tear or cut colored paper into a pattern, then glue onto a canvas or poster board.
Low-muss, high-reward textiles
– Decorative patches: Felt shapes glued or sewn onto a tote bag.
– Fabric stamps: Use foam stamps and ink to create repeated patterns on fabric.
– Tie-dye mini projects: Small shirts, socks, or handkerchiefs—colorful and forgiving.
Crafts that look techy without needing a lab
– Light-up cards (basic LEDs): One LED, a coin cell, and a few wires—shockingly cool.
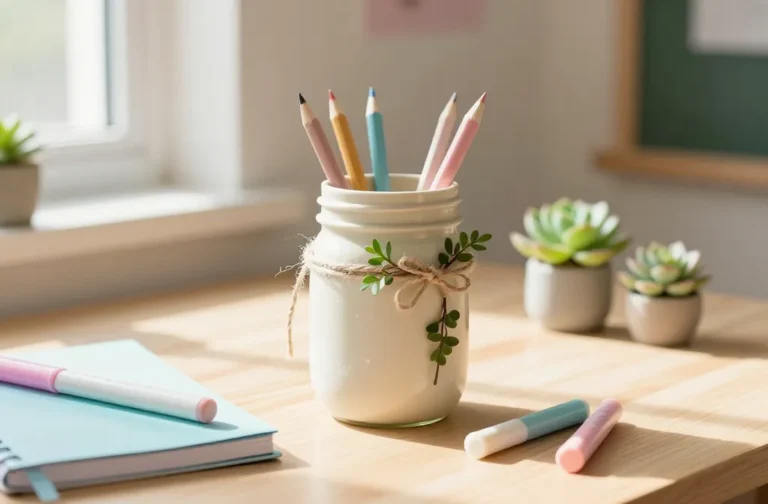
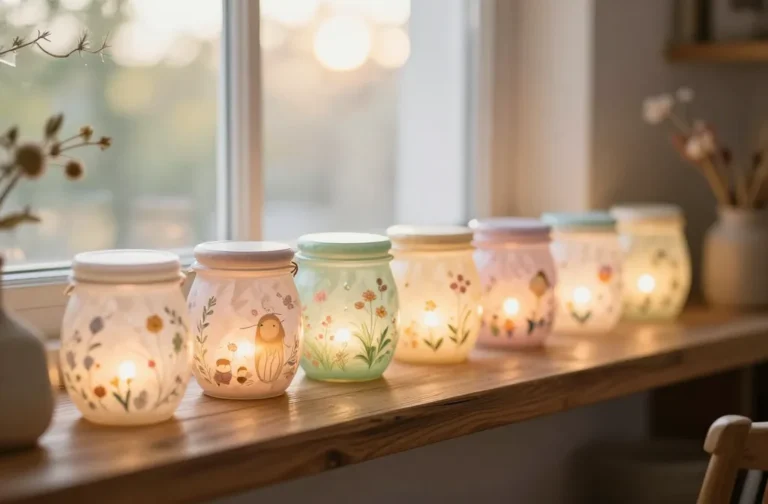
– Cable cord organizers: Decorate votive jars or tins to stash cables in style.
– 3D-printed accents (if available): Simple shapes added to notebooks or backpacks.
Advanced ideas that stretch the brain and the supplies list
– Multi-step build: Projects that require planning, measuring, and assembly.
– Mixed-media storytelling: Combine drawing, printmaking, and 3D elements to tell a story.
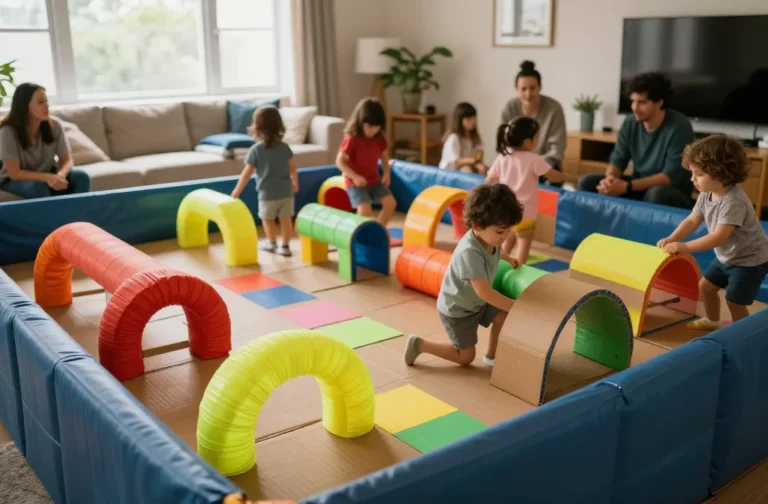
– Problem-solving challenges: Build something that works with limited materials or under constraints.
Engineering-adjacent crafts
– Catapult or simple machine models: Use popsicle sticks, rubber bands, and spoons.
– Bridge challenge: Design a bridge from Scotch tape and cardboard that holds weight.
– Marble run: Create a track with cardboard tubes and tape that keeps a marble rolling.
Science-meets-craft ideas
– Crystal art: Grow crystals on wire shapes or paper frames.
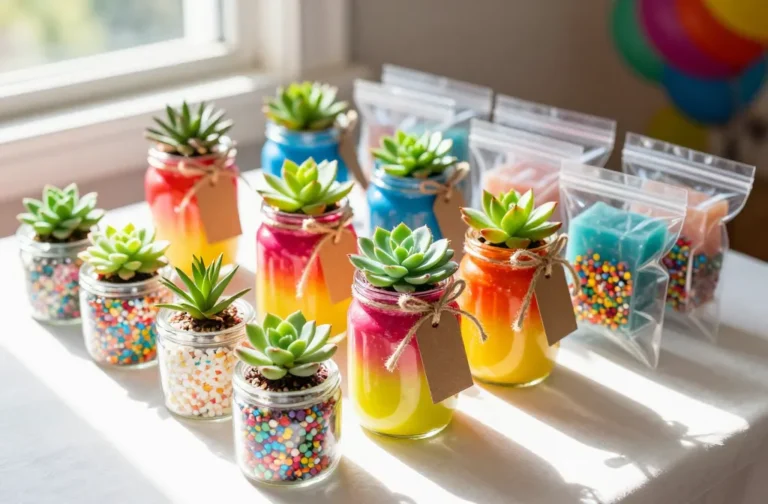
– Plant-care mini terrariums: Layer pebbles, soil, and tiny plants in jars with a tiny ecosystem.
– Rock candy or edible chemistry art: Flavorful experiments that double as treats.
Choosing the right project for your group
– Skill level check: Match the project to the strongest or weakest crafter’s comfort zone.
– Time management: Break the session into setup, activity, and cleanup—then add a buffer.
– Materials audit: Do you have basic tools at hand, or do you need to source special supplies?
– Safety first: Curate projects that avoid hot glue burns, sharp edges, or toxic paints.
Group dynamics and pacing
– Pair up: One easy project paired with a more advanced one to keep everyone engaged.
– Rotate roles: Painter, cutter, planner, and cleaner—everyone contributes.
– Show-and-tell moments: A quick 2-minute demo helps beginners learn from the more experienced.
DIY planning tips that save time and headaches
– Keep a materials list: Sketch the project and jot down exact items.
– Prep stations: Set up a “work zone” for cutting, painting, and drying.
– Drying times: Build in rests so nothing smudges or sticks together.
– Label everything: Bags or bins beat “I swear this was a glue stick somewhere” chaos.
Time-savers and safety hacks
– Pre-cut templates: Print and cut shapes before class starts.
– Washable everything: Use washable paints and markers for less stress.
– Hand sanitizer and wipes: A quick cleanup weapon for sticky fingers.
Incorporating personal flair without chaos
Everyone loves a project that feels personal. Here’s how to make it shine without turning your desk into a glitter bomb.
– Theme it: Choose a season, a book, or a favorite color palette.
– Customize with pronouns, names, or inside jokes to add meaning.
– Texture play: Mix smooth paint with rough fabric, or glossy with matte finishes.
– Presentation matters: A neat frame, a hanger, or a simple display makes the final piece feel professional.
Dark humor, light-hearted style
– Admin note: You can be funny without derailing the project. A cheeky label or a funny caption can elevate the display.
– The “FYI” moment: Add a tiny did-you-know blurb about the craft technique for nerdy bragging rights.
– Keep it balanced: Humor should support the project, not overpower it.
Conclusion
Craft ideas, whether easy or advanced, are less about showing off and more about showing up—showing up, trying something new, and finishing with something you’re proud of. Start simple to build confidence, then layer in a few twists to keep things exciting. Remember, the goal isn’t perfect artistry but engaged learning and a finished piece that tells your story.
FAQ
What’s the best first project for a student who hates mess?
Choose something with minimal glue and clean finishes, like paper mosaics or decorative patches. If you need color, use pre-cut shapes and a single brush. The key is quick wins that don’t require drying times or cleanup marathons.
How do I balance easy and advanced projects in one session?
Offer two tracks: a quick, easy option and a parallel, slightly more challenging version. Allow students to switch between tracks when they finish early. IMO, this keeps everyone engaged without feeling stuck.
What if I don’t have fancy tools?
Simple supplies still create wow. Card stock, scissors, glue sticks, fabric scraps, and string can go a long way. Use recycled materials whenever possible to cut costs and boost creativity.
How can I assess these crafts fairly?
Focus on process over product. Look for planning, execution, neatness, and reflection. A quick 1-minute verbal or written reflection about what they learned beats a strict rubric that only prizes perfection.
Any tips for keeping materials organized?
Label bins by project and color, and prep a “kit” for each student with just enough supplies. If you can, assign a cleanup buddy role to rotate so the mess never sticks around longer than necessary.