10 Quick Crafts Ideas for Seniors
Ready for a little creative sparkle without the overwhelm? If you’re a senior—or crafting for someone who is—these quick, joyful ideas prove that charming DIY can be easy, satisfying, and totally Pinterest-worthy. You’ll love the feel-good hit of finishing something beautiful in a short session.
Trust me, these crafts fit into busy days, hospital stays, or cozy afternoons, and they’re crafted with accessibility in mind. Let’s dive into ten unique ideas that spark joy and nourish the creative spirit.
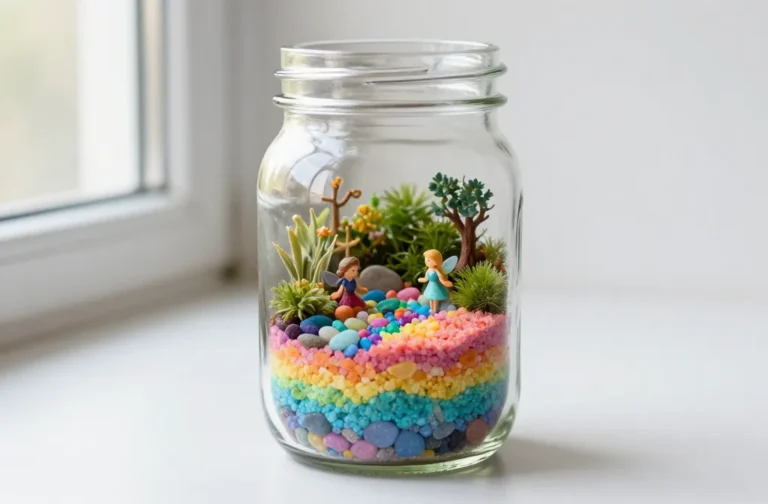
1. Rustic Mason Jar Lanterns With Battery-Operated Fairy Lights

Imagine a row of warm, glowing jars on a windowsill or porch railing. The lanterns cast a cozy glow that’s perfect for evening conversations or a calming reading nook. The combination of clear glass, soft lights, and a touch of twine feels timeless and inviting.
Materials
- Empty mason jars
- Battery-operated fairy lights
- Twine or jute rope
- Hot glue or craft glue
- Small metal handles (optional)
- Paint (optional for a shabby chic look)
How to Make It
- Wrap twine around the jar’s neck and secure with glue for a rustic collar.
- Place battery lights inside and tuck the battery pack discreetly at the back.
- Optionally add a subtle coat of paint or a label with a favorite quote.
- Attach small handles for easy carrying or hanging, if desired.
Pro Tips / Styling Ideas
- Group three jars at different heights on a tray for visual impact.
- Line a porch railing or kitchen windowsill with them to create a warm, inviting vibe.
Who would love it: Anyone who adores cozy lighting and a touch of farmhouse charm. Great for bedside tables or entryway nooks.
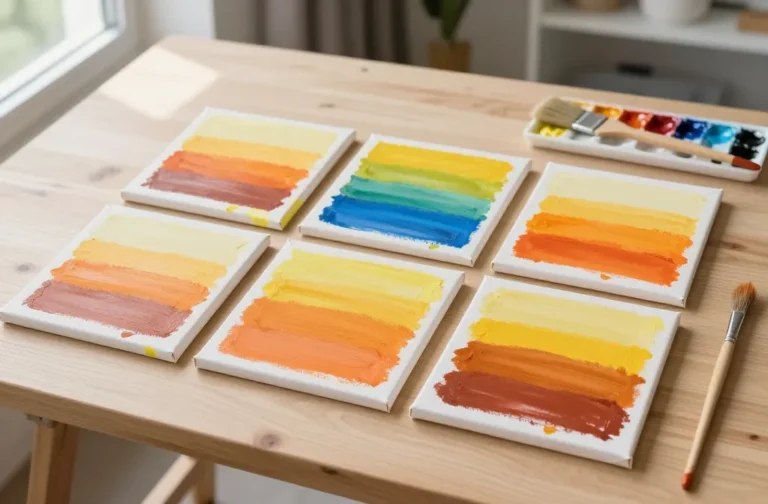
2. Abstract Textile Wall Art Using Painted Fabrics
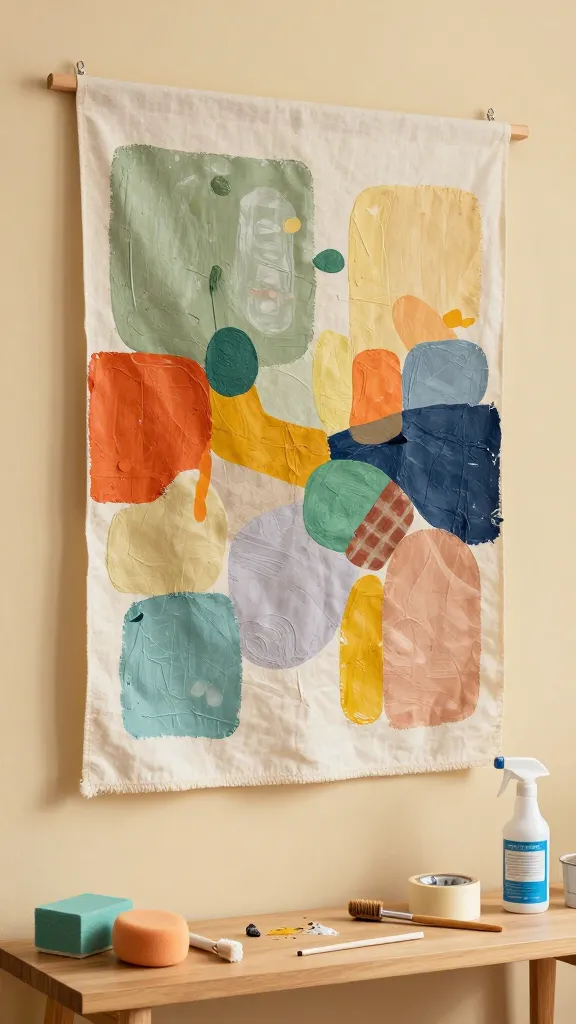
A burst of color and texture on fabric makes a striking, low-effort wall piece. It’s a cheerful, quote-free canvas you can tailor to your space and mood. Think soft, tactile, and proudly handmade.
Materials
- Canvas or stretched fabric frame
- Acrylic or fabric paints
- Sponges, brushes, or old toothbrushes for texture
- Masking tape (optional for shapes)
- Sealant spray (optional to protect the finish)
How to Make It
- Lay down a base color and let it dry. Then add layers of shapes with textured dabbing.
- Create organic shapes—blobs, lines, circles—or use masking tape to make geometric blocks.
- Finish with a light spray sealant to keep colors vibrant over time.
Pro Tips / Styling Ideas
- Choose colors that echo your living room or bedroom palette for cohesion.
- Hang near a seating area where you can enjoy the texture up close.
Who would love it: Color lovers seeking a personal, modern art piece that’s surprisingly simple to create.
3. Memory Keepsake Jar: Photo Real Memories in Resin
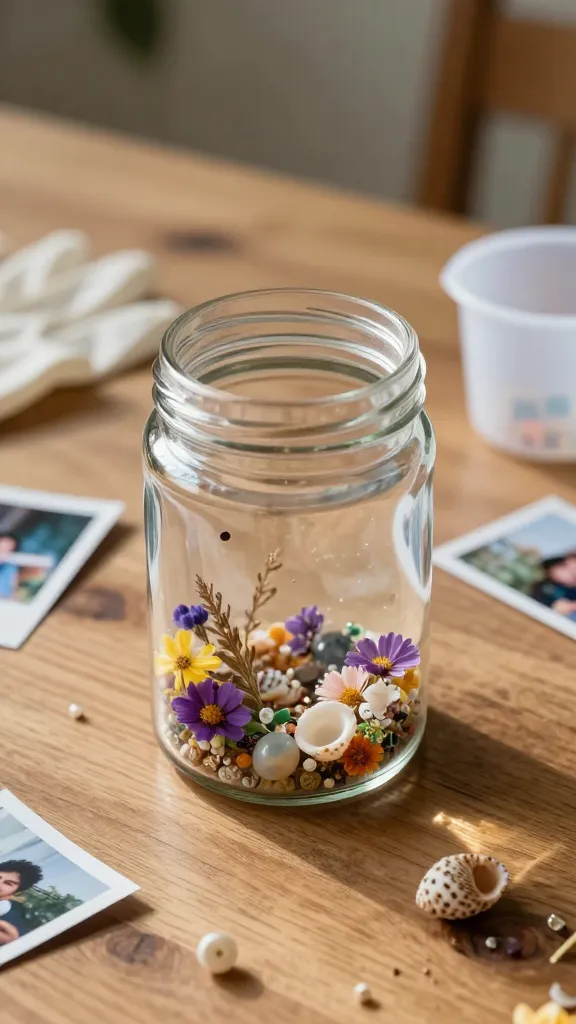
Turn a handful of cherished photos into a glossy, durable keepsake jar. It’s a sentimental desk accent or a thoughtful gift for a family member. The clear resin encases memories with a timeless, glassy finish.
Materials
- Clear epoxy resin kit (two-part) or DIY resin
- Small jars or a shallow dish
- Mini photo prints (color or black & white)
- Decorative items: shells, dried flowers, beads
- Protective gloves and a mixing cup
How to Make It
- Arrange tiny photos and trinkets at the bottom of the jar or dish.
- Mix resin according to the instructions and pour slowly, allowing bubbles to escape.
- Let cure completely in a dust-free area.
Pro Tips / Styling Ideas
- Seal the top with a small cork lid for a vintage look.
- Place on a coffee table or bookshelf to spark conversations.
Who would love it: Ideal for grandparents or anyone who wants a tangible memory that’s proudly displayed.
4. Easy Floral Cement Tiles for the Tabletop
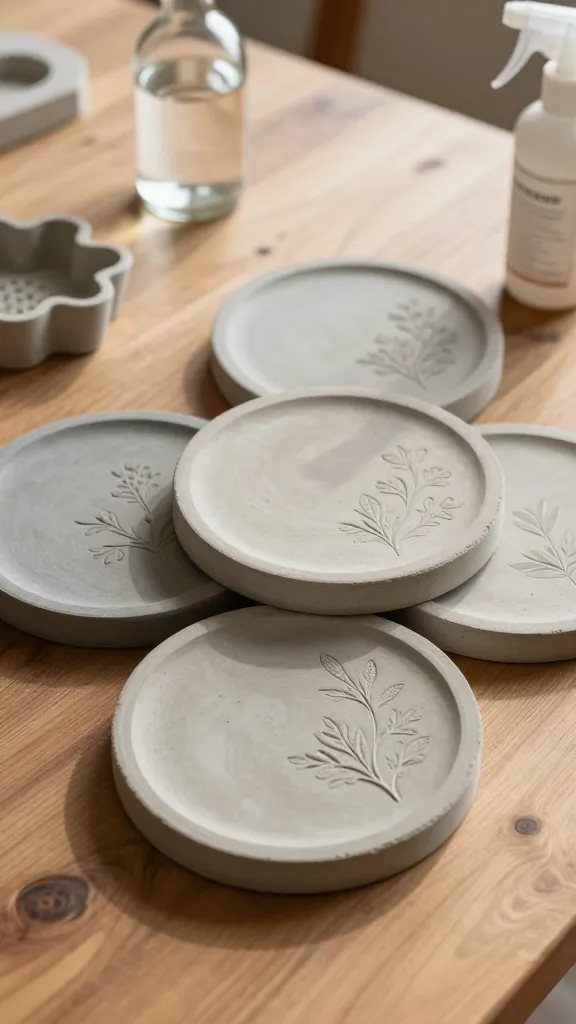
A quick, tactile project that yields sturdy, decorative tiles you can use as coasters or a tiny tray. The tactile sensation of cement combined with floral imprints creates a chic, modern rustic vibe.
Materials
- Air-dry cement or concrete mix
- Silicone molds with floral patterns
- Non-stick spray or oil for release
- Water and a mixing container
- Sealant spray (optional for durability)
How to Make It
- Mix cement with water to a thick pancake batter consistency.
- Fill molds, tap to release air, and smooth the tops.
- Let dry completely per product guidelines, then remove from molds.
- Seal if you want extra durability and water resistance.
Pro Tips / Styling Ideas
- Arrange as a mini gallery on a coffee table or use as a soap dish tray in the bathroom.
- Add a pop of color with tinted cement or paint after curing.
Who would love it: DIY lovers who enjoy durable, stylish accents with a handmade texture.
5. Fabric Bouquet Pins: A Buttoned-Up Keepsake Accessory
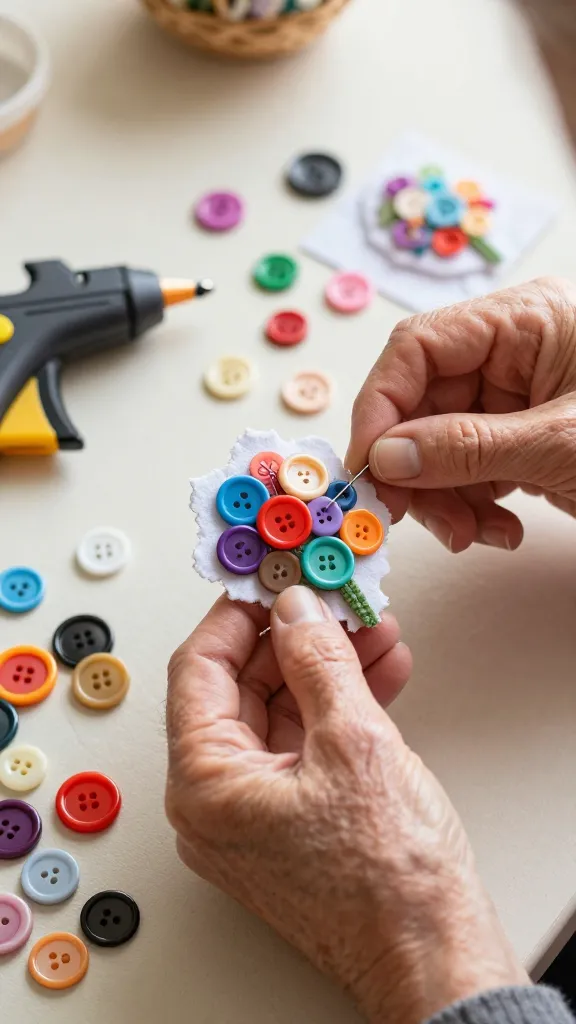
Turn an assortment of bright buttons into a playful brooch or a bouquet pin. It’s a delightful, tactile project that yields wearable art or a decorative accent for bags, hats, or sweaters.
Materials
- Assorted buttons (vintage or modern)
- Flat-back pins or brooch findings
- Needle and strong thread or a hot glue gun
- Small felt circles or cushioning (optional for backing)
How to Make It
- Arrange buttons in a pleasing cluster; sew or glue onto a backing.
- Attach a pin back and let the adhesive set if using glue.
- Optionally cover with a small felt circle for a neat finish.
Pro Tips / Styling Ideas
- Wear as a cheerful lapel or scarf pin, or attach to a soft tote for a pop of color.
- Group several pins on a fabric canvas to create a vibrant art piece.
Who would love it: Great for anyone who enjoys tiny, joyful embellishments and upcycling vintage finds.
6. Hand-Stitched Pocket-Sized Journal Covers
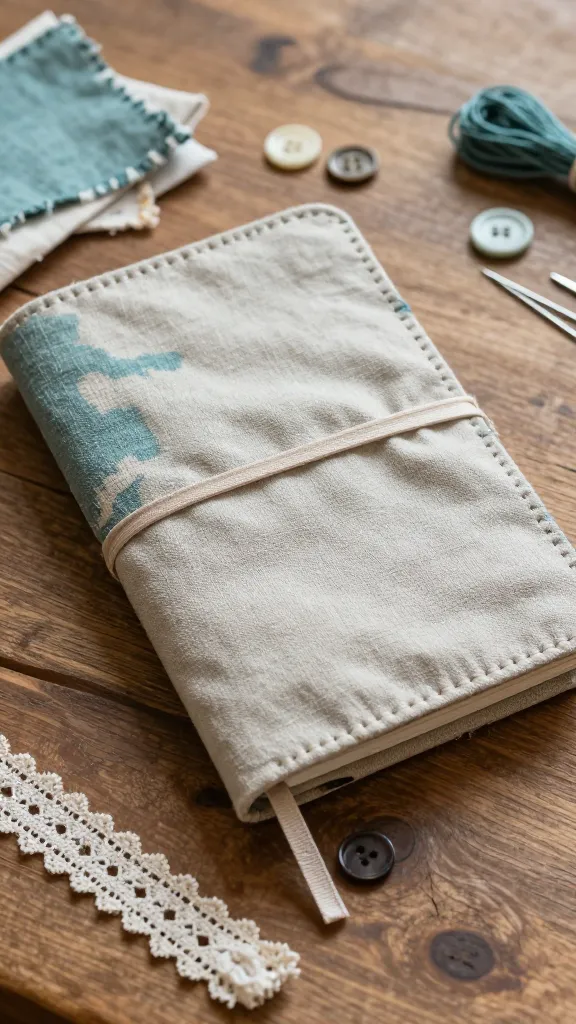
A personalized cover makes a plain notebook feel special. Great for journaling, recipes, or crosswords, these covers are soft, tactile, and easy to customize with fabric scraps and simple stitching.
Materials
- Plain fabric or fabric scraps
- Cardstock or thin cardboard for the cover
- Ribbon or elastic for fastening
- Needle and embroidery thread
- Optional decorative trims (lace, buttons, bead)
How to Make It
- Cut fabric to wrap around the notebook with a little extra for seams.
- Sew simple stitches to secure fabric and add a decorative touch.
- Attach a ribbon or elastic to hold the notebook closed.
Pro Tips / Styling Ideas
- Use a favorite color palette to coordinate with other supplies.
- Label the spine with a small embroidered word like “Notes” or “Gratitude.”
Who would love it: Perfect for travelers, writers, or anyone who loves a thoughtful, handmade accessory.
7. Nature-Scented Candied Lemon Slices Bath Truffles
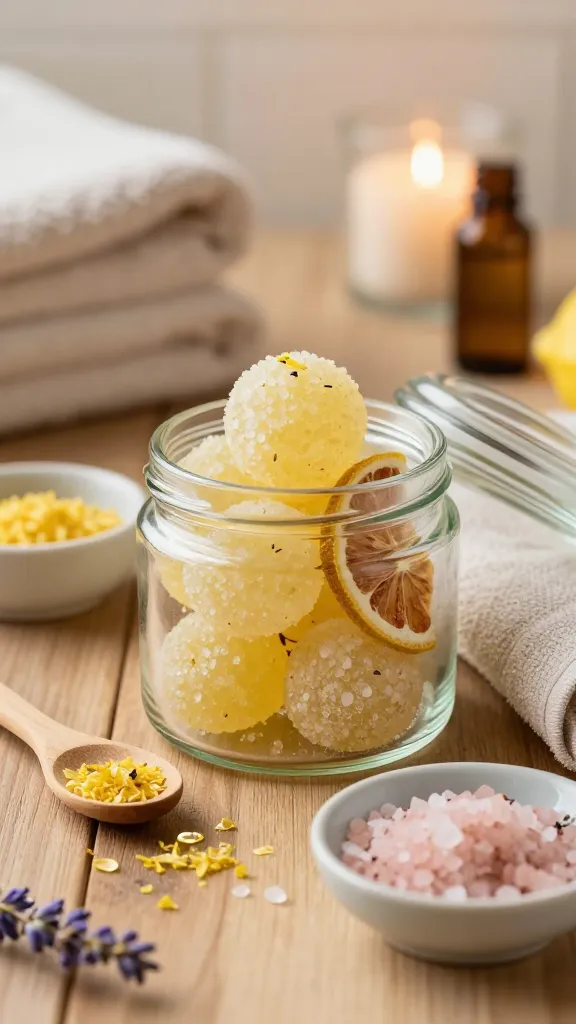
Okay, this one leans into a little pampering. Craft fragrant, natural bath treats using lemon zest and essential oils. They look delightful sitting in a glass jar and smell amazing in a bath or spa-inspired corner.
Materials
- Unscenced ingredients: Epsom salts or sugar
- Citric acid (optional for fizz) or a mild bath salt mix
- Lemon zest or dried citrus slices
- Essential oils (lemon or lavender)
- Mixing bowl and spoon
- Jars with lids
How to Make It
- Mix salt with a little lemon zest and a few drops of essential oil until fragrant.
- Scoop into jars and let dry briefly if using a wet mix.
- Seal and label with a cheerful note (or a tiny DIY tag).
Pro Tips / Styling Ideas
- Stack jars on a tray in a bathroom for a spa-day vibe.
- Gift a jar with a hand-written card for a thoughtful hostess gift.
Who would love it: Bath lovers who adore natural scents and small-batch gifts.
8. Painted Wooden Coasters With Tiny Inlays
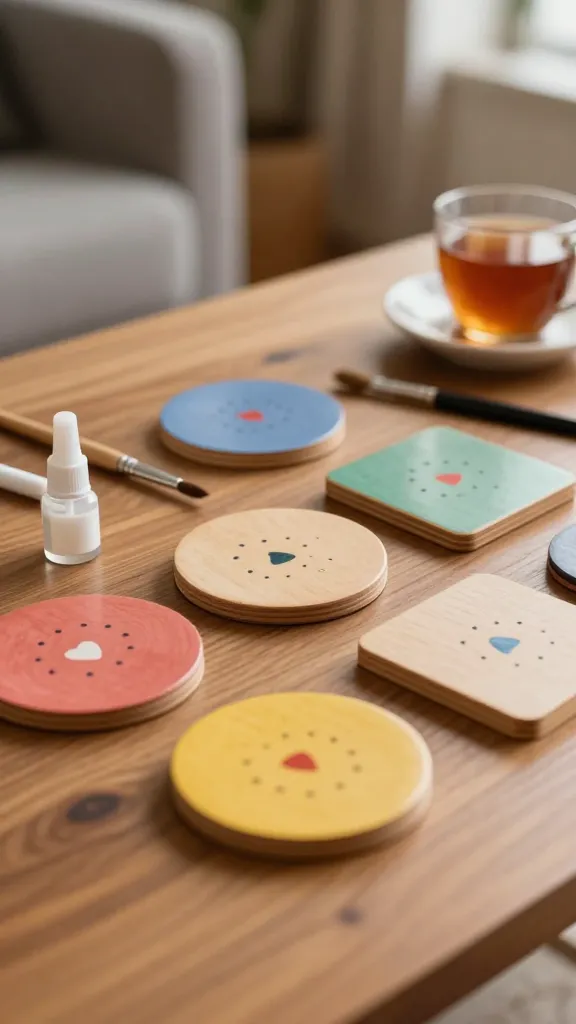
Brighten coffee nights with a set of cheerful, hand-painted coasters featuring tiny inlays. It’s a quick punch of personality that’s both useful and delightfully decorative.
Materials
- Small wooden discs or squares
- Acrylic paints or markers
- Fine-tip brush or stylus for tiny inlays
- Clear sealant spray or varnish
How to Make It
- Paint a base color on each coaster and let dry.
- Add tiny inlays or doodled patterns—dots, hearts, or simple motifs.
- Seal to protect from moisture.
Pro Tips / Styling Ideas
- Match colors to a kitchen or living room palette for cohesive decor.
- Bundle as a gift set with a matching mug or a tea sampler.
Who would love it: Ideal for hosts, new homeowners, or anyone who enjoys playful, handmade tableware.
9. Upcycled Denim Pincushion Or Cute Desk Cushion
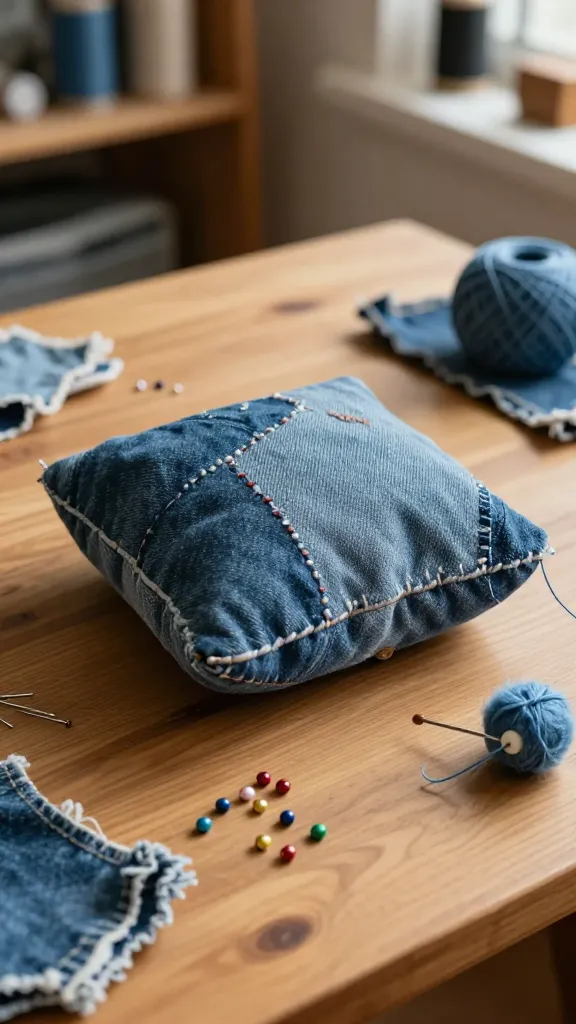
Repurpose an old pair of denim into a plush pincushion or a tiny desk cushion. The sturdy texture feels cozy and retro, and it’s a satisfying way to upcycle without much mess or fuss.
Materials
- Old denim fabric, scraps for stuffing
- Needle and thread or fabric glue
- Stuffing (polyfill or fabric scraps)
- Optional patchwork pieces or embroidery
How to Make It
- Cut two denim pieces, sew around edges leaving a small opening.
- Stuff with filling and sew shut.
- Decorate with patches or simple embroidery if you like.
Pro Tips / Styling Ideas
- Place on a sewing table or desk to keep pins handy with a dash of style.
- Pair with matching denim tote for a coordinated gift set.
Who would love it: Denim lovers and people who appreciate practical, homely crafts.
10. Pressed Flower Bookmark Strips
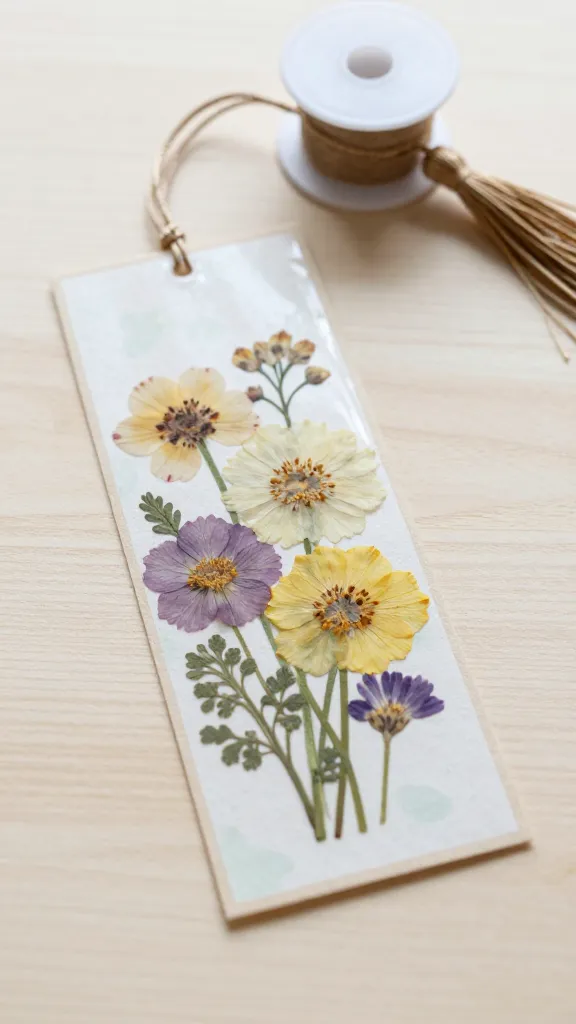
Beautiful, delicate, and easy to make, pressed flower bookmarks celebrate nature with a whisper of color. They’re perfect for book lovers who want a little personal touch in their reading ritual.
Materials
- Pressed flowers or dried botanicals
- Parchment paper or clear contact paper
- Cardstock or thick paper for the base
- Clear glue or Mod Podge
- Ribbon or tassel (optional)
How to Make It
- Glue pressed flowers onto one side of a thin strip of cardstock.
- Protect with a clear layer of glue or Mod Podge on top.
- Attach a small ribbon or tassel if desired.
Pro Tips / Styling Ideas
- Write a meaningful quote on the blank side for an extra personal touch.
- Keep several bookmarks ready to gift to friends and neighbors.
Who would love it: A perfect project for bookworms and nature lovers who adore a little daily joy.
Conclusion
These 10 Quick Crafts Ideas for Seniors prove that creativity has no age limit and that a little time yields big rewards. Each project is designed to be accessible, satisfying, and deeply enjoyable to make. Pick one (or all ten) and start pinning, gifting, and decorating with a smile—trust me, you’ll feel the happy spark after the first finished piece.