12 Cricut Room Decor Craft Ideas That Wow
Ready to turn your space into a gallery of your own making? These 12 Cricut-based room decor ideas are colorful, doable, and totally binge-worthy. Trust me, you’ll love how quick and stylish their pop of personality feels.
From playful wall accents to cozy tabletop pieces, each idea is a distinct project with its own vibe. Grab your cutting mat, some vinyl or cardstock, and a spark of DIY energy—let’s go!
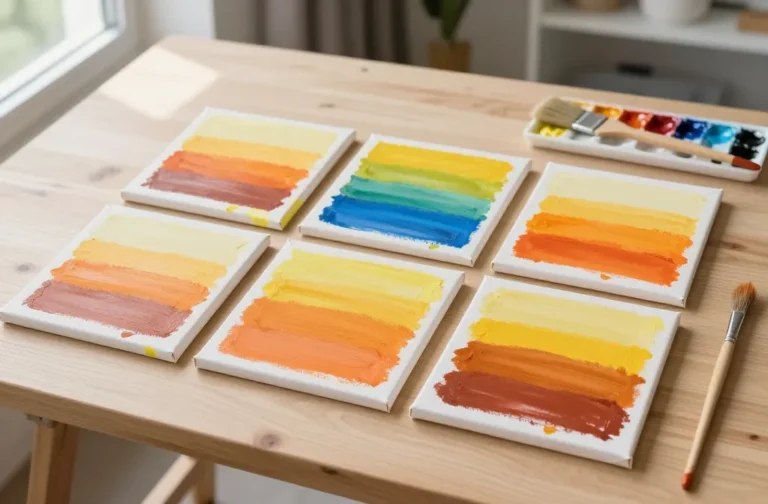
1. Rustic Monogram Wall Canvas With Cricut Cutouts
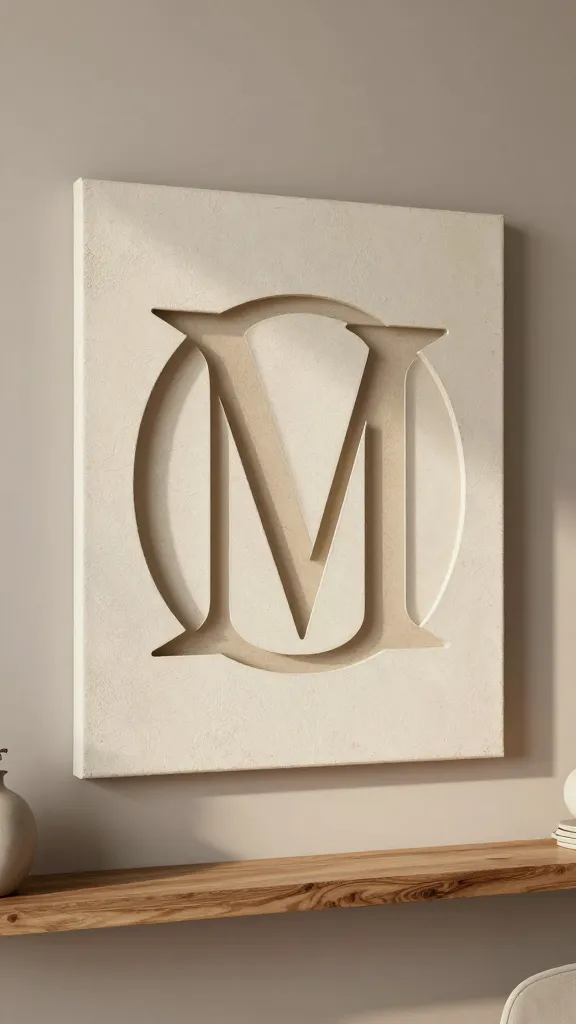
Imagine a serene wall display featuring a bold monogram cut from textured cardstock layered over a soft, weathered canvas. This piece feels chicly rustic and uniquely you. It’s the kind of first impression your guests will notice before they even step in.
Materials
- Canvas panel (12×16 or 16×20)
- Cardstock or patterned paper in 2–3 tones
- Adhesive spray or glue
- Cricket cutting machine and vinyl or paper
How to Make It
- Cut a bold letter or a word in vinyl or paper using your Cricut. Choose a font that matches your room’s vibe—modern sans, romantic script, or playful block letters.
- Mount the cutouts in a layered arrangement on the canvas so the surface shimmers with texture.
- Attach a light backing or small string to hang, then mount on your favorite wall spot.
Pro Tips
- Use light-to-dark layers to add depth—slightly offset each piece for dimension.
- Pair with a subtle frame or keep it floating off the wall for a clean, gallery feel.
Who will love it? Anyone craving a sophisticated, handmade statement piece that works in entryways or bedrooms.
2. Customizable Phrase Banner With Cricut Backed Artwork
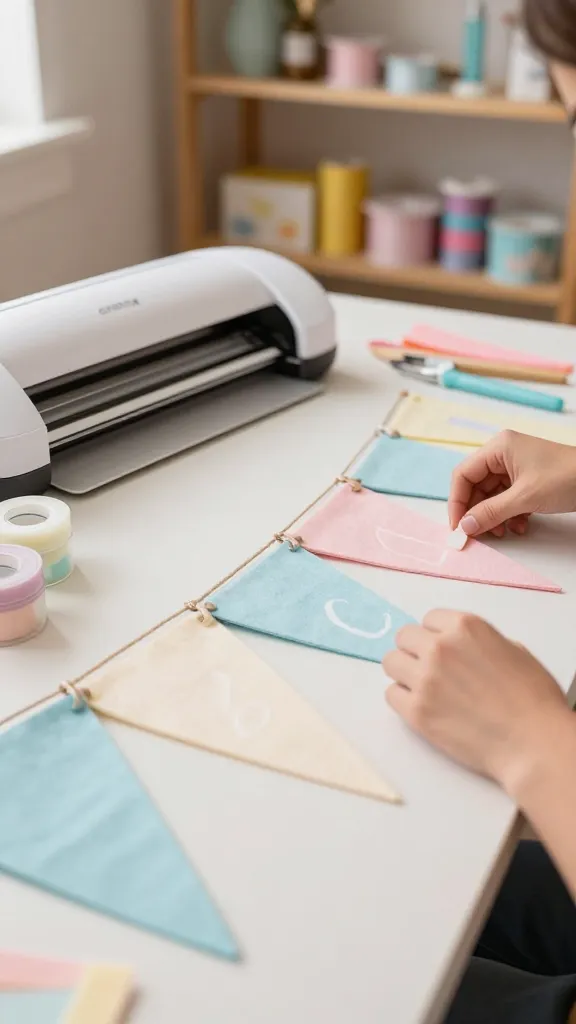
Think a cheerful, inspirational banner that’s easy to swap seasonally. This project gives you a wall-worthy prop for photo moments and everyday vibes alike.
Materials
- Felt, faux leather, or heavyweight cardstock
- Ribbon or twine
- Adhesive or sewing supplies
- Weeding tool and transfer tape
How to Make It
- Cut letters from your chosen material with a Cricut. Create a phrase that fits your space—“Be Kind,” “Hello Sunshine,” or “Stay Cozy.”
- Glue letters onto a strip or pennant shapes, then string them along ribbon.
- Hang over a shelf or across a wall nook for an instant mood lift.
Pro Tips
- Mix textures—felt for warmth, metallic for glam, and cardstock for crispness.
- Use double-sided tape for quick swaps between seasons or moods.
Who will love it? Anyone who adores mood boards and seasonal styling with a personal twist.
3. Minimalist Wall Clock With Cricut-Precise Numbers
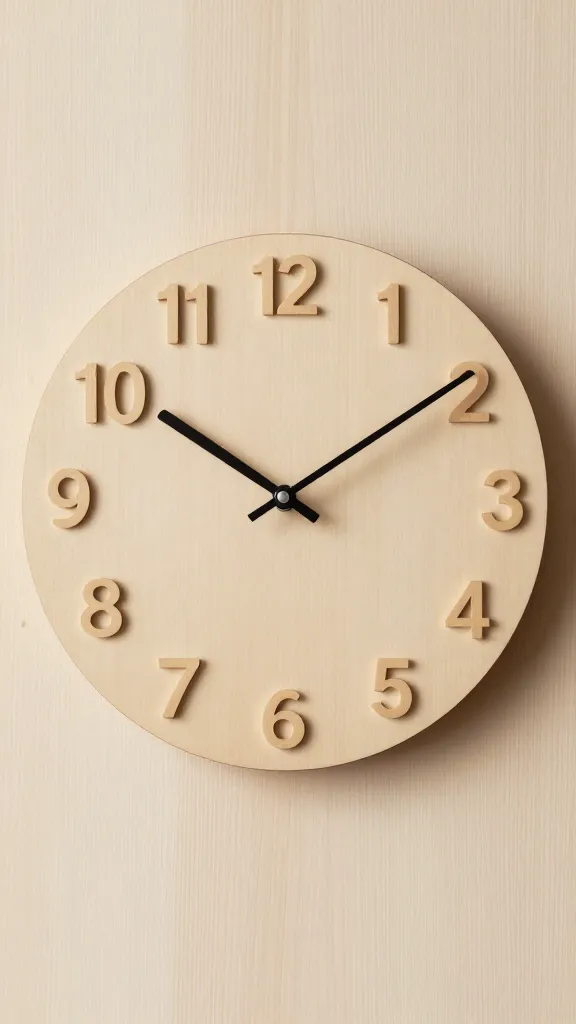
Who says a clock has to be boring? This minimalist wall clock uses crisp vinyl numbers cut with exact precision to deliver a modern, time-keepers look.
Materials
- Plain wooden clock face or DIY wooden circle
- Vinyl for numbers or cardstock for cutouts
- Clock mechanism (from craft store)
- Ruler and transfer tape
How to Make It
- Plan the layout with a center point and evenly spaced numbers. Cut numbers with your Cricut and place them with transfer tape.
- Install the clock mechanism in the center and adjust for accurate timekeeping.
- Finish with a matte sealant for longevity if you’re using wood.
Pro Tips
- Keep the color palette monochrome for that sleek, modern vibe.
- Coordinate with the room’s color story—black on white or brass on taupe look especially chic.
Who will love it? The design-minded folks who want a functional piece that doubles as decor.
4. Cricut-Tiled Metal Tin Wall Art
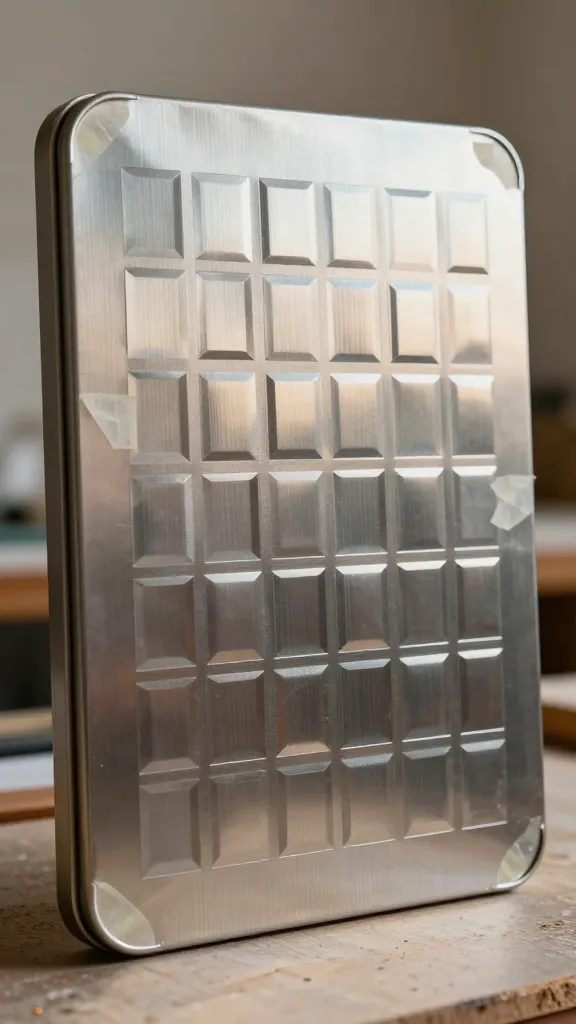
Even your metal surfaces can sparkle with a DIY touch. This project uses mini cutouts layered on a metal tin for a textured, contemporary look.
Materials
- Small decorative metal tin or tray
- Vinyl or cardstock cutouts
- Adhesive spray or strong glue
- Painter’s tape (for positioning)
How to Make It
- Cut a grid of geometric shapes with the Cricut. Create a repeating pattern that fits inside the tin’s border.
- Layer the shapes in a staggered arrangement and secure with adhesive.
- Hang as a bold, metallic focal point or place on a shelf leaning against the wall.
Pro Tips
- Use metallic or mirrored vinyl to play with light and shadow.
- Pair with a complementary color palette in neighboring decor for a cohesive look.
Who will love it? The modern art lovers and those who adore metal-toned accents.
5. Cricut-Cut Garden-Themed Wall Murals
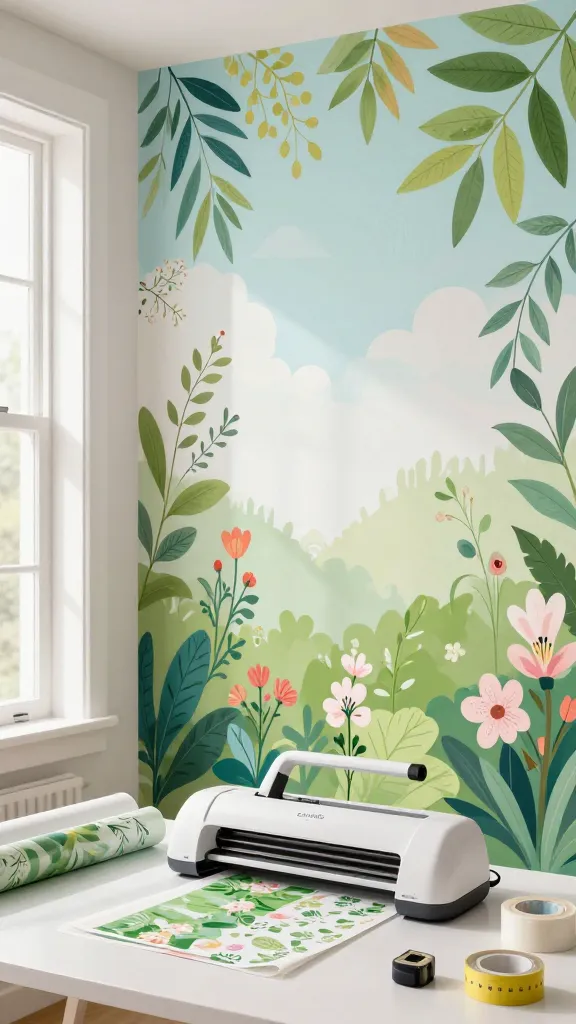
Bring the outdoors in with a lush garden-inspired wall mural cut into layered vinyl. It’s bright, breezy, and totally share-worthy.
Materials
- Vinyl in green, floral tones, and sky blue
- Transfer tape
- Measuring tape or ruler
How to Make It
- Sketch a simple layout of leaves and flowers on the wall space you’ve chosen.
- Cut the shapes with the Cricut and apply them in layers to create depth—start with background sky and progress to foreground florals.
- Finish with a light spray of sealant if you want extra durability.
Pro Tips
- Choose a color palette that matches your room’s main accents for a cohesive vibe.
- In living rooms, go with larger shapes to read well from a distance.
Who will love it? Nature lovers and anyone craving a refreshing, garden-inspired backdrop.
6. Cozy Quote Plaques With Cricut Vinyl Inlays
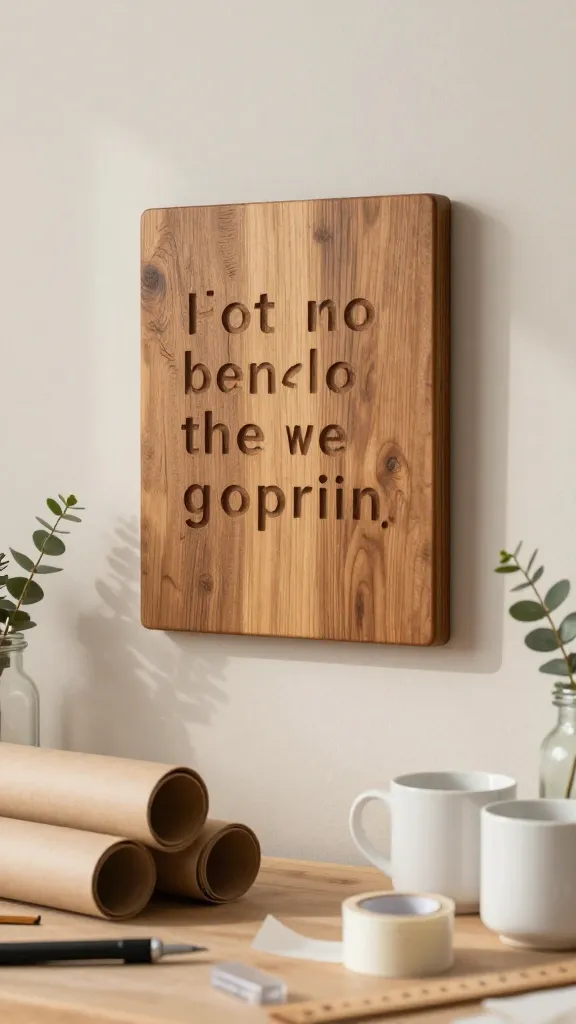
Quotes are a timeless way to infuse personality. This project uses Cricut vinyl inlays inside wooden plaques for a clean, cozy statement piece.
Materials
- Wooden plaques or thin plywood
- Vinyl in a contrasting color
- Transfer tape
- Adhesive or nails for mounting
How to Make It
- Cut a short, snappy quote in vinyl. Consider fonts with warmth and legibility.
- Adhere the cutout through transfer tape to the plaque surface and smooth out any air bubbles.
- Mount on a wall or place on a shelf with a small stand.
Pro Tips
- Pair with a matching frame or paint the plaque for added texture.
- Switch quotes with seasons for a rotating decor display.
Who will love it? Social-curious decorative lovers who want a personal, sentiment-filled piece.
7. Cricut-Pierced Monochrome Light Box
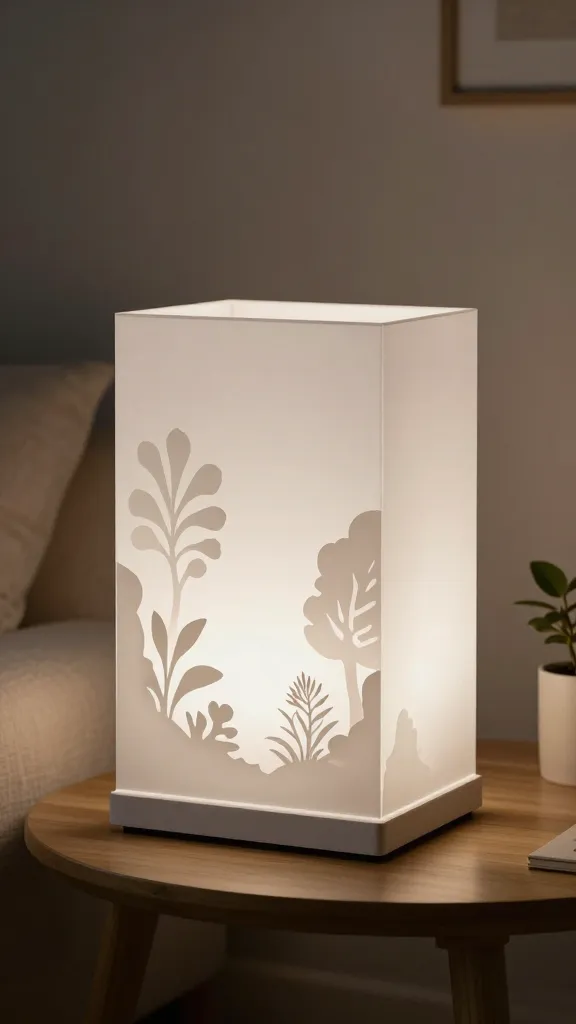
A light box with intricately cut shapes creates a luminous focal point. This project uses layered cardstock to form a glowing, sculptural piece.
Materials
- Backlit light box or LED panel
- Cardstock in 2–3 shades within your palette
- Clear acrylic or acetate sheets
- Adhesive and mounting supplies
How to Make It
- Cut shapes in varying opacities to create a gradient effect when lit.
- Stack the pieces with a little spacing to catch the light and add depth.
- Place in a dim corner for dramatic illumination and mood.
Pro Tips
- Keep the color scheme cool and modern for the best glow.
- Use a USB-powered light source for easy placement anywhere.
Who will love it? Night-owl decorators and fans of moody, atmospheric lighting.
8. Cricut-Tiered Photo Shelves With Decorative Cutouts

Show off memories on a tiered display that doubles as a tiny art installation. The cutout accents give each shelf a personalized vibe.
Materials
- Wooden tiered shelf or DIY stacked platforms
- Printed photos or prints
- Vinyl cutouts for shapes, letters, or frames
- Adhesive
How to Make It
- Cut small shapes (hearts, stars, or botanical motifs) and apply them to the shelf edges or on the photo mats for a whimsical touch.
- Arrange photos on each tier with varying heights for visual interest.
- Adorn with a small plant or candle for a finishing glow.
Pro Tips
- Coordinate with your room’s color trend to keep it cohesive.
- Change photos seasonally for a refreshed look without buying new decor.
Who will love it? Nostalgic creators who adore curated wall-and-shelf displays.
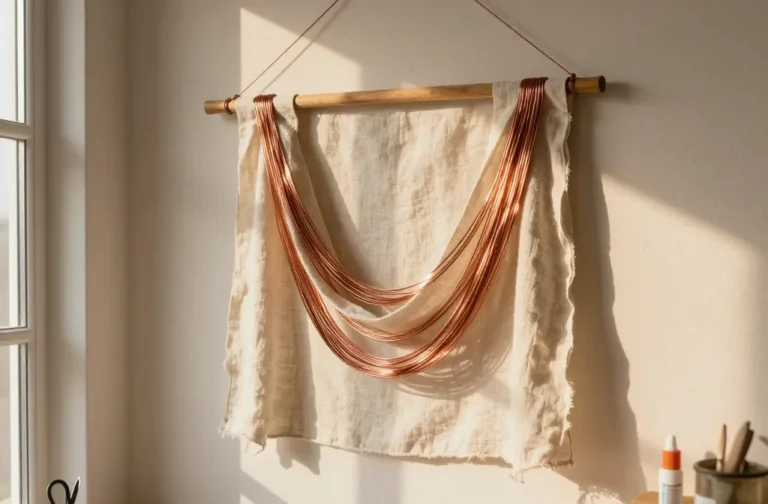
9. Cricut-Cut Textile Wall Hangings
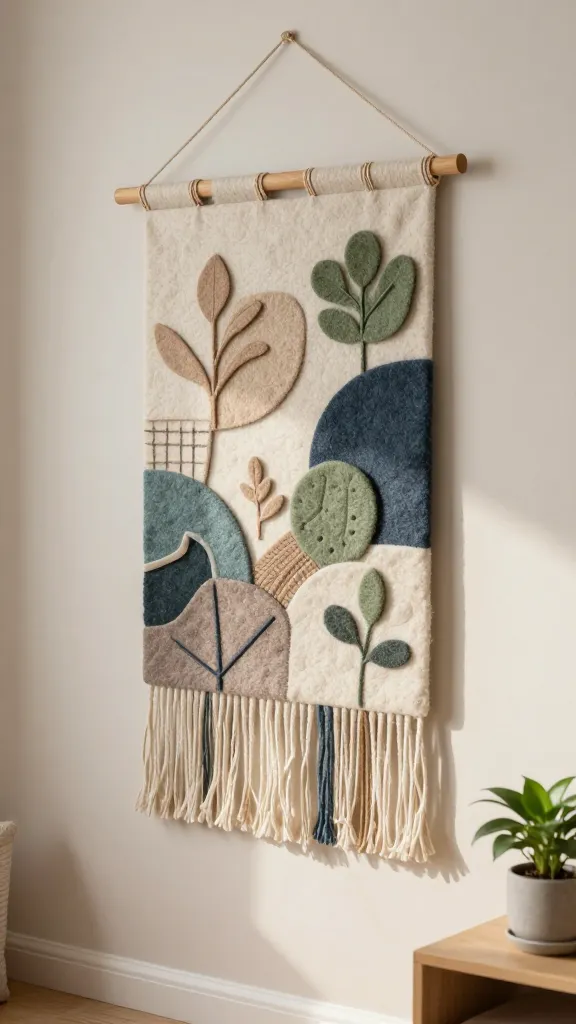
Soft, tactile textiles add warmth to any room. Cut felt or fabric shapes and assemble into a modern wall hanging with a crisp, crafty vibe.
Materials
- Felt, wool blend, or fabric scraps
- Wooden dowel or hoop
- String or twine
- Fabric glue or needle and thread
How to Make It
- Cut geometric shapes or botanical motifs with your Cricut on felt or fabric.
- Arrange shapes on a dowel or hoop to create a balanced cascade.
- Hang with a sturdy string and display on a wall or door.
Pro Tips
- Layer textures for a cozy, boho look.
- Experiment with neutral tones or pops of color to suit your space.
Who will love it? Cozy decor enthusiasts and texture lovers who want tactile art.
10. Cricut-Decorated Storage Bins For Cute Organization
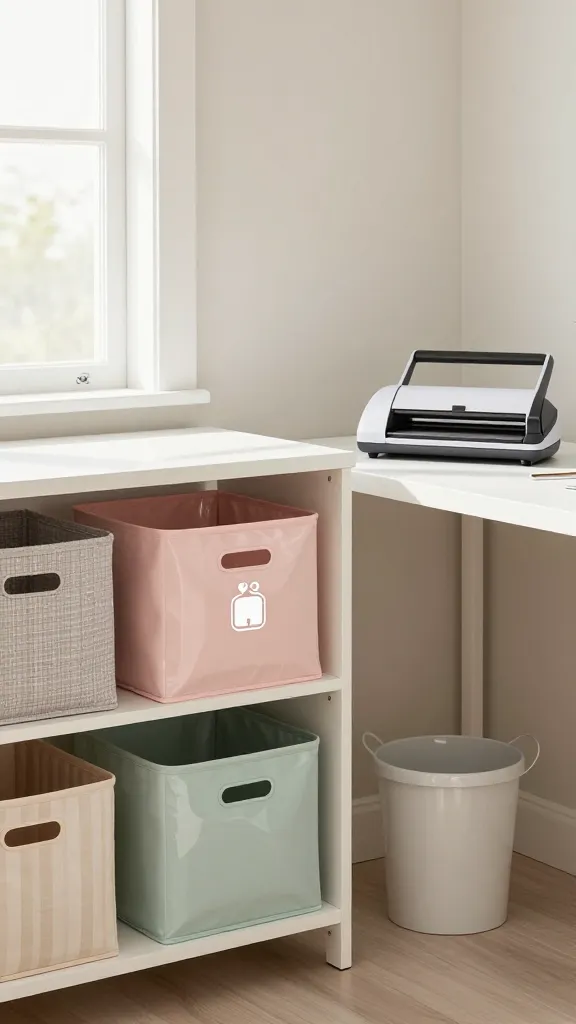
Organizing never looked so stylish. Personalize fabric or painted storage bins with crisp vinyl accents to keep clutter chic.
Materials
- Storage bins or baskets
- Vinyl or iron-on transfer
- Heat press or iron (if using iron-on)
How to Make It
- Cut words, icons, or geometric shapes to decorate the bins.
- Apply using transfer tape for vinyl or an iron for heat transfer.
- Label shelves or craft corner zones for a tidy, stylish look.
Pro Tips
- Coordinate with the room’s color palette for a seamless vibe.
- Use clear bins and matching labels to keep things visible and cute.
Who will love it? Neat freaks and organization lovers who still want their space to sparkle.
11. Cricut-Stenciled Pillow Covers
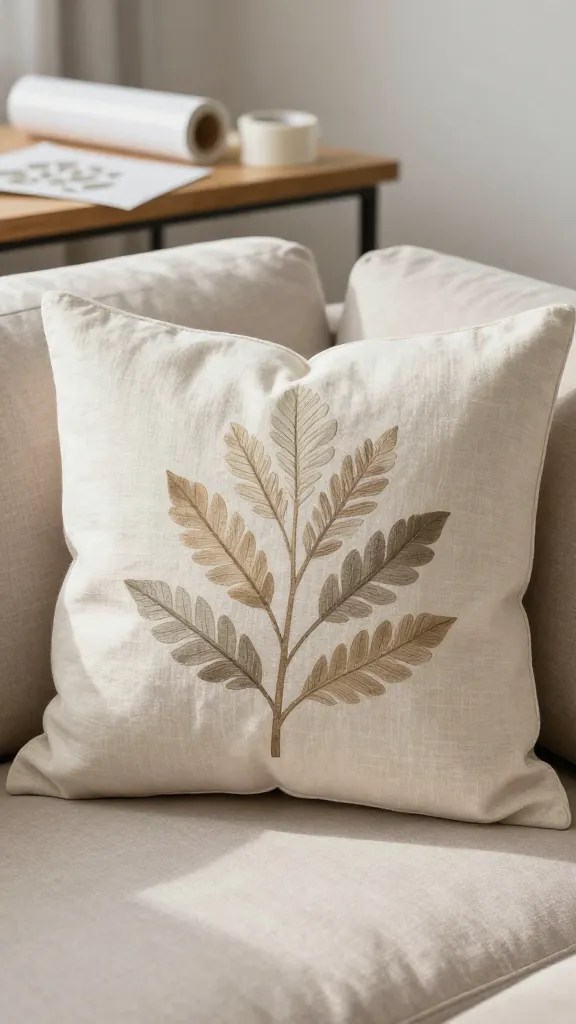
Turn ordinary throw pillows into statement pieces with easy stencil designs cut by Cricut. It’s like wearable art for your couch.
Materials
- Cotton or linen pillow covers
- Adhesive vinyl or stencil material
- Acrylic paint or fabric medium
- Transfer tape
How to Make It
- Cut a design that fits your pillow size—think botanical leaves, geometric lines, or abstract shapes.
- Apply vinyl stencil to the pillow cover and brush on paint in gentle strokes.
- Carefully remove stencil while damp for crisp edges.
Pro Tips
- Use high-contrast colors for a bold effect, or tone-on-tone for subtle chic.
- Wash and dry on gentle cycles to preserve the vinyl adhesion.
Who will love it? Textile lovers who want quick updates to living spaces or bedrooms.
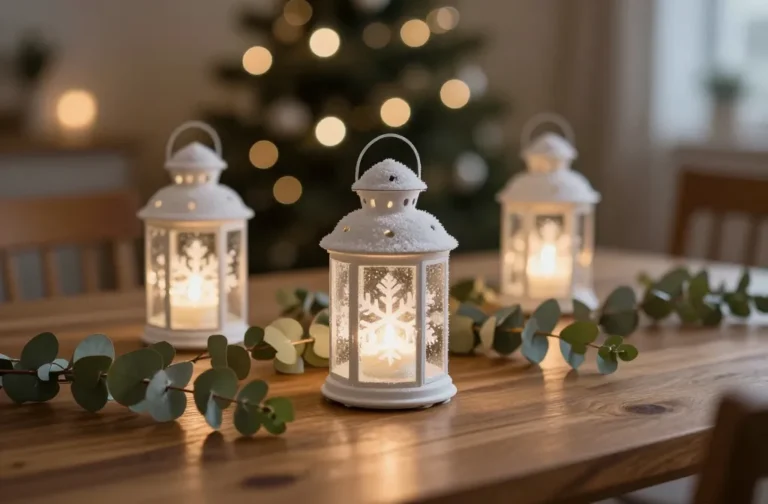
12. Cricut-Enhanced Seasonal Door Décor
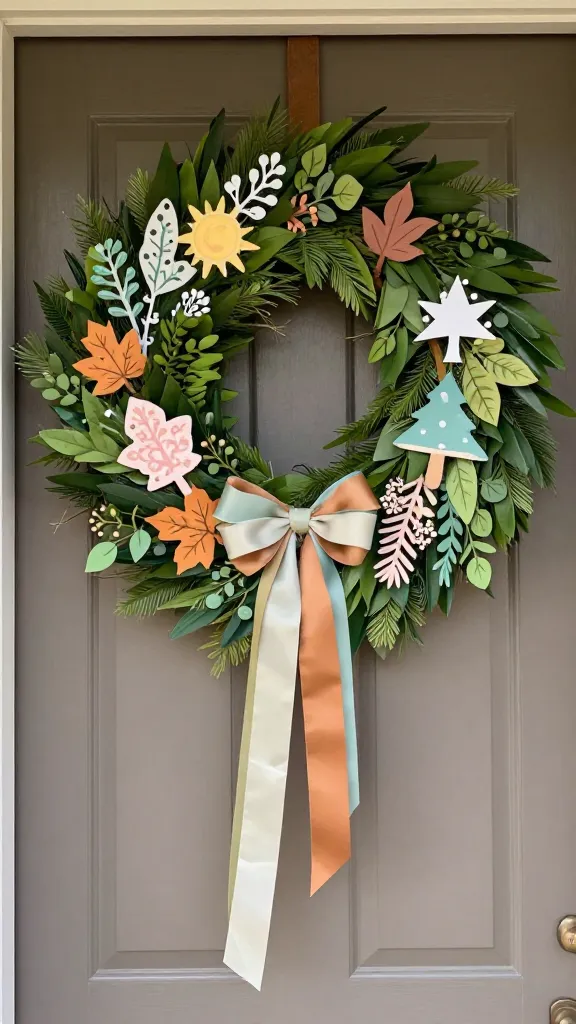
Last but not least, a festive door piece that changes with the seasons. This door décor is instantly welcoming and proudly handmade.
Materials
- Faux greenery, ribbons, and lightweight props
- Vinyl cutouts or cardstock shapes for seasonal icons
- Ribbon, twine, or a lightweight wreath base
How to Make It
- Cut seasonal motifs with the Cricut and attach to a wreath base or door hanger.
- Arrange greenery as a lush background and tuck in the shapes for pops of color.
- Hang on your door for a warm, Pinterest-perfect welcome.
Pro Tips
- Rotate elements through upcoming holidays for one reusable piece.
- Use weather-resistant materials if your door decor stays up year-round.
Who will love it? Anyone who loves greeting guests with a stylish, seasonal hello.
Conclusion
These 12 Cricut Room Decor Craft Ideas are your fast track to a more personal, photo-worthy space. Each project is distinct, fun, and easy to customize to your vibe. Pick one tonight, or dive into all twelve for a studio-grade, totally brag-worthy room makeover.
Ready to start crafting? Grab your machine, pick a favorite idea, and pin this guide for later. You’ll love how simple, rewarding, and endlessly charming these projects are.