5 Absolutely Cute Craft Ideas You’ll Love to Make
Ready to spark joy with your hands? These five unique DIY projects are easy, adorable, and totally Pinterest-worthy. Trust me, you’ll want to start one right now and maybe finish the whole set this weekend.
1. Whimsical Scented Garden Put-Tops Tea Cup Planters
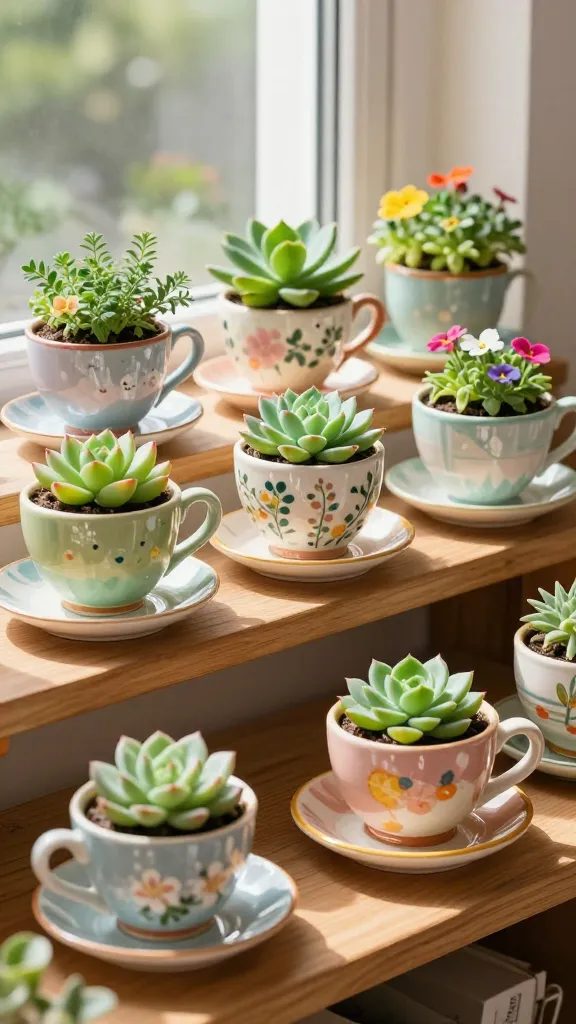
Imagine tiny, whimsical tea cups transformed into bright, fragrant planters that spark smiles as soon as you walk in the door. These little cuties sit happily on shelves, windowsills, or your desk, bursting with color and life.
What makes it special is the surprise element—tiny succulents or herbs peeking out from a porcelain cup, paired with fresh paint and a playful glaze. It’s a desk-friendly garden you can carry from room to room, and it makes a charming gift for gardeners-in-training or tea lovers.
Materials Needed
- Old teacups and saucers (sturdy, with no cracks)
- Assorted acrylic paints and brushes
- Small potting soil and tiny succulents or herbs
- Mini pebbles or decorative gravel
- Waterproof sealant or clear acrylic spray
- Adhesive putty or non-slip coaster pads
How to Make It
- Clean cups thoroughly and dry completely.
- Paint the exterior with bright, cheerful colors. Let each layer dry before adding a whimsy pattern (polka dots, stripes, tiny flowers).
- Drill or create a small drainage hole in the saucer if you’re feeling fearless; otherwise, place a tiny layer of pebbles at the bottom for water drainage.
- Fill cups with soil, tuck in a succulent or herb plant, and add a few decorative pebbles on top.
- Seal with a clear, waterproof coat to protect the paint from watering splashes.
- Place on a tray or saucer to catch excess water and prevent slipping.
Pro Tips / Styling Ideas
- Pair pastel cups with metallic accents for a soft, modern look.
- Line a bookshelf with a row of coordinated teacup planters for a whimsical garden vignette.
- Personalize each cup with initials or tiny doodles—great gift touch.
Who will love it: plant lovers, tea connoisseurs, and anyone who needs a cheerful desktop buddy. It’s a cozy, quirky upgrade to weekend greenery projects.
2. Velvet-Texture Dream Pillow Covers
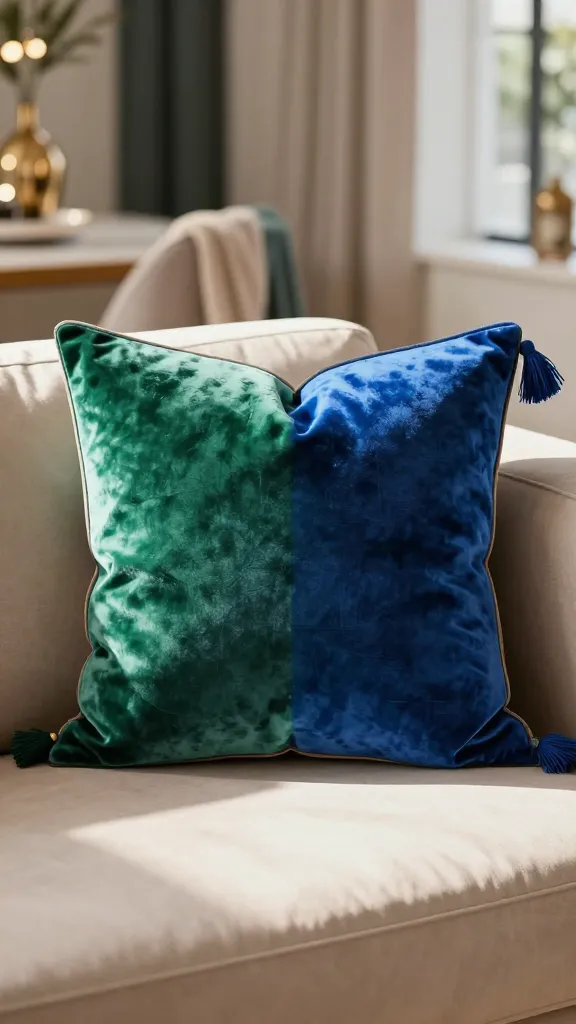
Soft, luxurious, and surprisingly simple to make, these velvet-textured pillow covers bring a touch of boutique vibes to any couch. The plush texture reads as high-end, but the DIY process stays friendly and doable.
What’s special here is the tactile payoff—press your cheek into a plump, velvet-soft surface, and you’ll want to squeeze it all day. Use bold color blocking or a gentle ombre to suit your space, then toss on a few decorative tassels for flair.
Materials Needed
- Velvet or velveteen fabric in chosen color(s) (or faux velvet sheets)
- 15×15 inch or 18×18 inch pillow inserts
- Strong sewing machine or fabric glue for no-sew option
- Coordinating thread and sharp scissors
- Optional: tassels, piping, or metallic thread for embellishment
How to Make It
- Cut fabric into two squares matching pillow insert size, plus a 0.5 inch seam allowance.
- Hem or enclose with a zipper/hidden opening along one side for inserting the pillow.
- Stitch a clean edge and finish with a gentle press to set the seams.
- Decorate with an optional trim, tassels, or a color-block panel on one side for contrast.
Pro Tips / Styling Ideas
- Pair a deep emerald with blush pink for a café-chic vibe.
- Mix velvet with a textured seed-stitched pillow for a layered look.
- Use a hidden zipper for a seamless, high-end appearance.
Who will love it: anyone craving a plush, luxe upgrade to a sofa or bed. It’s a quick weekend project with a seriously swoon-worthy payoff.
3. Upcycled Light-Up Paper Lanterns

Spark joy with glow—these charming paper lanterns embrace soft, ambient lighting while staying delightfully easy to assemble. Illuminate a porch, bedroom nook, or party space with handmade charm that feels custom and cozy.
The magic comes from wrapping existing lantern frames with colorful paper, then adding a low-watt LED bulb or fairy lights. The result is a warm, inviting glow that’s absolutely shareable on social feeds.
Materials Needed
- Paper lanterns (plain or printed)
- Decorative paper, tissue, or napkins for decoupage
- Mod Podge or decoupage glue
- LED string lights or a small LED bulb string
- Scissors, paintbrushes, and a craft knife
- Ribbon or twine for hanging
How to Make It
- Cut decorative paper to fit the lantern panels, removing any inner framing if necessary.
- Adhere paper panels with Mod Podge, smoothing out bubbles as you go.
- Apply a second coat of glue over the surface for durability and a subtle gloss finish.
- Insert the LED lights and place the lanterns in your chosen space. Hang with ribbon or set on a table for a glowing centerpiece.
Pro Tips / Styling Ideas
- Create a coordinated lantern garland by stringing several lanterns at different heights in the same color family.
- Try metallic or iridescent papers for a dreamy, ethereal effect.
- For outdoor use, opt for weatherproof LED lights and seal edges well to prevent moisture damage.
Who will love it: hosts, party planners, and anyone who adores warm, inviting ambiance. It’s magical without being fussy.
4. Mini Felt Animal Flats for Desk Decor
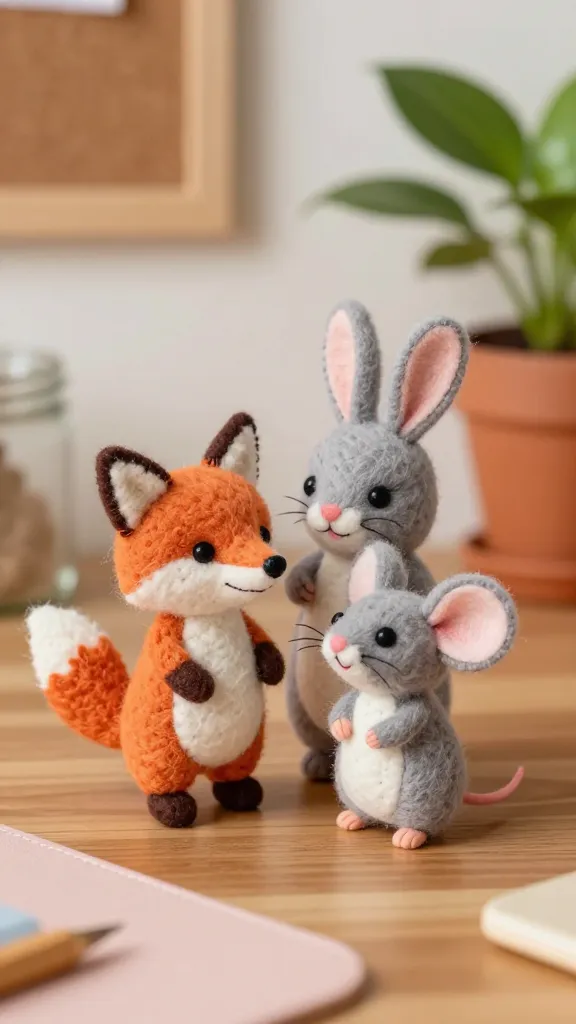
These tiny felt critters are pure whimsy—soft, sculptural, and wonderfully easy to customize. Clip them to a bulletin board, perch them on a plant pot, or tuck them into a gift package to bring a smile.
The best part? You don’t need advanced sewing skills. A quick stitch, a few needle-and-thread snips, and you’ve got a pocket-sized zoo that looks adorable perched on a shelf or laptop monitor.
Materials Needed
- Colorful felt sheets
- Embroidery needle and thread or fabric glue
- Polyfill stuffing
- Safety scissors
- Optional: tiny googly eyes, beads for noses, or stitched details
How to Make It
- Trace simple animal shapes onto felt (duck, cat, fox, bunny) and cut two identical pieces for each.
- Sew or glue edges, leaving a small opening for stuffing.
- Stuff firmly, then sew or glue shut. Add small features with embroidery or glue-on accents.
- Position on a desk, bookshelf, or plant pot—tiny friends wherever you need a cheerful boost.
Pro Tips / Styling Ideas
- Mix animals in a color palette: warm ochres, soft pinks, and leafy greens for a cohesive display.
- Attach a small magnet to the back to create cute fridge magnets.
- Use them as playful gift toppers that double as keepsakes.
Who will love it: kids, crafters, and anyone who appreciates tiny, tactile decor. It’s a pocket-sized project that packs big personality.
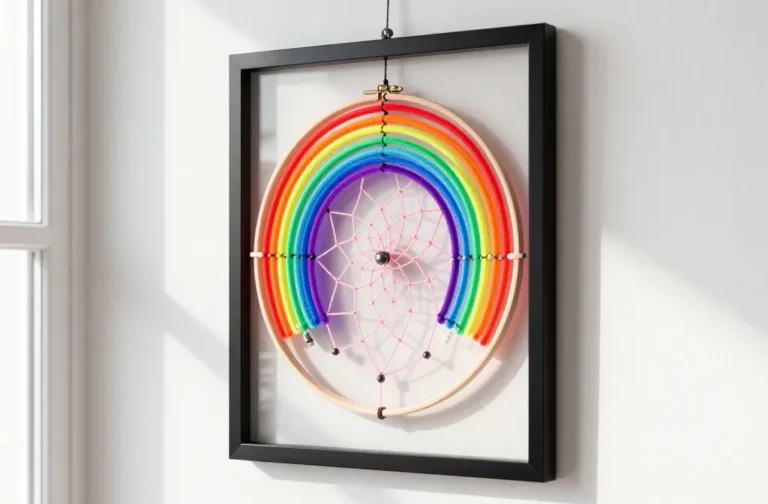
5. DIY Pom-Pom Wall Garland in a Rainbow Sunset
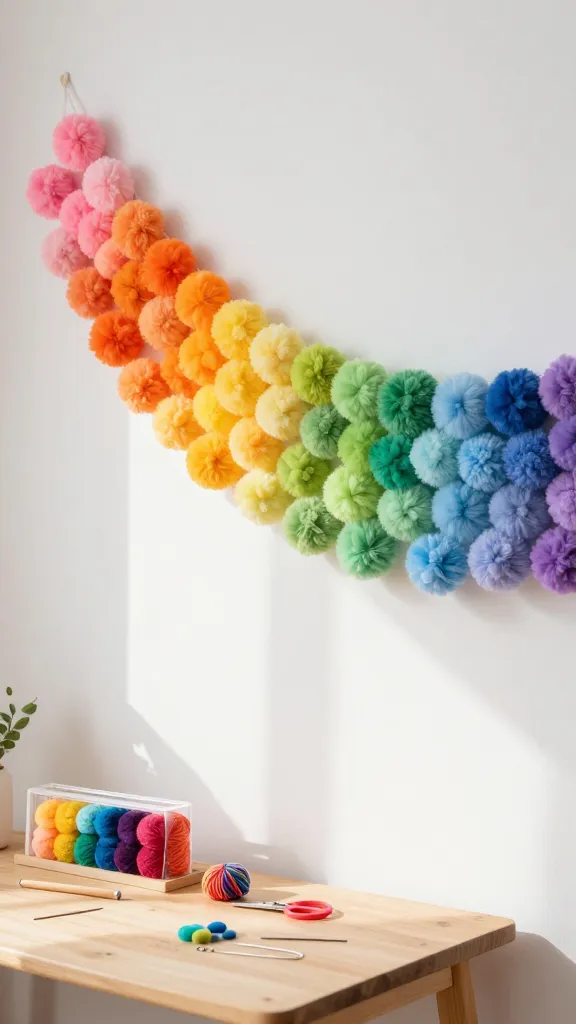
Cheery, fluffy pom-poms strung into a sun-kissed rainbow garland is the mood lifter your space didn’t know it needed. It’s soft, whimsical, and surprisingly quick to whip up, making it a perfect weekend project.
What makes this project special is the texture game—dense, fluffy pom-poms against clean wall lines create a delightful contrast that photographs beautifully.
Materials Needed
- Pom-pom maker or DIY pom-pom kits
- Worsted-weight yarn in a rainbow palette
- Scissors and a long embroidery needle
- Low-tack painter’s tape or a lightweight rope for hanging
- Optional: hot glue for extra-secure pompoms
How to Make It
- Wrap yarn around the pom-pom maker according to the tool’s instructions, or use two fingers to make simple pom-poms.
- Trim to achieve a fluffy ball, then secure with a tight knot.
- Repeat with several colors, creating a sequence that mimics a sunset arc—red, orange, yellow, peach, pink, lavender, and blue.
- Thread pompoms onto a length of yarn or string and hang as a garland along a wall, doorway, or bed headboard.
Pro Tips / Styling Ideas
- Alternate sizes for a dynamic, organic look.
- Attach pompoms to a lightweight wooden dowel for a wall-hanging focal piece.
- Because pompoms shed, pop garland into place after the room is tidy to keep surfaces clean.
Who will love it: teens, nurseries, and anyone who wants a soft, joyful accent that’s easy to customize and photograph. It’s a mood-booster you can literally wrap your walls in.
Conclusion
Five completely unique, absolutely cute craft ideas you’ll love to make are ready to roll. Each project brings its own charm—whether you crave greenery, luxe textures, glowing ambiance, tiny creatures, or fluffy color—and they’re all friendly to beginners with big, share-worthy results. So grab a glue gun, a spool of yarn, or a brush, and start crafting. You’ve got this, and your home (and feed) will thank you.
Happy crafting, and don’t forget to pin your favorites—these are the kind of ideas you’ll come back to again and again. Seriously, you’ll love this new crafty streak!