8 Craft Ideas Air Dry Clay You’Ll Want Now
It’s amazing what you can whip up with air dry clay: cute charms, sturdy bowls, and decor that looks like it cost a fortune but didn’t break your budget or your sanity. If you’ve got a lazy afternoon and a few colors, you’re basically halfway to a mini studio. No kiln? No problem. Air dry clay is a magician’s wand for budding artists and seasoned cidget crafters alike. FYI, you’ll learn fast that some ideas look impossible until they aren’t.
1) Quick-start projects that prove the magic is real
You don’t need a long game plan to start having fun. Grab a few colors, a rolling pin (or bottle, or a clean marker), and a splash of patience. Shape a coin, a tiny animal, or a pendant in under 20 minutes. The best part? You’ll be surprised how a simple circle becomes a charm you’ll actually wear.
– Roll and flatten thin sheets for cozy pendant shapes.
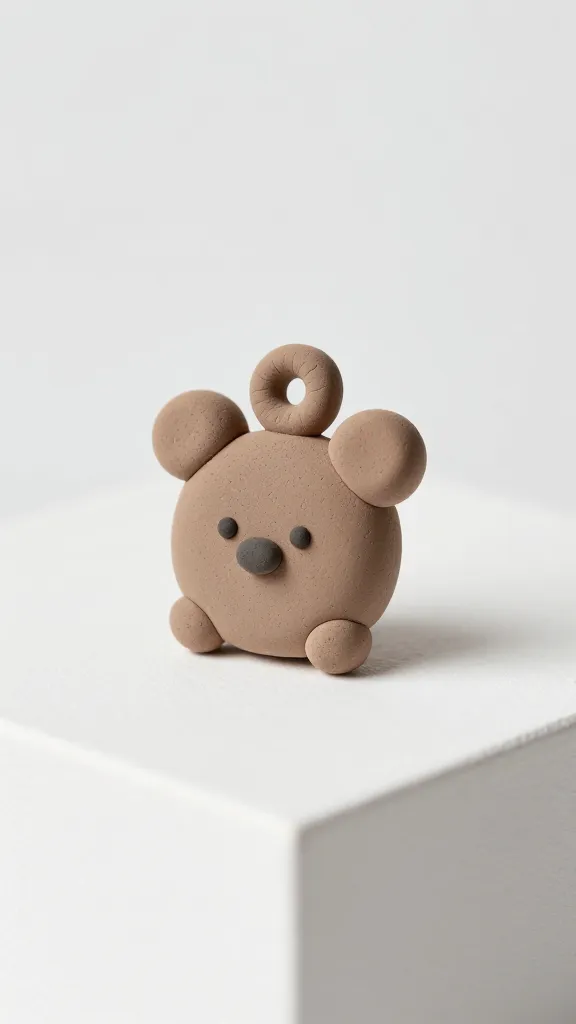
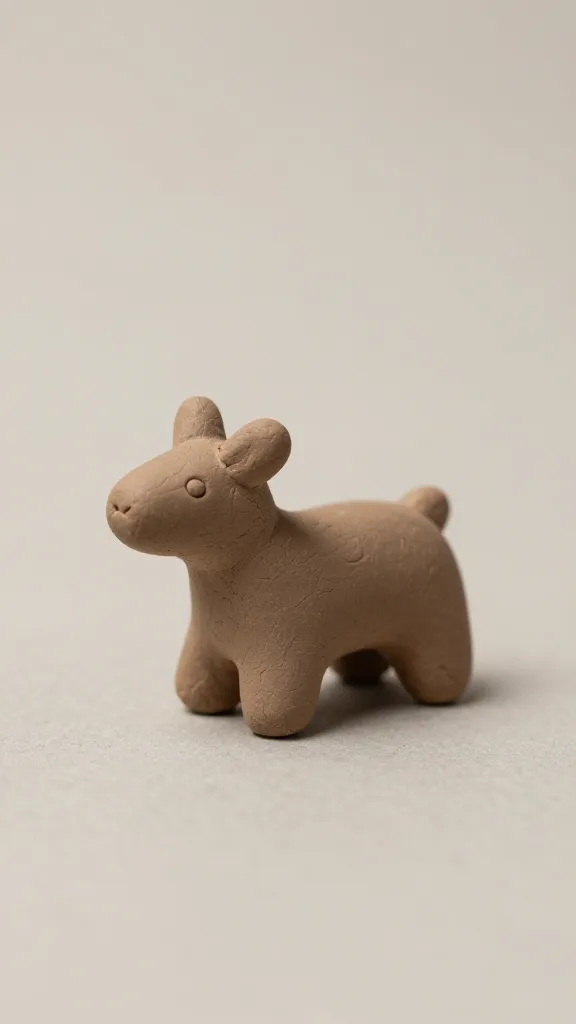
– Pinch and twist to sculpt a cute creature.
– Impress textures with leaves, fabric, or a comb for instant detail.
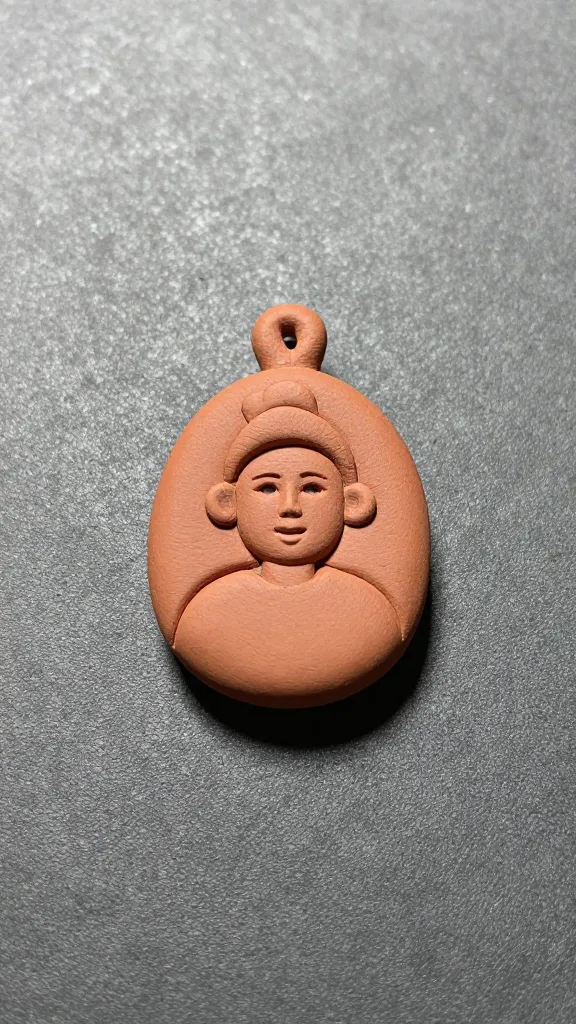
2) Charms and jewelry that actually survive the daily grind
Yes, you can make earrings and necklaces that don’t crumble after a week. The trick is in two steps: smooth surfaces and a sturdy bake or air cure. If you want bold, chunky beads, go for thicker walls and fewer delicate bits that might chip.
2.1 The “how to seal the deal” on clay charms
– Let the pieces dry thoroughly before painting or sealing. Damp clay is a drama queen.
– Sand lightly to smooth rough edges, then seal with a friendly glaze or optional varnish.
– Attach hardware before the piece hardens fully if you want studs or jump rings to feel sturdy.
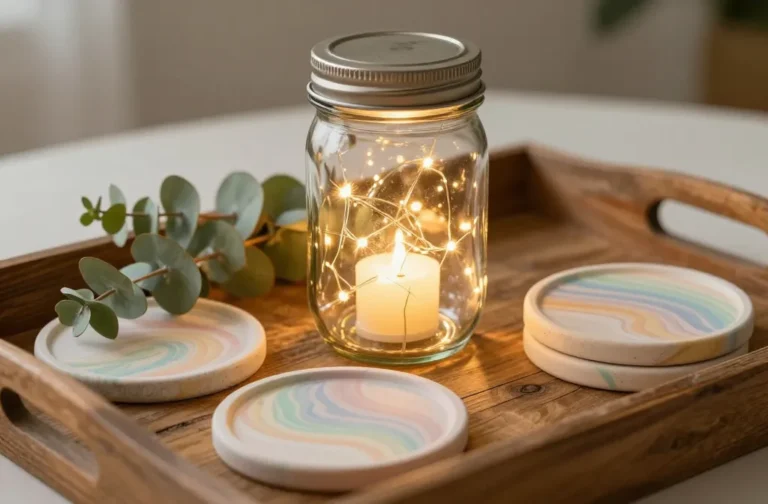
3) Functional yet adorable: bowls, trays, and catch-alls
Who says you can’t mix utility with cuteness? Air dry clay bowls and trays are perfect for keys, jewelry, or morning coffee odds and ends. Make them a touch quirky: a little dish shaped like a fruit, or a geometric tray with a glossy rim.
– Use a mold or freehand shape for a unique silhouette.
– Add a thin slab for lip detail so items don’t slip off.
– Paint with acrylics after fully dry, then seal for a little extra longevity.
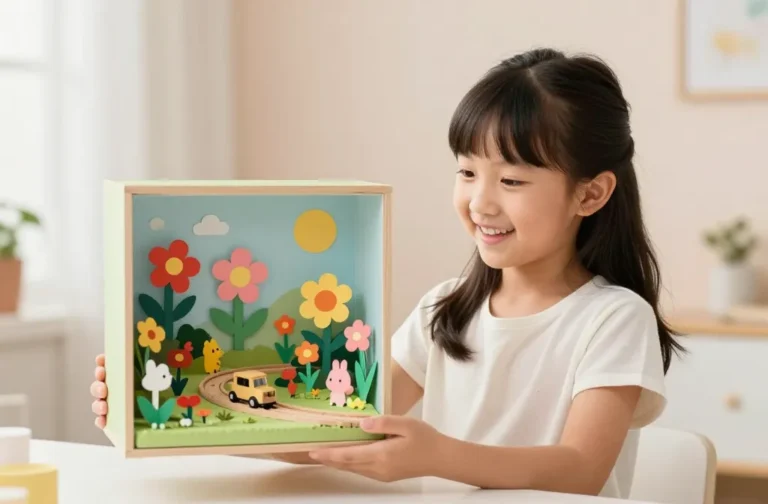
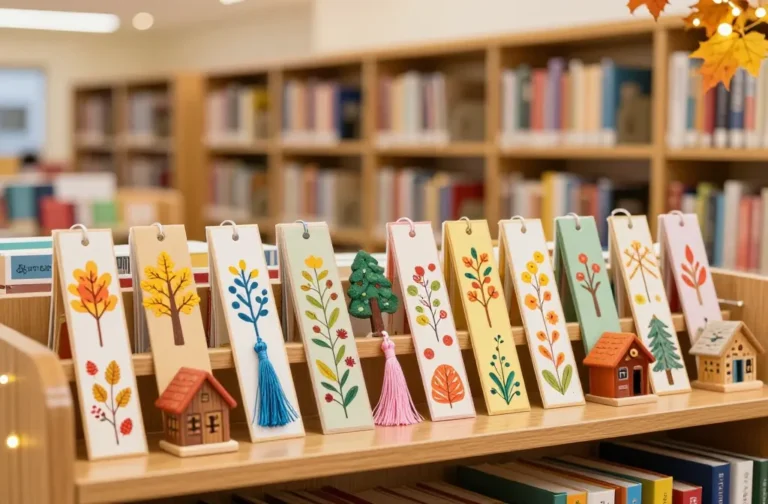
4) Miniature world: tiny houses, food, and scenes
If you’re the type who binge-watches tiny-house videos, you’ll love miniature clay. Create tiny pastries, vegetables, or furniture you can use in a dollhouse or as playful desk decor. Precision matters, but so does whimsy: you can go cute, kooky, or hyper-realistic.
4.1 Pinpoint tricks for tiny pieces
– Use a fine needle tool or toothpick for detailing.
– Work in thin layers; air dry clay dries from the outside in, so you want to avoid cracks.
– Bake only if your clay is labeled as bakeable; most air dry clays set by air, not heat.
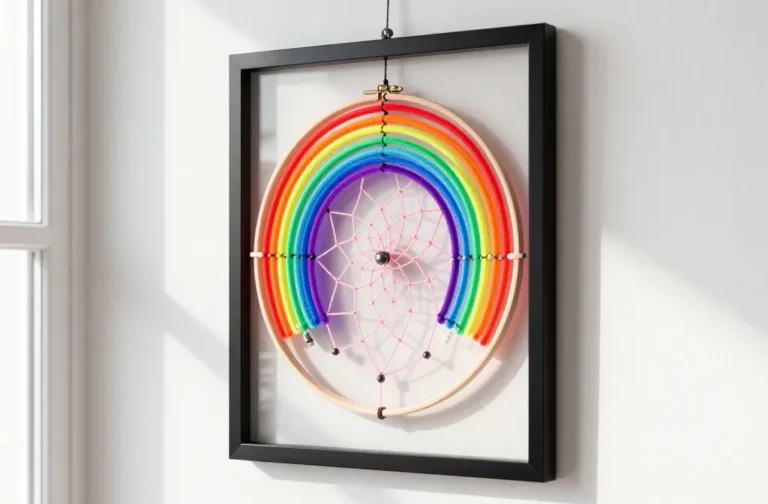
5) Decor that lasts: masks, wall accents, and seasonal pieces
Seasonal decor is where air dry clay shines. Create a set of wall hangings or a seasonal garland that you refresh yearly. The materials are forgiving, and you can repaint or re-seal as trends shift (or as your cat knocks them off the shelf again).
5.1 Finishing touches that make it professional
– Use a sealant to protect painted surfaces from humidity and fingerprints.
– Sand edges with a fine grit for a polished look.
– Experiment with metallic paints or gloss varnishes to elevate your pieces.
6) Tools and tricks that actually save time
You don’t need a fancy toolset to craft with air dry clay, but a few basics speed things up and improve results.
– Rolling guides: cut evenly with a ruler or use a strip of sturdy cardboard.
– Texture rollers or stamps for instant patterns.
– Clay-safe glue or slip for joining pieces cleanly.
– A dedicated table or tray to keep workspace clean and organized.
6.1 Quick cleanup and storage tips
– Store unused clay in an airtight bag to prevent drying out.
– Clean your tools with a damp cloth before the clay hardens.
– Lay finished pieces on wax paper so they don’t stick while drying.
7) Troubleshooting: common hiccups and how to fix them
Even the best crafters hit rough patches. Here’s how to keep projects moving when things get weird.
– Cracks on the surface? Often caused by uneven thickness. Smooth out with a damp finger and rework the edges.
– Pieces won’t stick together? Make sure joint surfaces are slightly rough and use a little slip (liquid clay) to fuse.
– Warping from drying too fast? Dry pieces slowly in a cool, shaded area and consider propping them with stands.
8) Display and care: turning craft into keepsake
The final step isn’t just “make it pretty.” It’s about making sure it sticks around long enough to brag about at your next coffee date. Proper display and care elevate your hobby into a tiny museum for your own desk.
– Choose a simple, stable base for bowls or trinket dishes.
– Avoid direct sunlight for painted pieces to prevent color fading.
– Dust lightly with a soft brush and re-seal every so often if you’re displaying heavily used items.
Conclusion
Air dry clay is basically your creative playground you can pack in a tote. It’s forgiving, fast, and surprisingly sturdy when you treat it right. Whether you’re making quick trinkets, practical storage, or a mini fantasy world, you’ll learn with every piece you finish. So grab a color or two, pick a project, and start squeezing, shaping, and painting your way to a small victory you can actually show off. IMO, the best part is you can give these creations as legit gifts without the fear of them breaking in transit.
FAQ
What exactly is air dry clay, and how does it differ from regular clay?
Air dry clay sets by evaporation of moisture, turning hard at room temperature. Regular clay often requires firing in a kiln to cure. Air dry clays are convenient, beginner-friendly, and great for home projects, though they may be a bit more fragile than kiln-fired pieces.
How long does air dry clay take to cure?
Most air dry clays take 24 to 72 hours to fully harden, depending on thickness and humidity. Thicker pieces need longer, and a little patience pays off so they don’t crack.
Can I seal air dry clay, and which sealant should I use?
Yes, sealing helps protect painted surfaces and adds a little gloss. Use an acrylic sealer or varnish labeled for clay. Apply in thin, even coats and let each layer dry between applications.
Are there risks I should know about using air dry clay around kids?
Keep an eye on small pieces that could be choking hazards for younger kids. Non-toxic clays are a good choice, and always supervise children during crafting. Personal hygiene matters too—wash hands after handling clay and before eating.
What are some beginner-friendly project ideas I can start with today?
Try a set of simple pendants, a tiny fruit dish, or a few animal charms. Minimal shapes, bold colors, and smooth finishes make great first projects that you’ll actually finish and be proud of.
Do I need special tools, or can I improvise?
You can start with everyday items: a rolling pin, a ruler, a plastic knife, and a toothpick. As you get into it, you can add texture stamps, molds, and carving tools for more precise details. FYI, you’ll find your own favorite tools along the way.