7 Craft for 2nd Graders: Fun Diy Ideas for Kids
I’m not saying you need a full-blown art studio to spark creativity, but 7 craft projects for 2nd graders will make your kitchen table feel like a tiny, colorful factory. These ideas strike a balance between messy and magical, so kids stay engaged without turning the house into a glitter disaster zone. Bonus: each craft doubles as a mini-learning moment. Yes, we’re packing learning and laughter into one gluey, glorious afternoon.
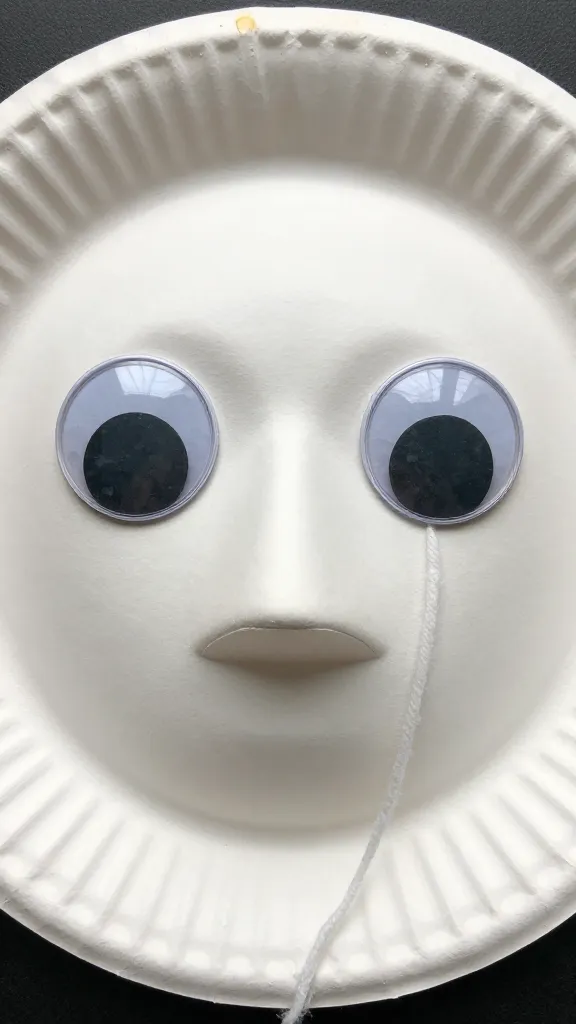
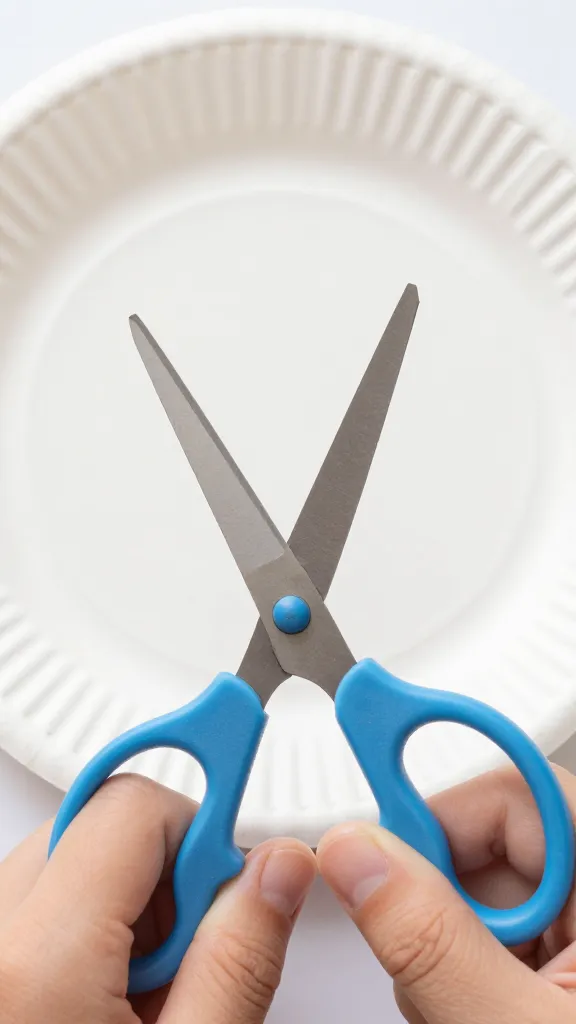
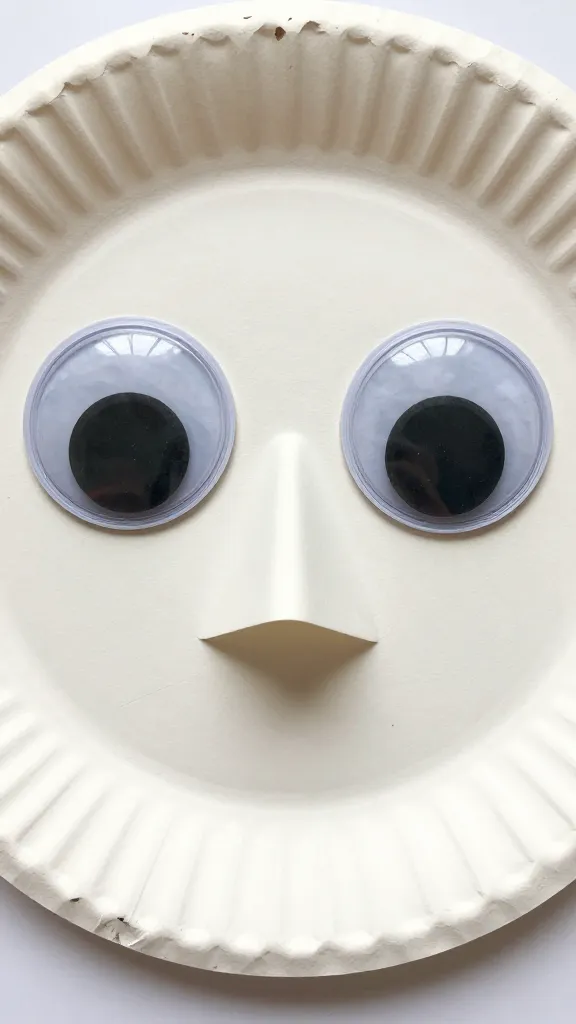
1. Paper Plate Parade: Masks, Animals, and Masks Again
Paper plates are the unsung heroes of elementary crafts. They’re sturdy, cheap, and easy to transform. Ask kids what animal they want to be and watch the creativity fly—lions with golden manes, owls with big eyes, or a goofy alien with antennae.
– What you’ll need: paper plates, crayons or markers, scissors (kid-safe), glue, yarn or pipe cleaners, and a few googly eyes.
– Quick steps: cut the plate into a mask shape, color it, add features with paper shapes, attach strings to wear it.
– Quick tip: let kids plan the design first with a simple doodle, then execute. It builds confidence and reduces last-minute tears.
Subsection: Mask Design Brainstorm
If you’re stuck for ideas, do a five-idea brainstorm sprint. Each kid sketches five quick face ideas, then picks two to build. It’s like a tiny creative decision workshop, but for kids.
2. Nature Collage: A Forest on Your Wall
Nature collages are perfect because they blend outdoor exploration with indoor artistry. They’re forgiving, too: leaves, twigs, and bits of bark all earn their place.
– What you’ll need: sturdy paper or cardboard, glue sticks, scissors, and a bag of natural wonders collected on a short nature walk.
– Quick steps: arrange pieces first, then glue. Add pops of color with markers or paint.
– Bonus: talk about textures—rough bark, smooth pebbles, soft moss. It’s a mini science lesson without the worksheet.
- Take a quick outdoor stroll and collect treasures (or use scraps from a craft stash).
- Lay out a forest scene on the page.
- Glue elements in place and add touches with markers.
Subsection: Texture Talk
Ask, “Which texture would a bear’s fur have? How about a pinecone’s rough surface?” It turns a simple collage into a mini tactile science chat.
3. Salt Dough Sculptures: Hands-On Pottery Without the Mess
Salt dough is basically kid-friendly pottery in a bag. You mix it, shape it, bake it, and paint it. The best part? It smells like Grandma’s kitchen and holds up to finger-paint experiments.
– What you’ll need: flour, salt, water, mixing bowls, cookie sheets, acrylic paints, brushes.
– Quick steps: mix dough, knead until smooth, shape, bake low and slow, cool, paint.
– Pro tip: keep shapes simple—buttons, stars, animals—so they dry evenly and don’t crack.
- Make the dough with a ratio that’s forgiving (roughly 2 cups flour, 1 cup salt, 1 cup water).
- Shape your mini masterpieces.
- Bake until solid, then decorate.
4. Bottle Cap Printmaking: Recycled Art That Pops
If you’ve got a bottle-cap stash (or a few plastic lids), you’ve got a print studio. This project blends recycling with bold prints.
– What you’ll need: plastic bottle caps, washable paint, sturdy paper, a roller or sponge.
– Quick steps: dab paint in the cap, press onto paper, rotate for different patterns.
– Why it works: kids get immediate feedback—satisfying prints each time. FYI, it’s a little messy, but totally worth it.
Subsection: Color Play
Encourage kids to mix two colors on the cap or paper to see what new shades appear. It’s a fast, colorful lesson in color theory without the textbook boring bits.
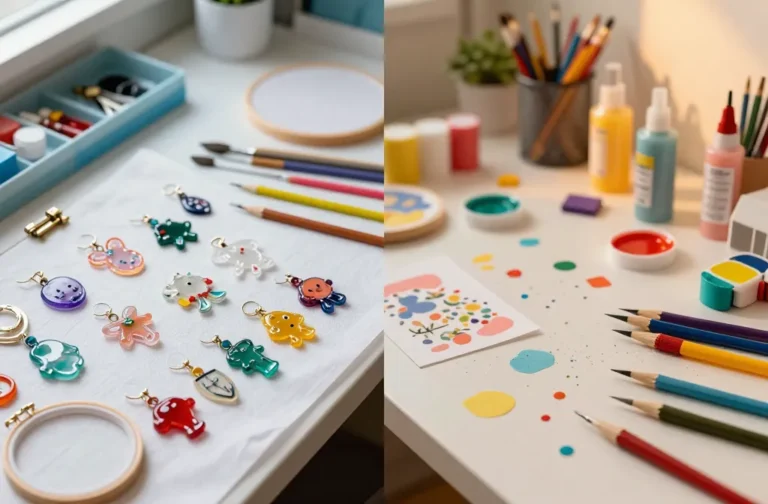
5. Paper Beads: Jewelry-Making the Easy Way
Paper beads turn ordinary strips into tiny, bright orbs perfect for bracelets or necklaces. It’s a great way to practice fine motor skills and sequencing.
– What you’ll need: sturdy colored paper, scissors, pencil, glue, clear nail polish or mod podge, string.
– Quick steps: cut long triangular strips, roll tightly around a pencil, seal with glue, thread onto string.
– Safety note: supervise glue use and drying times; these beads take a bit to set.
- Cut paper into long, wide triangles.
- Roll from the wide end to the point and seal with glue.
- Let dry, then string into a fun bracelet or necklace.
6. DIY Story Stones: From Brain to Book in a Few Minutes
Story stones are small, flat canvases for imagination. Washable paints let kids decorate stones with characters, settings, or objects, then tell a story using the stones as prompts.
– What you’ll need: smooth stones or pebbles, acrylic paint or markers, a clear sealant (optional).
– Quick steps: paint a simple image on each stone, let it dry, place them on a table and tell a tale.
– Why it sticks: it builds narrative skills and gives shy kids a friendly prompt to start a story.
Subsection: Quick Story Framework
Give them a three-part prompt: “Once, there was a [character], who found a [object] in a [place]. What happened next?” It’s simple, fun, and surprisingly dramatic.
7. DIY Gratitude Journal: Craft, Write, Reflect
Second grade is a fantastic time to start a tiny journal. Cap it with a craft cover and a few pages for drawing and writing.
– What you’ll need: mini notebooks or folded paper pages, decorative paper, stickers, markers.
– Quick steps: decorate the cover, add a title, and write or draw one thing you’re grateful for each day.
– Why it lasts: it builds a habit of reflection and gives kids a personal artifact to flip through.
Conclusion
Craft time isn’t just about glitter and glue. It’s about picking up confidence, learning through play, and finding joy in making something with your own hands. These 7 crafts for 2nd graders are designed to be engaging, forgiving, and, yes, a little messy in all the right ways. FYI, you don’t need a full art studio to pull these off—just a willingness to roll up sleeves and a dash of spontaneity. So grab the supplies, clear a small corner of the kitchen table, and let the creative floodgates swing wide open.
FAQ
What if my child gets frustrated with a craft?
Offer a quick break, switch to a simpler step, or pair them with a buddy. Sometimes a fresh perspective or a partner’s help makes all the difference.
How long should a typical craft session last?
Aim for 20 to 40 minutes, depending on interest. Short bursts keep attention high and the mood positive.
Are these crafts okay for a classroom setting?
Absolutely. They’re simple, inexpensive, and adaptable for group work. Just adjust the cleanup plan and proportion of materials.
Can we customize these for themes (seasonal, holidays, etc.)?
Yes. Swap colors or add seasonal stamps and stickers. The core steps stay the same, but the vibes shift with a quick theme tweak.
What tools are essential for first-timers?
Basic scissors, glue sticks, markers, a stash of paper, and a small bag of misc craft bits (googly eyes, buttons, yarn). Everything else is gravy.