15 Craft Ideas Birthday Dollar Store: Diy Party Magic
Hey crafty friend, ready to turn a simple dollar store haul into dazzling DIY magic? These 15 ideas prove you don’t need a big budget to create big wow. Each project is efficient, shareable, and totally Pinterest-able—trust me, you’ll love this.
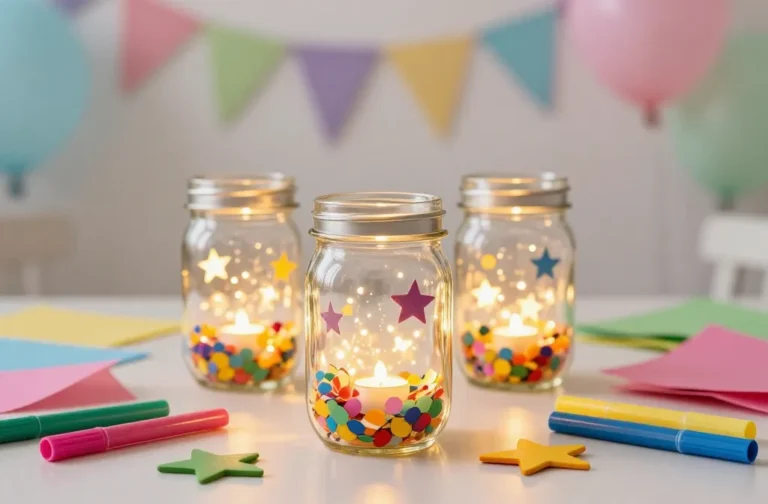
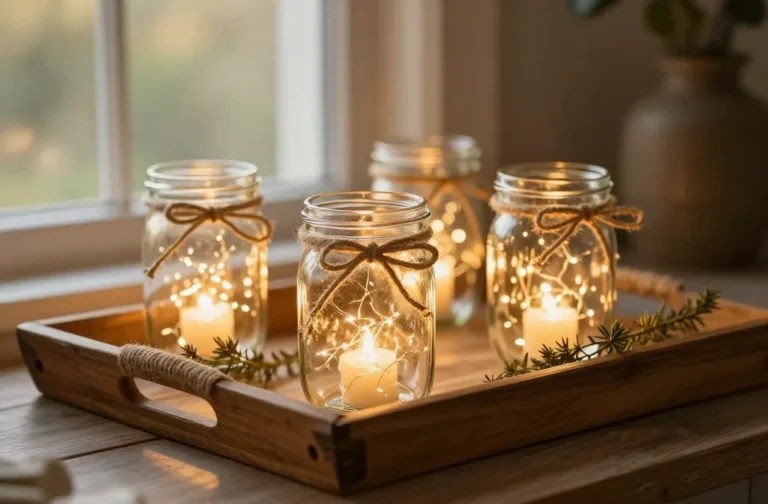
1. Rustic Mason Jar Lantern With Fairy Lights
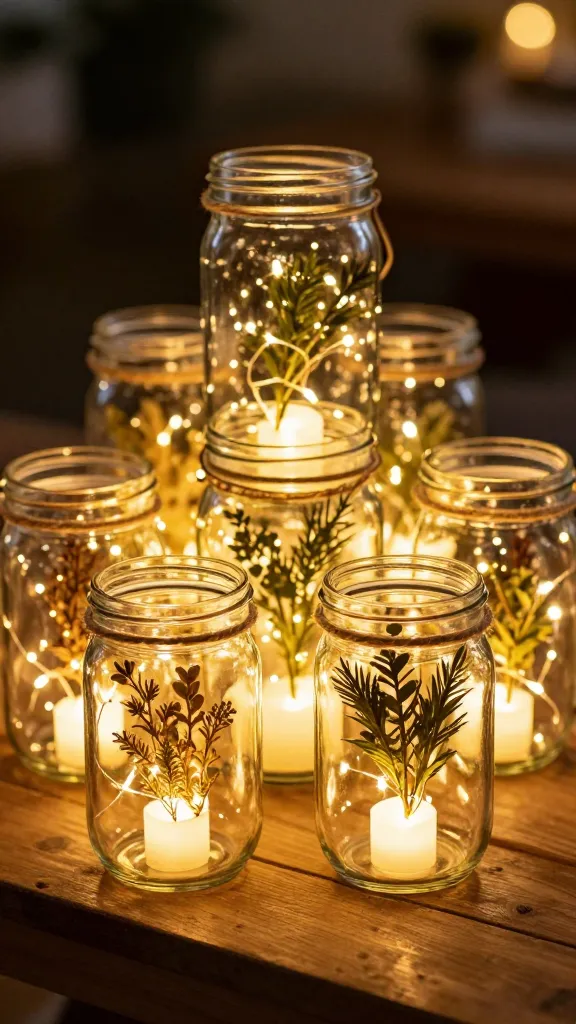
Picture a cozy, warm glow wisping through your space. This lantern uses simple jars, twine, and a string of fairy lights to cast soft amber halos. It’s charming on shelves, patios, or as a centerpiece for a birthday table.
Materials Needed
- Mason jars (various sizes)
- Battery-operated fairy lights
- Jute twine or chunky rope
- Faux greenery or dried botanicals
- Glue gun and glue sticks
How to Make It
- Wrap the necks of jars with twine, securing with glue.
- Fill jars with a loose coil of lights; tuck greens around the base for texture.
- Group on a tray, and turn on for instant ambiance.
Pro Tips / Styling Ideas
- Pair with votives and a few neutral candles for a layered glow.
- Use for outdoor evening parties or intimate indoor dinners.
Who would love it? Anyone craving warm, rustic vibes and a quick glow-up for a birthday setup.
2. Colorful Confetti Balloon Garlands
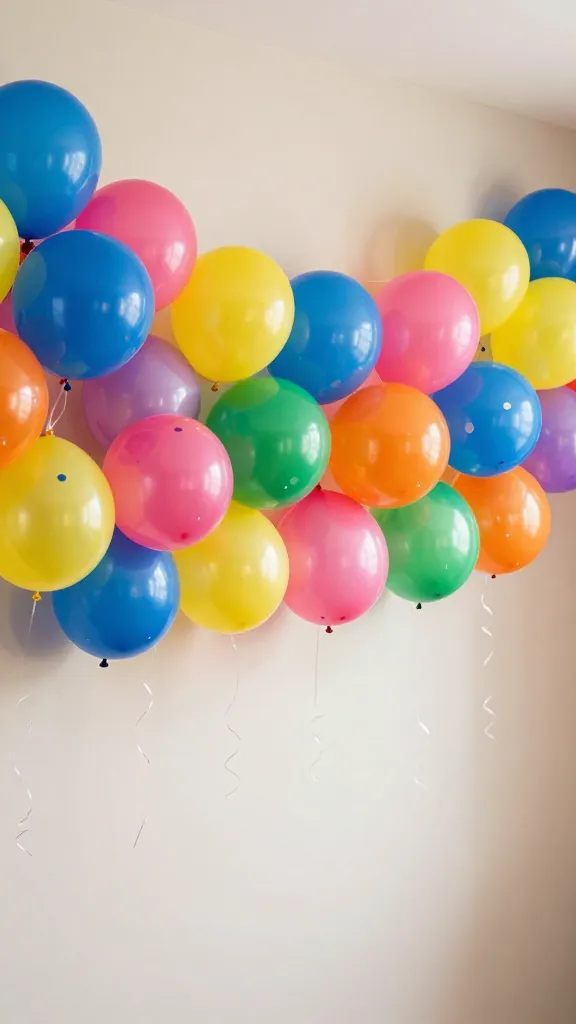
Drop a rainbow of joy with a confetti balloon garland that bursts with celebration. It’s playful, photo-ready, and surprisingly easy to assemble with a little patience and tape.
Materials Needed
- Assorted latex balloons in bold colors
- Confetti or tissue paper circles
- Balloon ribbon/string
- Command hooks or balloon garland strip
How to Make It
- Inflate balloons to varying sizes for depth.
- Glue confetti circles to balloons while they’re still a bit deflated for better adhesion.
- Attach balloons in a flowing arc on the garland strip or wall with tape.
Pro Tips / Styling Ideas
- Mix metallics with matte colors for a modern twist.
- Anchor the ends with a small bouquet of tissue paper tassels.
Who would love it? Party planners, tiny humans who adore color, or anyone wanting a playful backdrop.
3. DIY Painted Floral Terracotta Pots
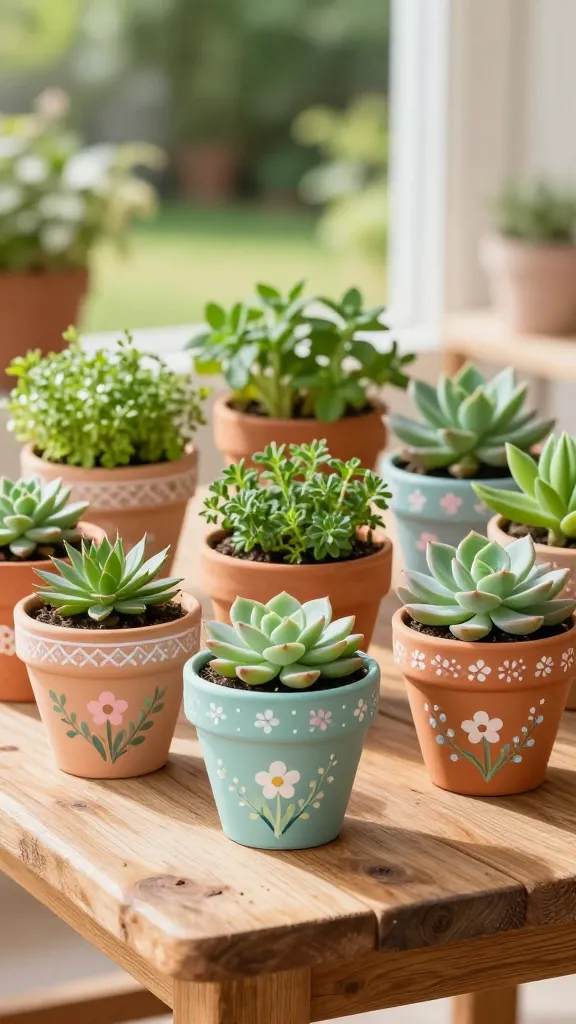
Turn plain dollar-store terracotta into little garden canvases. Paint soft florals or geometric patterns, then fill with herbs or succulents for a fresh birthday vibe indoors or out.
Materials Needed
- Terracotta pots (small and medium)
- Acrylic paints in pastel tones
- Paint brushes (fine tip for details)
- Clear sealant spray
How to Make It
- Sketch your design lightly, then fill with color.
- Seal to protect from moisture and wear.
- Pair with a cute label or chalkboard tag for gifting.
Pro Tips / Styling Ideas
- Use a glaze brush for subtle gradient effects.
- Wrap a ribbon around the rim for extra charm.
Who would love it? Garden lovers, gift-givers, or anyone who wants a portable pop of color.
4. Sparkly Chalkboard Picture Frames
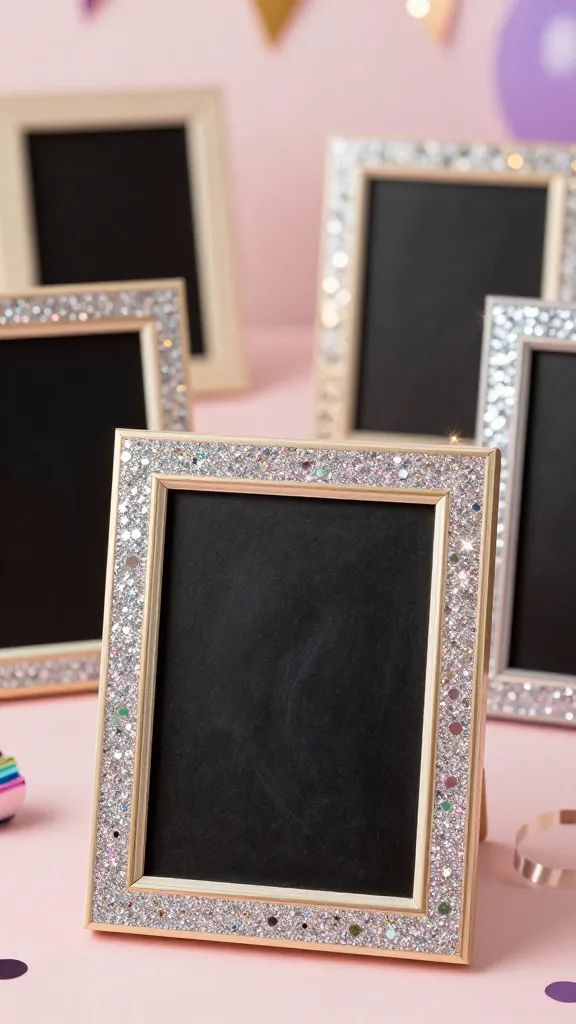
Give ordinary frames a glam upgrade with chalkboard paint and sparkly embellishments. Perfect for birthday messages or photo collages that you can customize year after year.
Materials Needed
- Plastic or wooden frames from the dollar store
- Chalkboard paint or chalkboard contact paper
- Sequins, small gems, or metallic stickers
- Painter’s tape
How to Make It
- Cover the frame with chalkboard paint or attach chalkboard paper.
- Decorate the border with sparkly elements, leaving space for writing.
Pro Tips / Styling Ideas
- Use as a birthday message board on party tables.
- Change the message daily for a cute home gallery.
Who would love it? Stationery lovers, moms decorating a party, or anyone designing a personalized gift.
5. Paper Lantern Garland With a Modern Twist
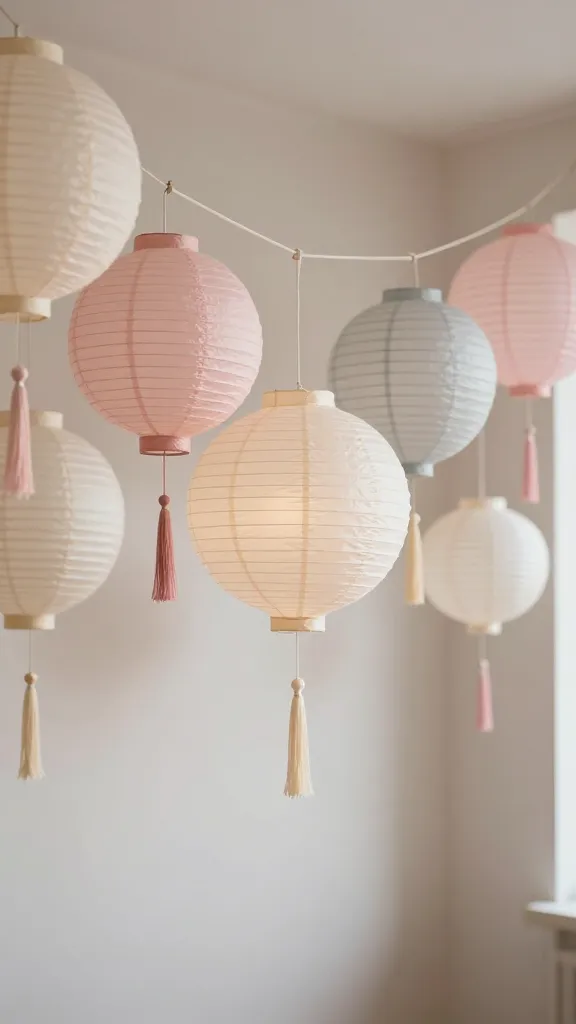
Soft, sculpted paper lanterns become a chic garland when strung with a clean color palette. This is an easy project with major visual payoff for a birthday party or bedroom nook.
Materials Needed
- Paper lanterns in varying sizes
- String or twine
- Ribbon or tassels
- Adhesive dots or small clips
How to Make It
- Hang lanterns at different heights along the string.
- Tuck tassels or ribbons between lanterns for texture.
Pro Tips / Styling Ideas
- Coordinate colors with the party theme for a cohesive look.
- Use with battery-powered LED tea lights for ambiance (never leave lit unattended).
Who would love it? Decor lovers who want a lightweight, scalable decor piece.
6. Mini Velvet Memo Boards
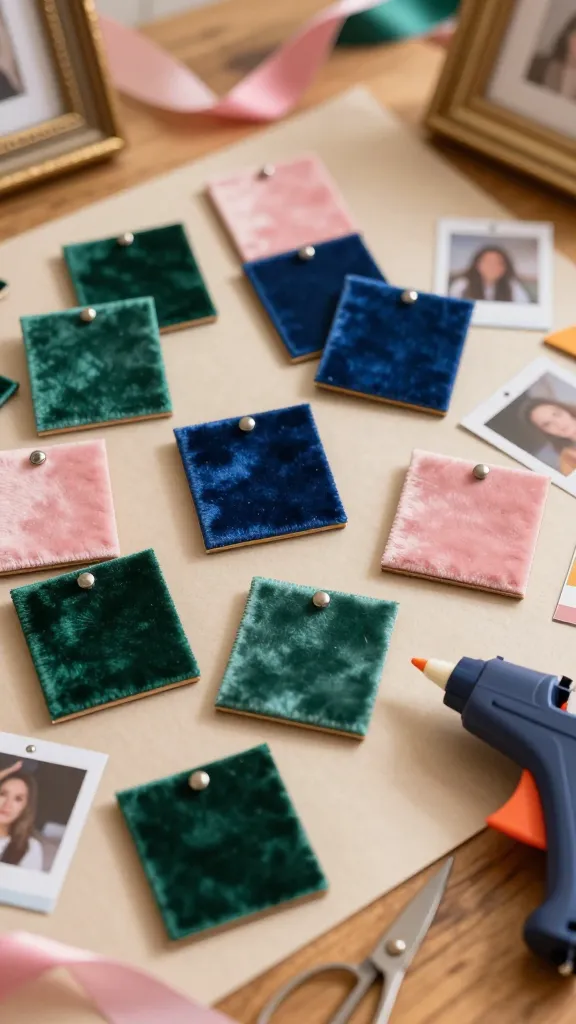
Soft, luxe, and surprisingly functional, these mini velvet boards are perfect for notes, photos, or tiny birthday reminders. A touch of sophistication from a dollar-store steal.
Materials Needed
- Small wooden boards or thrifted frames
- Velvet fabric or felt
- Pins or tiny magnets
- Hot glue gun
How to Make It
- Cut velvet to fit and glue to the board backing.
- Attach magnets or pins to hold photos or cards.
Pro Tips / Styling Ideas
- Create a set in coordinating colors for a cohesive gift trio.
- Use as a desk accessory or wall display for a birthday office nook.
Who would love it? Crafters who adore texture, and anyone who loves a chic stationery vibe.
7. Upcycled LED Tea Light Lanterns
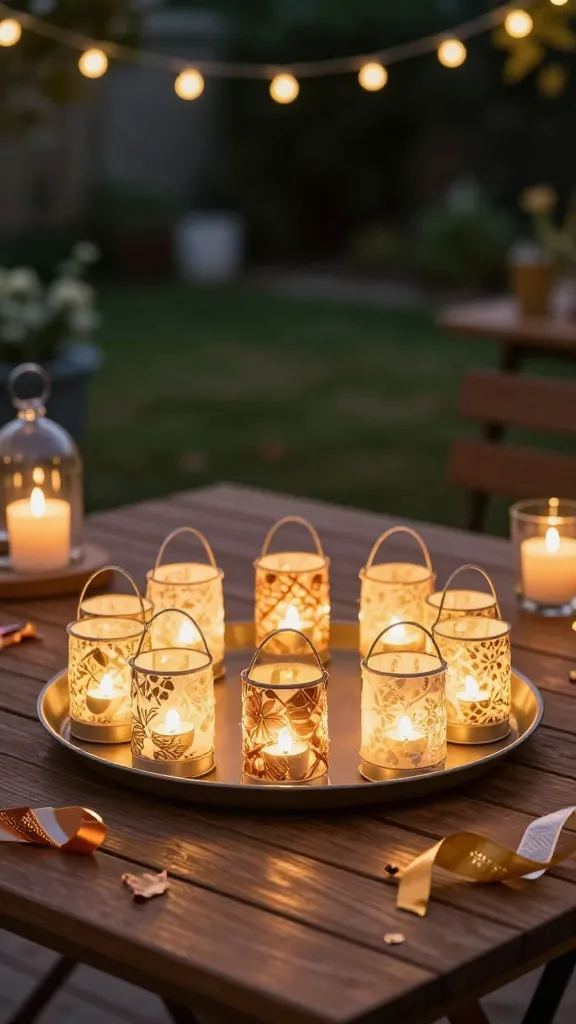
Turn tiny LED tea lights into a lattice of warm glows by wrapping them in decorative paper and hoops. It’s whimsical, affordable, and perfect for a birthday night in or outdoor patio mood.
Materials Needed
- LED tea lights
- Hollow metal or plastic hoops (or cut-out cardboard rings)
- Washed or patterned paper
- Double-sided tape
How to Make It
- Wrap hoops with paper, leaving a hole for the light.
- Place tea lights inside and arrange the hoops in a circle on a tray.
Pro Tips / Styling Ideas
- Mix metallics with matte blues or pinks for a dreamy effect.
- Use on a balcony or table for soft, magical illumination.
Who would love it? Anyone who enjoys cozy evenings and a touch of whimsy.
8. Geometric Succulent Wall Art
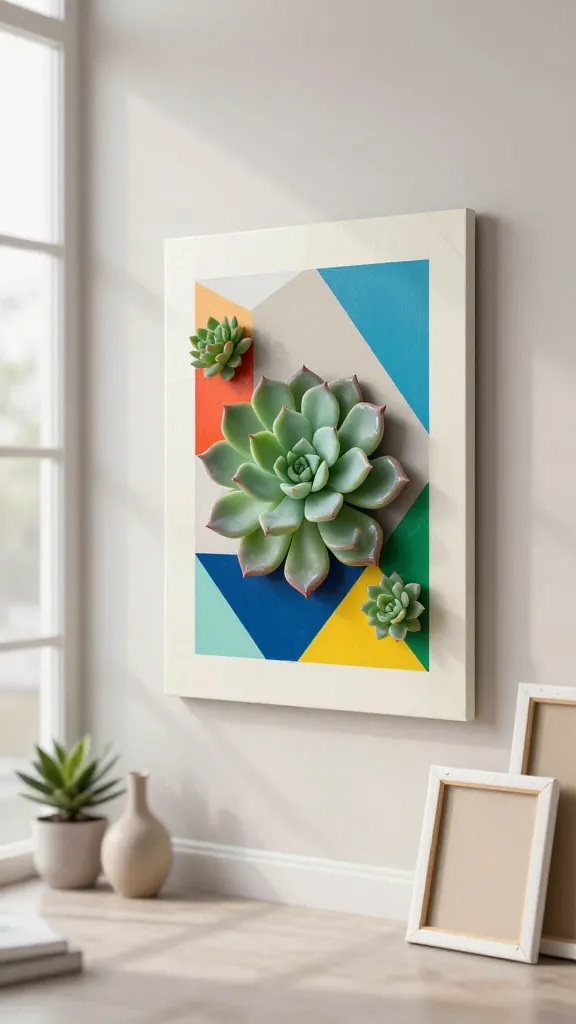
Simple shapes and a splash of color transform cheap frames into a bold statement piece. A quick DIY gallery accent that screams modern chic for birthdays or home decor.
Materials Needed
- Canvas or stretched cardboard
- Masking tape
- Acrylic paints
- Mini faux succulents (optional)
How to Make It
- Create geometric shapes with masking tape, then paint sections.
- Peel tape away for clean lines; glue in mini succulents for texture if desired.
Pro Tips / Styling Ideas
- Hang in a cluster with other frames for a bold wall statement.
- Use contrasting colors to boost the geometric effect.
Who would love it? Design enthusiasts seeking a contemporary focal point.
9. Velvet Ribbon Star Garland
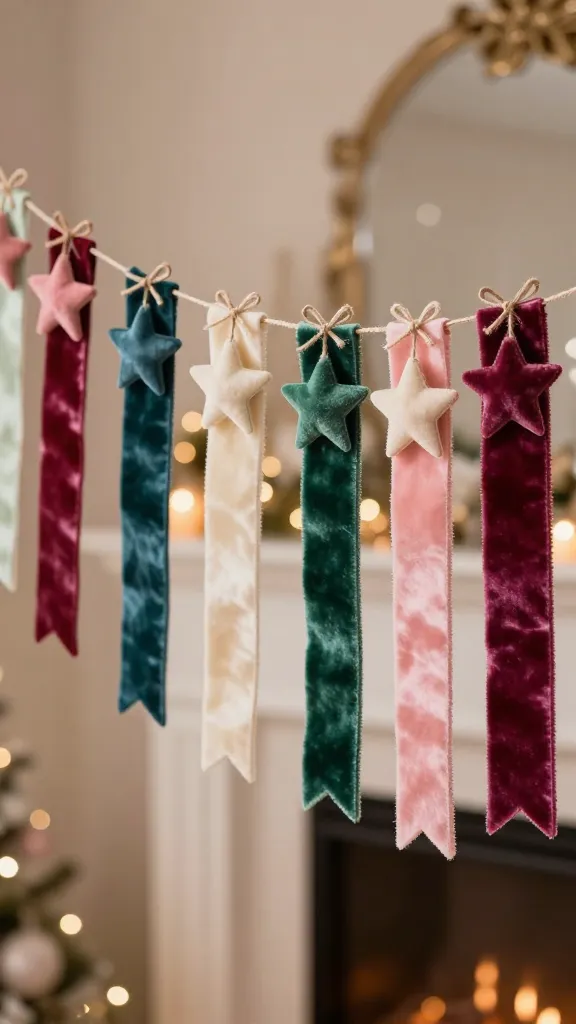
A touch of luxe in a simple garland makes birthday decor feel premium. Velvet ribbons, tiny stars, and a bit of twine create a festive banner you’ll keep year after year.
Materials Needed
- Velvet ribbon in assorted colors
- Foam star shapes
- Twine or ribbon for stringing
- Glue or hot glue
How to Make It
- Glue stars onto small ribbon flags, evenly spaced.
- Thread through twine and hang along a wall or mantel.
Pro Tips / Styling Ideas
- Alternate colors for a vibrant banner, or stick to a single tone for elegance.
- Coat the stars with a light dusting of glitter for extra sparkle.
Who would love it? Fans of luxe textures and festive decorating.
10. DIY Marble Coasters With Nail Polish Art

Marble vibes, tiny budget, huge style. These coasters elevate everyday coffee tables and make a classy gift for birthdays or housewarmings.
Materials Needed
- Cheap ceramic tiles
- White and gray nail polish or acrylic paint
- Top coat for sealing
- Felt stickers to protect surfaces
How to Make It
- Drop and swirl white and gray polish on the tile to mimic marble. Let dry completely.
- Seal with top coat and adhere felt pads underneath.
Pro Tips / Styling Ideas
- Create a set with varying marble patterns for a curated look.
- Pair with a matching coaster holder for a polished gift set.
Who would love it? Coffee lovers, hosts, or anyone who appreciates chic, low-cost upgrades.
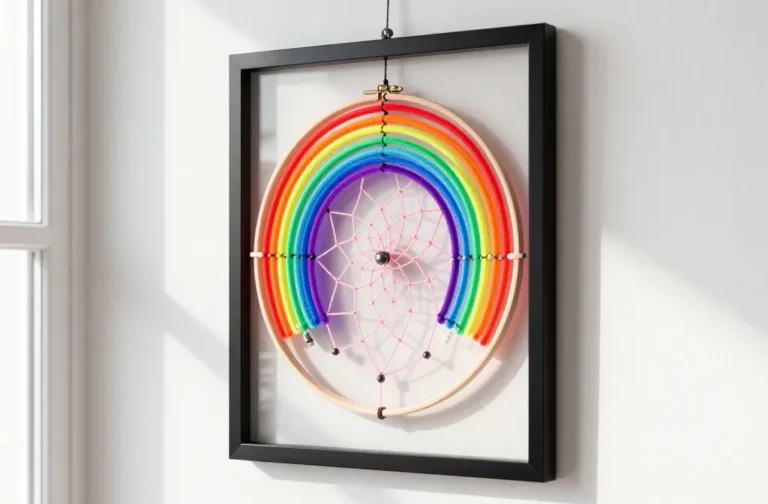
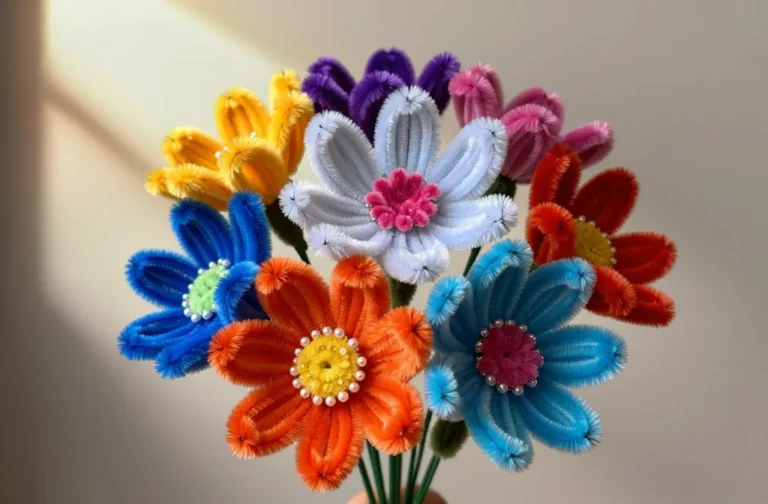
11. DIY Felt Flower Wall Hanging
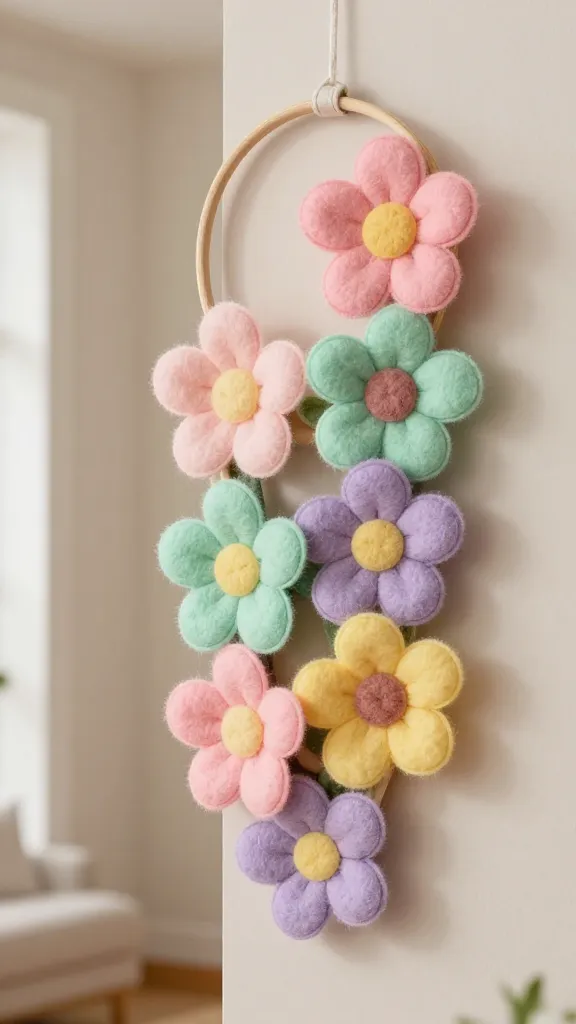
Soft, tactile, and utterly adorable, felt flowers create a three-dimensional wall piece that reads cozy and youthful. A birthday party staple that doubles as room decor.
Materials Needed
- Colored felt sheets
- Thread and needle or hot glue
- Hanging hoop or wooden dowel
How to Make It
- Cut flower shapes and assemble into layered blossoms.
- Attach to hoop or dowel in a cascading arrangement.
Pro Tips / Styling Ideas
- Use on a plain wall to inject color and softness.
- Create a seasonal palette (spring pastels, autumnal tones) for versatility.
Who would love it? Fans of soft textures and large-scale wall art.
12. DIY Cork Word Art
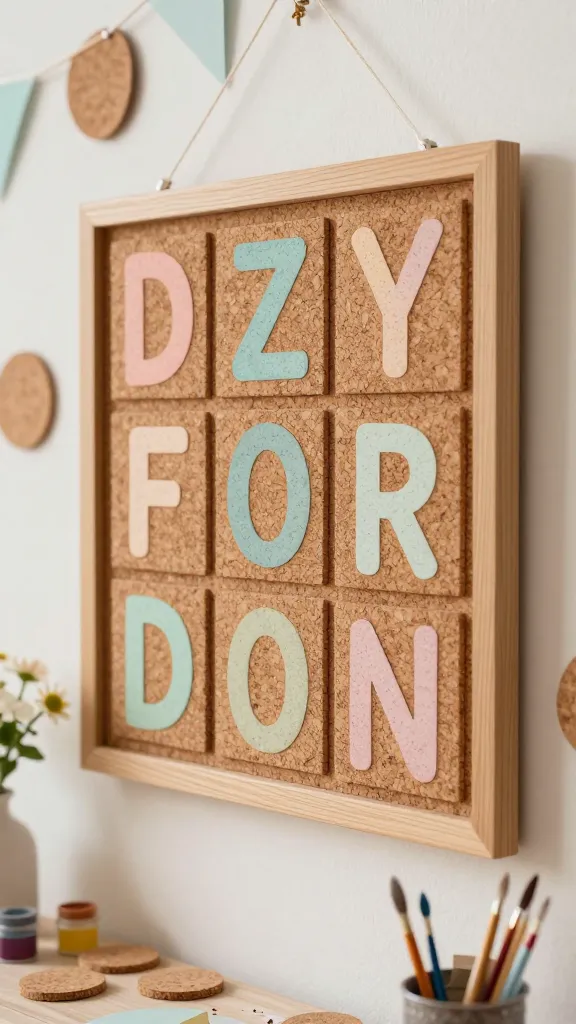
Tap into typography with cork tiles painted to spell a birthday message or name. It’s rustic, affordable, and endlessly customizable for a personalized gift.
Materials Needed
- Cork tiles
- Acrylic paints or paint markers
- Adhesive backing or command strips
How to Make It
- Paint letters or shapes on cork tiles and arrange into a phrase.
- Mount on a small frame or directly on the wall.
Pro Tips / Styling Ideas
- Create a “Happy Birthday” or the celebrant’s name for a personal touch.
- Group with photos for a mini cork gallery wall.
Who would love it? Gift-givers who want a quirky, tactile keepsake.
13. Glittery Gift Bag Centerpieces

Turn dollar-store gift bags into glam centerpieces by filling with tissue, adding a few sprigs, and placing in a shallow tray. It’s affordable, festive, and surprisingly chic.
Materials Needed
- Assorted gift bags
- Tissue paper
- Plastic or faux stems
- Tray or shallow bowl
How to Make It
- Stuff bags with tissue to create volume.
- Arrange in a tray with stems poking up through the tissue.
Pro Tips / Styling Ideas
- Coordinate colors with the party theme for a cohesive look.
- Add a few scented sachets for an extra celebratory vibe.
Who would love it? Hosts seeking budget-friendly centerpieces with maximum impact.
14. DIY Paper Crane String Lights
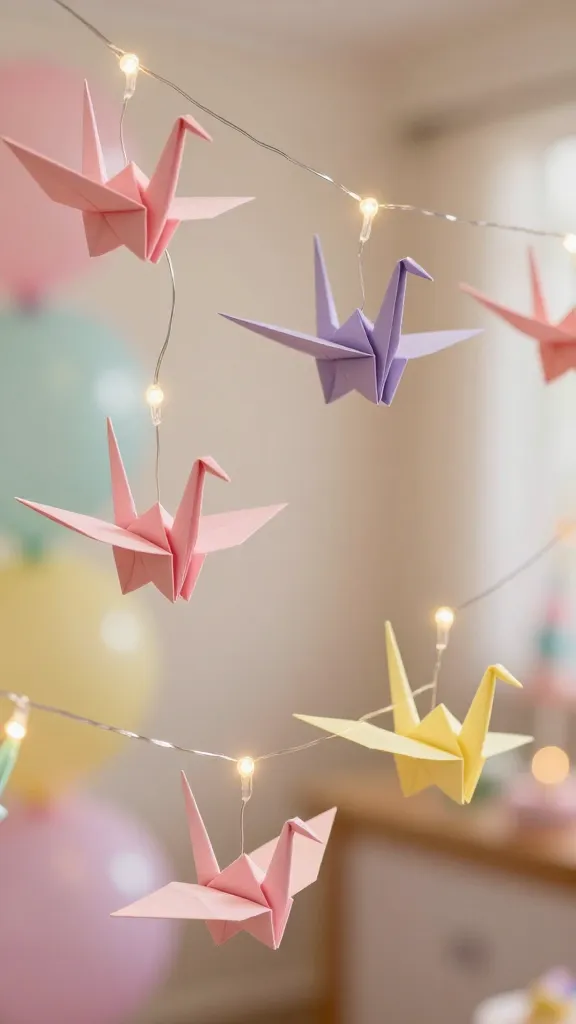
Crafty, whimsical, and surprisingly soothing to assemble. Paper cranes dangle from a string of lights for a birthday glow that’s truly magical.
Materials Needed
- Origami paper in pastel or bold hues
- String lights with a clear cord
- Wire or twist ties
How to Make It
- Fold paper cranes and pierce them carefully to thread onto the lights.
- Space evenly along the string and hang where you want that ethereal glow.
Pro Tips / Styling Ideas
- Use a dimmer-friendly light strand for adjustable mood.
- Mix sizes for a more dynamic installation.
Who would love it? Dreamy decorators and anyone who adores delicate, handmade details.
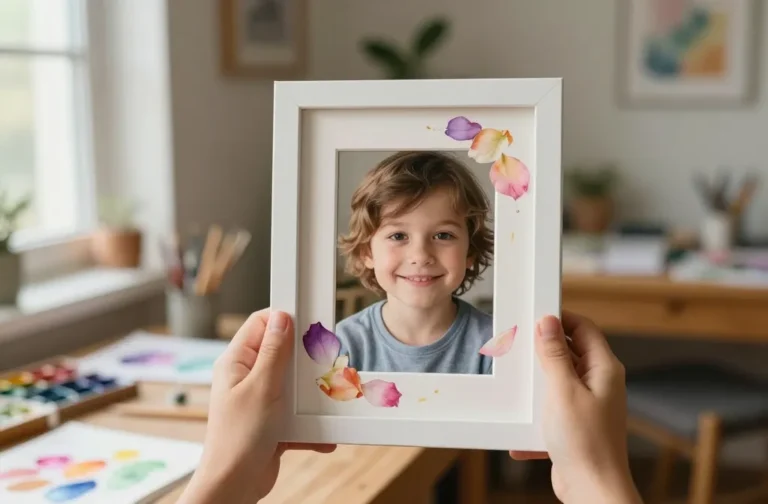
15. Button-Trimmed Photo Holders

These tiny photo holders are a sweet, whimsical way to display birthday memories. A few buttons, a wooden stand, and a pinch of glue create a display you’ll proudly show off.
Materials Needed
- Small wooden stands or blocks
- Assorted buttons
- Cardstock or thin plywood for the frame
- Glue gun
How to Make It
- Glue buttons along the edge of the frame in a decorative pattern.
- Insert a photo and set on a desk or shelf.
Pro Tips / Styling Ideas
- Choose a color story and stick to it for a cohesive set.
- Gift with a photo strip montage for a personal, heartfelt present.
Who would love it? Memory-keepers and anyone who adores tiny, charming display pieces.
Conclusion
There you have it—15 completely unique, budget-friendly craft ideas born from simple dollar-store finds. Each project is designed to be fun, fast, and seriously share-worthy. Pick one (or try all) and watch your birthday celebrations transform into a colorful, handmade dream.