15 Rustic Farmhouse Craft Ideas Painting Wood to Wow Weekend Projects
Ready to transform plain wood into cozy, crave-worthy decor? These 15 rustic farmhouse craft ideas painting wood are simple, stylish, and totally doable for a weekend project. Trust me, you’ll want to pin every single one.
Let’s dive into a world of warm tones, chippy finishes, and that irresistible farmhouse charm that makes people say “wow, you made this?”
1. Weathered Wood Slice Wall Art With Monogram
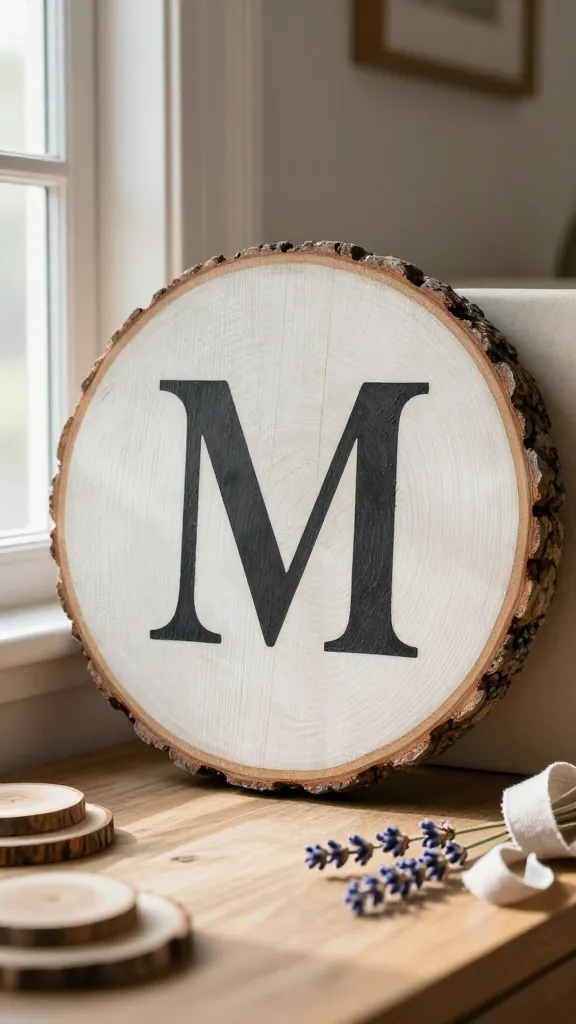
Imagine a favorite quote or initial set against a sun-washed, weathered wood slice. This piece looks high-end but is forgiving enough for a DIY novice. The natural grain provides texture, while a bold monogram anchors the eye.
Materials
- Round wood slices or a few irregular edge slices
- Acrylic paints in white, charcoal, and a soft accent color
- Painter’s tape
- Stain (optional) and sealant
How to Make It
- Paint the front of each slice in a light base color, letting some grain show through.
- Use painter’s tape to create a crisp letter or motif in the center.
- Fill the shape with a contrasting color, then gently remove tape for a clean edge.
- Seal with a matte finish for that timeless farmhouse glow.
Pro Tips
- Try a white-washed look for a softer touch, or go charcoal for drama.
- Use a jute twine hanger on the back for easy wall mounting.
Who loves it: Perfect for an entryway gallery or above a rustic bench. Cozy, chic, and endlessly lendable.
2. Painted Wooden Crate Lanterns
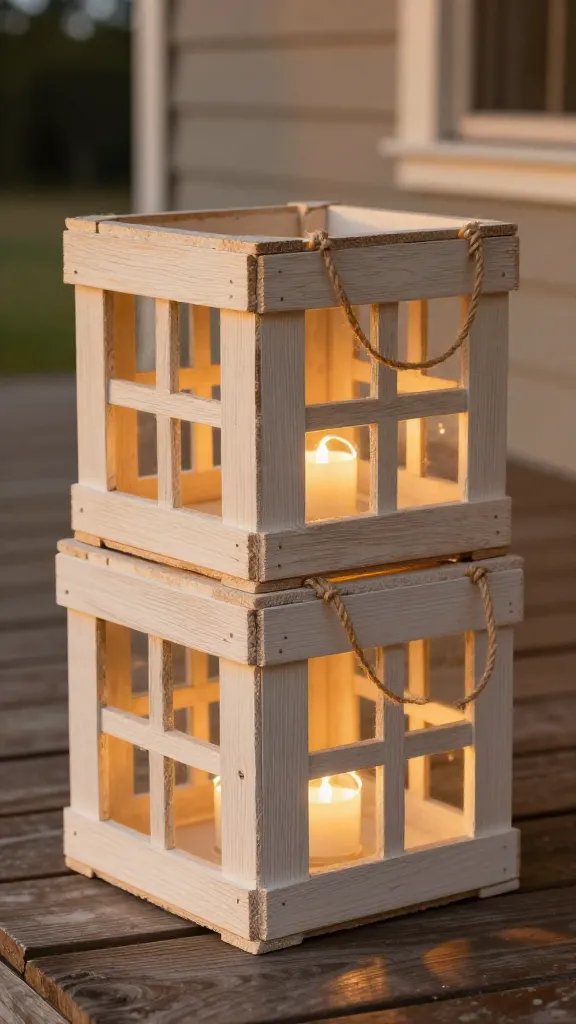
Stackable, portable lanterns that glow with warm bulb string lights? Yes, please. These wooden crate lanterns marry function with farmhouse flair, perfect for porches or mantels.
Materials
- Clear sealant
- Jute twine for handles
Reclaimed wood crates, LED string lights, sandpaper, white or cream paint
How to Make It
- Sand lightly to expose a little grain, then paint the exterior in a cozy neutral.
- Cut small windows in the sides for light to peek through.
- Wrap the LED lights inside with an on/off switch accessible from the bottom.
- Add a handles with twine for easy carrying.
Pro Tips
- Pair with a pillar candle for an extra glow (use LED if indoors).
- Stain the interior to deepen the wood tone for contrast.
Who loves it: A porch-night staple and a thoughtful gift when paired with a bouquet.
3. Rustic Wood Plank Photo Display With Pegs
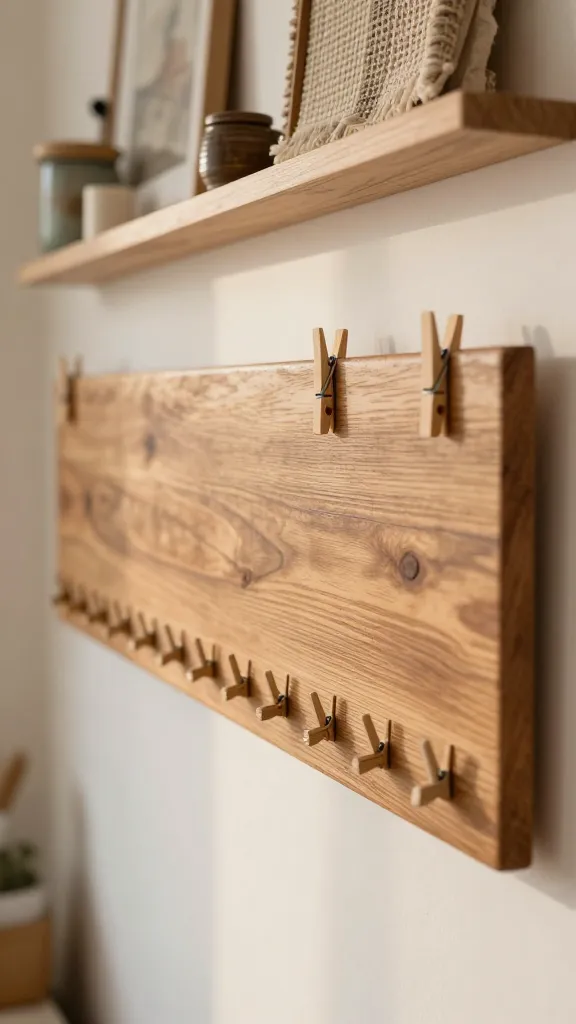
Turn warm planks into a personalized gallery. Slot in favorite snapshots or quotes with simple pegs for a touch of nostalgia and daily reminders.
Materials
- Long wooden plank, sandpaper, nails or small pegs
- Mini clothespins or wooden peigs, paint in black or white
- Optional stain for depth
How to Make It
- Sand and seal the plank, then stain as desired.
- Nail evenly spaced pegs along the bottom edge.
- Paint pegs or clothespins for a pop, or leave natural.
- Clip photos with a cozy, nostalgic vibe.
Pro Tips
- Vary peg lengths for added dimension.
- Switch out the photos seasonally for fresh farmhouse vibes.
Who loves it: Ideal for a family roomtelling a story in images, one week at a time.
4. Chippy Swatch Door Hangers
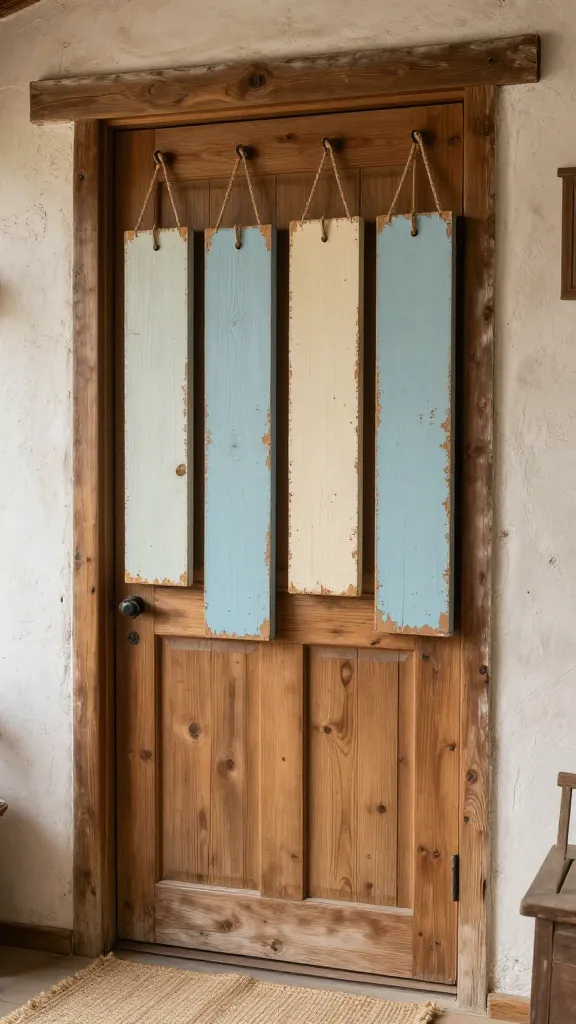
Door hangers with pale blue and ivory chips create that quintessential cottage-meets-farmhouse feel. Lightweight, inexpensive, and endlessly useful for room doors or pantry spaces.
Materials
- Thin wood panels or reclaimed boards
- Chalk paint in soft blues and whites
- Sandpaper, sealant, and rope for hanging
How to Make It
- Paint a base coat with a slightly distressed technique to reveal wood grain.
- Apply a lighter top coat and sand in patches for the “chippy” effect.
- Stain the rope or hangers to match hardware in your space.
Pro Tips
- Seal to prevent chipping in high-traffic spots.
- Personalize with a name or family motto.
Who loves it: A playful, welcoming addition to any entry or bedroom door.
5. Farmhouse Board Sign With Painted Script
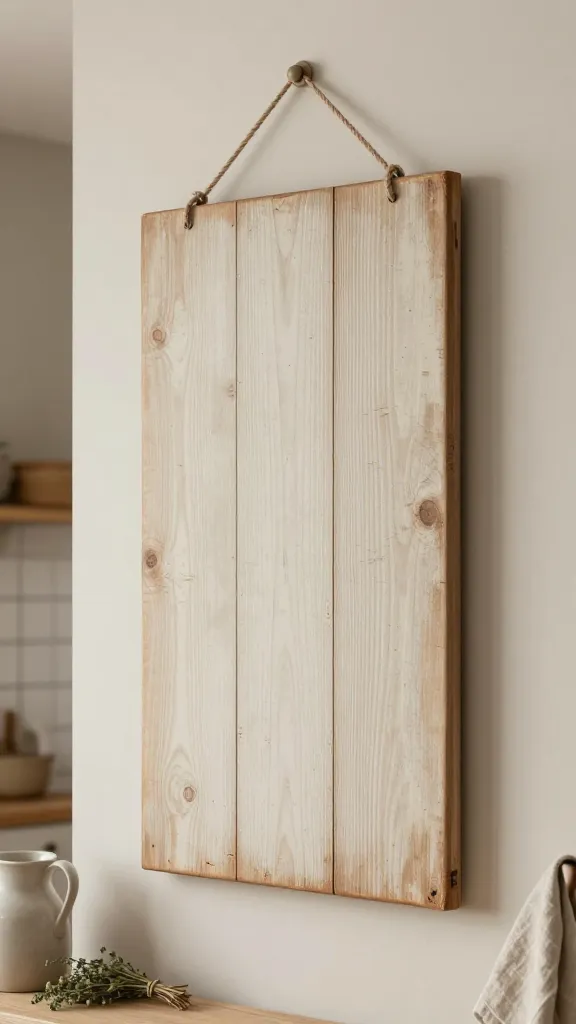
Classic black lettering on a pale wood board instantly adds warmth to a kitchen wall or hallway. It’s the kind of decor that feels handmade and heartfelt.
Materials
- One or two-cut wooden boards, sandpaper
- Acrylic paints (charcoal and white) or black vinyl for lettering
- Brushes and painter’s tape
How to Make It
- Stain or paint the board to a light neutral tone.
- Sketch your message with light pencil; go over with bold paint or hand-letter with a fine brush.
- Seal with a protective finish for longevity.
Pro Tips
- Try a rustic distressed look by lightly sanding the edges after sealing.
- Hang with picture-hanging wire for easy repositioning.
Who loves it: A kitchen beacon and a perfect housewarming gift.
6. Painted Wood Log Coasters With Woven Edges
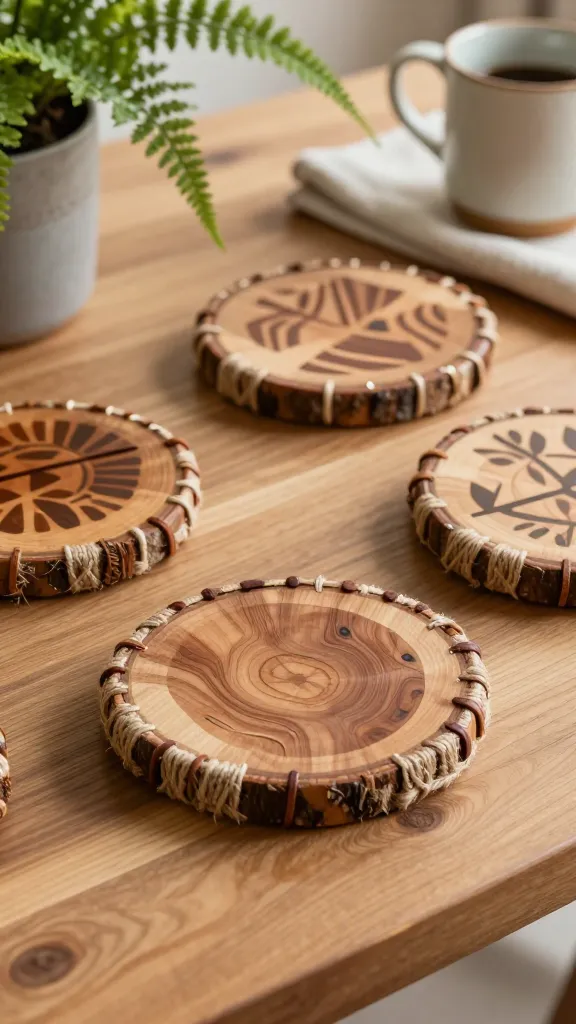
Coasters that nod to nature but stay polished—these painted log slices wrapped with woven edges pull warm texture into any coffee table.
Materials
- Wood slices or round coasters, natural wood color
- Acrylic paints in earthy tones
- Jute twine or thin leather cord
- Clear sealant
How to Make It
- Paint geometric patterns or simple leaves on each slice.
- Seal both sides to prevent moisture damage.
- Wrap the edge with twine and secure with a dab of glue.
Pro Tips
- Coordinate colors with your dining ware for a cohesive tablescape.
Who loves it: Great hostess gifts and a sunny table setup for gatherings.
7. Weathered Wood Bead Garland With Painted Accents
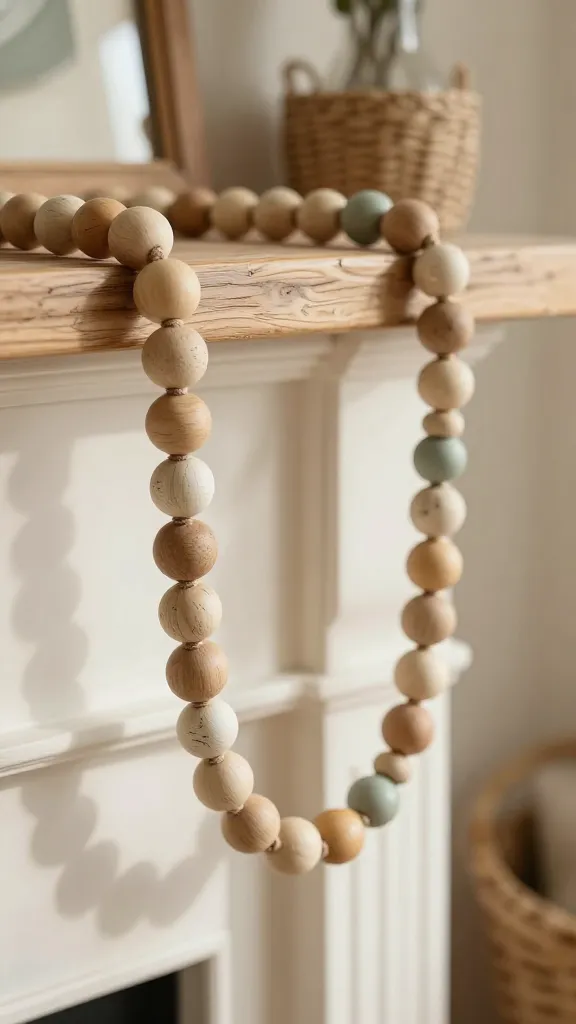
Soft, light beads strung on twine with a few painted wood accents offer a delicate breath of rustic charm for mantels or shelves.
Materials
- Wood beads in varying sizes
- Twine or jute cord
- Paint in soft white, sage, or honey
How to Make It
- Paint a few beads in accent colors, leaving others natural.
- Knot between beads and string along twine, leaving extra length for draping.
Pro Tips
- Vary bead sizes for visual interest.
- Hang over a mantel or drape along a cabinet for a cozy touch.
Who loves it: Seasonal decor that feels handcrafted and gentle.
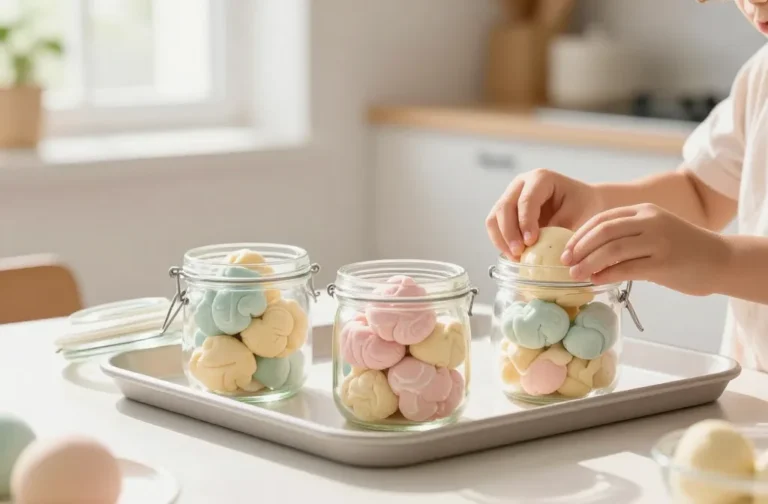
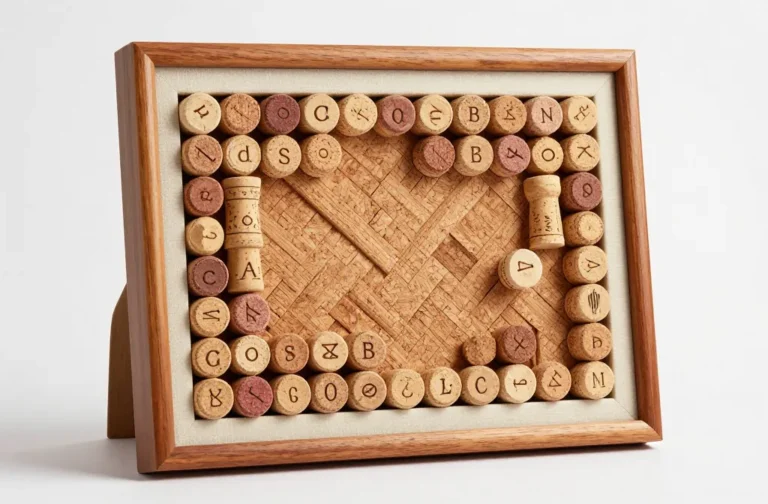
8. Custom Wood Letter Blocks With Painted Faces

Chunky wooden letters with painted, distressed faces bring a playful, tactile element to any shelf. Mix and match to spell a favorite word or initials.
Materials
- Wood blocks, sandpaper, acrylic paints
- Narrow paintbrushes, sealant
- Optional resin or epoxy for a glossy finish
How to Make It
- Sand the edges for a soft, vintage look.
- Paint faces with simple expressions or solid colors; lightly distress the edges.
- Seal to lock in color and texture.
Pro Tips
- Place on a bookshelf with a few greenery sprigs for a lively vignette.
Who loves it: Playful accents for kid spaces or cozy reading nooks.
9. Painted Wood Pallet Tray With Flora Motifs
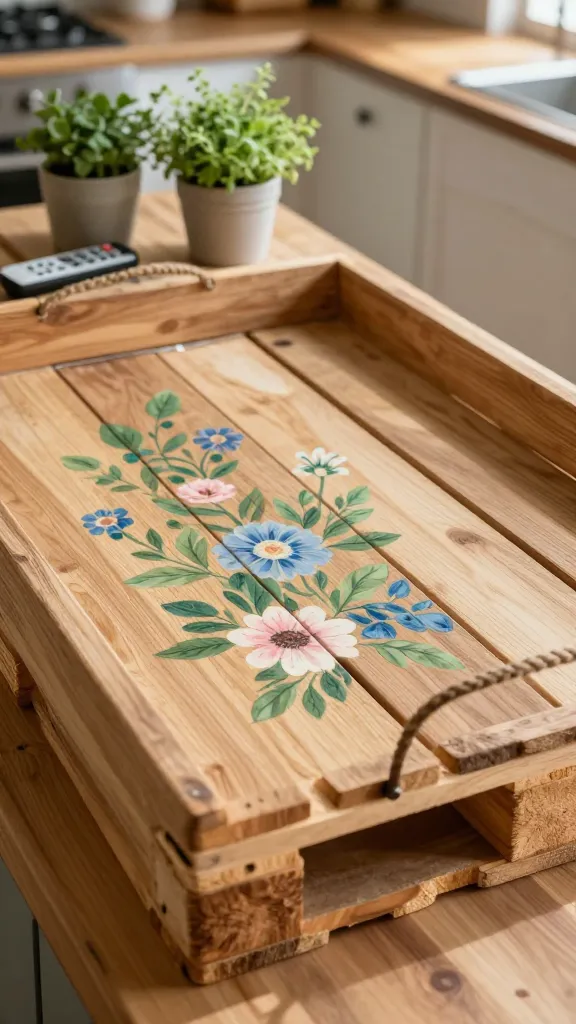
Reminiscent of a country cafe, a painted pallet tray holds gatherings, remote controls, or plants. It’s both decorative and practical, with a splash of floral whimsy.
Materials
- Pallet wood planks, sandpaper
- Acrylic paints in greens, blues, and soft pinks
- Handles or rope for sides
How to Make It
- Disassemble or use as-is; sand rough edges.
- Paint a floral motif across the base; keep it airy and not too busy.
- Attach handles with nails or screws.
Pro Tips
- Line with a waterproof liner for plant or travel use.
Who loves it: A versatile tray for coffee tables, ottomans, or entryway consoles.
10. Hand-Painted Wood Coats Rack With Hooks
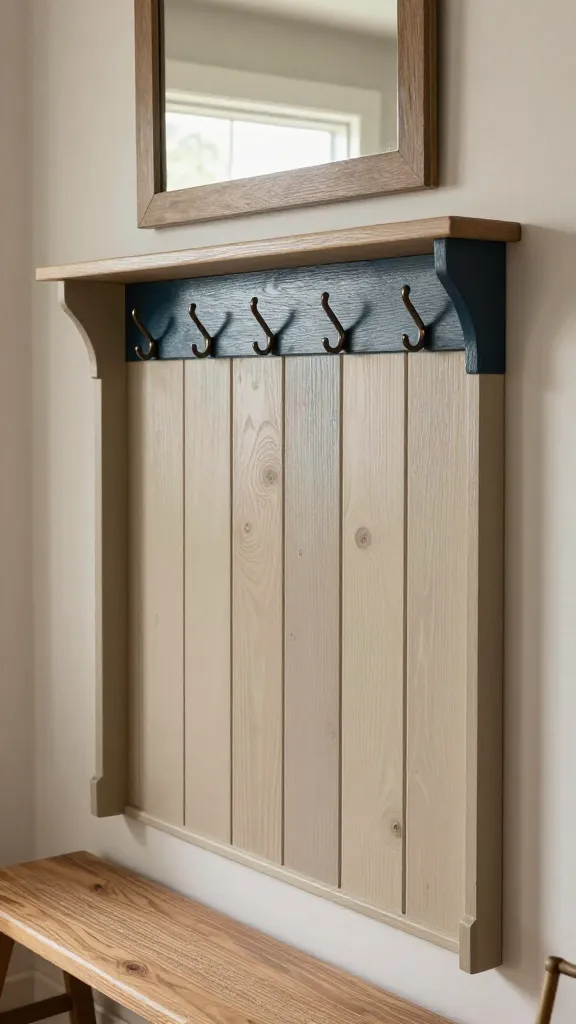
A small, hardy rack with a brushed finish adds function and warmth to a mudroom or entry. The painted wood overlay makes it a statement piece rather than just storage.
Materials
- Small wooden board, coat hooks
- Paint in muted neutral and a contrasting color for hooks
- Sandpaper, sealant
How to Make It
- Sand and prime the board, then brush on a soft base color.
- Paint a bold stripe or panel and seal.
- Attach hooks evenly across the lower portion.
Pro Tips
- Pair with a mirror above or a small shelf for extra utility.
Who loves it: Everyday entryway hero that’s as pretty as it is practical.
11. Painted Wood Dough Bowl Centerpiece
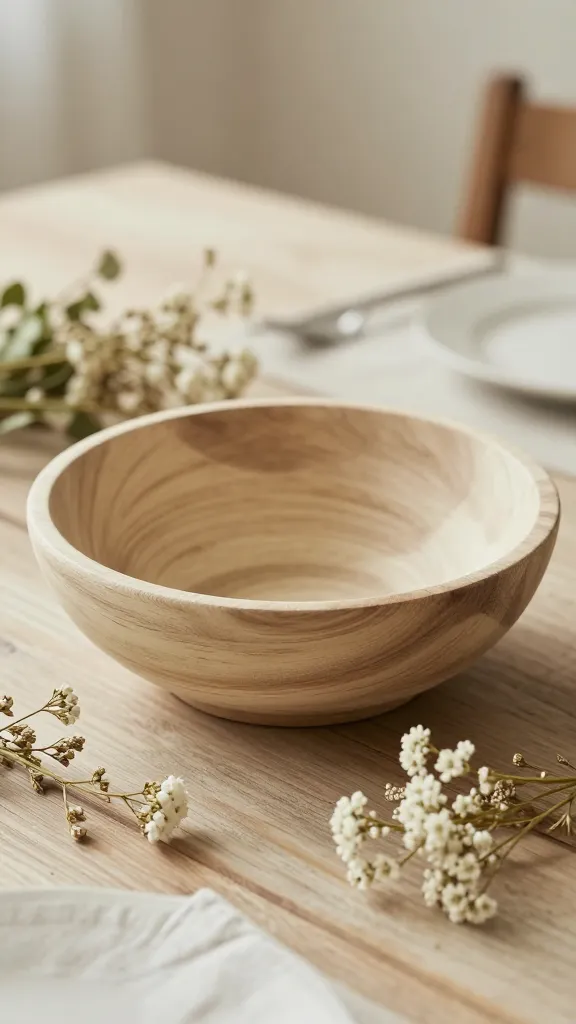
Olive tones and creamy whites swirl in a rustic dough bowl turned centerpiece. It’s a mood in a bowl—perfect for dining tables or console tables.
Materials
- Wood dough bowl or shallow tray
- Latex or acrylic paints in olive, cream, and taupe
- Sealant
How to Make It
- Wash and dry the bowl; paint in a base of neutrals.
- Use a dry brush technique to add texture and depth.
- Fill with fresh or dried florals for a seasonal peek.
Pro Tips
- Keep florals lightweight to avoid tipping.
Who loves it: A table-ready centerpiece that’s warm and inviting.
12. Painted Wood Toolbox Planters
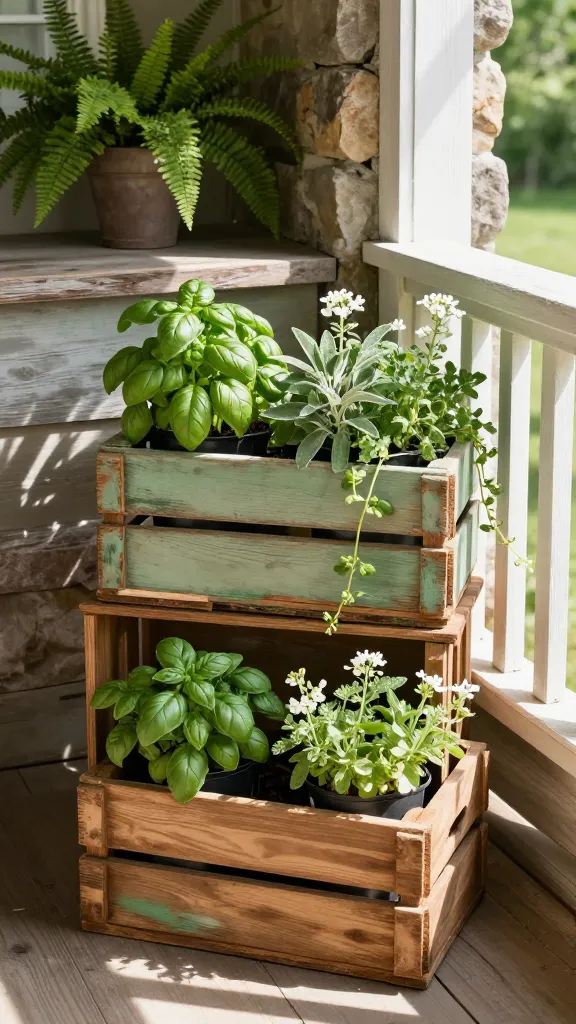
Repurpose old wooden tool boxes into planters with a fresh coat and botanical touches. It’s rugged charm meets green living in one stylish package.
Materials
- Old tool boxes or small wooden crates
- Exterior acrylic paint in greens, whites, and browns
- Pot liners or plastic inserts
How to Make It
- Paint exterior in a two-tone finish for depth.
- Line interiors and plant with your favorite herbs or blooms.
- Stack or place singly along a porch or window ledge.
Pro Tips
- Add metal corner accents for an extra farmhouse vibe.
- Label with chalk paint for a charming garden message.
Who loves it: A practical, pretty way to bring greenery into any corner.
13. Rustic Wood Block Shelf With Painted Details
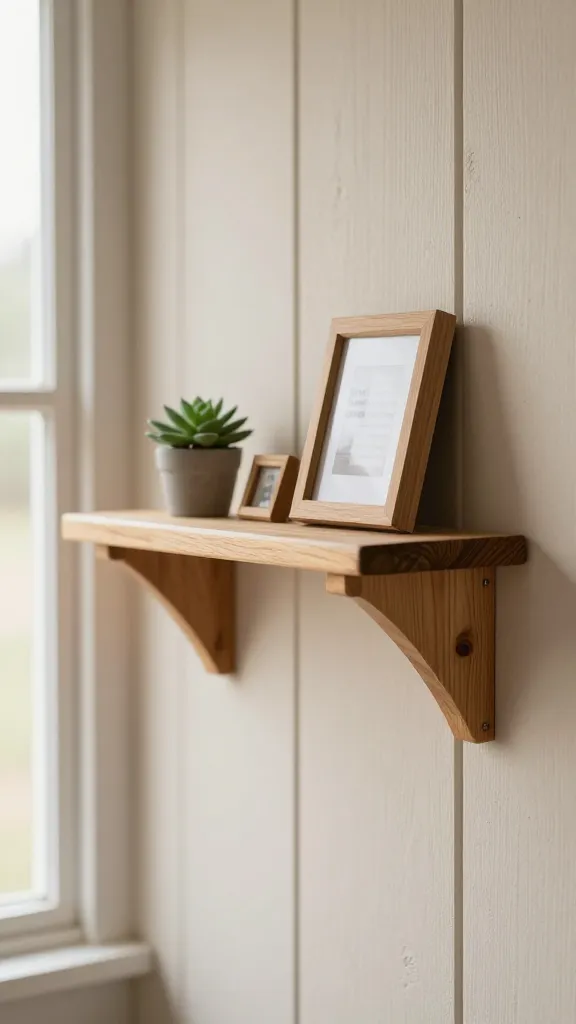
A compact shelf that looks like it hopped off a farmhouse wall. It’s ideal for small spaces and can hold succulents, books, or keepsakes.
Materials
- Wood blocks for supports, a plank for the shelf
- Paint in warm neutrals and a bold accent
- Brackets or invisible mounting hardware
How to Make It
- Sand and seal the wood; paint with a soft base color.
- Attach the shelf to block supports and secure to the wall.
- Decorate with a plant or a few framed quotes.
Pro Tips
- Choose a compact size for apartments or bathrooms.
Who loves it: A tiny, mighty shelf that delivers big farmhouse vibes.
14. Painted Wood Lanterns With Frosted Glass Panels
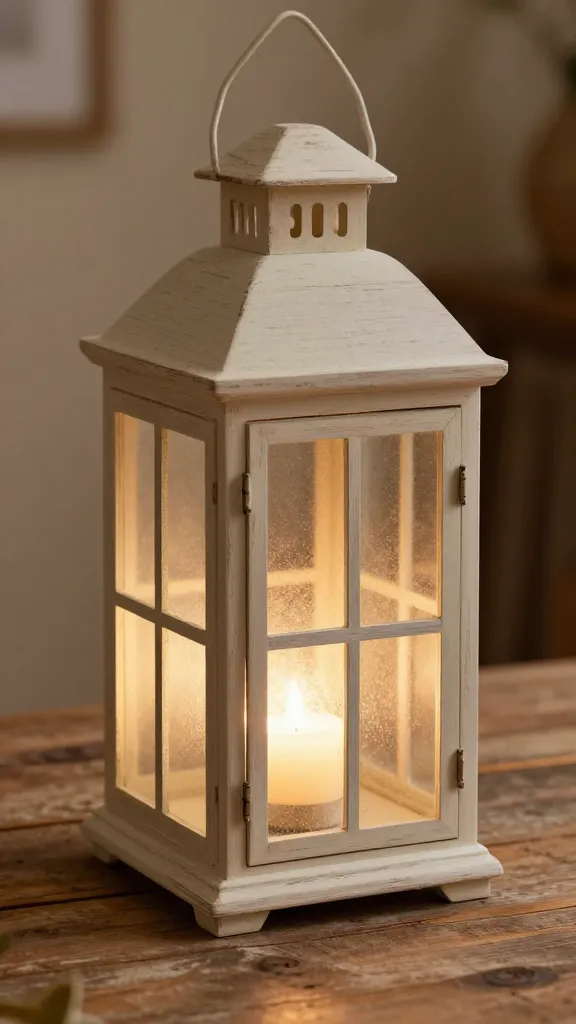
Old-fashioned lanterns get a modern makeover with frosted panels and a soft distressed finish. They glow softly with LED candles, turning any room into a cozy retreat.
Materials
- Wood lantern frame, frosted glass panels or frosted contact paper
- Paint in ivory and warm gray
- LED candles and sealant
How to Make It
- Paint the frame in a creamy white; distress edges for a vintage look.
- Cut panels to fit and attach with glue or small nails.
- Place LED candles inside and enjoy the glow.
Pro Tips
- Place in pairs on a mantel or table to create symmetry.
Who loves it: A touch of romance and nostalgia for cozy evenings.
15. Painted Wood Slice Clock With Rustic Hands
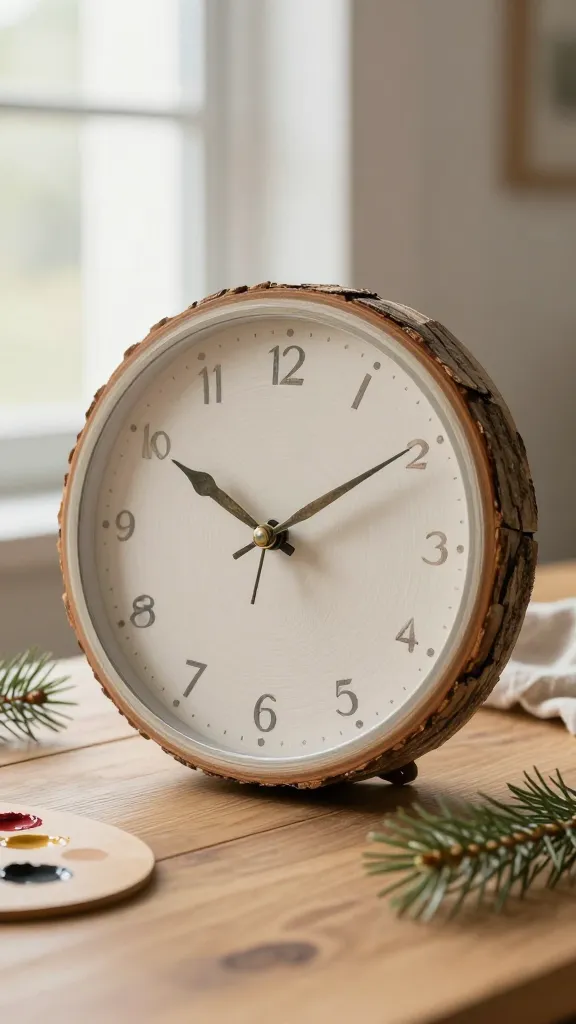
Time meets texture in a DIY clock crafted from a wood slice. A bold dial, antique hands, and a soft finish turn a simple slice into a functional piece of art.
Materials
- Wood slice, clock kit with hands
- Acrylic paints in a neutral palette
- Sealant and battery
How to Make It
- Paint a subtle ring for the clock face, leaving the outer edge natural for charm.
- Mark hour positions with a fine brush and small dots.
- Attach the clock mechanism to the back and insert a battery.
Pro Tips
- Experiment with distressed edges for a vintage look.
- Pair with a muted sideboard for a rustic mood set.
Who loves it: A statement piece that’s both practical and pretty—perfect in living rooms or bedrooms.
Conclusion
These 15 Rustic Farmhouse Craft Ideas Painting Wood prove you don’t need a big budget to create big charm. Each project is friendly to beginners, yet they all feel thoughtfully designed and Pinterest-ready. Pick one (or all) and start painting your way to a cozier, more stylish home.
Ready to get crafty? Set up a little workspace, gather a few supplies, and dive in. You’ll love the way these projects transform your space—and your weekend vibe. Seriously, you’ve got this!