How to make Crafts with Toilet Paper Roll
I’ve got a tiny obsession with toilet paper rolls. Not the roll itself, obviously, but the endless possibilities hiding in those cardboard tubes. If you’ve got a few rolls lying around and a hint of DIY fever, you’re in the right place. We’ll turn scraps into something charming, useful, and a little cheeky. FYI: this isn’t just crafts for kids—adults can have a blast too. Ready to roll with it?
Why a Toilet Paper Roll is basically a magician’s wand
You look at a boring cardboard cylinder and think, “What now?” I see a canvas that cost you nothing except a few minutes of your time. These rolls are sturdy enough to hold shape, light enough to glue, and infinitely paintable. They’re also a fantastic way to recycle without feeling granola-snobby about it. So what’s first on the magic list? Simple, fast wins that spark joy and impress friends.
Quick wins to spark your creativity
Here’s a handful of easy projects that don’t require 87 specialized tools.
- Mini gift boxes: Cut the roll into rings, fold the edges, and wrap with paper or washi tape. Fill with candy or tiny notes for a cute surprise.
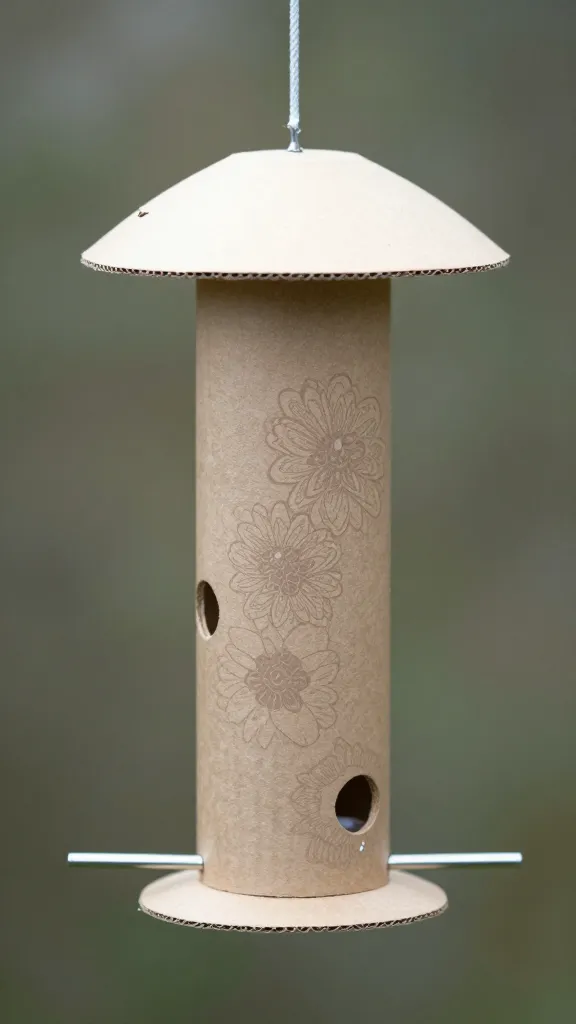
- Bird feeder cups: Slice a few segments, poke a string, and hang outside. Add peanut butter and birdseed for extra charm. Birds approve; neighbors please don’t judge your snack choices.
- Floating tea-light lanterns: Slice the roll into rings, stack them with a bit of string between, and slide a tealight inside. Light flickers through like a tiny cathedral of cozy vibes.
- Desk organizers: Cut the roll into short tubes, glue them into a donut shape or a straight row, and wrap with washi tape. Perfect for pens, scissors, or dramatic lipstick tubes you pretend you’ll declutter someday.
Materials that turn trash into treasure
What you actually need is shockingly simple. You don’t need a craft-store haul to look like you have an art degree.
- Toilet paper rolls (obviously)
- Scissors or a craft knife
- Glue (white craft glue or hot glue for sturdier pieces)
- Paints, markers, or washi tape
- Optional extras: yarn, buttons, glitter, fabric scraps, magnets, string, or small embellishments
Pro tip: save a few rolls with different diameters if you want to layer or stack pieces for a more dynamic look. FYI, you don’t have to go full color—neutral palettes can look ridiculously chic when you pair textures smartly.
Crafting kid-friendly projects that don’t end in a glue disaster
Kids love rolling and stacking. Here are projects that keep the chaos under control and still feel like a win.
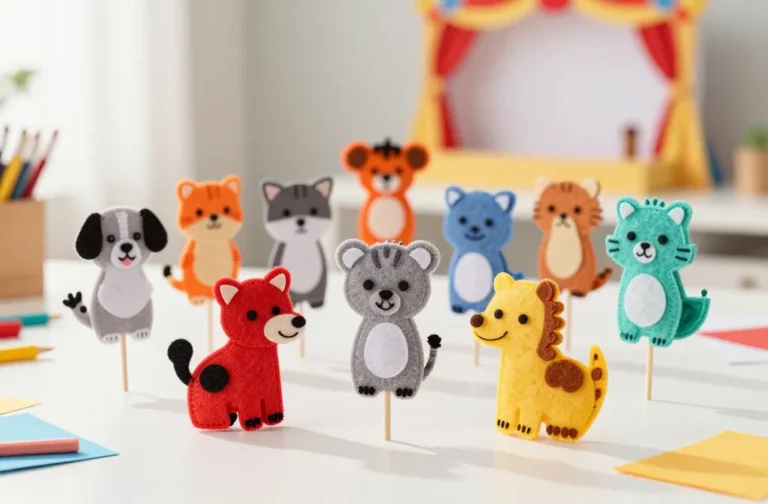
Colorful critters from a single roll
Cut the roll into sections and turn each into a little animal. A cat with pointy ears, a snail with a spiraled shell, or a bee with painted stripes. Use googly eyes if you’ve got them, or paint simple dots. It’s amazing what a couple of minutes of creativity can conjure.
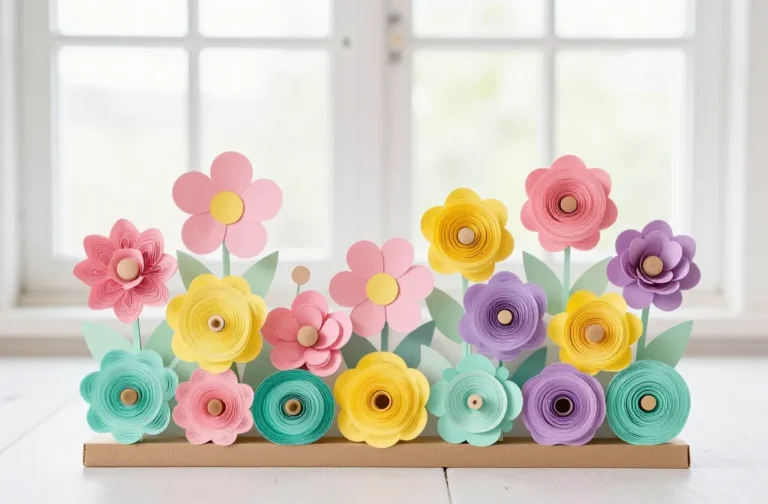
Flower power bouquets
Cut rings, stack them like petals, and glue a small circle on top. Paint in bright colors and add a green straw or pipe cleaner stem. Instant bouquet for a pretend tea party or a real old-school desk display.
Going beyond basics: a few mid-range projects that look fancy
If you want a little more polish, these ideas hit that sweet spot between “oh, that’s cute” and “did you buy this at a shop?”
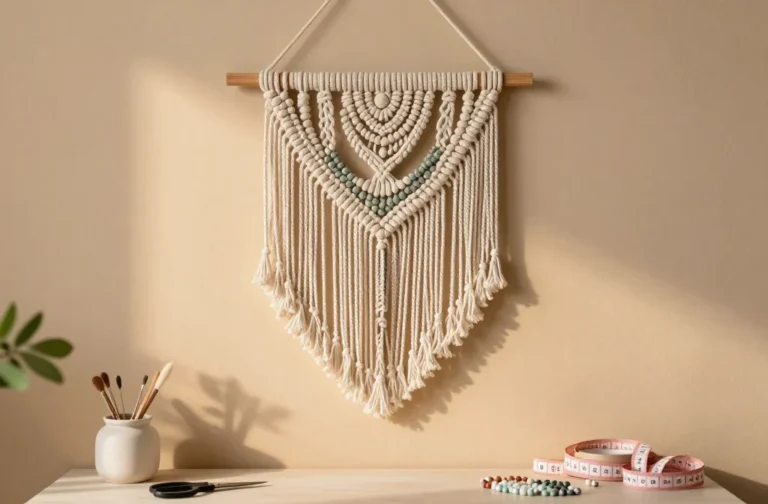
- Wall art with texture: Slice rings, stack slightly offset, and glue to a sturdy backing. Paint a bold solid color and then lightly brush a contrasting hue for depth. Hang with a strip of strong tape or a tiny frame.
- Miniature lanterns with a twist: Build a small lattice pattern by cutting thin slits around a roll, then weave a thin paper strip through. It creates a lantern with real architectural vibes.
- Magnetic desk organizers: Glue a few short tubes onto a magnetic sheet or thin metal strip. Great for screws, clips, or emergency USB sticks—your messy desk just got a spa day.
Subtle tricks to level up any project
These small moves make a big difference without turning your craft hour into a scavenger hunt.
- Texture matters: Add fabric scraps, tissue, or sand for tactile interest. A rough surface catches paint differently and feels more “crafted”.
- Layering paint: Start with a base coat, then dry brush a lighter or darker color for depth. Don’t drown the roll—keep it playful.
- Sealing for shine or longevity: A thin coat of spray sealant or Mod Podge seals things nicely. Your kids won’t be the only ones appreciating the lack of chipping paint.
How to store and reuse your creations
You made it, now keep it from turning into a clutter nightmare.
- Store flat pieces in a folder or magazine holder labeled “roll-up projects.”
- Hang lightweight pieces with removable adhesive to avoid wall damage.
- Repurpose damaged or imperfect items into new worlds—cut up a ring for a flower stem or turn a lantern into a funky ornament.
Conclusion
If you’ve stuck with me this far, you’re probably thinking: wow, rolls are underrated. They’re not just for bathrooms or recycling myths; they’re open-source crafting material. You can churn out charming decor, practical organizers, and fun kid projects with very little investment. IMO, the best part is that you can test ideas quickly, fail fast, and still feel like a crafty genius without melting your brain over complicated kits. So go ahead—grab a few rolls, channel your inner designer, and roll with it.
FAQ
Do I need fancy tools to get started?
Nope. Scissors, glue, and some colors are plenty. A craft knife helps for precise cuts, but it’s not mandatory. FYI: safety first if kids are involved.
What projects are the easiest for absolute beginners?
Gift boxes, simple bee or cat critters, and basic bird feeders are great starters. They require minimal cuts and glue-and-go assembly, so you can see results fast and stay motivated.
How long do these crafts last?
That depends on materials and handling. Painted pieces can last weeks to months with a light sealant. If you’re outdoors, expect wear from weather or moisture; bring them inside when you don’t want your art to become abstract mush.
Can I make these using recycled materials besides rolls?
Absolutely. Combine with cardboard scraps, bottle caps, fabric scraps, or birthday ribbons. Mix and match to keep things interesting and reduce waste even more.
Any tips for making the most impressive projects with little effort?
Plan in layers: base coat, textures, then details. Use bold color contrasts and simple shapes that read at a glance. And don’t overthink it—fun trumps perfection when you’re just exploring.
If you want, tell me what you’ve got on hand (paints, tape, magnets, or fabric scraps), and I’ll tailor a few step-by-step projects you can start today.