5 Cute DIY Crafts for a 3-Year-Old
1. Cozy Felt Busy Bee Activity Board
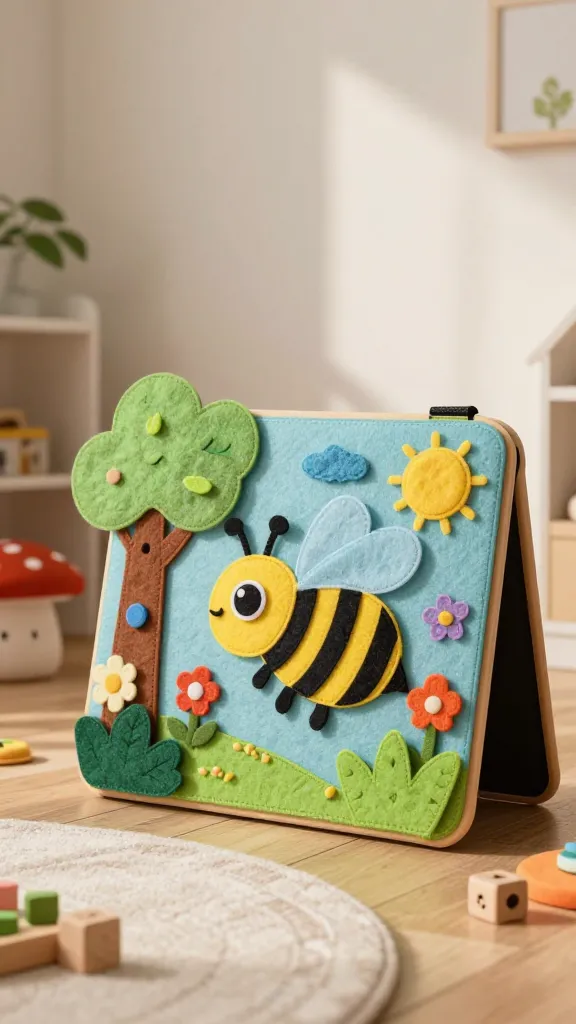
Picture a tiny, sunny woodland scene you can pin to a wall or lay on the floor. The finished busy bee board bursts with soft textures, easy zippers, and gentle sounds that delight a toddler’s curiosity. It’s not just cute—it’s a learning playground you can stash in a tiny corner of your living room.
Want to spark fine motor skills while keeping little hands busy? This cozy felt board is the answer. It’s colorful, washable, and incredibly kid-friendly, so you’ll love it as much as your 3-year-old does.
Materials
- Assorted felt in bright yellows, blacks, greens, and white
- Felt scraps for wings, antennae, and leaves
- Non-slip adhesive or fabric glue
- Velcro dots (optional) for interactive pieces
- Soft scrap fabric for a backing
- Safe stitching needle and thread (or a glue gun if you’re comfy)
How to Make It
- Cut a simple honeybee figure and a few flowers from felt. Keep shapes chunky so little fingers can handle them easily.
- Arrange on the backing fabric to form a tiny garden scene. Glue or stitch pieces in place.
- Add a few interactive elements—buttons to press, flaps to lift, or small zippers to practice opening and closing.
- Ventilate by adding a soft, nap-friendly surface on the back for safety and texture.
Pro Tips / Styling Ideas
- Attach a loop of ribbon to hang on a wall or door for a quick decor update.
- Use contrasting colors to make shapes pop—this is where your Pinterest eye will shine.
- Switch out pieces as your child’s interests evolve—bee, caterpillar, or flower themes are all adorable here.
Who would love it? Parents who want a soothing, tactile toy that doubles as wall art and a developmental boost.
2. Magnetic Mini Animal Garden Collage
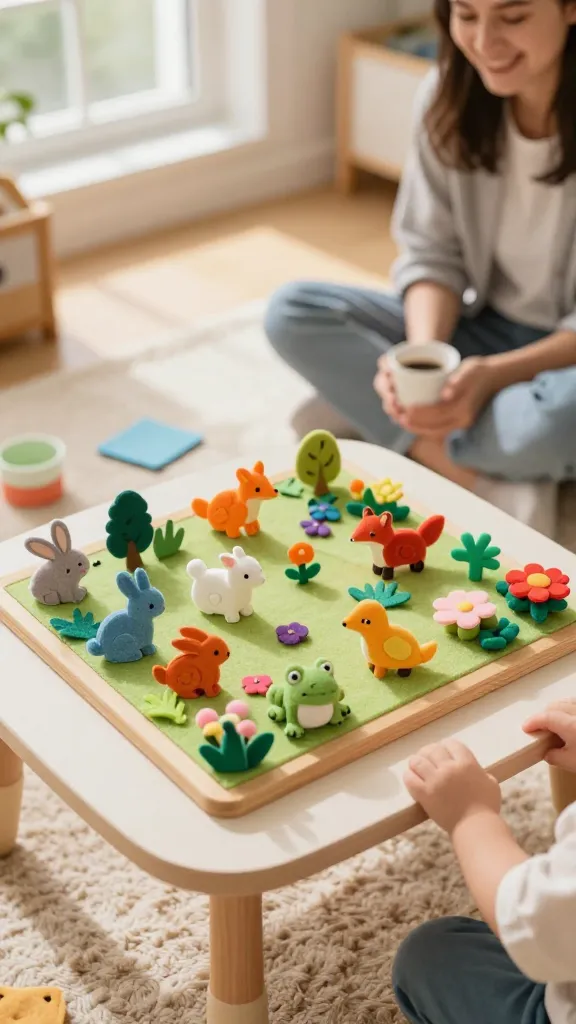
Transform a simple magnetic board into a micro-zoo full of cuddly critters. The magnetic pieces cling softly, letting your child rearrange a cute garden scene while you sip coffee nearby. It’s whimsical, educational, and seriously adorable.
This craft is all about color, texture, and playful arrangement. It’s forgiving for beginners and a joy to customize with your child’s favorite animals or flowers.
Materials
- Small magnetic sheets or magnetic tape
- Foam or felt animal shapes
- Decorative pull-and-stick flowers and leaves
- Non-slip base for the board
- Non-toxic craft glue
How to Make It
- Cut animal shapes from foam or felt and punch small holes to thread a tiny string leash if you like.
- Adhere magnets to the back of each piece, then arrange on a magnetic board to create a garden scene.
- Add a few flower clusters and a sun or clouds for extra charm.
Pro Tips / Styling Ideas
- Use a color story—soft pastels for a dreamy garden or bold primaries for a punchy look.
- Frame the board with a slim wooden border for a refined display piece.
- Rotate pieces weekly to keep the game fresh and engaging.
Who would love it? Tiny nature lovers and little organizers who enjoy interactive, rearrangeable play.
3. No-Sew Cable-Knots and Pom-Pom Jellyfish Tuft
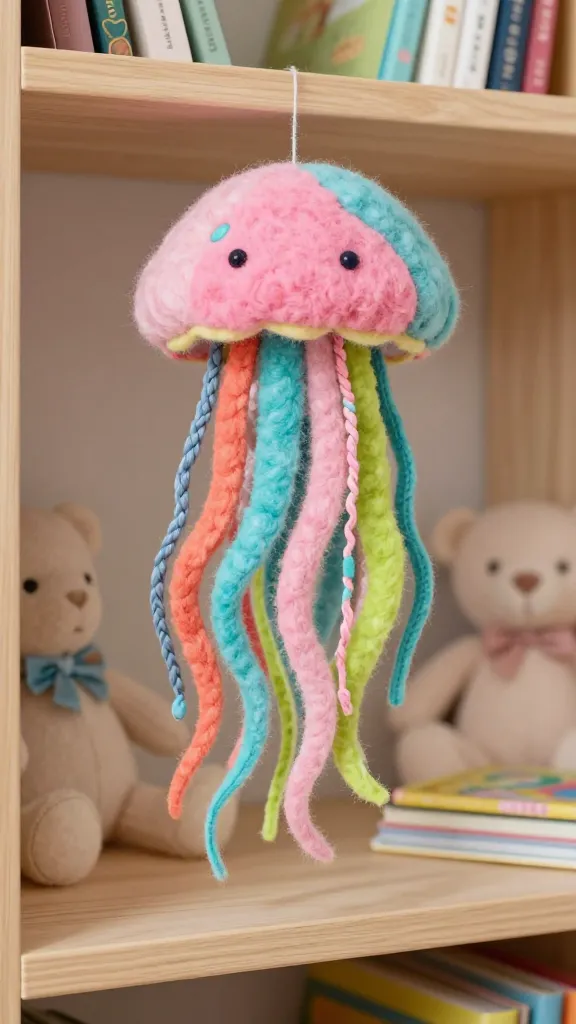
Create a whimsical felt jellyfish with long, swaying tentacles and a cuddly pom-pom head. No sewing required—just knot, trim, and glue. It’s a soft, huggable decor piece that adds a splash of color to shelves, cribs, or reading nooks.
This project feels like a gentle, ocean-inspired hug for your kiddo—playful, cozy, and delightfully simple to assemble in under 30 minutes.
Materials
- Soft felt in vibrant colors
- Pom-poms (large and fluffy)
- Yarn or braided cord for tentacles
- Hot glue gun (or fabric glue)
- Thin cardboard or foam for the jelly’s “base”
How to Make It
- Cut a rounded jellyfish body from felt; glue a pom-pom on top as the head.
- Attache tentacles by threading yarn through small holes or simply gluing long strands around the bottom edge.
- Secure the body to a lightweight base so the jellyfish can sit or hang nicely.
Pro Tips / Styling Ideas
- Line up a few jellyfish of different colors for a playful underwater display.
- Hang with thin fishing line from a ceiling hook to give a floating, dreamlike effect.
- Pair with a soft rug or mural to complete the sea-scape vibe.
Who would love it? Budding ocean lovers, nurseries, and anyone who wants a touch of whimsy that’s easy on the eyes and on the budget.
4. Colorful Painted Stone Fairy Garden Markers
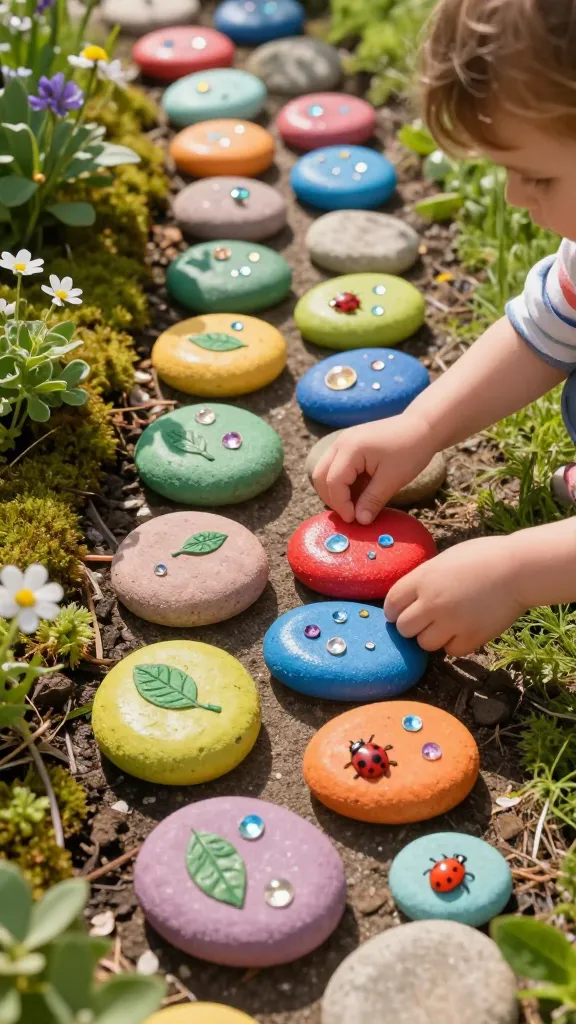
Turn ordinary flat stones into magical stepping stones that mark a tiny fairy village or a family garden. Each stone wears a bright coat of paint and a tiny, glued-on charm—like a leaf, ladybug, or sparkly gem. It’s artful outdoor decor that your kid can help craft and proudly show off.
These markers are sturdy, washable, and surprisingly addictive to create. They’re a delightful blend of creativity and outdoor adventure—perfect for sunny playdays or a rainy-day craft project you can do on the kitchen table.
Materials
- Smooth, flat stones (washed and dry)
- Acrylic paints in multiple colors
- Paint brushes of varying sizes
- Clear outdoor sealer (non-toxic)
- Glue and tiny charms (leaves, bugs, pearls)
How to Make It
- Base color each stone with a bright, even coat. Let dry fully.
- Paint simple symbols—tiny doors, flowers, stars, or fairies—that tell a tiny story.
- Seal with a clear outdoor sealer so they can brave the elements and keep their shine.
Pro Tips / Styling Ideas
- Group stones by path: a little fairy trail through potted plants or a sunlit garden bed.
- Use contrasting colors to help markers stand out in the grass or soil.
- Create mini-name tags on a few stones for nursery-word practice or family memories.
Who would love it? Outdoor-loving families and kids who adore a little magic they can see every day.
5. DIY Rainbow Stamped Cardboard Patchwork Bookmarks
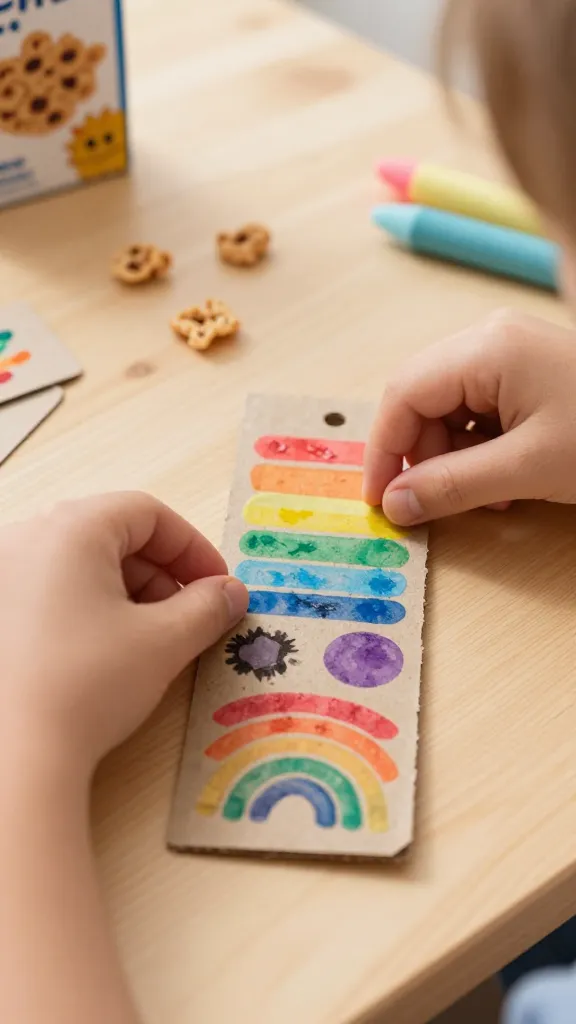
Turn scraps of cardboard into a cheerful bookmark patchwork that your child can proudly flip between pages. It’s a tiny, portable art project that doubles as a rainy-day activity and a super practical gift idea for book-loving family and friends.
Bright colors and tactile stamps will have your kiddo giggling as they press patterns into a soft cardboard canvas. Read-aloud sessions will feel extra special with a handmade bookmark in every hand.
Materials
- Small pieces of cardboard or cereal-box cut into bookmark shapes
- Acrylic paints or ink pads
- Foam stamps or bubble wrap for texture
- Child-safe white glue or glue sticks
- Ribbon scraps or yarn for tassels
How to Make It
- Paint one side of the cardboard patchwork with a mini rainbow or color blocks. Let dry.
- Stamp simple patterns (dots, stripes, waves) with foam stamps or bubble wrap for texture.
- Seal the design lightly with a clear, matte spray to help durability, then attach a tassel made from ribbon or yarn.
Pro Tips / Styling Ideas
- Create a tiny library-ready set by making a few bookmarks in different color families.
- Add a name or a short, encouraging word on the back for a personal touch.
- Laminate optional for extra longevity if you have access to a laminator.
Who would love it? Little readers and their book-worm friends who appreciate a little handmade joy between chapters.
Conclusion
These five ideas are all about quick, cheerful, kid-friendly creativity that fits into busy days. Each project is uniquely charming, easy to customize, and perfect for displaying your toddler’s growing skills. Pick one, or gather a tiny crafting crew and try them all—trust me, you’ll have a blast and your decor will thank you.