5 Fun & Simple Craft Ideas for a 2-Year-Old Boy
Brace yourself for ultra-simple, totally engaging projects that fit a toddler’s pace and a grown-up’s love for color and texture. These crafts are designed to spark tiny hands’ curiosity while letting you keep your sanity and the mess under control. Yes, they’re that good.
Trust me, these ideas are easy to set up, visually delightful, and genuinely fun for both of you. FYI, they also double as adorable gifts or sweet home accents you’ll actually want to display. Ready to dive in?
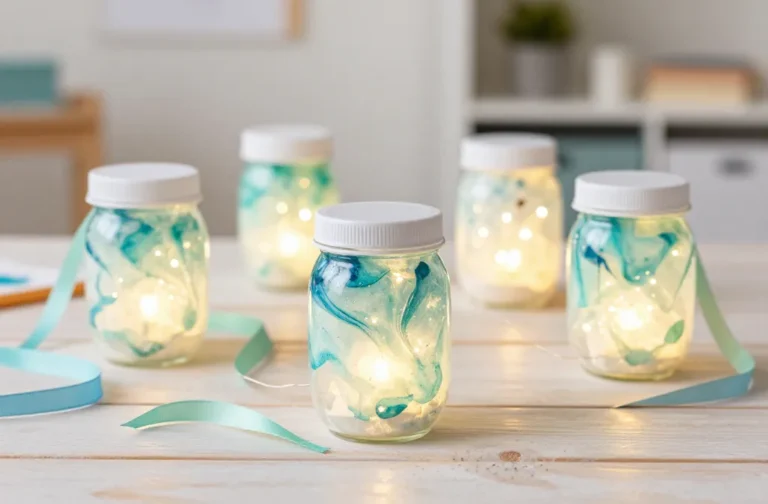
1. Sensory Play Jars: Colorful Ocean in a Jar
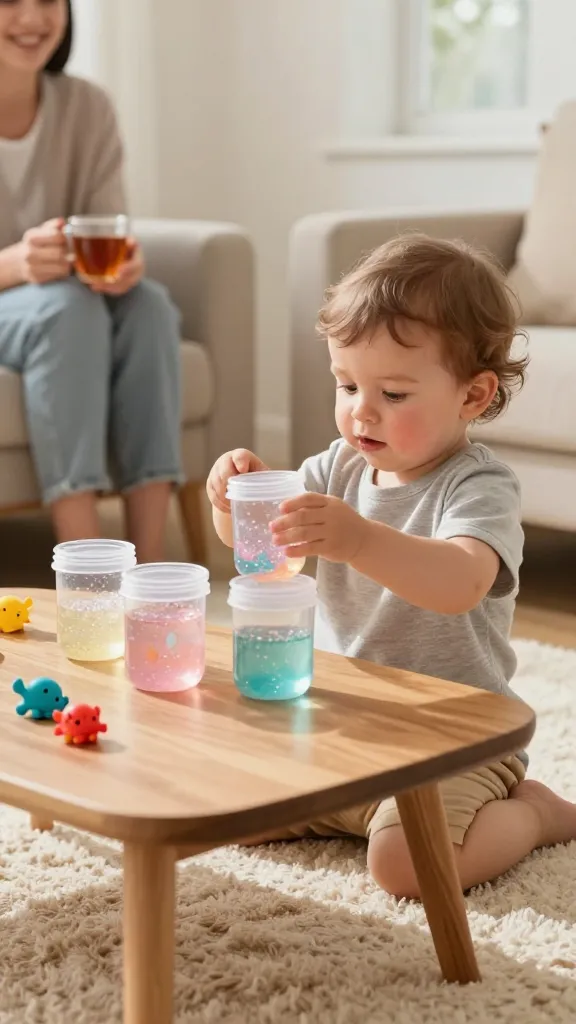
Imagine turning everyday items into a mini, magical ocean right on the coffee table. Your toddler will wiggle with joy as he shakes, stirs, and discovers hidden “sea creatures” in the glittery water. It’s not just play—it’s exploration you can watch from a chair with a cup of tea.
Materials Needed
- Three small, clear plastic jars with lids
- Water beads or colored hair gel (non-toxic)
- Food coloring or liquid watercolor
- Mini sea creatures or plastic animals (optional)
- Glitter (optional, sparingly)
- Hot glue or strong tape (adult use only)
How to Make It
- Fill jars with water up to ¾ full, then add a few drops of color to create three distinct “oceans.”
- Stir in a handful of glitter and a splash of glittery water beads or gel for shimmer and squish.
- Drop in a few tiny sea creatures if you have them. Seal the lids tightly with hot glue or strong tape so little fingers can’t pry them open.
- Shake, observe, and name the creatures. Add a dot of paint or sticker accents for extra personality.
Pro Tips / Styling Ideas
- Label each jar with a color and a tiny sticker to turn it into a color-spotting game.
- Place the jars on a low tray to keep everything contained and easy to reach.
Who’ll love it: toddlers who adore small worlds, parents who want calm, contained playtime, and caregivers needing quick sensory ideas that travel well.
2. Cardboard City Builders: Megacity Parade
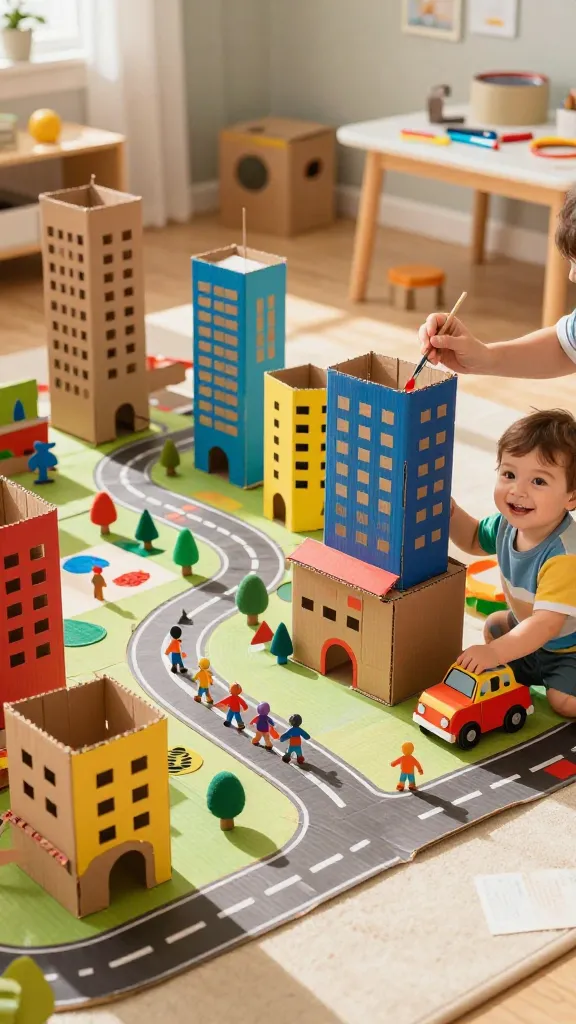
Turn a stash of cardboard into a bustling, kid-friendly metropolis. Think blocky towers, winding roads, and tiny cardboard people marching in a cheerful parade. The best part? It’s wildly customizable and ridiculously forgiving to imperfect cuts and bold color choices.
Materials Needed
- Recycled cardboard boxes (folded into buildings, streets, and park areas)
- Non-toxic acrylic paints and brushes
- Masking tape and glue (child-safe)
- Colored markers or stickers for windows and details
- Optional: small toy cars, figures, or felt trees
How to Make It
- Cut or fold cardboard into simple building shapes—tall rectangles, square blocks, and a few stair-step designs.
- Paint buildings in a palette of cheerful primary colors. Let dry between coats.
- Create a city layout on a large cardboard base—streets, parks, and sidewalks. Use masking tape to define lanes.
- Add windows, doors, and tiny details with markers and stickers. Place toy cars and figures to start the parade.
Pro Tips / Styling Ideas
- Encourage your little one to name the buildings (Pizza Palace, Fire Station, etc.).
- Roll out a fabric road rug to extend the city and make it feel expansive.
Who’ll love it: imaginative toddlers who enjoy role-play, parents who want a creative, reuse-friendly project, and anyone needing a big, colorful play surface on a small budget.
3. Easy Felt Puppets: Tiny Animal Parade
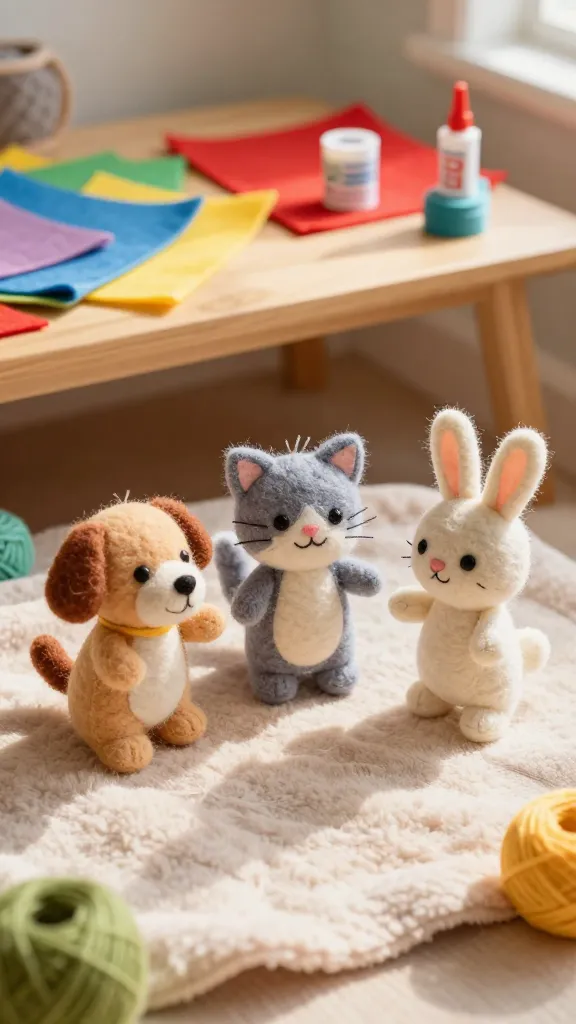
Soft, cuddly, and endlessly expressive—these felt puppets bring stories to life without the need for sharp edges or complicated glue. They’re perfect for simple storytelling, quiet time, or a quick snuggle-and-play session before naptime.
Materials Needed
- Colored felt sheets
- Non-toxic fabric glue or hot glue (adult use only)
- Black embroidery thread for eyes (or safety eyes)
- Yarn for hair and accents
- Small buttons or beads for noses (optional)
How to Make It
- Cut out simple animal shapes (dog, cat, bunny) from felt. Use two identical shapes for a puppet back and front.
- Glue sides together, leaving a small opening to insert a finger. Stuff lightly with soft material if desired.
- Attach eyes, noses, and facial features with embroidery or glue. Add a little yarn hair or a cape for character.
Pro Tips / Styling Ideas
- Stitch tiny mouths with a thin thread for more expression—seriously, it makes a big difference.
- Store puppets in a small, soft pouch that doubles as a mini theater prop.
Who’ll love it: budding performers, bedtime story lovers, and any kid who loves animals and a bit of handmade magic.
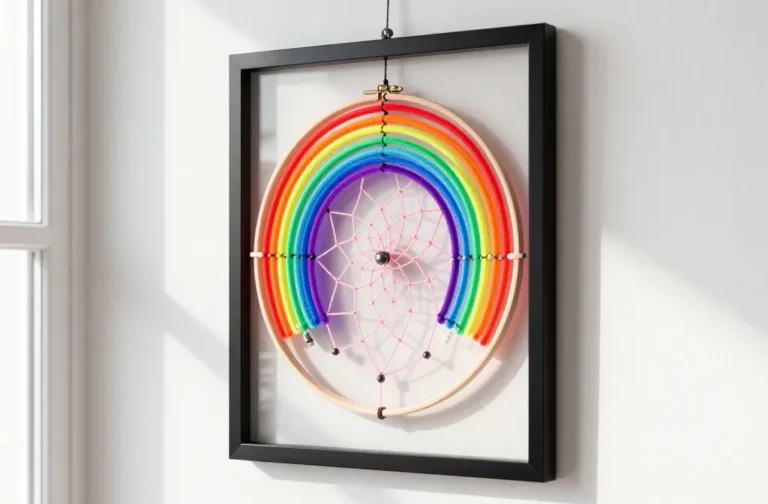
4. DIY Rainbow Hammering Art: Messy Yet Mesmerizing

This one is exactly the kind of art project you’ll want to brag about later—the kind that looks stunning on the wall and keeps a toddler delightfully engaged. A safe, beginner-friendly hammering station creates vivid, textured masterpieces with zero pressure to draw perfect shapes.
Materials Needed
- Thick cardboard or a pre-stretched canvas
- Non-toxic tempera paints in a rainbow of colors
- Plastic marbles or round-tipped dowels
- Foam tray or cardboard shield to protect surfaces
- Sealant spray (optional, adult use)
How to Make It
- Lay the canvas and tape a paper shield around the edges to protect the surface.
- Dip a marble or a round dowel into a color and roll it across the canvas, leaving a dotted rainbow trail.
- Switch colors and repeat, creating a bold, layered rainbow. Encourage big, confident motions rather than precise lines.
Pro Tips / Styling Ideas
- Let the artwork dry flat and then add a final light spray of sealant to keep it vibrant longer.
- Framing a few pieces together makes a striking wall cluster that grows with your child’s art.
Who’ll love it: young artists who love color physics, households craving dynamic wall art, and anyone who loves a lively, messy-tinkering session.
5. Sprout Garden in a Tray: Tiny Planting Project

Green thumbs begin small, and this mini garden is the cutest, most interactive way to introduce a 2-year-old to plants, seasons, and responsibility. A shallow tray, a handful of easy-to-grow seeds, and a sprinkle of soil create a tiny, thriving green world your toddler can watch daily.
Materials Needed
- Shallow plastic tray or baking sheet
- Potting soil or seed-starting mix
- Slow-sprouting seeds (petunia, cosmos, lettuce, or herbs like basil)
- Soft small spoons or scoops for little hands
- Water spray bottle
How to Make It
- Fill the tray with a thin layer of soil. Press each seed into the soil with a finger, following seed depth guidelines.
- Let your toddler sprinkle a light layer of soil over the seeds and tap the tray to settle them.
- Water gently with the spray bottle and place the tray near a sunny window. Watch daily and cheer every green sprout!
Pro Tips / Styling Ideas
- Turn this into a little “garden corner” with a tiny chalkboard sign naming the plants.
- Upgrade to a kid-friendly watering can for independent care—trust me, they’ll feel so grown-up.
Who’ll love it: tiny botanists and curious toddlers who love digging in the dirt, plus parents who want a simple renewable craft that keeps giving.
Conclusion: You’ve got five wildly different, totally kid-friendly craft ideas that fit a 2-year-old’s pace and enthusiasm. Each project is simple to set up, scratch-made, and designed to spark imagination without turning your home into a workshop. Pick one to start, or go all-in and watch a week of lightweight, joyful creativity unfold. You’ll love how these crafts feel approachable, colorful, and genuinely rewarding to complete with a little helper beside you.