6 Creative Painting Craft Ideas for Beginners
Ready to dip your brushes into something delightful? These six painting-inspired crafts are beginner-friendly, bursting with personality, and totally Pinterest-worthy. Trust me, you’ll finish with a grin and a few standout pieces you’ll actually be proud to display.
Let’s dive into six completely unique projects that prove painting isn’t intimidating—it’s endlessly playful. FYI, you’ll want to grab a cup of coffee and your favorite playlist because you’ll want to start right away.
1. Ocean Whisper: Fluid Acrylic Wall Art on a Canvas Board
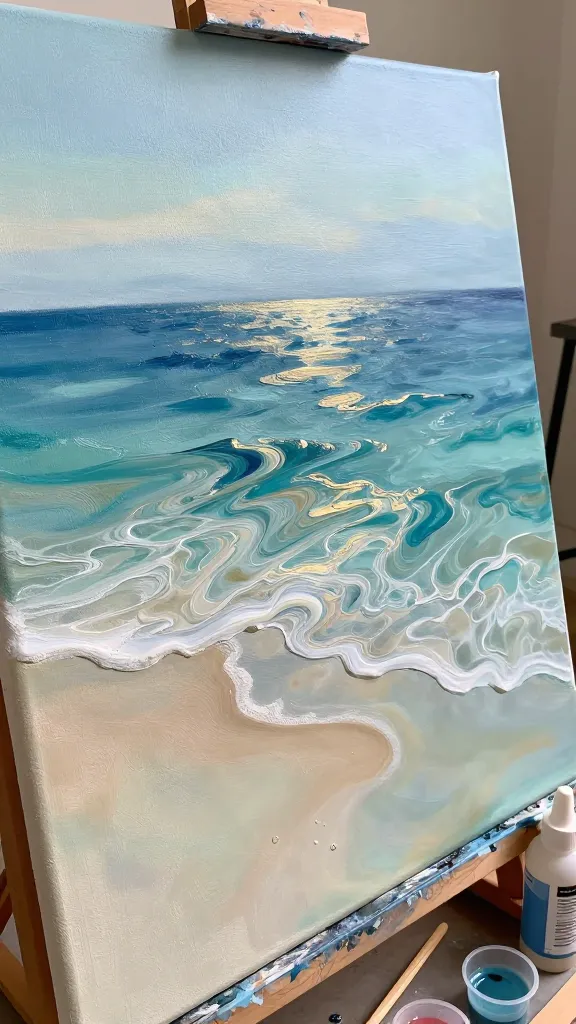
Picture this: a tranquil wall piece that feels like a peek into the sea, with soft blends of blue, teal, and a hint of sand. This project captures that serene, painterly vibe without fuss. The secret sauce is letting the colors mingle freely on the surface—no perfect lines required.
Materials Needed
- Acrylic paints (various blues, teal, white, a touch of gold or copper)
- Canvas board or stretched canvas
- Pouring medium or water to thin paints
- Plastic cups and sticks for mixing
- Silicone oil or string for effects (optional)
- Palette knife or old card for tilting
- Drop cloth and paper towels
How to Make It
- Prep the canvas with a light water spray to help the paint move.
- Mix your base blues with a splash of white for a hazy background. Add a little pouring medium for flow.
- Pour the colors in layers or in a messy puddle, then tilt the canvas to let them blend.
- Drop a few droplets of silicone oil or streak with a string for marbled, cloud-like swirls.
- Finish with a thin wash of white or gold across the top to evoke sunlight on waves.
Pro Tips / Styling Ideas
- Seal with a clear matte finish to mute the shine and give it a calm, oceanic feel.
- Pair with driftwood frames or hang near a beachy vignette for maximal impact.
Who would love it? Anyone craving a peaceful focal point for a living room or bedroom. It’s serene, modern, and surprisingly simple to nail.
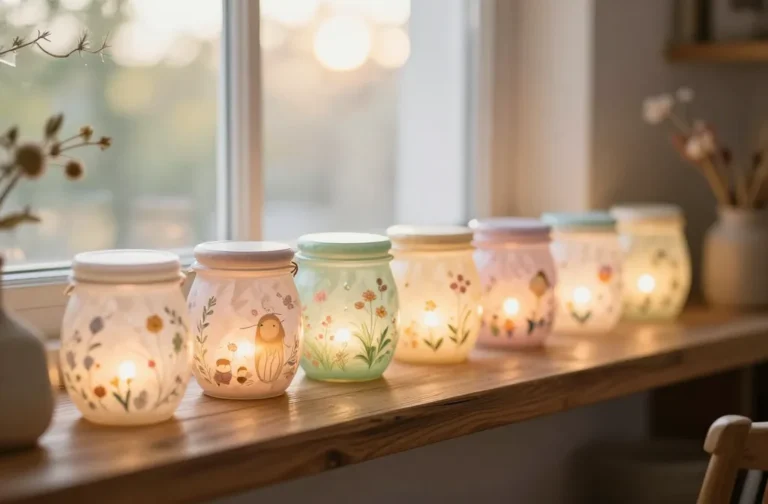
2. Berry Crescendo: Painted Glass Mason Jars for Spring-Vibe Lighting
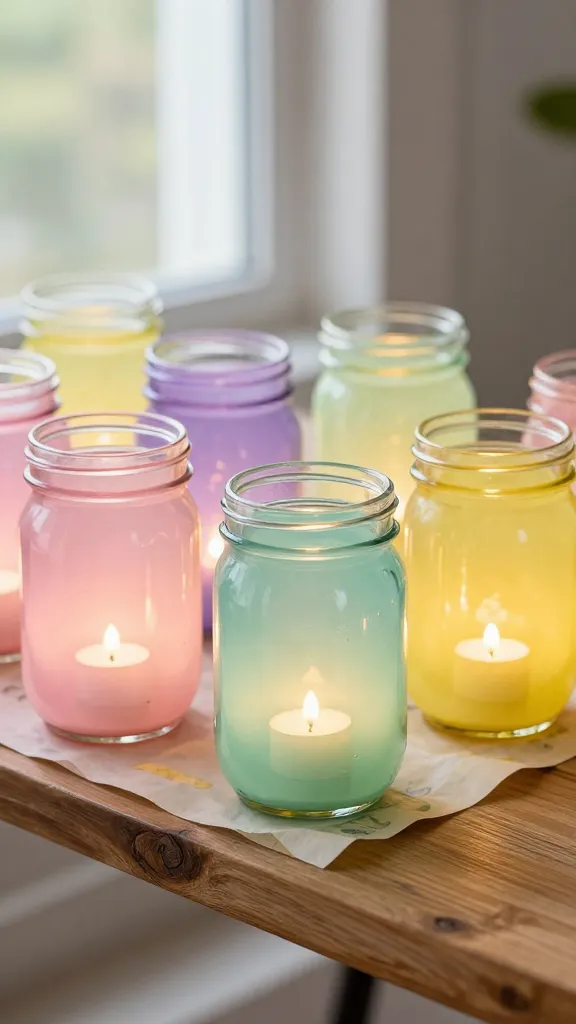
Imagine glass jars transformed into cozy lanterns with soft, fruity hues. This project is a bright, cheerful spruce-up for shelves or a dinner table centerpiece. The best part: you can customize colors to match your décor and mood.
Materials Needed
- Clean glass jars (mason jars or any jar shapes)
- Acrylic paint (pink, purple, mint, or citrus tones)
- Paint brushes and sponges
- Mod podge or clear sealant
- LED tea light candles
- Parchment paper and painter’s tape (optional for patterns)
How to Make It
- Clean jars thoroughly and dry completely.
- Paint the outside with light acrylic layers, allowing each layer to dry before applying the next. Build color gradually for depth.
- For a textured look, dab on paint with a sponge to mimic petals or fruits—dots and strokes work wonders.
- Seal with Mod Podge to protect the finish, then let it cure overnight.
- Insert LED candles and place where you want a soft, colorful glow.
Pro Tips / Styling Ideas
- Group jars in odd numbers (three or five) for a more dynamic tablescape.
- Swap in citrus colors during summer; dusty pinks or purples read cozy in winter.
Who would love it? DIY decorators who want a bright, budget-friendly lighting update. These jars feel handmade, warm, and utterly charming.
3. Textured Flora Freeze-Dried: Faux Painted Succulent Pots
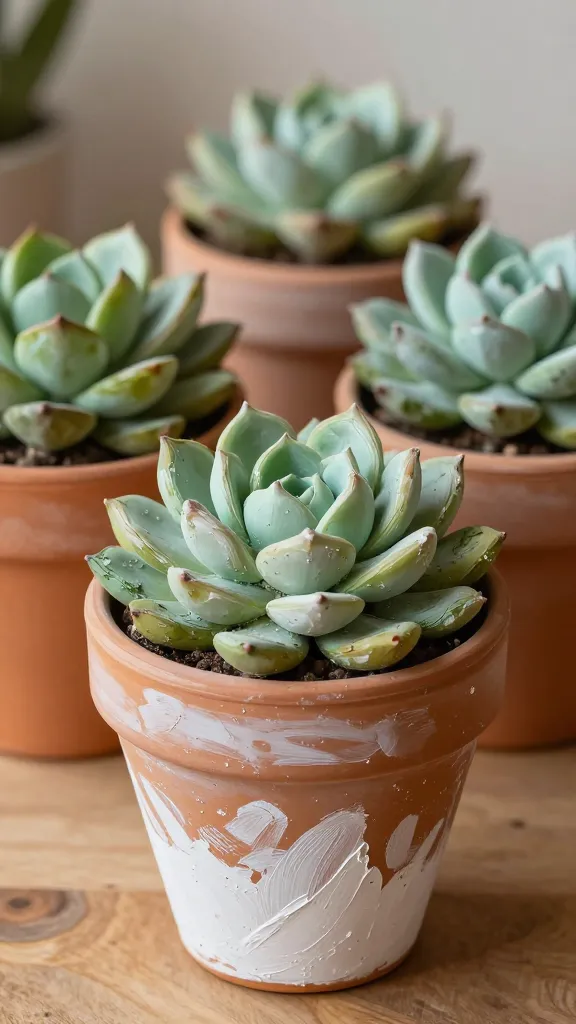
Turn plain terracotta into a painterly oasis. This project blends simple painting with texture to mimic depth and life—no actual plant required. It’s an easy way to add a botanical vibe to any room without watering hassles.
Materials Needed
- Terracotta pots (small or medium)
- Acrylic paints (earth tones, greens, terracotta)
- Gesso or white acrylic for base
- Sponges, stippling brushes, and a fine liner brush
- Clear sealant
How to Make It
- Prime pots with white gesso for a smooth base. Let dry.
- Paint abstract succulent shapes with layered greens and teals. Use a dry brush technique to add texture.
- Add tiny highlights with light cream or white to simulate sunlight catching leaves.
- Seal well to keep colors vibrant and outdoors-ready if you use them outside.
Pro Tips / Styling Ideas
- Pair with a few real or artificial plants for a mixed-media look.
- Use as a kitchen herb display or as colorful desk organizers.
Who would love it? Plant lovers who want vibrant planters that pop on shelves or windowsills, plus it’s a fun texture exercise for beginners.
4. Memory Lane: Painted Photo Frame Collage with Stamped Accents
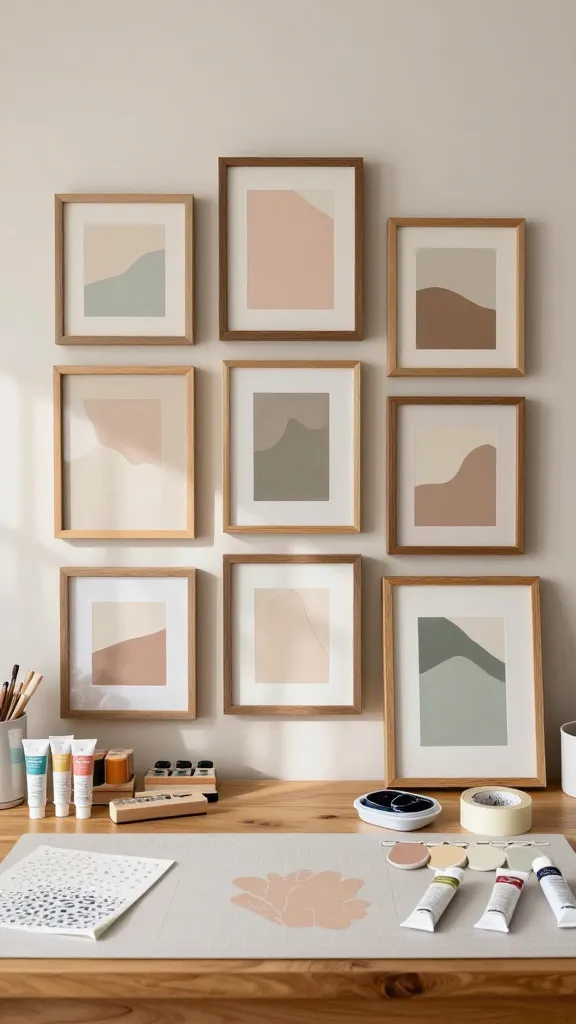
Turn ordinary frames into a gallery-style memory wall maker. This project combines painting with simple stamping to create a cohesive, nostalgic display. It’s personal, pretty, and totally doable in an afternoon.
Materials Needed
- Wood or composite photo frames (various sizes)
- Acrylic paints (soft neutrals and bold accents)
- Rubber stamps or patterned stamps
- Ink pads in coordinating colors
- Painter’s tape and protective surface
How to Make It
- Lightly sand frames, then prime with a base coat. Let dry.
- Paint frames in a consistent palette (e.g., blush pink, sage, and charcoal).
- Stamp simple patterns on edges or corners for a cohesive look. Use masking tape to keep lines sharp.
- Arrange cherished photos or favorite quotes in the frames to tell a story.
Pro Tips / Styling Ideas
- Group frames in odd-number clusters on a wall for drama.
- Switch photos seasonally to refresh the display without buying new frames.
Who would love it? Nostalgia lovers who want a stylish, personalized wall feature that’s forever easy to update.
5. Cozy Monochrome Moments: Velvet-Coated Painted Wood Ornaments
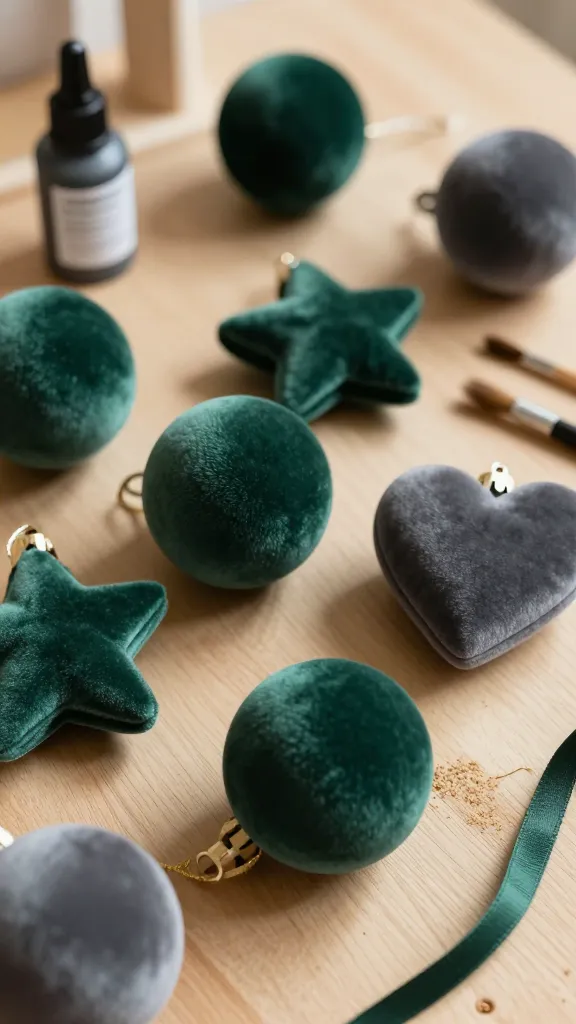
Make mini decorative orbs that feel luxe yet playful. Painted wood shapes coated with a matte velvet-like finish give your space a touch of sophistication without the fuss. They’re a great weekend project and perfect for gifting.
Materials Needed
- Wood shapes or baubles (stars, hearts, circles)
- Acrylic paints (choose one main color and a couple of accents)
- Matte sealant
- Fine sandpaper
- Ribbon or cord for hanging
How to Make It
- Lightly sand the wood shapes for a smooth paint job. Wipe clean.
- Base coat in your chosen main color and let dry between coats.
- Lightly brush on darker or lighter accents to create depth and a velvet-like texture appearance.
- Seal with a matte finish and attach a ribbon for hanging or display.
Pro Tips / Styling Ideas
- Hang in a cluster on a door, mantel, or vignette display for a luxe look.
- Turn into a seasonal decor set with shared color palettes.
Who would love it? Fans of luxe textures who enjoy quick, stylish decor upgrades that feel premium without heavy effort.
6. Dreamy Doodles: Abstract Acrylic Coasters with Whimsical Lines

Coasters that are as artful as they are practical? Yes please. This project blends bold lines, soft washes, and a dash of whimsy to create durable, conversation-starting drink protectors for every table.
Materials Needed
- Plain ceramic or cork coasters
- Acrylic paints (assorted colors)
- Fine-tipped brush or paint markers
- Clear sealant spray or brush-on sealant
- Painter’s tape (optional for straight edges)
How to Make It
- Base coat the coasters with a soft color wash and let dry.
- Draw abstract doodles with bold lines, crossing curves and points that feel playful.
- Go back with contrasting color highlights to make the doodles pop.
- Seal thoroughly to protect from moisture and coffee rings.
Pro Tips / Styling Ideas
- Mix finishes by using both matte backgrounds and glossy linework for contrast.
- Gift them in a set tied with a ribbon for a charming present.
Who would love it? Anyone who enjoys everyday art with a pop of color and a dash of whimsy—great for coffee lovers and home entertainers alike.
Conclusion
These six painting-inspired crafts prove that you don’t need to be a master to make something gorgeous. Each project is fresh, beginner-friendly, and designed to spark your creativity without overwhelming you. Pick one to start, or dive into all six for a colorful, gallery-worthy home makeover. Happy painting—your future decor could be closer than you think.