5 Trendy Craft Ideas for a 9-Year-Old Girl
Ready to DIY your way through a weekend? These five totally unique crafts are perfect for a creative 9-year-old and their big imagination. Trust me, they’re easy, age-appropriate, and seriously Pinterest-worthy.
You’ll find colorful, playful projects that double as gifts, room decor, and show-stopping party ideas. Let’s dive in and transform ordinary supplies into magical little masterpieces!
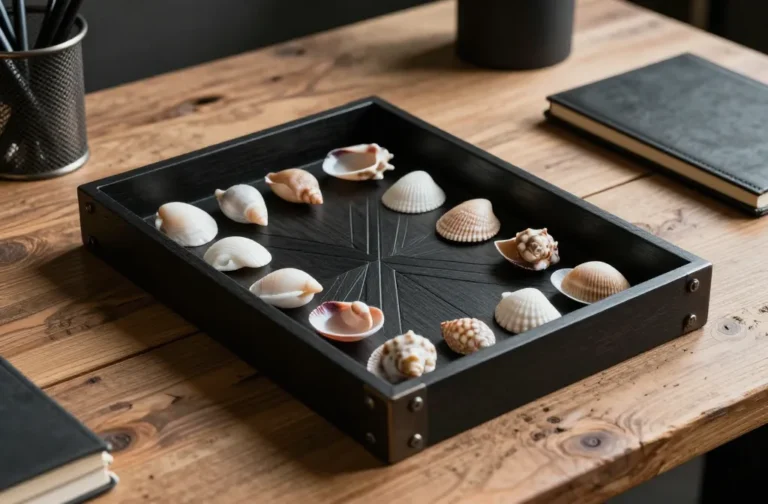
1. Whimsical Shadow Box Garden Tracks
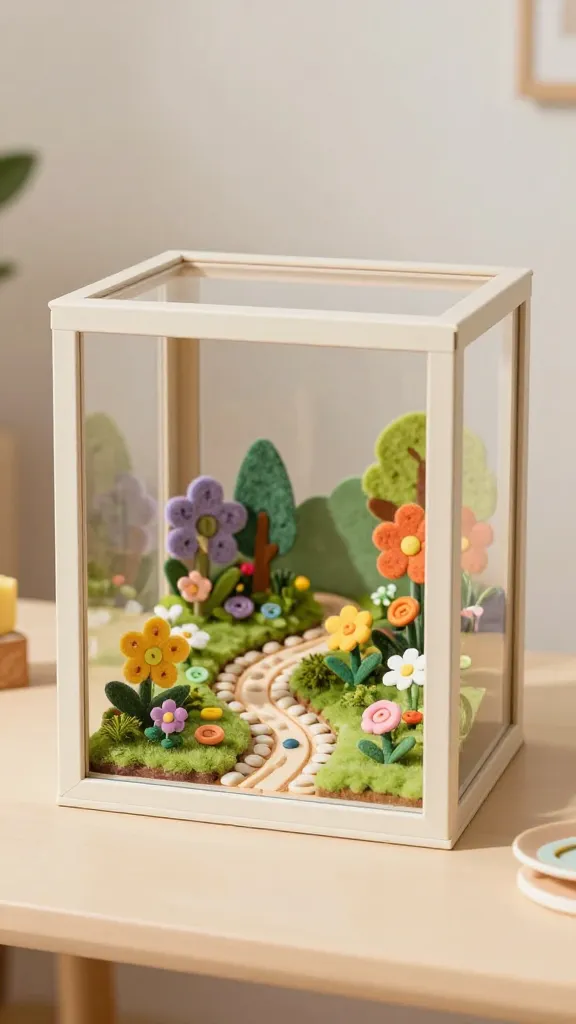
Imagine a tiny world blooming inside a glass-fronted box—bright, cozy, and delightfully whimsical. This project turns a simple shadow box into a mini garden track with moving pieces and springy textures. The finished piece feels like a story you could walk into, and it’s perfect for shelf decor or a cute desk companion.
Materials needed
- Small shadow box or deep frame
- Colored cardstock, felt, and lightweight foam
- Miniature faux flowers, buttons, pebbles
- Glue, double-stick tape, craft knife (adult supervision)
- Thin wooden skewers or craft sticks
- Optional: tiny motor or hand-crank mechanism (simple DIY options)
How to make it
- Sketch a mini garden scene on cardstock. Cut out shapes for flowers, pathways, and little critters.
- Layer the background inside the shadow box using foam for depth. Create a “track” using a thin pipe cleaner path or a curved feather-light strip.
- Glue flowers and pebbles along the track. Attach tiny animals or fairy figures with a dab of glue.
- Wire a simple moving element (like a tiny gliding bee or butterfly) by threading it through a skewer and anchoring it with tape so it can sway gently when touched.
- Seal with a light spray or glue to keep pieces in place. Close the shadow box and marvel at your mini garden world.
Key steps (short version)
- Design garden layers
- Build a track or path inside
- Add 3D elements with foam for depth
- Incorporate a gentle moving piece
- Secure and display
Colors, textures, and style
- Pastel florals, sunny yellows, mint greens
- Soft textures: felt, pom-poms, burlap accents
- Whimsical creatures and miniature mushrooms for charm
Where to use it
- Bedroom shelf, desk decor, or a gift for a friend
- Party favor display or a nature-themed classroom project
Customization ideas
- Change the season: add autumn leaves and acorns, or winter snowflakes
- Paint the frame a bold color to match a desk space
- Make a magnetic version for a fridge gallery
Who would love this
Any kid who adores little stories and cozy, crafty vibes. It’s especially great for someone who loves nature and tiny details.
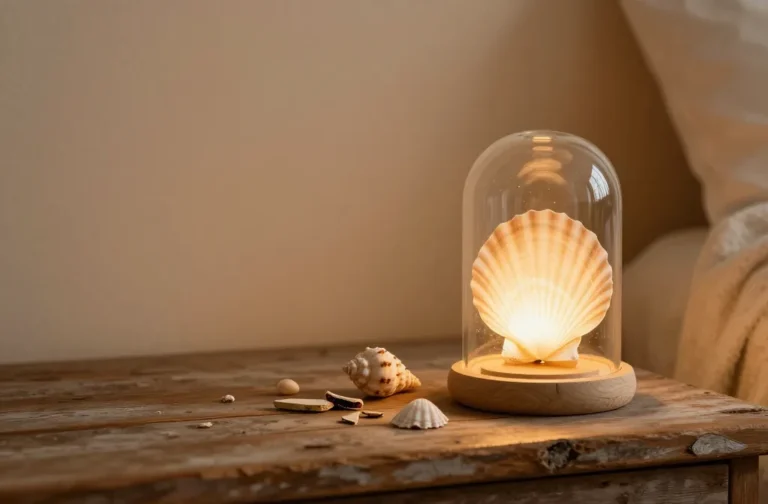
2. Glitter-Glass Jar Lanterns (Day-to-Night Edition)
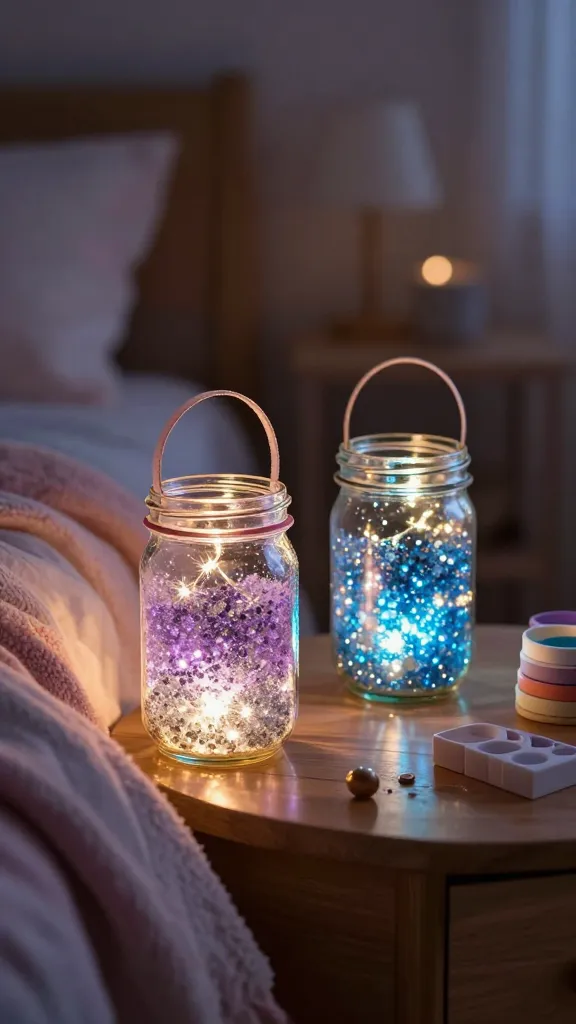
Lanterns that glow with personality? Yes please. These glitter-glass jar lanterns are simple to assemble, glow softly at dusk, and double as adorable night lights. They’re perfect for a bedroom makeover or a cozy living corner, and the glow is enough to make bedtime feel magical.
Materials needed
- Glass mason jars or recycled jars
- Fine glitter, acrylic paint, or glitter glue
- tea light candles (LED preferred for safety) or fairy lights
- Ribbon or twine for handles
- Mod Podge or clear-drying glue
- Paintbrushes
How to make it
- Decorate the outside of each jar with a coat of Mod Podge and glitter, letting it dry smoothly.
- Add a simple painted design—dots, stripes, or a tiny heart—to personalize each jar.
- Attach a handle with ribbon or twine across the top for easy carrying.
- Place LED lights inside or nestle them with a small battery pack and switch for easy on/off.
- Light them up and let the glow turn a room into a twinkle town.
Key steps (short version)
- Decorate jars with glitter or paint
- Attach handles for portability
- Fill with LED lights for safe night glow
Colors, textures, and style
- Glimmering pinks, blues, and golds
- Mix matte paint with glossy accents for contrast
- Delicate ribbon bows for a feminine, whimsical touch
Where to use it
- Bedroom nightstand, party decor, or a cozy reading corner
- Gift for a friend or neighbor who loves soft lighting
Customization ideas
- Paint jar interiors in a gradient for a sunset effect
- Fill jars with small fairies or confetti for celebration vibes
- Make a set of three with coordinating color schemes
Who would love this
Creatives who enjoy glow and color, or kids who love a little magic before bedtime.
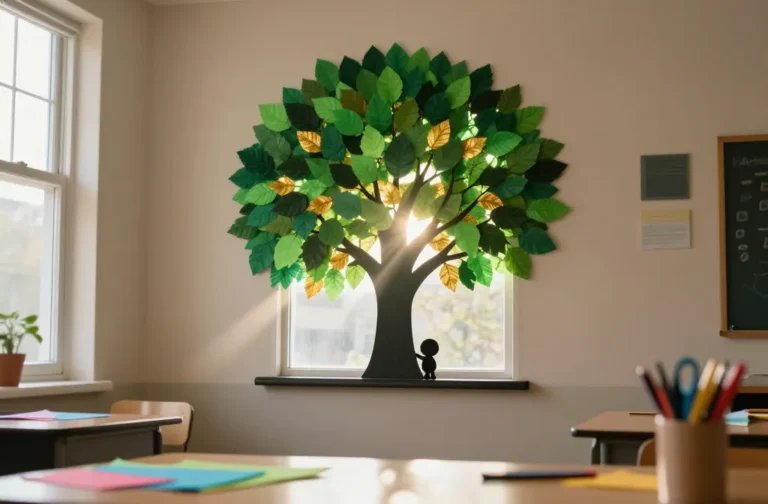
3. Designer Felt Bow Keepsake Wall Plaque
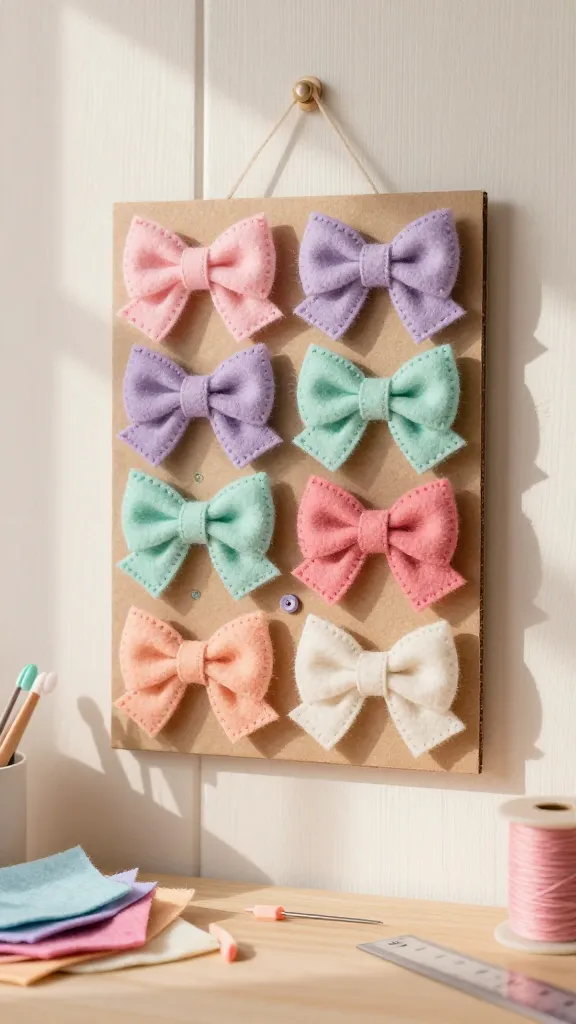
Picture a sweet, soft plaque hanging on a wall—felt bows arranged in a chic, modern pattern. It doubles as a decorative piece and a playful learning moment about shapes, colors, and layout balance. It’s simple, tactile, and surprisingly design-forward.
Materials needed
- Sturdy cardboard or wood plaque
- Colored felt in assorted hues
- Floss or embroidery thread for stitching
- Needle (plastic-safe for kids) or fabric glue
- Buttons, tiny beads, or sequins for embellishment
How to make it
- Plan a symmetrical or playful layout of felt bows on the plaque.
- Cut out shapes and arrange first without glue to visualize spacing.
- Attach bows with a few stitches or a dab of fabric glue for kid-friendly assembly.
- Add a few decorative touches like small beads or stitched accents.
- Seal with a light spray to keep pieces in place and ready for display.
Key steps (short version)
- Prepare plaque and choose color palette
- Cut, arrange, and attach felt bows
- Add embellishments and finalize with a seal
Colors, textures, and style
- Soft neutrals with pops of blush, teal, and lemon
- Luxurious texture from layered felt and tiny beads
- Minimalist pattern that still feels playful
Where to use it
- Bedroom wall gallery, entryway, or above a desk
- Gift for a best friend’s room makeover kit
Customization ideas
- Switch colors to match a room’s palette
- Replace bows with tiny felt fruits or animals for a different vibe
- Create multiple sizes to form a mini wall collage
Who would love this
Kids who adore soft textures, crafts that feel like fashion design, and anyone who appreciates a tidy, chic room vibe.
4. Upcycled Denim Tote Mini-Mash
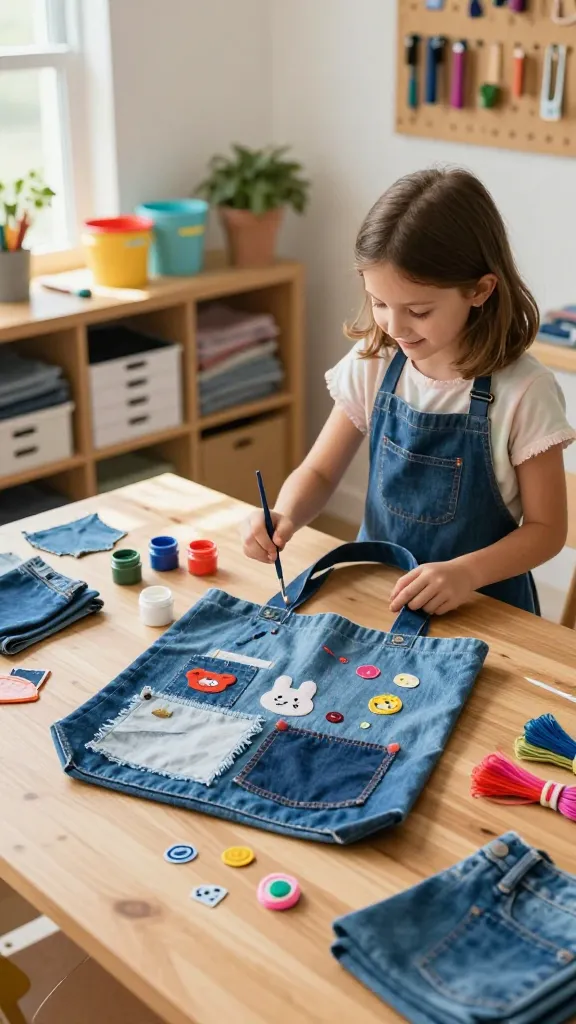
Who said a tote bag has to be serious? This tiny denim tote mash turns scrap fabric and simple embellishments into a portable art piece. It’s a perfect weekend project for a 9-year-old who loves fashion, DIY fashion accessories, or gifting handmade goodies to friends. The result is practical, sturdy, and adorably unique.
Materials needed
- Small denim fabric scraps or old jeans
- Fabric paint, iron-on patches, or embroidery floss
- Fabric scrap pieces for pockets or appliqués
- Ribbon or sturdy cord for handles
- Needle and thread or fabric glue
How to make it
- Cut a simple tote shape from denim, leaving room for bottom corners to give it depth.
- Decorate with patches, paint designs, or embroidery stitches to create a colorful scene.
- Attach a small pocket from fabric scraps for a cute, functional touch.
- Stitch or glue on sturdy handles, using reinforced seams for durability.
- Finish with a light wash or fabric spray to set designs and improve grip.
Key steps (short version)
- Prepare denim and tote shape
- Decorate with patches and paint
- Sew in a pocket and attach handles
Colors, textures, and style
- Classic denim with bright, crafty embroidery
- Contrasting patches in pinks, yellows, and teal
- Rugged-meets-sparkle vibe with metallic threads
Where to use it
- School tote, library run, or weekend market trips
- A thoughtful handmade gift for a cousin or grandparent
Customization ideas
- Personalize with initials or a favorite character
- Use upcycled fabric from soft t-shirts for a comfy touch
- Make a miniature version as a keychain or pencil pouch
Who would love this
Fashion-curious kids who enjoy DIY fashion and turning scraps into something special.
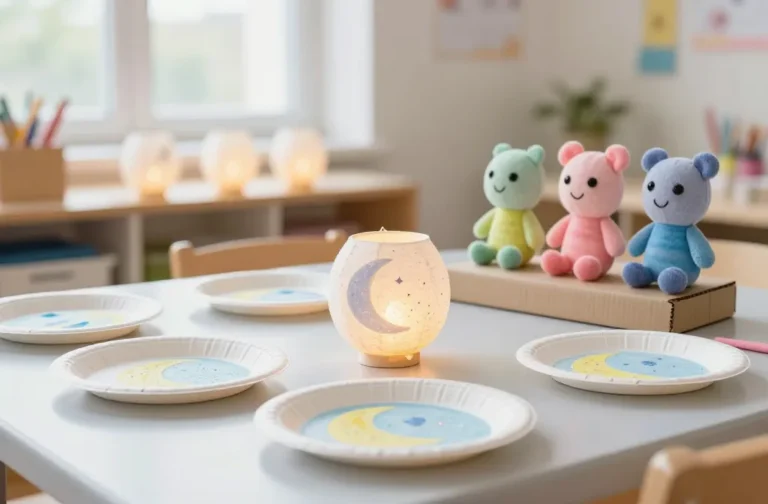
5. Mini Felt Plush Buddy Workshop
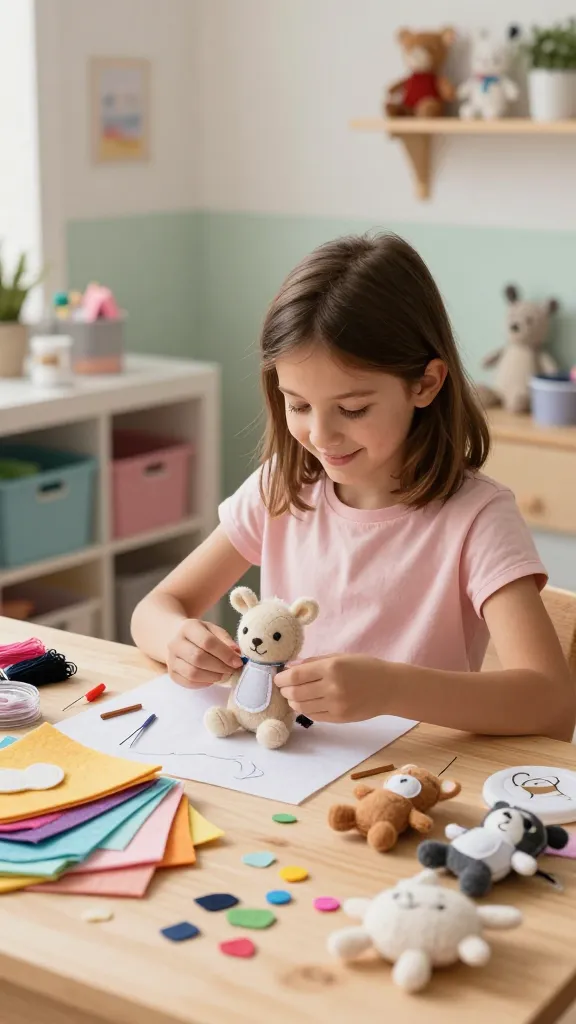
Turn a pile of felt into pocket-sized pals with this friendly plush buddy workshop. It’s part sewing class, part storytelling exercise, and 100% adorable. The result is a set of tiny, huggable friends that can become mascots for color-themed rooms or characters for imaginative play. Simple, safe, and so much charm.
Materials needed
- Assorted felt sheets
- Basic stuffing or cotton batting
- Black and white embroidery floss for eyes and mouths
- Waste-safe plastic needles or blunt-end plastic sewing needles
- Fabric glue for quick assemblies
How to make it
- Cut simple shapes into felt to form a child-friendly animal or creature (think cat, bunny, or friendly monster).
- Stitch or glue the edges to create a small plush body, leaving a tiny opening for stuffing.
- Stuff lightly and close the opening with a few more stitches or a dab of glue.
- Decorate faces with stitched eyes and smiles or tiny felt features like ears or paws.
- Repeat to build a small crew of plush buddies, each with a unique color and personality.
Key steps (short version)
- Cut shapes for the plush
- Stitch or glue edges, stuff lightly
- Add faces and small features
Colors, textures, and style
- Soft pastel bodies with bright, contrasting features
- Mix matte felt with a touch of fuzzy texture for snuggly vibes
- Playful, friendly faces to invite imagination
Where to use it
- Bedroom shelf buddies, playroom decor, or party favors
- Gifts for friends who love handmade toys
Customization ideas
- Give each buddy a themed accessory: hat, scarf, or bow
- Use coordinating color palettes to create a mini family of plushes
- Turn one buddy into a tiny finger puppet for storytelling
Who would love this
Kids who adore soft textures, storytelling, and a little craft therapy that ends in brave, huggable pals.
Conclusion
These five completely unique crafts prove that a creative spark can turn ordinary materials into memorable, kid-friendly masterpieces. Pick one or go full throttle and tackle all five—your 9-year-old will love the creative glow, the brag-worthy results, and the joy of sharing handmade treasures with friends and family. Ready, set, craft!