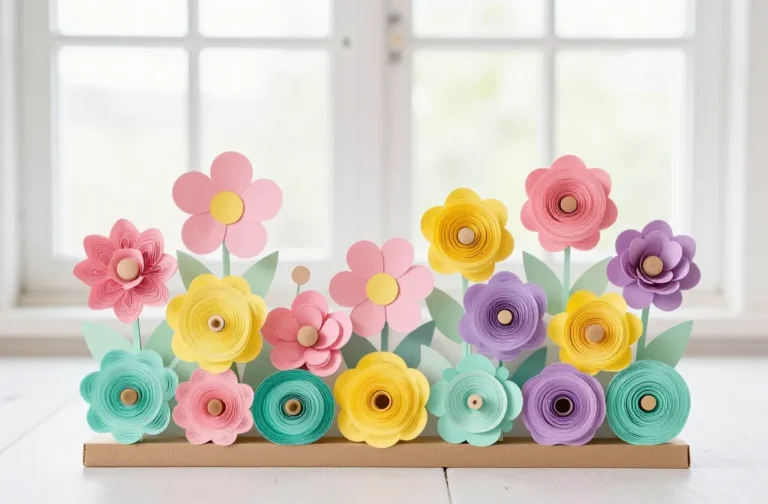
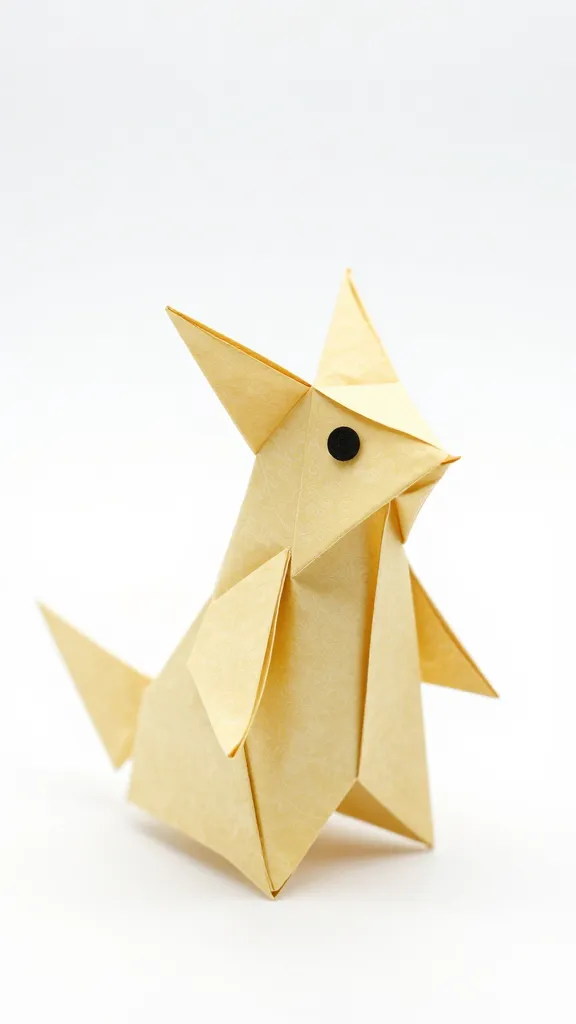
How to make easy paper whimsical crafts
I love a good paper craft that doesn’t require a trip to the art store. You know the feeling: you grab a stack of scrap paper, a pair of scissors that seem suspiciously dull, and somehow you end up with a whimsical creature that totally deserves a photo for the internet. Let’s make easy, playful paper crafts that sparkle without stressing you out. Ready to dive in? Let’s go.
Why paper crafts win the afternoon
Paper is basically magical with zero commitment. It folds, curls, pops, and becomes a tiny universe with just a little imagination. No glue gun fires, no specialized tools needed. You can complete a cute project during a coffee break or while binge-watching your favorite show without feeling like you’re failing at life. FYI, the key is embracing simplicity and using what you already have.
Starter stash: what you actually need
You don’t need a fancy shopping list to start. Gather these basics and you’re golden:
- Colored paper or scrap printer paper
- Scissors (the sharper, the better, but not essential)
- Glue or double-sided tape
- Markers or colored pencils
- Optional: string, a stapler, and a ruler
Ask yourself: do you want to crochet for hours or keep it quick and breezy? Your answers shape what you pick up. Keep it flexible—this is your art, not a rigid factory line.
Fold, snip, repeat: quick paper creatures
Here’s a trio of super-fast projects that look surprisingly polished.
Butterfly bookmark
– Cut a rectangle about 6 by 2 inches. Fold it in half longways.
– Cut two small wing shapes from the folded edge, then unfold to reveal a butterfly silhouette.
– Decorate with markers, add a tiny patterned line on the body, and punch a hole for a ribbon.
– Slip it into your current read and pretend you’re a literary wizard.
Loveable cloud garland
– Cut several paper circles or ovals.
– Stack two or three and glue the edges together to form fluffy clouds.
– Punch holes on either side and string them up with twine.
– Hang in a bedroom corner or above your desk for an instant mood lift.
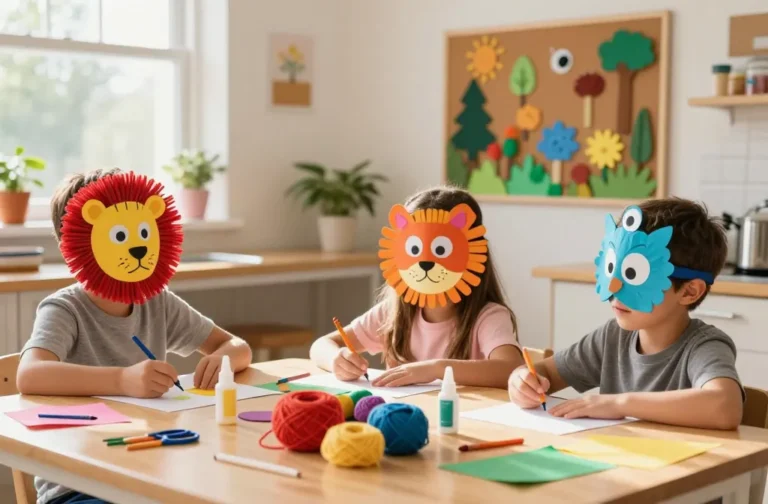
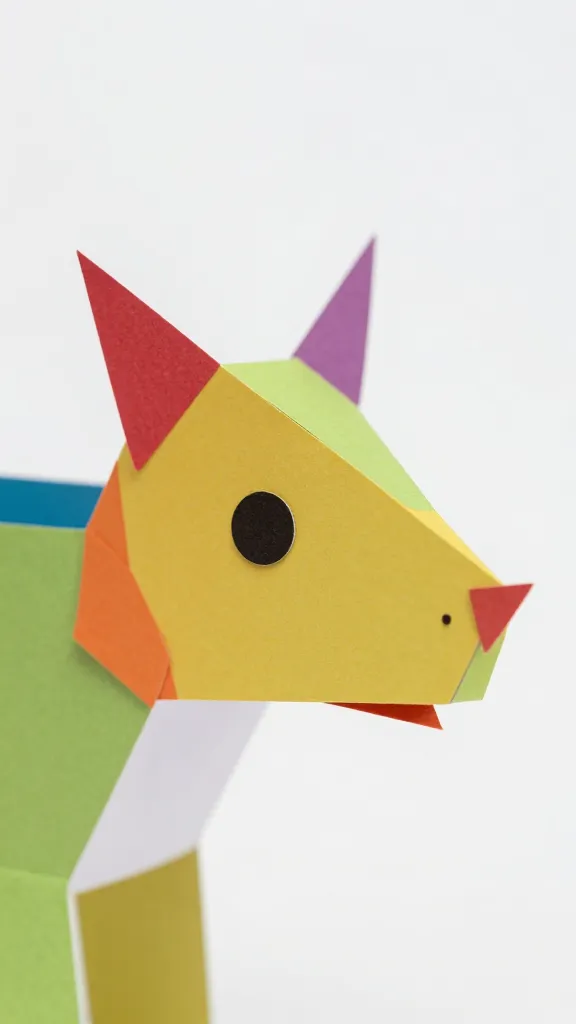
Little creatures with big personality
These tiny cuties are perfect for gifting, planner decor, or a playful desk companion.
Egg-carton friends (yep, egg cartons count as paper)
– Cut egg carton cups into fun shapes (like a chick, cat, or rocket).
– Cover with colored paper if you like, add eyes with marker, and a tiny beak or nose.
– Tape the cups to a piece of cardstock to create a small standee.
– FYI: you don’t need to overthink the design—charm over perfection wins.
Paper leaf people
– Cut leaf shapes from green or autumn-toned paper.
– Fold a small corner to form a neck, tape on a simple face with a marker, and add hair with short scribbles.
– Glue the leaves to a short strip of paper to make a little forest family.
– They make for a sweet window display or seasonal decor.
3 clever techniques to level up your craft game
You don’t need hours to look like you spent days on a project. Try these tricks.
- Layering is your friend: Cut shapes in multiple sizes and stack them for depth. A simple owl becomes surprisingly fancy with layers of circles and triangles.
- Texture without a texture gun: Use crepe paper, tissue, or newspaper strips to add patterns. A paper ball dressed as a planet feels instantly cosmic.
- Hole punching for personality: Tiny punched holes create lace-like details that elevate even the simplest shapes. Try on banners or snowflakes.
Turn receipts, tickets, and scraps into stars
Don’t toss those leftover paper bits—give them a second life.
Mini garland of happy scraps
– Gather small cutouts: ticket stubs, sticker remnants, cereal-box cardboard.
– Punch holes and string them together with embroidery floss.
– Hang above a desk to remind yourself you’re basically a craft wizard.
Pop-up card with a wink
– Fold a sturdy card in half.
– Cut a simple shape from a separate piece of paper and attach with a small folded tab so it pops when opened.
– Decorate with doodles and a cheeky message.
– Your friend will think you spent hours on it, but you’ll know the truth.
Practical tips to keep things easy and fun
Let’s save you from the “this should have been perfect” trap.
- Set small goals: Choose one project and finish in one sitting. You’ll feel productive and less overwhelmed.
- Use a flat workspace: Clear a space, lay out colors, and avoid dolloping glue across the room. Clean workspace, clean mind.
- Embrace imperfection: Wobbly edges? Perfect. It adds character and proves it’s handmade.
DIY gift ideas that scream “you made this”
Giving a handmade craft feels special without the pressure of a gallery-quality finish.
Personalized gift tags
– Cut a small tag shape, decorate with initials, and punch a hole for string.
– Tie to a present or a bouquet. Bonus points for a tiny doodle of the recipient’s favorite thing.
Mini storybook notebook
– Stack a few plain pages, fold in half, and staple along the spine.
– Create a whimsical cover with doodles and a bold title.
– Slip in a pencil for a ready-to-write-on gift.
Where to find inspiration when your brain decides to nap
If your creative battery dips, consider these quick hops.
- Look around your space—everyday shapes become themes (circles = moons, triangles = mountains).
- Search for tiny, cheerful palettes—pastels, bright primaries, or monochrome chic. Pick one and stick with it for a cohesive look.
- Watch a short tutorial or a craft roundup video. Short, snappy demos work wonders for motivation.
Conclusion
Ready to turn simple paper into tiny worlds? Start with a couple of scraps, a dash of glue, and a burst of curiosity. You don’t need a fancy studio or a lifetime supply of glitter (though glitter, if you have it, is never refused). The joy comes from making something with your hands, then showing it off to someone who will smile because you did. IMO, the best part is how quickly you can switch from “I’m bored” to “I made this, and I’m kinda proud.” So go ahead—fold, cut, glue, and brag a little.
FAQ
Can I use regular printer paper for these crafts?
Absolutely. Printer paper works fine for most projects. It’s lightweight, easy to fold, and cheap. If you want sturdier pieces, layer several sheets or use construction paper for stronger shapes.
How do I keep glued pieces from warping?
Press pieces flat and weight them down with a book or a small clipboard while the glue dries. If you’re stacking layers, use a tiny amount of glue and let each layer dry before adding the next.
What if I don’t have scissors that cut well?
Use a utility knife or a craft knife if you have one, with a cutting mat. If not, fold the paper multiple times and cut along the edge with careful hand-tear techniques for rough shapes. The charm still shines through.
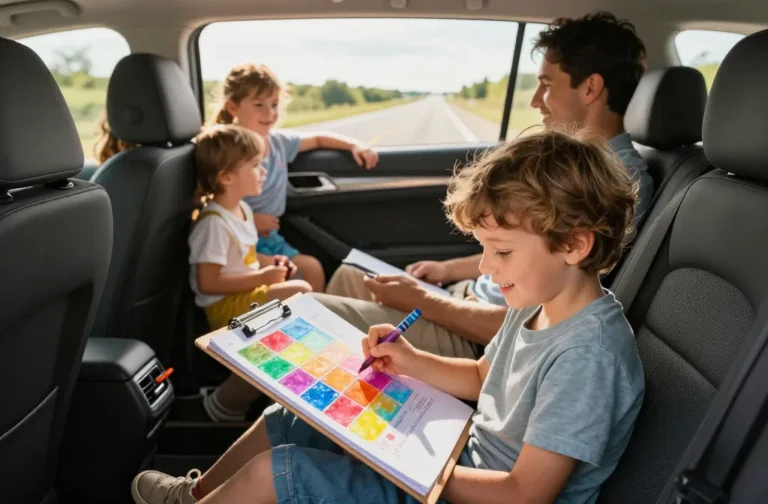
Any tips for making the projects beginner-friendly for kids?
Choose larger shapes, pre-cut pieces, and washable adhesives. Do a quick demo first, then let kids choose colors and add their own doodles. Celebrate the creativity, not the precision.
How can I make these into party decorations?
Turn the projects into banners, garlands, and centerpieces. Keep a consistent color palette, punch holes at the same height, and string pieces at regular intervals. A little planning goes a long way for a cohesive, whimsical vibe.
If you want, tell me what materials you’ve got on hand, and I’ll tailor a mini-project list for you. Ready to craft and share your tiny paper miracles?