6 Super Easy Paper Craft Ideas for Quick Fun
Introduction is here to hook you in—let’s get creative and keep things delightfully simple. If you’re craving quick, smile-worthy projects you can finish in an afternoon, you’re in the right place. These ideas are perfect for beginners and seasoned crafters alike, with plenty of personality to spare.
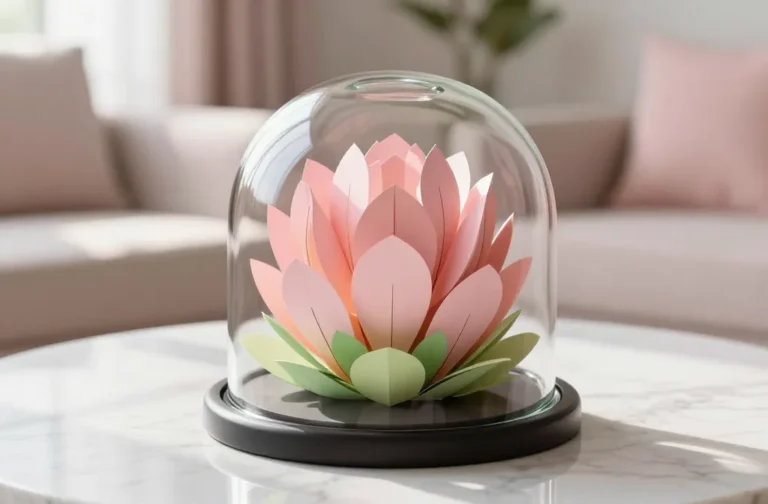
1. Crisp Paper Flower Wall Banner
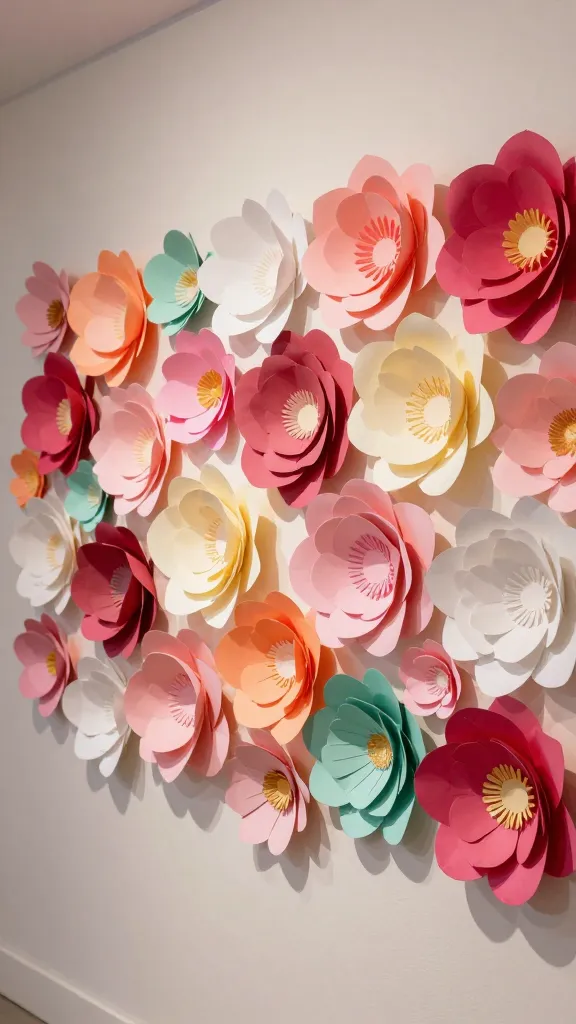
Picture a swoon-worthy wall of paper florals that feels fresh and gallery-ready. This banner combines bold textures with a playful color palette, and it’s totally under your control—soft pastels or punchy primaries, your choice.
Materials Needed
- Cardstock in 4–6 colors
- Scissors or craft knife
- Wire or thin strings
- Glue or double-stick tape
- Optional: gold foil accents or watercolor pencils
How to Make It
- Cut petal shapes from your cardstock, varying sizes for depth.
- Roll the petals slightly with a pencil to give dimension, then glue the bases together into flowers.
- Attach flowers to a string or thin wire, spacing them with turquoise, coral, and lemon hues for a lively look.
- Hang in a wide doorway or above a sofa for a bright, cheerful focal point.
Pro Tips / Styling Ideas
- Layer some metallic accents for a chic, modern vibe.
- Mix matte and satin finishes to create depth on camera.
- Change colors with the seasons—pastels for spring, rich berries for fall.
Who would love this? Anyone who adores photo-worthy wall decor and a touch of whimsy—trust me, guests will ask where you bought it.
2. Folded Paper Mini Journal Covers

Imagine a tiny, tactile journal cover that you crafted yourself, using only folded page accents. This project turns scrap paper into a charming daily companion, great for jotting lists, grateful notes, or doodle sessions.
Materials Needed
- Colored cardstock or decorative paper
- Plain notebook or notebook blanks
- Ruler and bone folder or scoring tool
- Double-sided tape or glue stick
- Stickers, washi tape, or stamps for decoration
How to Make It
- Measure and cut a cardstock panel slightly larger than your notebook, leaving a thin border.
- Score and fold along edges to form a crisp cover with a decorative flap.
- Attach the folded panel to the notebook with double-sided tape, smoothing well for a snug fit.
- Decorate the outer cover with washi tape, stamps, or small paper cutouts.
Pro Tips / Styling Ideas
- Personalize with initials or a favorite quote using stamps or hand lettering.
- Team up different prints for a bold, collage vibe, or keep it minimal for a clean look.
Who would love this? Great for giftable keepsakes or a practical craft session that yields something you’ll actually use daily.
3. Pop-In Paper Garland of Silhouettes
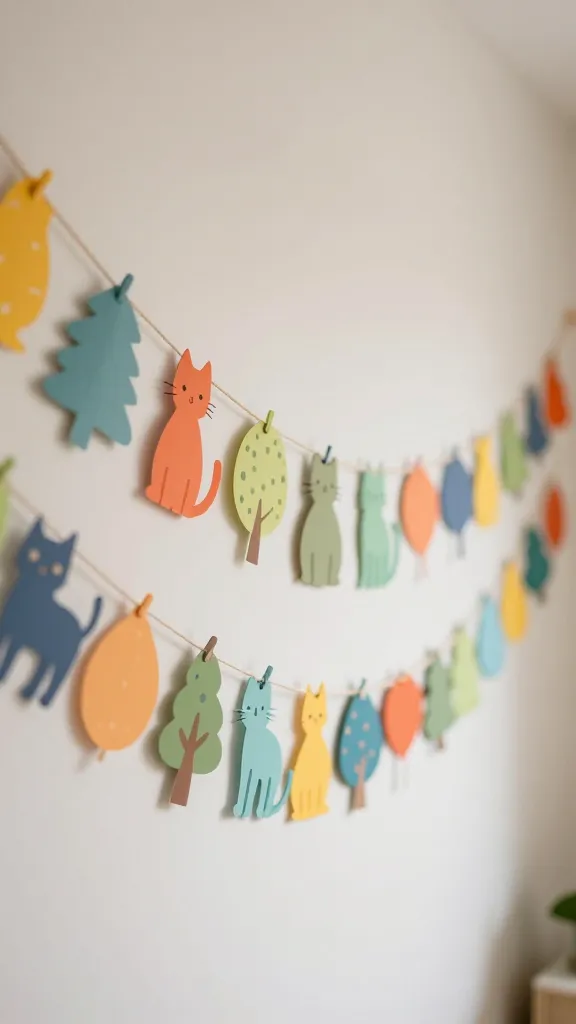
Close your eyes and imagine a long garland of whimsical silhouettes—cats, trees, balloons—dangling against a plain wall. This project is playful, inexpensive, and endlessly customizable for parties, nurseries, or cozy corners.
Materials Needed
- Construction or scrapbook paper in assorted colors
- Scissors or craft knife
- String or twine
- Hole punch or paper punch
- Glue dots or tape
How to Make It
- Cut simple silhouette shapes from colored paper—choose animals, shapes, or favorite icons.
- Hole-punch the top of each shape and thread onto string, leaving space between each cutout.
- Alternate colors for a lively rhythm or stick to a monochrome chic palette for a modern feel.
Pro Tips / Styling Ideas
- Vary the heights along the string for a dynamic look.
- Pair with soft fairy lights for a festive touch at night.
Who would love this? Party hosts, nursery decor fans, or anyone who loves a playful, lightweight garland that’s easy to store.
4. DIY Paper Mosaic Coasters
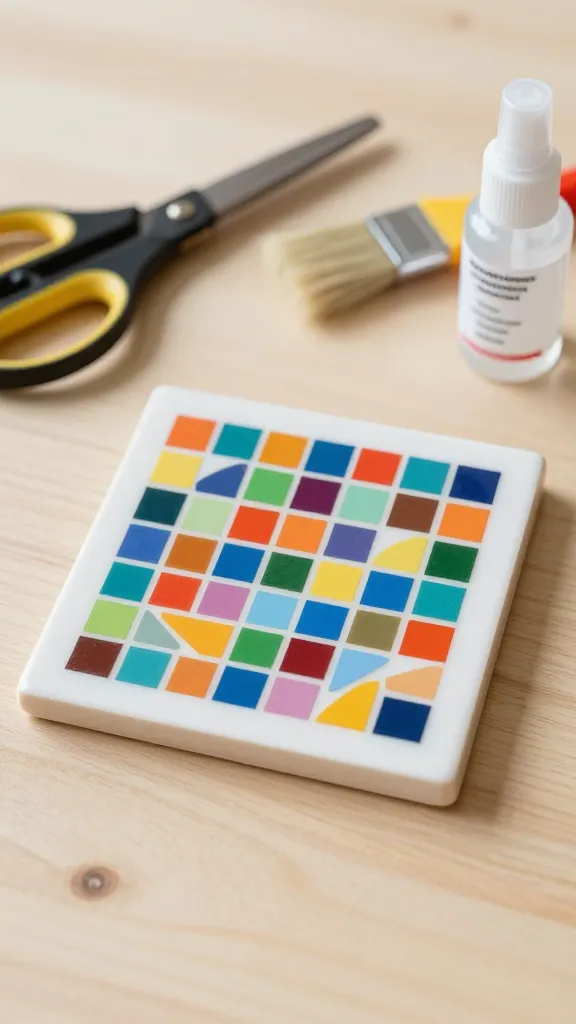
Coasters crafted from tiny paper tiles sound surprisingly sophisticated. These mosaics bring color and texture to your coffee nook, and they’re a fantastic way to use up scraps.
Materials Needed
- White ceramic tiles or thick cardboard rounds
- Colorful scrap paper or magazine cutouts
- Mod Podge or white glue and a brush
- Clear sealant spray (optional but recommended)
- Scissors and pencil
How to Make It
- Cut paper into small squares or fun shapes.
- Arrange on the tile until you love the pattern, then brush on a coat of Mod Podge to seal each piece.
- Continue layering until the tile feels fully covered, then seal with a final topcoat.
Pro Tips / Styling Ideas
- Coordinate colors with your living room palette for cohesive decor.
- Apply a felt or cork backing to protect surfaces.
Who would love this? Crafters who adore tabletop accents and a satisfying, mosaic-like finish without heavy commitment.
5. Paper Lanterns With a Twist
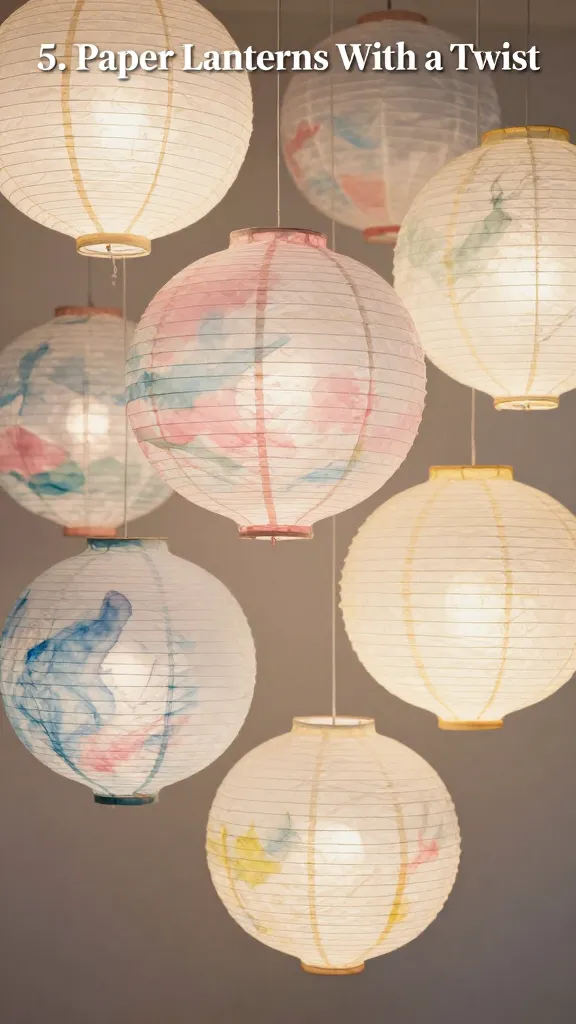
Lightweight, airy, and unexpectedly chic—these paper lanterns bring a soft glow to any room. Add a twist by layering translucent papers or painting them with marbled inks for an artsy effect.
Materials Needed
- Rice paper or thin tissue paper
- Lantern frames or circular cardboard forms
- Colored inks, watercolors, or food coloring mixed with water
- Glue or spray adhesive
- String for hanging
How to Make It
- Cut circles from colored paper and layer them to create a translucent, lantern-like shade.
- Adhere the paper to the lantern frame, allowing soft overlaps for texture.
- Decorate with a marbled look by dropping diluted inks onto the paper while wet.
Pro Tips / Styling Ideas
- Group a few at different heights for a dramatic ceiling display.
- Use LED tealights inside to keep things safe and serene.
Who would love this? Mood-makers, interior decorators, and those who want a gentle, ambient glow without complicated materials.
6. Gift-Wrapped Paper Pocket Notepads

Tiny notepads wrapped in decorative paper feel like a boutique find you can DIY in minutes. They’re perfect for stocking stuffers, party favors, or a little desk-side pick-me-up.
Materials Needed
- Mini notepads or cut pieces of printer paper folded into folds
- Decorative paper or scrapbooking paper
- Double-sided tape or glue stick
- Ribbon or string for finishing touches
How to Make It
- Cut decorative paper to wrap around the notepad’s front and back covers.
- Secure with a light strip of double-sided tape at the edges only, so the notebook still opens easily.
- Finish with a ribbon tied in a bow or a small sticker for flair.
Pro Tips / Styling Ideas
- Choose a cohesive color story for a gift set or mix patterns for a playful bundle.
- Include a matching mini pencil or pen for a complete package.
Who would love this? Gift-givers, teachers, colleagues, or anyone who adores tiny, thoughtful, handmade stationery.
Conclusion: These six paper crafts prove that quick, delightful DIY projects can be seriously satisfying. Pick one and start today—trust me, you’ll love the rush of finishing something beautiful in a single afternoon. Save, pin, and try them all if you’re feeling inspired!