5 Simple Easter Crafts Ideas For Kids
The moment Easter hops onto the calendar, my toddler launches into a color-obsessed, sticker-smeared whirlwind. If you’re chasing activities that stay fun, simple, and mess-friendly, you’re in the right place. These five crafts are made for tiny hands and big smiles—easy to pull off, delightfully cute, and totally Pinterest-ready.
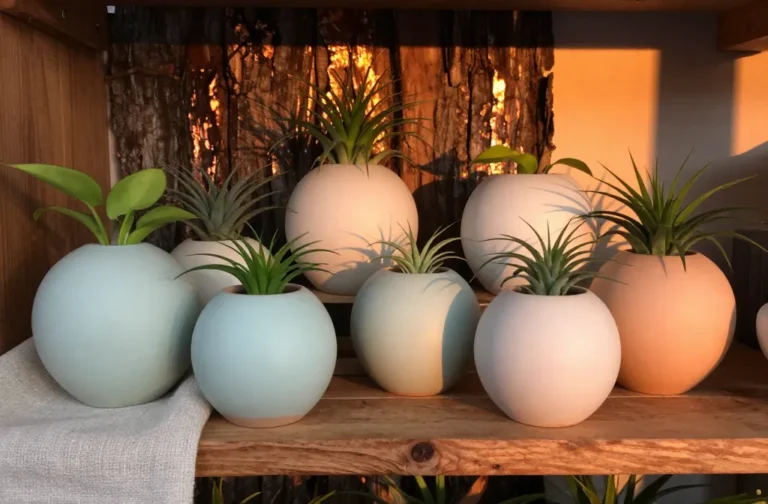
1. Egg-Citement Terracotta Egg Stamps
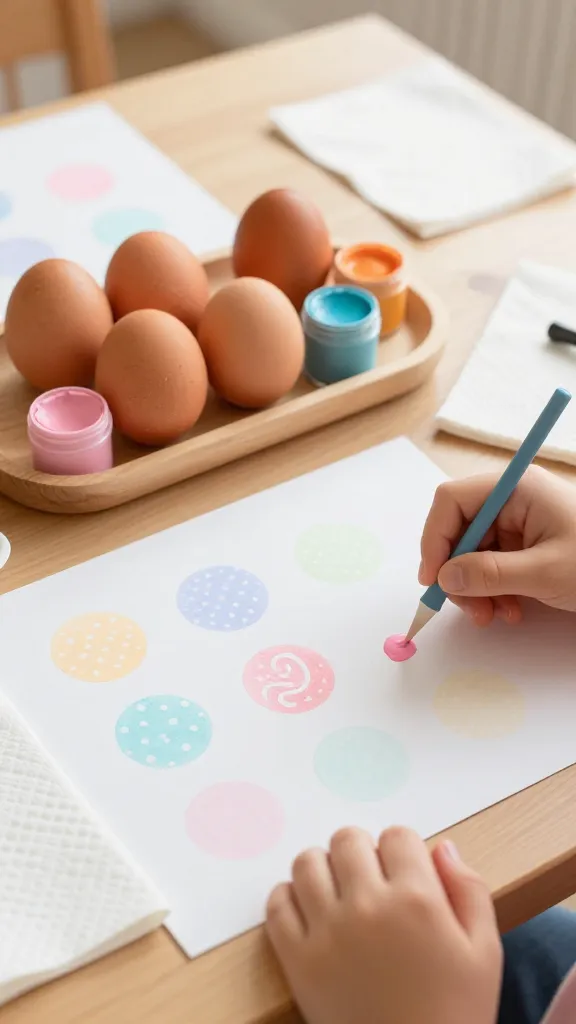
Picture this: a little alphabet soup of paisley and polka dots stamped onto paper, with bright colors dancing across a page. This egg stamp idea looks like a crafty mini-magazine spread, but it’s actually a quick, toddler-friendly painting party. The terracotta base adds warmth, and the stamp technique feels fancy without being fussy.
Materials Needed
- Terracotta or plain ceramic eggs (plastic eggs work too)
- Safe acrylic paints in pastel hues
- Foam stampers or small sponges
- Paper towels for quick cleanups
- Paint tray or shallow dish
How to Make It
- Pour a little paint onto a tray. Roll the stampers or sponges through color, then press onto an egg.
- Tap chosen patterns onto sturdy paper or a lightweight canvas. Let your little one explore dots, lines, and little shapes.
- Set to dry and display on a mantel or fridge for a burst of Easter cheer.
Pro Tips / Styling Ideas
- Try two-tone stamping by dabbling a second color on the stamp for a watercolor look.
- Add a simple border with a marker once the paint dries for a finished feel.
- Protect clothing with an old T-shirt or apron—trust me, you’ll thank me later.
Who will love it? Curious toddlers who love texture and color, and parents who want a clean, photo-worthy project that still feels spontaneous.
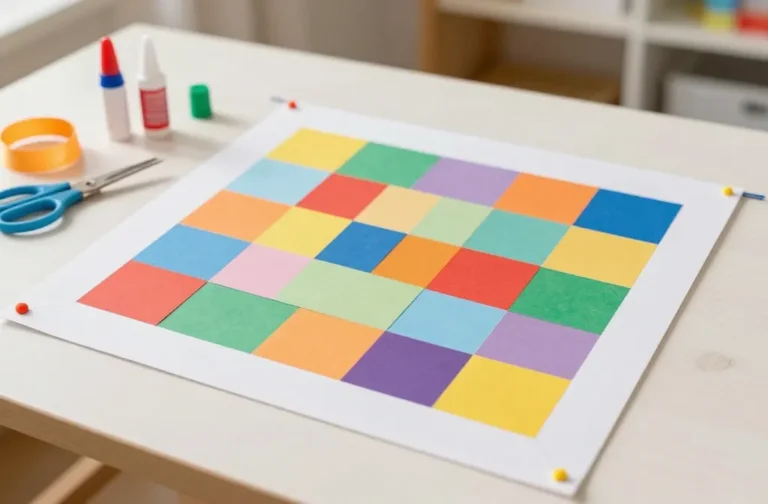
2. Paper Strip Easter Wreaths
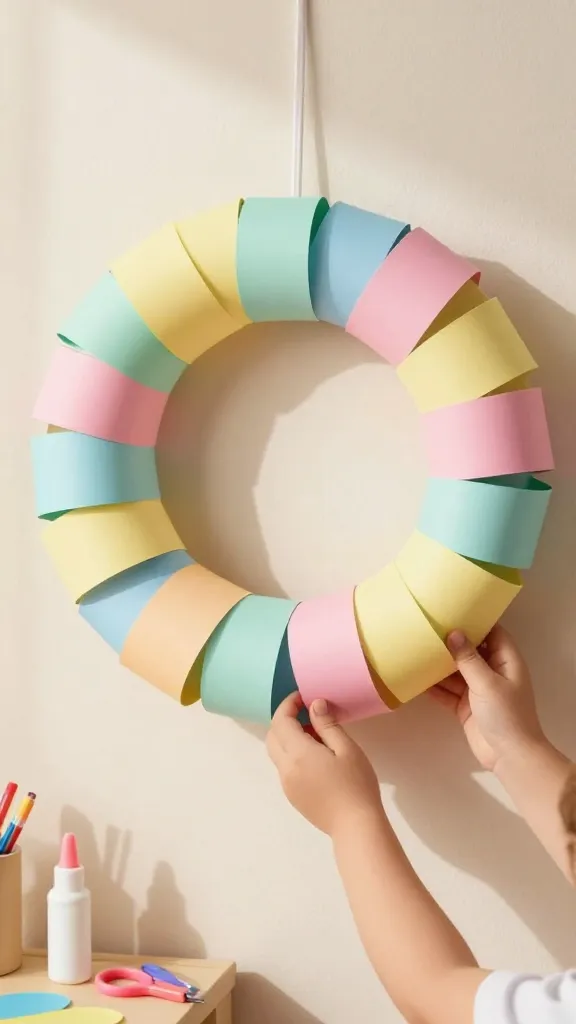
A tiny circle of rainbow delight that doubles as a wall accent and a cute photo prop. The beauty is in the layers—curved paper strips create a soft, fluffy texture that screams spring. It’s affordable, forgiving, and perfect for tiny hands to manage with supervising. Seriously, it’s delightfully easy.
Materials Needed
- Colored scrapbook paper or construction paper
- Cardboard ring (or make your own from a cut-out cereal box)
- Glue stick or kid-safe glue
- Scissors (parent-assisted)
- Optional: small decorative elements like googly eyes, pom-poms
How to Make It
- Cut strips of paper about 1 inch wide and 6–8 inches long. Fold each strip into a gentle accordion or curl with a pencil for texture.
- Thread the ends or glue the folded strip to the cardboard ring, layering around to cover the ring completely.
- Add tiny accents, like a bow or a mini chick cutout, to celebrate Easter without being heavy on decor.
Pro Tips / Styling Ideas
- Color theme: pastels or a bright rainbow; either looks fresh against a neutral wall.
- For a playful twist, leave a few strips unglued to create a 3D effect and a little movement when touched.
- Hang on a door handle or wall hook as a cheery welcome centerpiece.
Who would love it? Families wanting a quick decor project that doubles as a keepsake, plus kids who adore tearing and gluing with glee.
3. Mini Easter Garden Jars
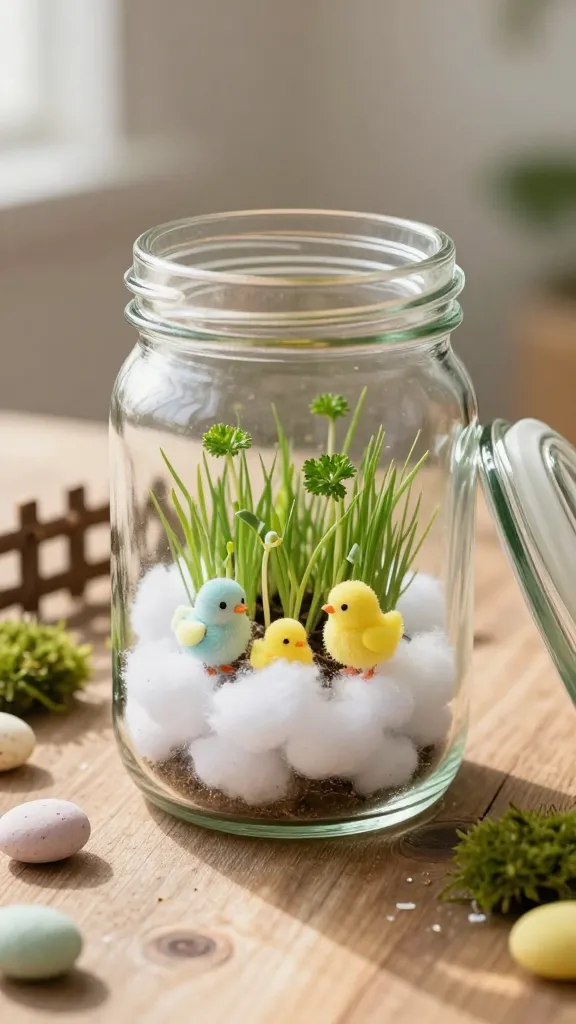
Mini gardens in a jar capture that springtime glow without needing a whole yard. The jars become little storytelling habitats—think tiny bunnies, sprigs of grass, and a splash of pastel gravel. It’s a sensory, hands-on craft that doubles as a gentle science moment (watch the parsley sprout after a week!).
Materials Needed
- Small glass jars with lids (baby food jars or mason jars work well)
- Cotton balls for snow-like “grass” or moss
- Mini faux grass, mini decorative chicks, tiny pebbles
- Potting soil (or for a no-muss option, use damp cotton or floral foam)
- Water-based markers or tiny stickers for faces
How to Make It
- Layer a base of cotton or moss in the jar. Add a sprinkle of small pebbles for texture.
- Plant a small tuft of faux grass or a sprig of real chive or parsley along the edge if you’re planting real greens.
- Place a tiny bunny or chick figure on top; seal with the lid to keep dust away.
Pro Tips / Styling Ideas
- Use real seeds for a future sprouting moment; just ensure your toddler understands not to taste them.
- Label each jar with a tiny paper flag featuring a birthday or holiday message for gifting.
- Display in a sunny windowsill for a cheerful glow.
Who would love it? Tiny explorers who crave tactile play and a touch of nature, plus parents who want a compact, giftable project that looks like a mini-scene from a storybook.
4. Whimsical Egg-Carton Bunnies
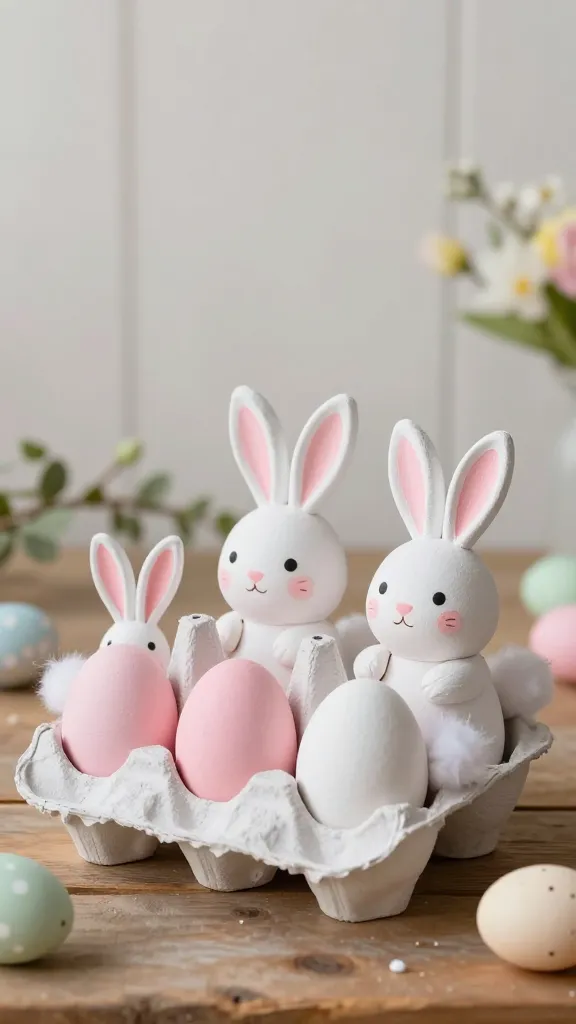
Upcycle a humble egg carton into a cute family of bunnies that stands as a festive centerpiece or a cute shelf buddy. The idea turns a simple, everyday material into something shareable and not-too-fussy to make. You’ll adore the soft textures, the little cotton tails, and the goofy personalities you’ll coax from your toddler’s yellow-gold glue fingers.
Materials Needed
- Egg carton, preferably the rounded bottom cups
- White or pastel acrylic paint
- Cotton balls for tails
- Pink markers or small pink pom-poms for ears
- Googly eyes (optional)
How to Make It
- Cut apart two egg cups to form the bunny’s body and head. Glue the pieces into a little duo, then paint.
- Attach cotton balls as tails and ears (cut the ears from cardboard or foam, then color or cover with pink fabric for a soft finish).
- Add googly eyes or draw simple eyes with a marker. Finish with a tiny nose and whiskers if you like.
Pro Tips / Styling Ideas
- Create a little “bunny family” with different sizes for an adorable display—perfect on a kitchen window sill.
- Give as a gift to grandparents in a small jar with baker’s twine and a hand-drawn “hoppy Easter.”
Who would love it? Little artists who enjoy painting and texture, and anyone who wants to show off a crafty upcycle with personality and charm.
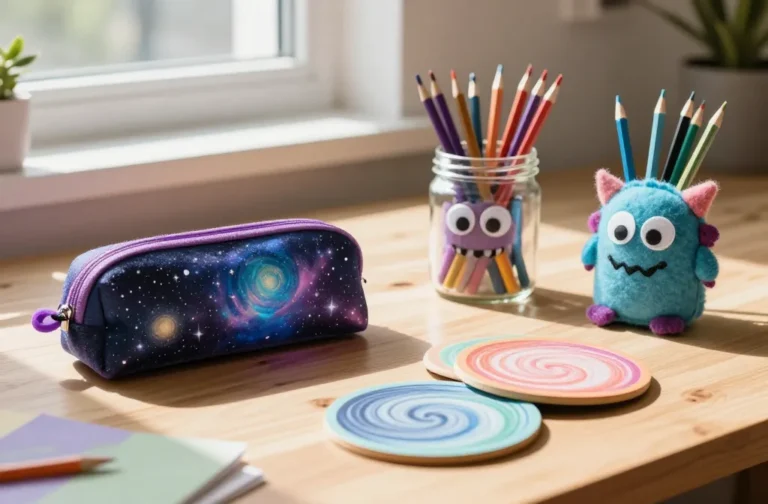
5. Deco-Flat Easter Stick Puppets
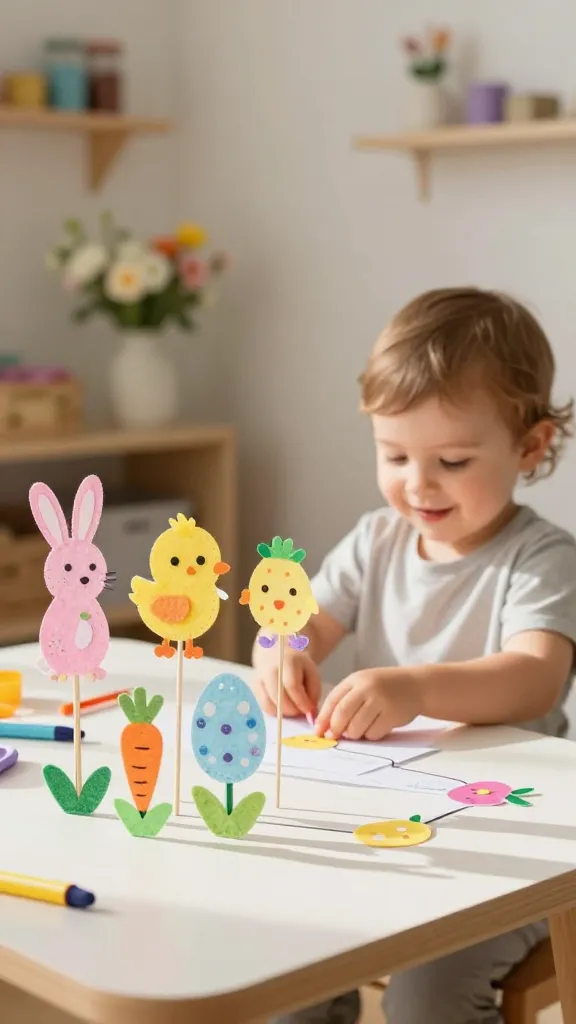
Turn craft sticks into tiny, adorable puppets that tell a mini Easter story. This project is picture-perfect for a storytelling moment with the toddler perched on a chair, guiding the action. It’s simple, interactive, and you’ll get a lot of giggles from their enthusiastic “again, again!” requests.
Materials Needed
- Craft sticks or popsicle sticks
- Pre-cut cardstock shapes: bunnies, eggs, carrots, flowers
- Plain stickers, sequins, and markers for decoration
- Glue sticks or craft glue
How to Make It
- Decorate the cardstock shapes with color and patterns. Glue them to the craft sticks to become puppets.
- Encourage your toddler to assemble a tiny Easter scene by holding the sticks and guiding the story with actions or sounds.
- Add a little ribbon tie on the end of each stick for a polished, ready-to-gift feel.
Pro Tips / Styling Ideas
- Keep shapes simple to avoid frustration; bold outlines help tiny hands manage the cuts.
- Create an Easter-day storytelling box where the puppets live, ready for a quick showtime morning.
Who would love it? Storytime lovers and budding actors who want a tactile, interactive way to celebrate Easter with a dash of whimsy.
Conclusion
These five crafts prove that Easter joy can come from tiny hands and simple supplies. Each project is designed to be easy, tactile, and visually delightful for photos, shelves, and playtime alike. Pick one (or all) and get crafting—trust me, the smiles will be worth it, and you’ll love the way these little creations brighten your space and your weekend.