6 Toilet Paper Roll Crafts for Adults
Ready to transform humble rolls into chic, Pinterest-worthy decor? These 6 toilet paper roll crafts for adults prove that a little cardboard can go a long, stylish way. Trust me, you’ll be surprised how far creativity can stretch with just a few scraps and a splash of imagination.
1. Minimalist Card Holder and Desk Organizer Set
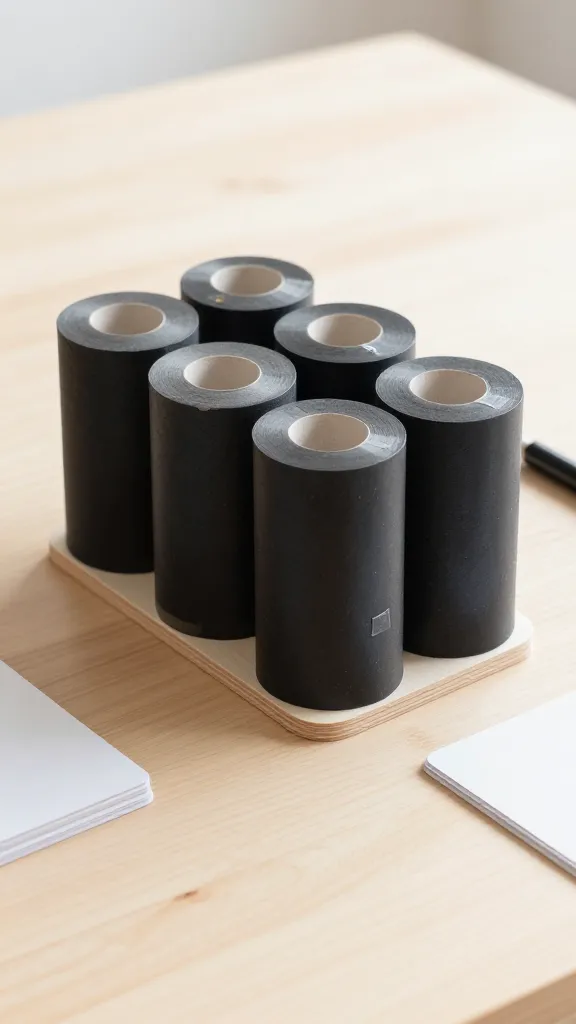
Imagine a clean, modern desktop where every pen has a home and you can actually find your favorite card without digging. This is that set—practical, sleek, and surprisingly sturdy. The finishes look premium, but the build is wallet-friendly and totally satisfying to assemble.
Materials Needed
- Toilet paper rolls (about 6–8, depending on size)
- Cardstock or thin wood veneer (for bases)
- Spray adhesive or craft glue
- Matte black or natural wood spray paint
- Double-sided tape
- Clear sealant (optional)
How to Make It
- Cut each toilet paper roll into 2–3 evenly sized cylinders. You’ll need a couple longer pieces for the foundation.
- Glue the rolls side by side on a rectangular base made from cardstock or veneer. Leave a small gap between each for a clean, modular look.
- Decorate the exteriors with your chosen finish—minimalist matte black or a warm wood tone works beautifully.
- Attach a few rolls on their sides to hold business cards or folded notes, and glue a slim tray for pens on the edge.
- Seal the whole piece with a clear coat to keep the look crisp and ready for daily desk use.
Pro Tips / Styling Ideas
- Pair with a tiny plant or a stack of pretty notebooks to create a cohesive desk vignette.
- Switch up finishes seasonally—light wood in spring, charcoal in fall, white for a fresh look.
- Use it as a giftable desk set for coworkers or friends who love organization.
Who would love it: busy professionals, design lovers, anyone craving a tidy desk with modern vibes. FYI, it’s surprisingly satisfying to see a neat workspace emerge from humble rolls.
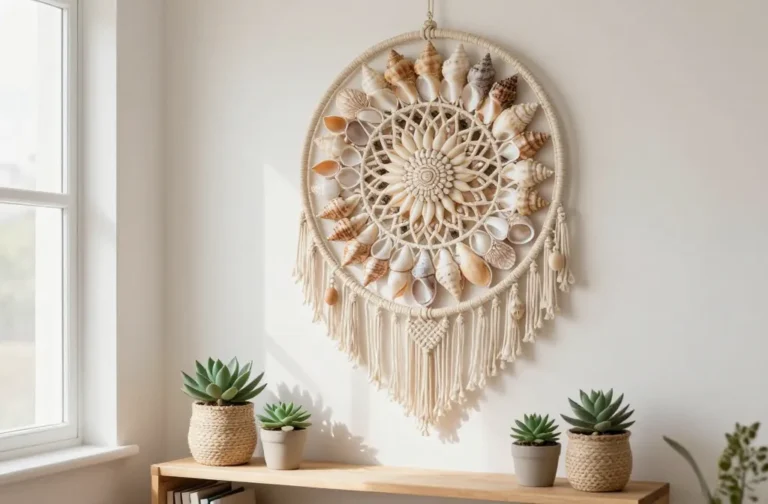
2. Cozy Wall-Mocketry Planter Wall Art
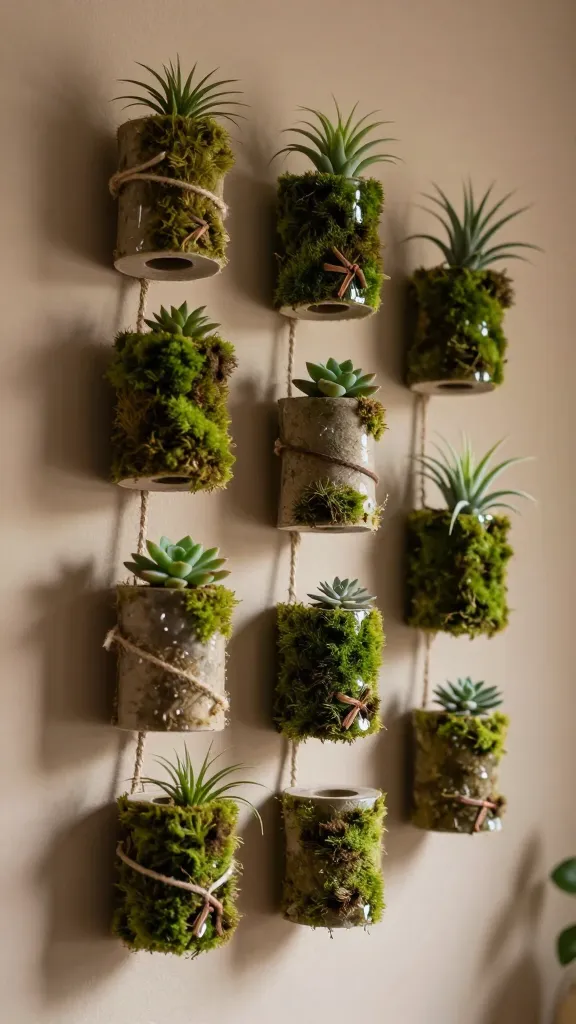
Picture a little forest of texture on your wall—soft, tactile, and totally sculptural. This wall art uses toilet paper rolls as the base for cozy, mossy planters that bring plant life into your space without a heavy price tag.
Materials Needed
- Toilet paper rolls (8–12, depending on layout)
- Fresh moss or preserved moss sheets
- Mod Podge or white glue
- Small faux succulents or air plants
- Jute twine or leather cords for hanging
- Hot glue gun
How to Make It
- Cut some rolls in half to create shallow planters; leave others whole for depth.
- Cover each roll with moss using Mod Podge, smoothing out bubbles for a plush look.
- Attach moss-covered rolls to a lightweight wooden board or thick cardboard in a pleasing cluster.
- Place small faux succulents or air plants into the open ends and secure with a dab of hot glue.
- Hang with twine or cords in a staggered grid or organic cluster pattern.
Pro Tips / Styling Ideas
- Go monochrome with greens and creams for a serene, spa-like vibe.
- Swap moss for preserved eucalyptus for a different texture and scent.
- Group in multiples for a dramatic gallery wall effect.
Who would love it: plant lovers, texture chasers, and anyone who wants greenery without permanent planters. Seriously, it’s an easy way to add life to a blank wall.
3. sculpted Tiered Candle Tray
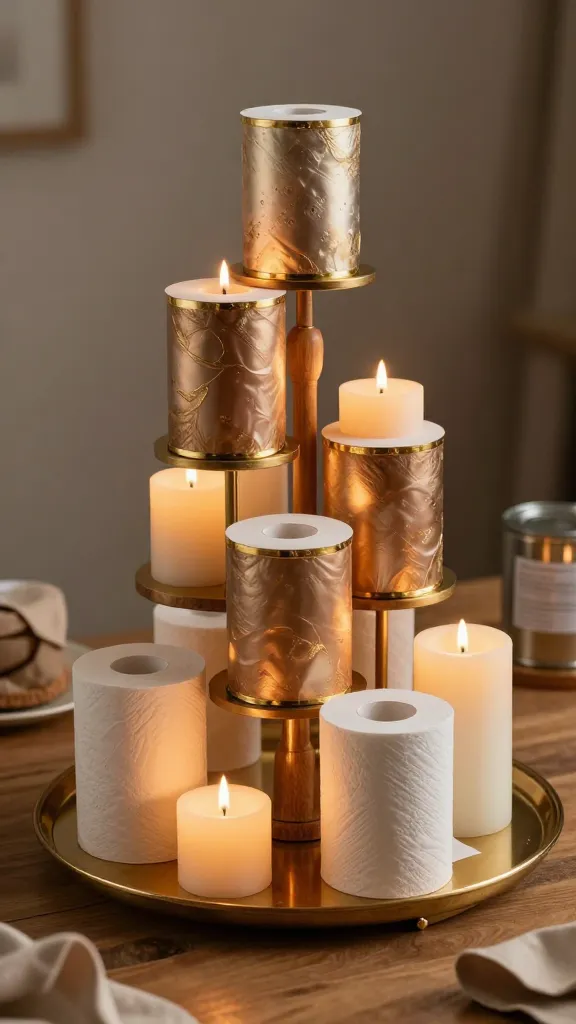
Let your candles shine on a sculpted, tiered tray that looks like a boutique piece. This project elevates ordinary candle setups into a curated display with architectural interest. It’s warm, inviting, and oddly satisfying to assemble.
Materials Needed
- Toilet paper rolls (4–6 rolls, depending on height)
- Decorative papers or fabric for wrapping
- Hot glue gun
- Metallic paint or antique brass spray paint
- Hot glue and wood discs or cork for bases
- Clear sealant (optional)
How to Make It
- Cut rolls into varied heights to create a stepped silhouette when stacked.
- Wrap each piece with decorative paper or fabric for a luxe look, sealing the edges with glue.
- Glue the wrapped pieces to small bases and stack in a tiered arrangement, securing with hot glue.
- Paint accents with metallic spray to add a hint of glam and cohesion.
- Top with a few tea lights or small pillar candles—ensure safe burning distances.
Pro Tips / Styling Ideas
- Place on a coffee table or console for cozy evenings; add a few pinecones in winter for seasonal charm.
- Use as a centerpiece for dining tables by lighting a few candles for ambience.
- Pair with a soft velvet runner for a luxe-texture combo.
Who would love it: ambiance enthusiasts, hostess types, anyone who enjoys a sculptural centerpiece that doubles as decor. FYI, the glow of candles makes this feel instantly chic.
4. Customizable Wall-Mill Tray Organizer
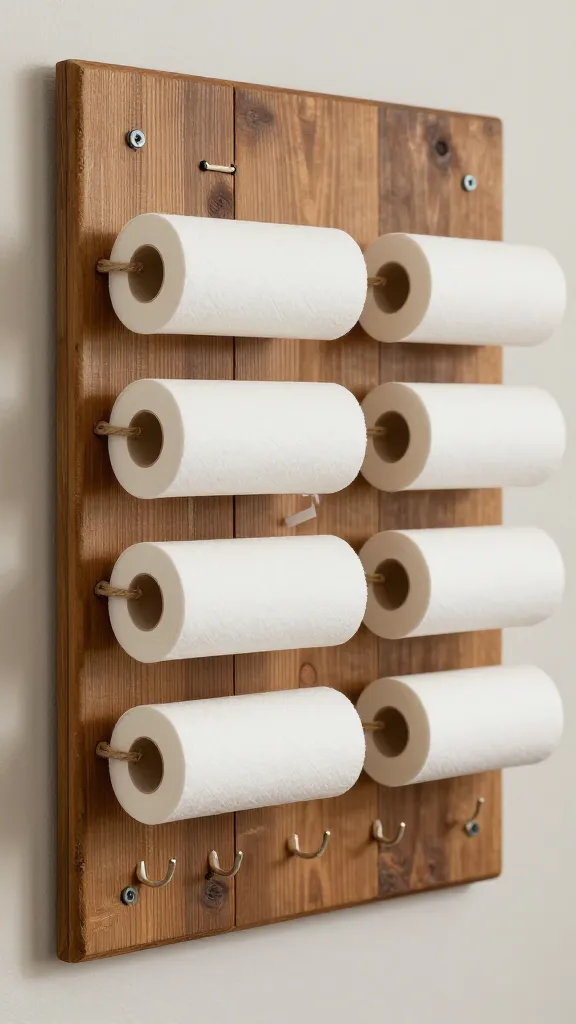
Turn ordinary rolls into a wall-mounted, customizable organizer that holds mail, keys, and small gadgets. It’s a functional upgrade with a craftsman vibe—steady, stylish, and surprisingly tool-friendly for weekend vibes.
Materials Needed
- Toilet paper rolls (6–8)
- Thin wood plank or sturdy backboard
- Pliers and sturdy twine for mounting
- Wood stain or chalk paint
- Strong glue or small screws
- Decorative staples or nails
How to Make It
- Attach rolls to the backboard in a grid or row formation using glue or small screws for security.
- Stain or paint the backboard and rolls to unify the look with your decor.
- Leave some rolls open-ended for mail or notes, and reserve others for keys or small objects.
- Mount on your entryway wall with sturdy hardware.
Pro Tips / Styling Ideas
- Label each compartment with a tiny tag or sticker for quick identification.
- Place a tray below for loose change, stamps, or receipts.
- Experiment with color blocking—choose two complementary hues for a bold statement.
Who would love it: organized minimalists, entryway revamps, and DIY enthusiasts who want function with flair. Seriously, it’s the kind of project that makes everyday routines feel intentional.
5. Eco-Chic Ribbon-Shoal Wall Decor
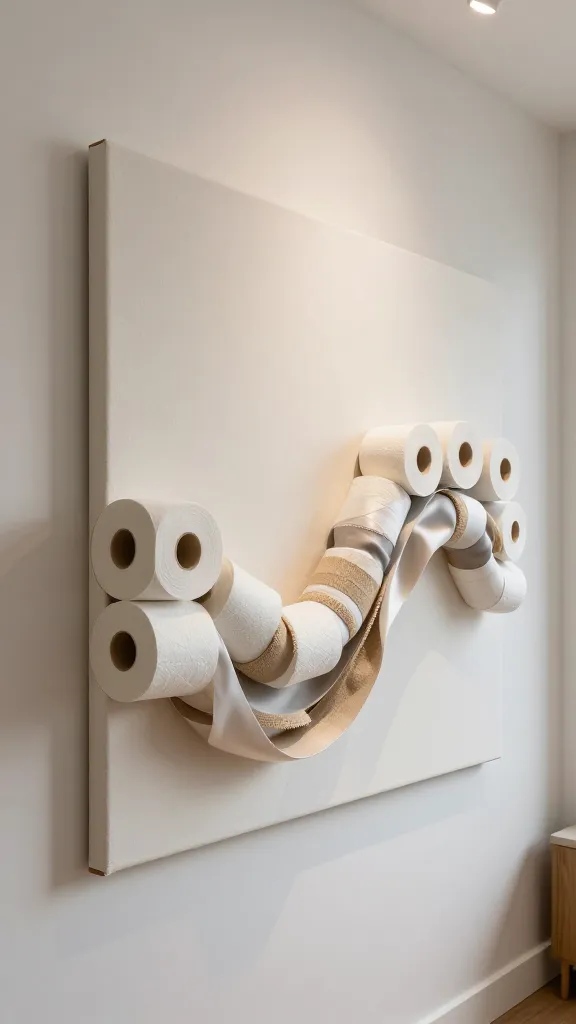
Texture is everything here: ribbon-wrapped rolls form a swooping, wave-like wall sculpture that brings motion and softness to your space. It’s a gentle, tactile art piece that reads as high-end but costs pennies to assemble.
Materials Needed
- Toilet paper rolls (8–12)
- Satin or burlap ribbons (assorted widths)
- Hot glue gun
- Canvas or wooden frame as base
- Acrylic paint or stain (optional)
How to Make It
- Cut rolls into several curved segments to form flowing arcs when arranged on the wall.
- Wrap each segment with ribbons, starting from the center and working outward for a seamless look.
- Attach the wrapped pieces to a base in a wavy pattern, using hot glue to secure each segment.
- Paint or stain the base to harmonize with the ribbons’ color palette.
Pro Tips / Styling Ideas
- Keep the color scheme cohesive (blush pinks, creams, and soft greys work well).
- Hang above a console or bed for a gentle, feminine touch.
- Switch out ribbons seasonally for a quick refresh.
Who would love it: texture lovers, mood-setters, and anyone drawn to soft, romantic decor. FYI, this one looks pricier than it is and photographs beautifully.
6. Upcycled Stackable Trinket Tower
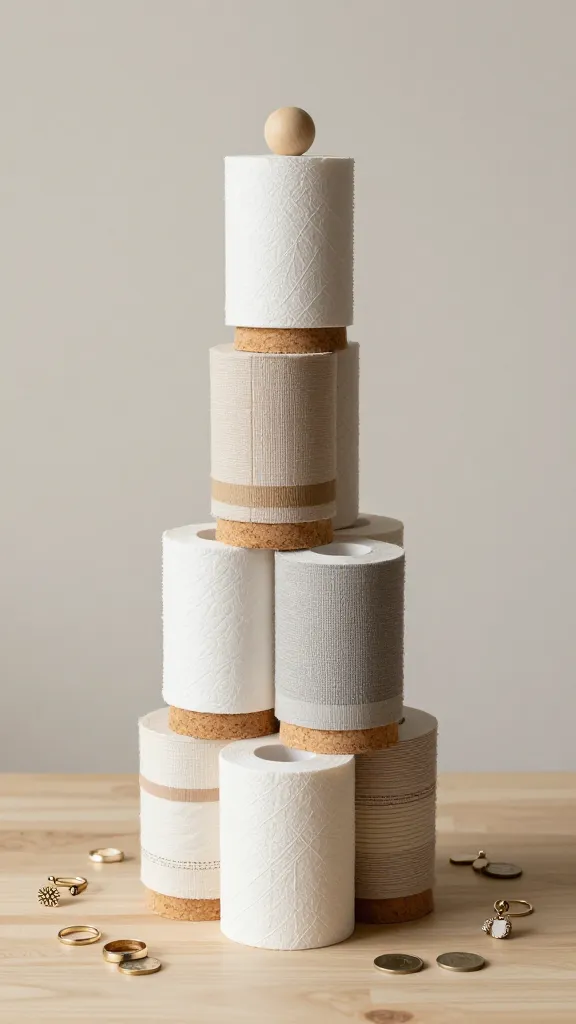
Last but not least, a playful tower that turns tiny treasures into a stacked sculpture. Think rings, earrings, coins, or little keepsakes—everything you might stash in a jewelry dish suddenly has a stylish home you can proudly display.
Materials Needed
- Toilet paper rolls (6–9)
- Decorative paper, washi tape, or fabric scraps
- Hot glue gun
- Small round bases (wood or cork)
- Topper knob or bead for finishing touch
How to Make It
- Wrap each roll with decorative paper or fabric for a cohesive look.
- Stack the wrapped rolls on top of each other, gluing them securely to form a tall, sturdy column.
- Affix small round bases between layers for stability and a built-in coaster effect.
- Finish with a knob or bead on top as a decorative cap.
Pro Tips / Styling Ideas
- Use it on a dresser as a mini jewelry tower or on a vanity to hold makeup trinkets.
- Pair with glass jars for a mixed-material display that shines in the morning light.
- Scale up with larger rolls if you want a dramatic statement piece.
Who would love it: organizers, jewelry lovers, and anyone who enjoys a quirky, sculptural piece that doubles as storage. Seriously, this project is city-block-sized charm in a tiny footprint.
Conclusion
Those six toilet paper roll crafts for adults prove that creativity isn’t canceled by budget or materials. Each project brings texture, personality, and practical flair into your living space. So pick one (or all six) and start crafting—your home will look refreshed, and you’ll have a pocket full of new handmade decor to show off. Happy crafting, and have fun mixing and matching styles to fit your vibe!