6 Viral Nano Tape Craft Ideas You Have to Try
Hey creative friend, ready to dive into seriously satisfying projects that stick (literally)? Nano tape is the unsung hero of DIY—stretchy, reusable, and perfect for quick transformations. These six ideas prove that you don’t need to be a pro to make something totally share-worthy.
1. Nano Tape Wall Timeline Gallery
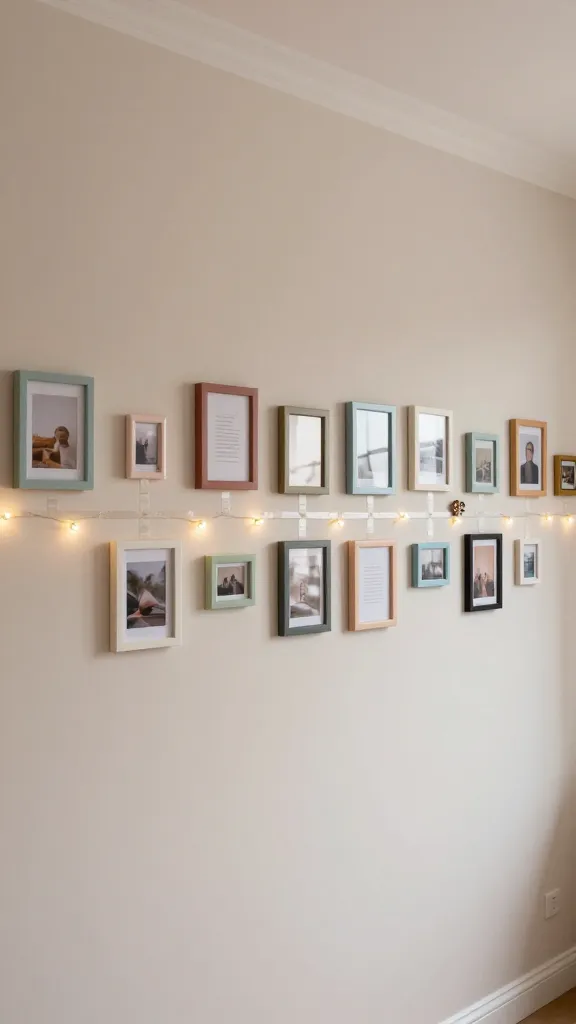
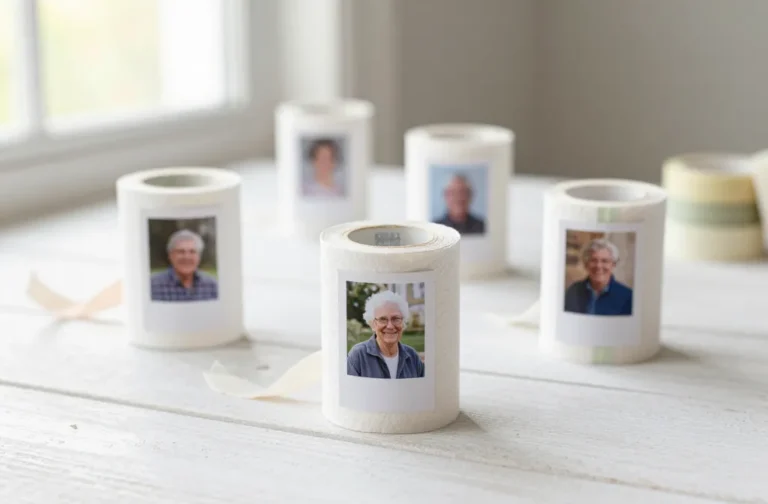
Imagine a chic wall that tells your story with color and texture—no nails, no mess. This nano tape wall timeline turns photos, quotes, and keepsakes into a cohesive, glossy display that screams “curated” rather than “haphazard corkboard.”
- Materials
- Nano tape rolls (clear or colored)
- A handful of mini frames or printed photos
- Washed tape to create connectors
- String lights (optional) for a warm glow
- What you’ll do
- Lay a gentle line of nano tape along the top edge of each frame, then press into place on the wall.
- Use tiny pieces to connect frames like a visual spine, creating a timeline path.
- Clip photos and quotes into place with a quick press of nano tape edges.
- Styling ideas
- Mix frame sizes for a kinetic, gallery vibe.
- Alternate black-and-white photos with neon-colored prints for contrast.
- Drizzle a strand of warm fairy lights along the top for a cozy evening glow.
Who’ll love this? Step-into-it decorators who crave a high-style wall that’s actually easy to rearrange. It’s a conversation starter, trust me.
2. Studio-Style Nano Tape Planter Slices
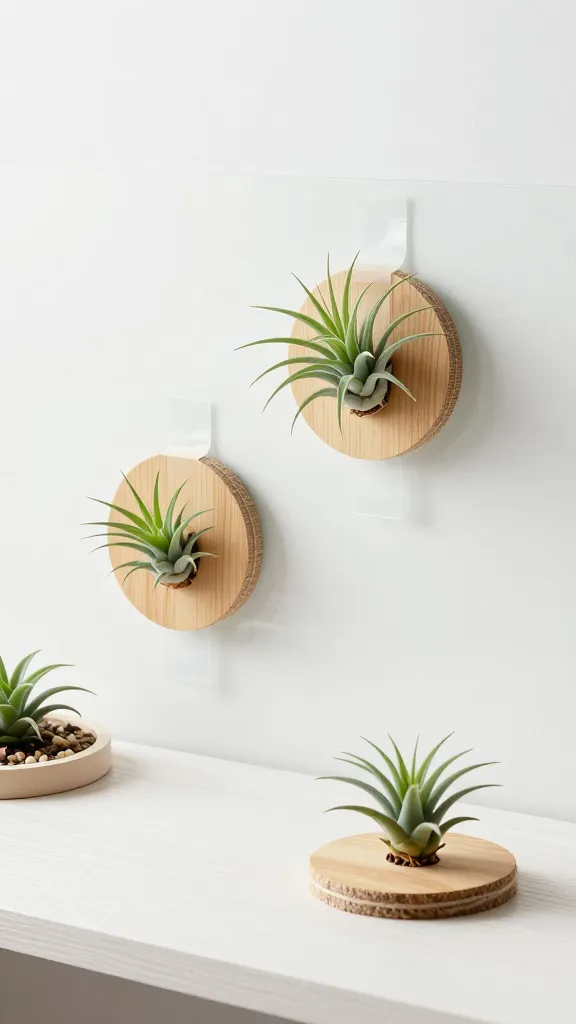
If you adore indoor greenery but hate messy pots, these planter “slices” made with nano tape are your new best friends. They hold lightweight pots and terrariums securely on any surface, yet you can peel them off without a trace. Seriously magical for renters or minimalists.
- Materials
- Small air-plants or succulents
- Thin wooden or ceramic discs
- Nano tape, adhesive-backed decorative twine (optional)
- Potting mix and pebbles for drainage
- What you’ll do
- Peel nano tape sheets and press a disc onto a shelf or wall corner.
- Create a shallow groove and add a dab of potting mix, then place the plant.
- Stack mini discs in a vertical line or cluster for a modern micro-garden.
- Styling ideas
- Paint discs in muted matte tones to match your decor.
- Group in threes for a balanced eco-chic vignette.
- Pair with a few pebble accents for texture.
Who’d love this? Plant parents who crave a clean, glass-free display and renters who want non-permanent upgrades. It’s a small touch with big personality.
3. Flexible Neon Accent Wall Clock
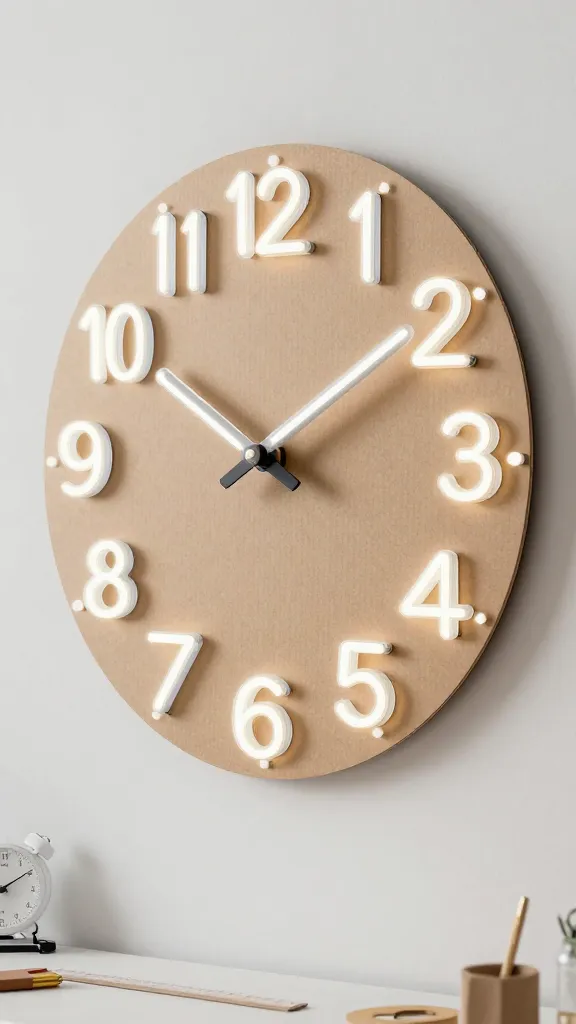
Time to turn slime-bright nanos into a functional statement piece. This flexible nano tape clock isn’t just about telling time—it’s about creating a kinetic, upbeat piece that ages well with your space. A tiny project with major wow factor.
- Materials
- Simple clock mechanism kit
- Colored or translucent nano tape
- Cardboard or thick craft board
- Ruler and pen for marking
- What you’ll do
- Cut a circular or abstract shape from cardboard to house the clock motor.
- Lay out numbers or tick marks with nano tape in neon hues for a glow effect.
- Attach the clock mechanism behind the board and mount on the wall.
- Styling ideas
- Use two or three neon colors to create a luminous outline.
- Keep the face minimal with tiny tick marks rather than full numbers.
- Position in a creative corner—home office or crafting nook.
Who’ll love this? Night owls and design buffs who want a signature piece that glows in the evening. It’s both practical and playful.
4. Nano Tape Jewelry Display Board
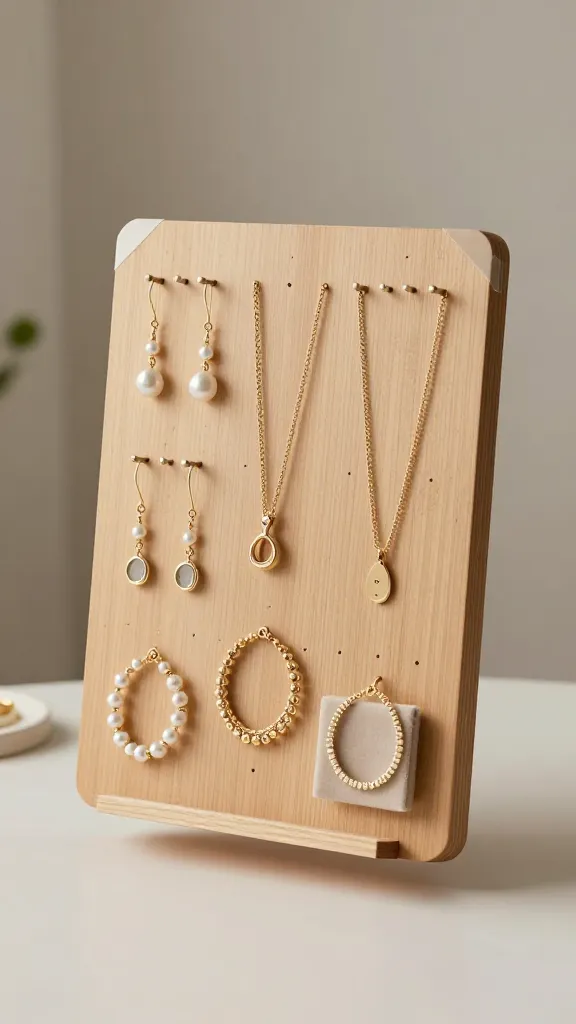
Calling all accessory lovers: a sleek, sticky-smooth jewelry display board that you can rearrange in minutes. This nano tape idea gives you a lightweight, floating shelf for earrings, necklaces, and bracelets—without any nails or heavy hardware. You’ll spot your favorite pieces in a flash.
- Materials
- Thin wood or cork board
- Mini hooks or tiny nails (optional)
- Nano tape rolls
- Velvet pads or fabric scraps for a luxe look
- What you’ll do
- Cover the back edges of the board with nano tape strips to mount on the wall.
- Affix hooks or create hanging lines with more tape to drape jewelry.
- Line the base with velvet for a boutique feel.
- Styling ideas
- Color-coordinate by metal tones (gold, rose gold, silver).
- Layer the display with a few framed photos for a gallery vibe.
- Use a mid-century wood backing for a warm contrast.
Who’d love this? Jewelry lovers who want a chic, changeable display and a clutter-free vanity. It’s a little luxury that changes how you organize daily accessories.
5. Nano Tape Cozy Mini Shelf Booth
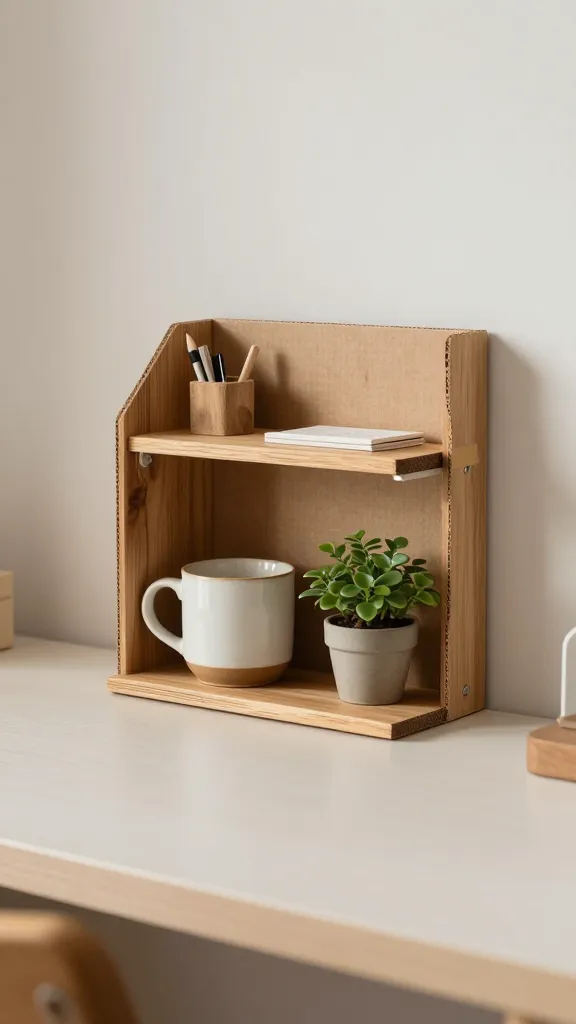
Yes, nano tape can transform a tiny space into a café-worthy shelf. This mini shelf booth sticks to your desk or wall, holding mugs, small planters, or stationery in a tidy, accessible cluster. It’s the convenience Pinterest pins dream about in real life.
- Materials
- Small reclaimed wood plank or thick cardboard
- Adhesive micro shelves (nested) or DIY supports
- Nano tape and optional decorative trim
- Display items: mug, plant, stationery
- What you’ll do
- Attach a tiny shelf unit to a wall or desk edge with nano tape lines.
- Place items across the shelf, balancing weight and color.
- Add a strip of tape along the front edge to prevent items from sliding.
- Styling ideas
- Choose a pastel palette for a soft, cozy vibe.
- Line with a fabric ribbon for a crafty accent.
- Include a small framed quote to anchor the display.
Who’ll love this? Tiny-space dwellers, desk jockeys, and anyone who loves a tactile, accessible storage solution. It’s the little shelf that could—and does.
6. Nano Tape Seasonal Swap Card Clip Wall
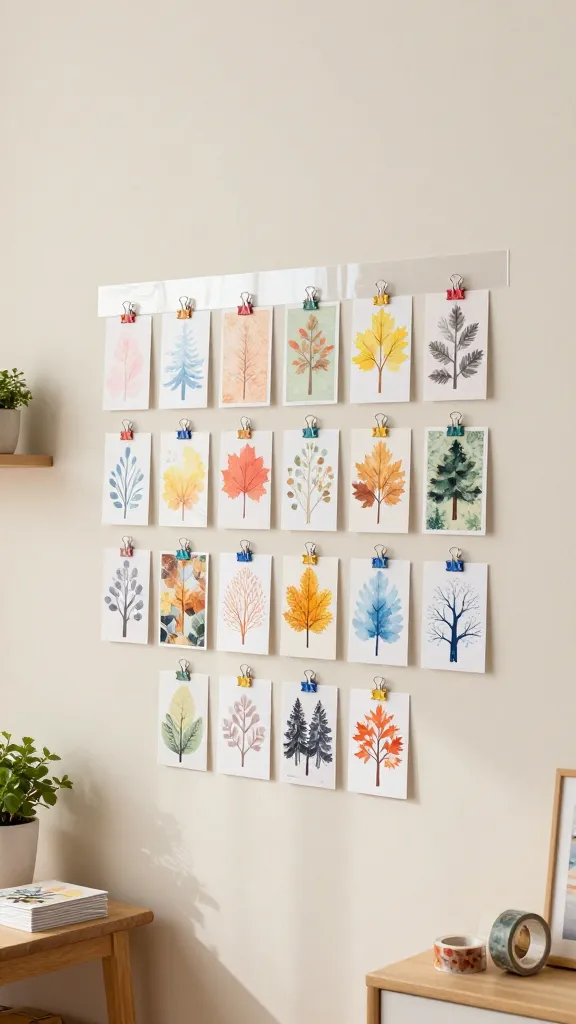
Turn a plain wall into a seasonal mood board with removable clips that hold greeting cards, postcards, or mini art prints. This nano tape clip wall is perfect for rotating décor through holidays, birthdays, and seasonal color palettes—no nails, no fuss, just pure vibe.
- Materials
- Card stock prints, postcards, or small art cards
- Mini binder clips or clothespins
- Nano tape strips
- Optional washi tape for color blocks
- What you’ll do
- Line a clean section of wall with horizontal nano tape strips.
- Attach clips at regular intervals by pressing the nano tape to secure each clip.
- Clip cards and artwork, then swap as the seasons change.
- Styling ideas
- Use a single color family for a cohesive seasonal look.
- Add a string of mini LED lights above the clips for a festive touch.
- Pair with a small shelf for adorable seasonal trinkets.
Who’d love this? Card collectors, stationery lovers, and anyone who loves rotating mood boards. It’s a playful, practical feature wall you’ll actually want to update.
Conclusion
There you have it—six completely unique, highly visual nano tape craft ideas that are as fun to make as they are to display. Each project keeps things light, flexible, and totally Pinterest-ready, with personality shining through in every detail. So, which one are you trying first? Or dare to tackle all six and create a mini home makeover from the inside out. You’ll love how easy and satisfying these are, trust me.