7 Cool Crafts for 8 to 10-Year-Olds (Tweens Will Love!)
Ever notice how a spark of creativity can turn a boring afternoon into a mini adventure? These seven projects are crafted for curious kids aged 8 to 10—and trust me, tweens will be hooked too. Easy, fun, and seriously shareable, they scream “Pinterest-worthy” with minimal mess and maximum wow.
Grab a comfy workspace, a splash of imagination, and you’re set. Let’s dive into seven completely unique crafts that curb boredom and boost brag-worthy skills.
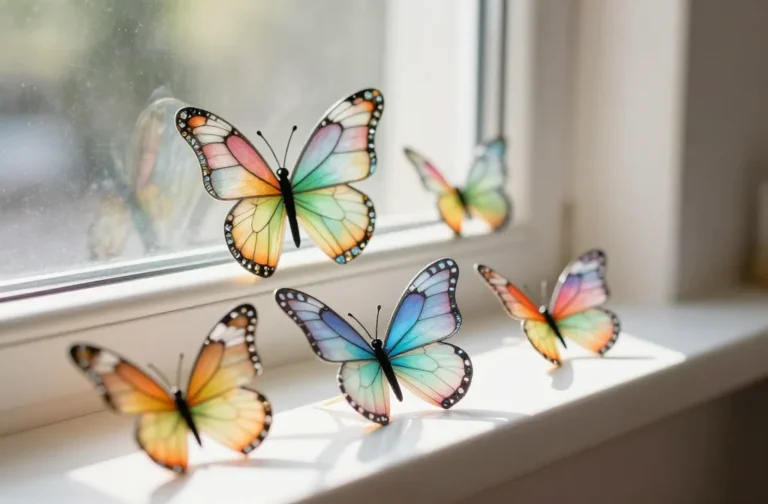
1. Celestial Paper Lantern Orbs with Star Trails
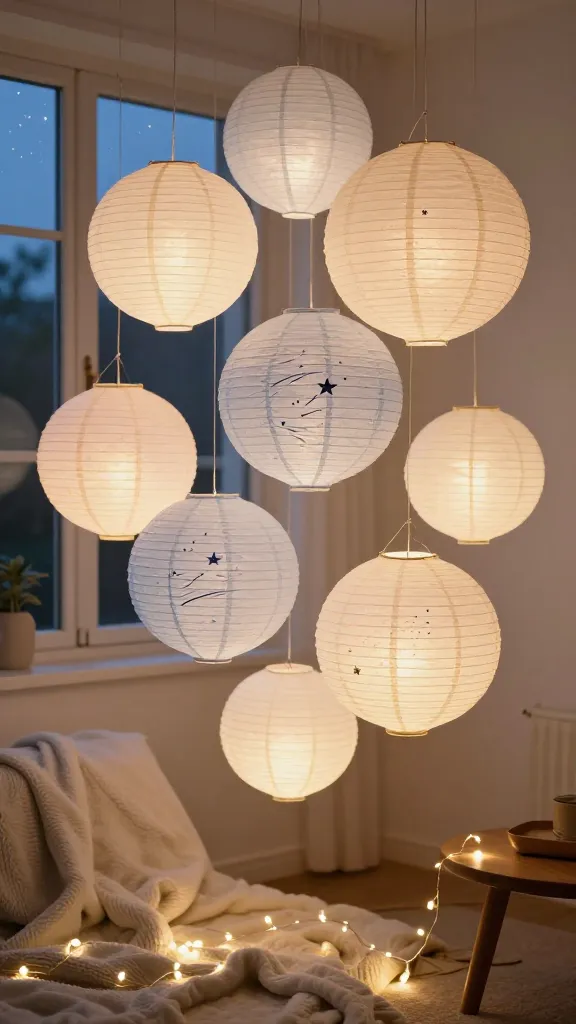
Imagine glowing orbs hanging in a cozy corner, like a tiny galaxy you can touch. These celestial paper lanterns are lightweight, spectacular, and surprisingly simple to make.
Materials Needed
- White or pastel paper lanterns (or plain paper to fold into lantern shapes)
- Black or navy markers
- Gold or silver gel pens
- Thin string or fishing line
- Battery-powered fairy lights
How to Make It
- Unfold the lanterns and sketch small star trails with a fine marker. Leave generous white space for a magical glow.
- Add tiny constellation dots in clusters that mimic night sky patterns. Use gel pens for metallic shimmer.
- Wrap fairy lights inside or run them along the top edge, then suspend with translucent string so the light can halo softly through the paper.
Pro Tips / Styling Ideas
- Mix sizes for a dynamic mobile effect. Hang at varying heights for depth.
- Place near a window or bedside reading nook for a dreamy, starry vibe.
- Switch the color palette for different seasons—paste-tinted pastels for spring, deep blues for winter. Seriously magical.
End Note
This craft sings to little space explorers and budding artists alike. It’s a perfect decor upgrade for a sleepover corner or a cozy reading nook.
2. DIY Marbleized Tote Bags That Wow
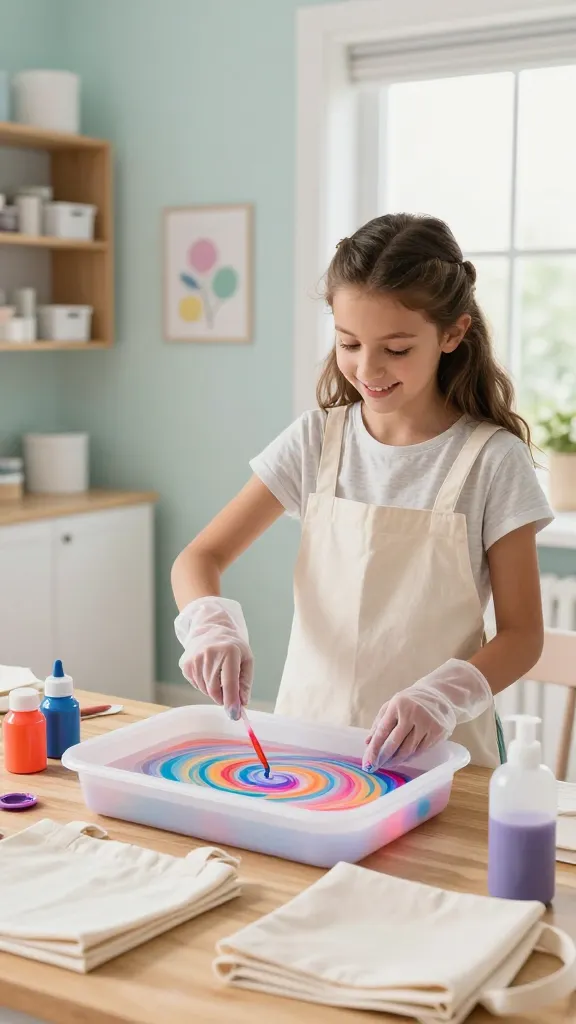
Carry art on your shoulder—literally. Marbleized tote bags look high-end, but the technique is totally kid-friendly and endlessly repeatable with new color combos.
Materials Needed
- Plain cotton tote bags (one per design)
- Shallow plastic tray
- Water
- Marbling paints or nail polish (in two or three complementary colors)
- Dish soap (optional for extra texture)
- Gloves (to keep hands clean)
How to Make It
- Fill the tray with water. Drip a few drops of paint onto the surface and swirl gently with a toothpick to create a marbled pattern.
- Carefully lower the tote into the water and press down lightly to absorb the design. Lift and lay flat to dry.
- Repeat with new color combos, tilting the bag between layers for layered patterns.
Pro Tips / Styling Ideas
- Use bold color combos (teal + coral, purple + gold) for a punchy look.
- Seal with a fabric-safe acrylic spray to improve longevity and wash resistance.
- Discuss the science behind surface tension and color blending to add a mini science moment.
End Note
Gift-ready or a statement piece for daily use, these tote bags scream personality. You’ll love how each one turns out uniquely.
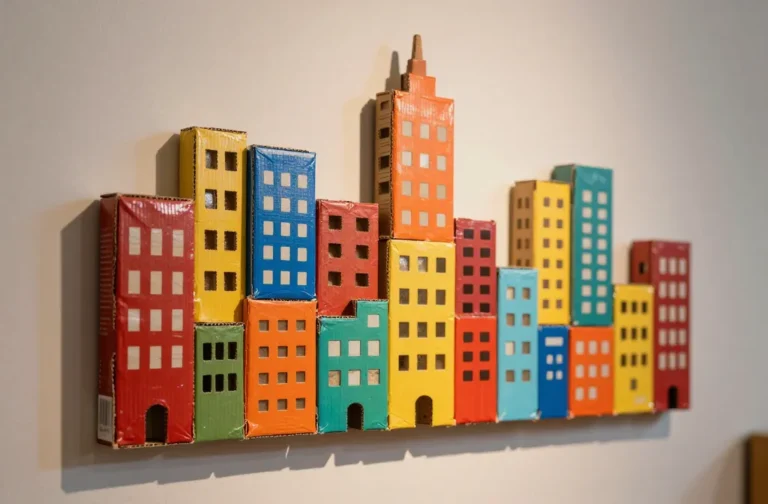
3. Shadow Box Diorama in a Mazelike Mini World
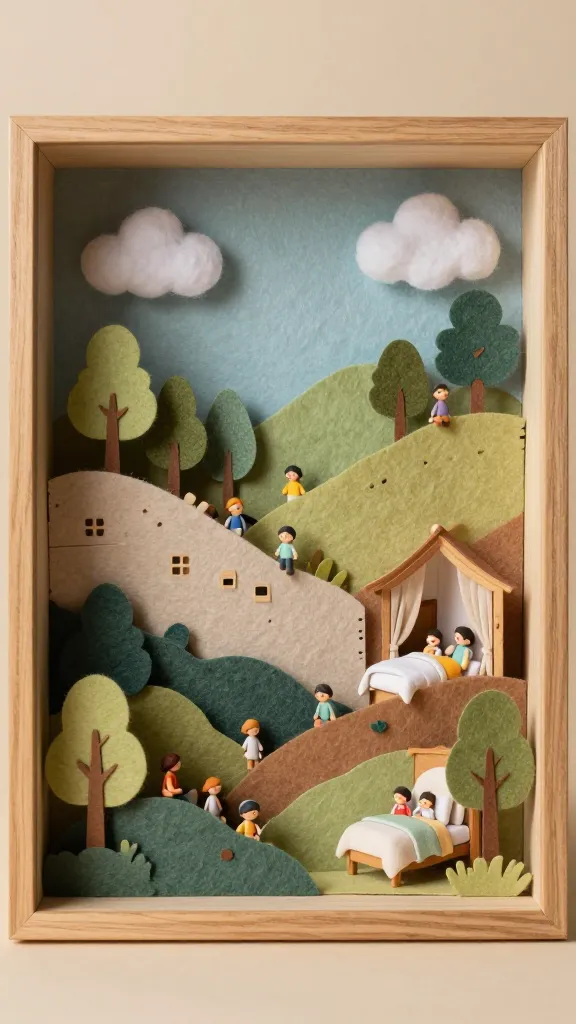
Dim the lights and shine a tiny, handmade world. This shadow box diorama packs storytelling, texture, and tons of cute details into a compact frame.
Materials Needed
- Shallow wooden shadow box or cardboard frame
- Colored paper, felt shapes, and cotton clouds
- Miniature figures or craft-store characters
- Glue gun or craft glue
- Scissors, markers, and a ruler
How to Make It
- Cut paper into layers to create a 3D backdrop—trees, hills, buildings, or a cozy bedscape.
- Arrange and glue each layer at different depths using small foam spacers for a pop-out effect.
- Add tiny accessories and creatures to tell a story in a single frame.
Pro Tips / Styling Ideas
- Change the scene with the seasons: snowy hills, sunny meadows, or starry nights.
- Use a tiny LED light for a warm, magical glow that shifts attention to the mini-world.
End Note
It’s like a little movie set you can curate. A perfect gift for grandparents or a desk-side daily imagination station.
4. Funky Sock Creature Parade
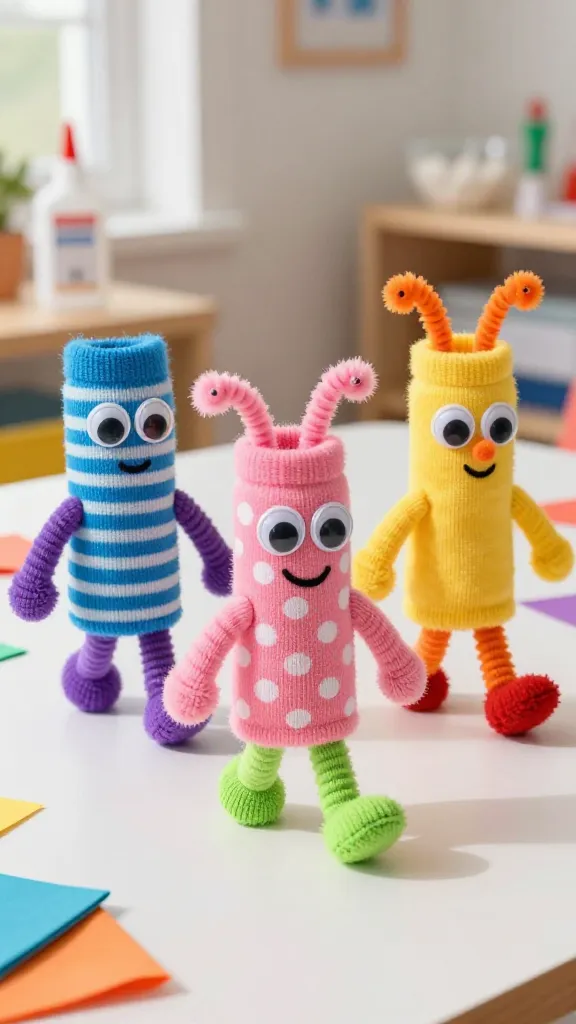
Wiggly, goofy, totally kid-approved—these sock creatures slip right onto the fun wagon. No sewing needed, just a dash of glue and a lot of personality.
Materials Needed
- Colored socks (varied patterns)
- Googly eyes or craft beads
- Fabric glue or hot glue (with adult supervision)
- Stuffing or leftover fabric scraps
- Pipe cleaners or felt scraps for limbs
How to Make It
- Turn a sock inside out and stuff a bit to give a solid base. Tie off the toe area with a rubber band to form a body.
- Decorate the face with eyes and a mouth; attach limbs using glue.
- Create a tiny scene by staging multiple creatures on a shelf or a DIY “creature garden.”
Pro Tips / Styling Ideas
- Match colors to celebrate a favorite book or movie character for a themed parade.
- Make a sock parade banner and line them up for a playful wall display.
End Note
These plushy pals are ultra-collectible and endlessly customizable. A laugh-out-loud project that doubles as a cute room accessory.
5. Upcycled Tin Can Wind Chimes
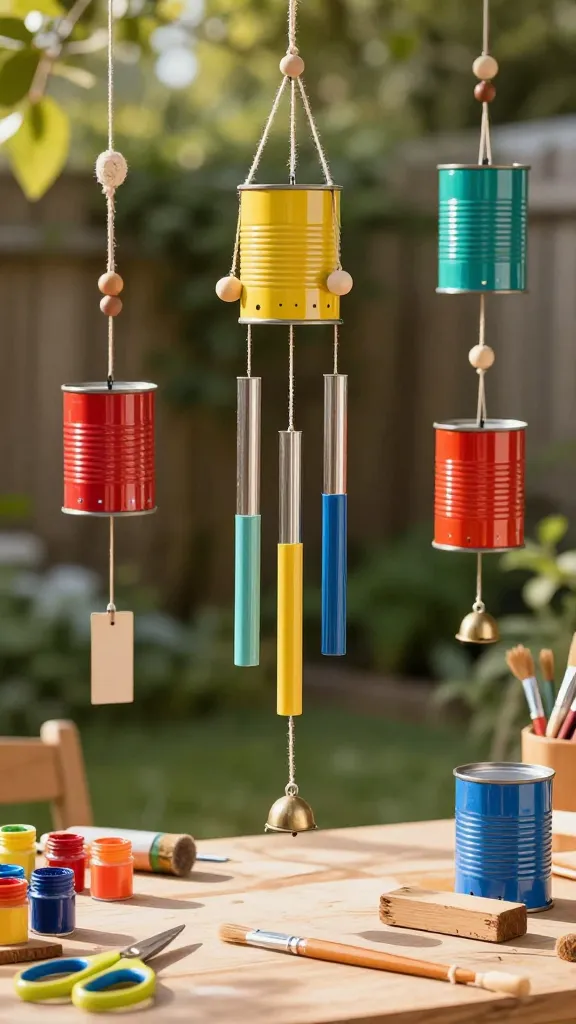
Zero waste and high-sound delight. These wind chimes turn humble cans into a melody machine with twinkle, color, and a rustic vibe.
Materials Needed
- Cleaned tin cans (various sizes)
- Colorful paint or spray paint
- Rings or cords to hang
- Beads, bells, or small charms
- Drill or hammer and nail (adult supervision)
How to Make It
- Punch holes near the bottom edge of each can. Paint or decorate before stringing together.
- Attach cords to hangers and thread beads or charms onto the cords for extra jingling texture.
- Pair larger and smaller cans for a cascading chime effect that catches the breeze.
Pro Tips / Styling Ideas
- Mount near a doorway or window so you catch a gentle breeze and a little music.
- Experiment with color-blocked patterns for a bold, campy vibe.
End Note
Great for outdoor spaces or as a backyard music-maker at a kid-approved volume. A true crowd-pleaser when friends visit.
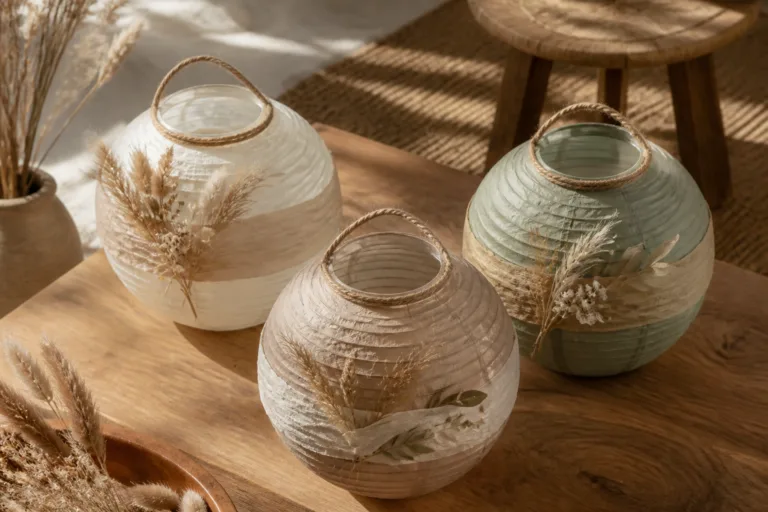
6. Glow-in-the-Dorest Terrarium Jars

Mini ecosystems with a night-time twist. These glow-in-the-dark terrariums are compact, charming, and delightfully calming to look at when the lights go low.
Materials Needed
- Small glass jars with lids
- Pea gravel or decorative stones
- Sphagnum moss or artificial moss
- Miniature figurines (optional)
- Suncatcher beads or glow-in-the-dark pellets
- LED tea lights or glow-in-the-dark paint
How to Make It
- Layer stones, moss, and figurines inside the jar to craft a tiny landscape.
- Place glow beads or paint the interior with glow-in-the-dark accents.
- Seal with a lid to keep dust away and to preserve the glow after dark.
Pro Tips / Styling Ideas
- Label each terrarium with a tiny hand-written name for a personal touch.
- Group in a trio for a striking shelf display or bedside decor.
End Note
These little ecosystems feel magical at night and are a wonderful way to introduce basic nature concepts without the fear of messy gardens.
7. Customizable Sticker Card Craft Kit
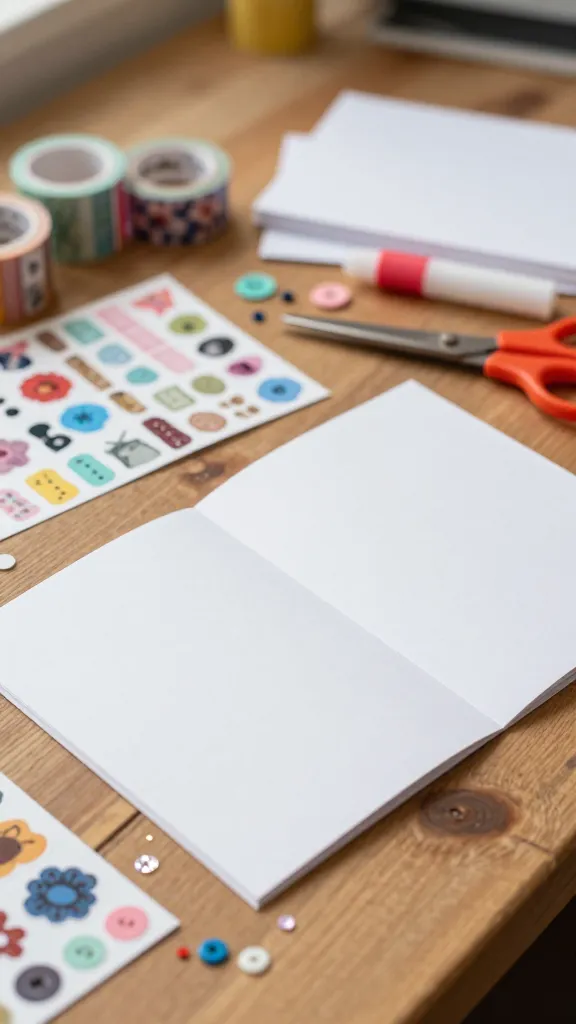
Blank cards become a canvas for personality. This kit-friendly project emphasizes sticker design, collage play, and a finished product that’s ready for gifting or personal notes.
Materials Needed
- Blank cardstock or pre-folded cards
- Assorted sticker sheets, washi tapes, stamps
- Scissors, glue sticks
- Optional: small decorative items like sequins or buttons
How to Make It
- Create a base collage on the front of each card using stickers and tapes. Layer textures for depth.
- Add a short handwritten message or a favorite doodle for a personal touch.
- Pack completed cards with matching envelopes for a ready-to-send gift.
Pro Tips / Styling Ideas
- Design a “seasonal set”—spring florals, summer snacks, autumn leaves, winter warmth.
- Turn this into a mini business by making a few cards, selling to friends, or gifting as a thoughtful present.
End Note
Card-making meets collage art in a bright, easy, and endlessly creative way. A tiny project that yields big smiles.
Conclusion
These seven crafts prove that fun, easy, and kid-friendly creativity can light up a weekend with color, texture, and imagination. Pick one (or all seven) and start crafting today—your future DIY museum-worthy masterpieces await. You’ll love the vibe, the finished pieces, and the brag-worthy photos you’ll snap along the way.