7 Fun Nature DIY Kids Activities for Outdoor Exploration
1. Painted Pinecone Critters: Little Forest Friends You Can Keep
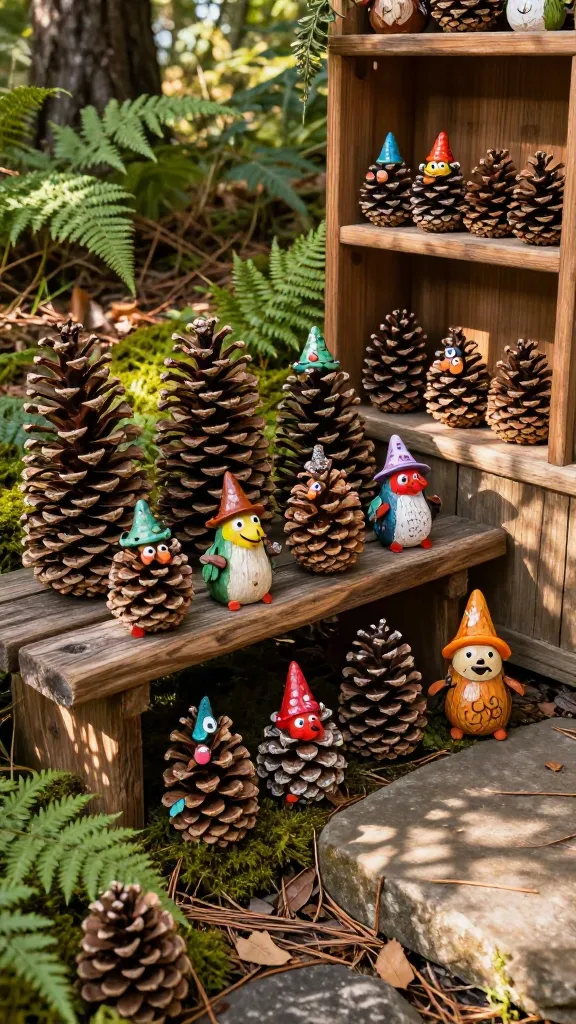
Imagine a woodland menagerie perched on your doorstep—pinecones transformed into quirky critters with just a splash of color. This is the kind of project that makes a park stroll feel like a treasure hunt turned craft store.
Finished look: tiny, whimsical characters perched on a shelf or garden path, each with its own personality. It’s easy to customize with colors that match your yard or season, and kids love giving each critter a name.
Materials Needed
- Pinecones collected on a nature walk
- Googly eyes or tiny buttons
- Non-toxic sealant or Mod Podge
- Optional: felt scraps, pipe cleaners, yarn
<liAcrylic paints and brushes
How to Make It
- Wash and dry pinecones; let them harden in the sun for a few hours.
- Paint each cone in a base color and let dry. Add details—faces, stripes, or spots—using tiny brushes.
- Affix googly eyes or buttons with a dab of glue. Add a little pipe cleaner or yarn for antennae or tails if you like.
- Seal with a clear spray or Mod Podge for outdoor durability.
Pro Tips / Styling Ideas
- Group three to five critters on a wooden platform or garden edge for a mini tableau.
- Use seasonal colors: oranges and browns for autumn, bright pastels for spring.
- Turn them into a storytelling garden: “The Pinecone Parade” with a tiny lineup of forest pals.
Who loves it: curious kiddos who adore tiny characters and a quick backyard craft that doubles as playground décor. Trust me, this one sparks storytelling creativity.
2. Nature Imprint Paintings: Leaf and Flower Creations on Cardboard Canvases

Let the outdoors become your paint studio. This project uses nature’s textures to create art that captures the scent of the woods and the feel of a breezy day.
Finish: bright, textural prints ready to frame or gift. It’s wildly satisfying to see a simple leaf leave its mark on your wall.
Materials Needed
- Cardboard cut into small canvases
- Washable paints or acrylics
- Leaves, petals, or tiny twigs collected outside
- Foam brushes or sponges
- Clear sealant (optional for longevity)
How to Make It
- Paint a light background on each cardboard canvas.
- Dip leaves or petals in paint and press them onto the canvas, rotating to create patterns.
- Layer colors and textures for depth. Let each imprint dry before the next to avoid smearing.
- Seal if you’ll hang them indoors or give as gifts.
Pro Tips / Styling Ideas
- Create a mini gallery wall with a seasonal theme—spring blossoms, summer greens, autumn tones, winter berries.
- Pair prints with a simple string frame or washi tape for a playful, inexpensive display.
- Use a cardboard backing to prop on shelves for a portable art show.
Who loves it: budding artists who want to stay outside longer, turning a nature walk into a portable art studio. You’ll love how easy and rewarding this one feels.
3. Mud Pie Sandbox Castles: Mini Forts for Snack-Time Fortitude
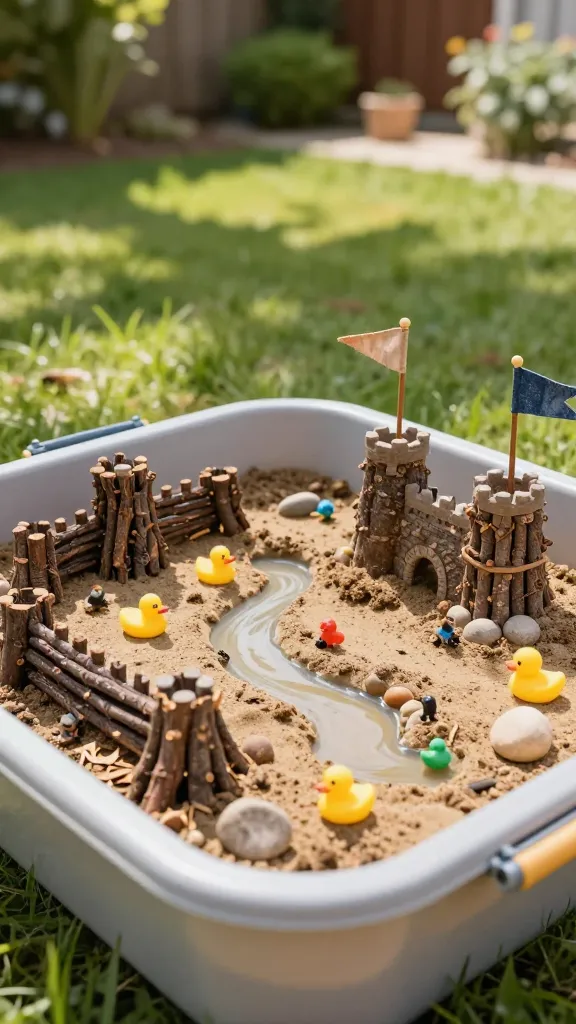
Turn a sunny yard into a tiny kingdom with a mud-friendly sandbox scene that doubles as a sensory play zone. Think moat-detailing, flag poles, and little critter guards to keep pirates at bay.
Finish: a charming storytelling landscape kids can rearrange—perfect for imaginative play and outdoor calm-down sessions.
Materials Needed
- Small sandbox or a shallow plastic bin
- Clean dirt, sand, and water mix
- Twigs, bark chips, rocks for towers and walls
- Mini rubber ducks or toy figures for inhabitants
- Tea light candles or LED lights for pretend torches (optional)
How to Make It
- Fill the sandbox with a moistened dirt-sand blend to hold shapes well.
- Shape a castle or fort using rocks and sticks; create a moat with a shallow channel of water.
- Place figures inside for a lived-in look; add flags using small sticks and fabric scraps.
Pro Tips / Styling Ideas
- Create different “lands” in sections—forest, desert, water—using texture and color cues.
- Keep a spray bottle handy for quick moistening of the sand as you play.
- Invite friends for a little nature-based pretend-play party—castle defenses are always a hit.
Who loves it: kids who adore building and pretend play, plus parents who want a tactile activity away from screens. Seriously, this is a yard favorite for hours of outdoor play.
4. Acorn Cap Wind Chimes: Tiny Rings of Sound from the Forest
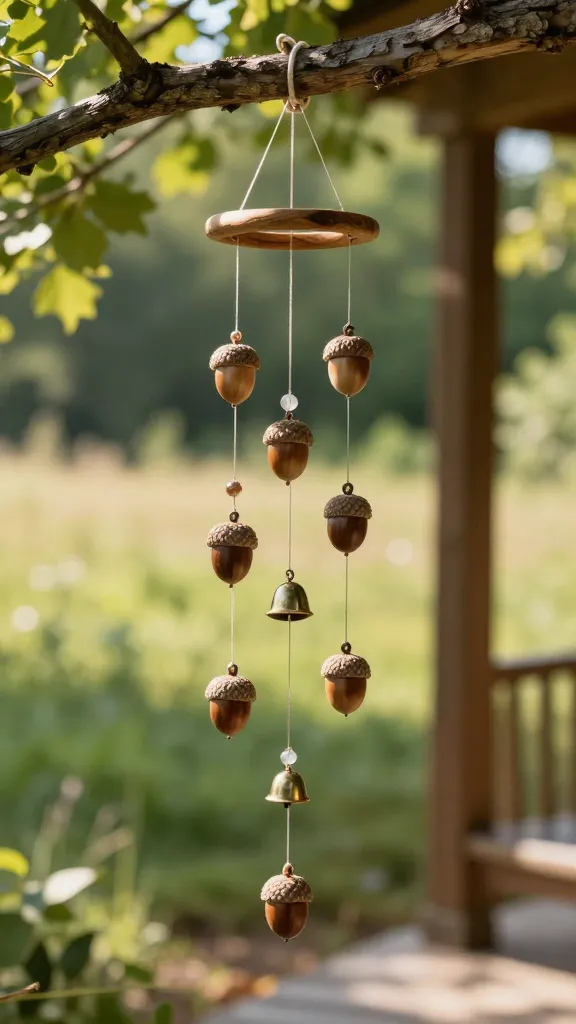
Wind chimes that come with a story—each acorn cap acts as a mini bell, catching the breeze to create soft woodland music. It’s a quick, mood-boosting project that makes any porch feel magical.
Finish: a melodic, nature-inspired decor piece that gently tinkles in the breeze. It’s also a thoughtful nature-lover gift.
Materials Needed
- Acorn caps collected in a single trip
- Thin fishing line or decorative thread
- Beads or small bells (optional)
- Driftwood or a simple wooden ring as the top hanger
- Hot glue or strong craft glue
How to Make It
- Rinse acorn caps and let them dry completely.
- Thread caps onto lines with a bead between each, spacing them evenly.
- Tie lines to a central hanger in a symmetrical arrangement; add beads or small bells at the ends for extra tinkle.
- Secure the top to a driftwood piece or a wooden ring, and hang where the wind can reach.
Pro Tips / Styling Ideas
- Coordinate colors with your outdoor furniture for a cohesive look.
- Add a tiny bell at the end of each line for a chimey orchestra when the breeze picks up.
- Keep a spare set ready for gifting to neighbors or teachers after a nature walk.
Who loves it: sensory seekers and outdoor ambiance lovers who want a calming, musical touch outside. You’ll love how these little tunes lift the mood of any porch or balcony.
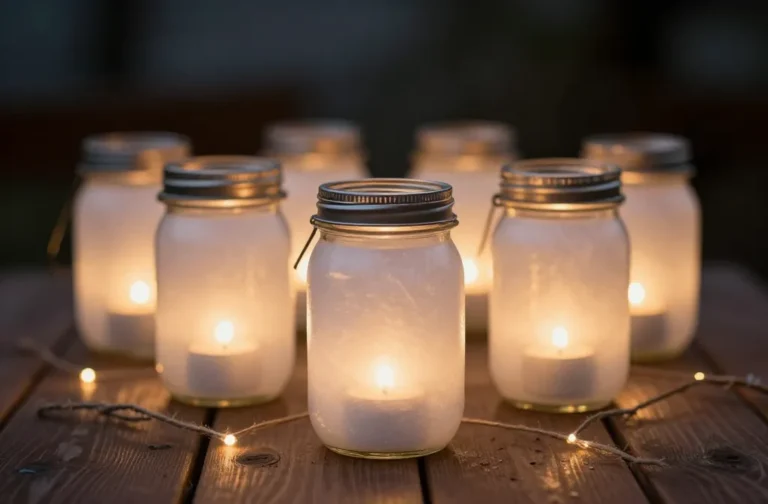
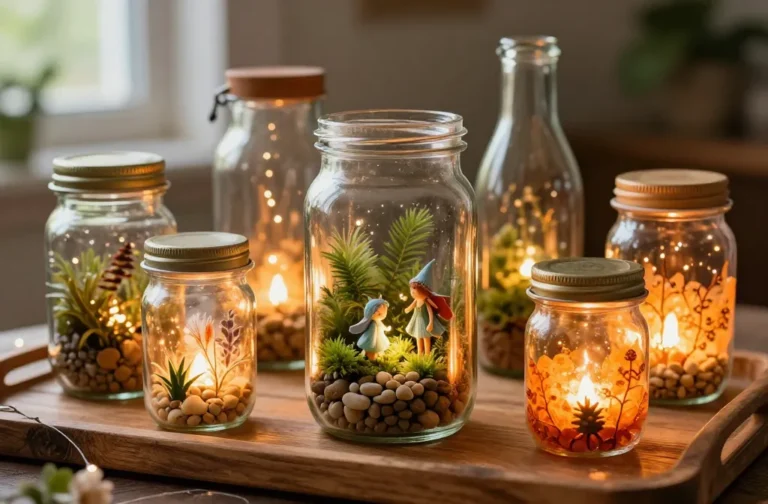
5. Seed Packet Seedlings: Grow Your Own Mini Garden in a Jar
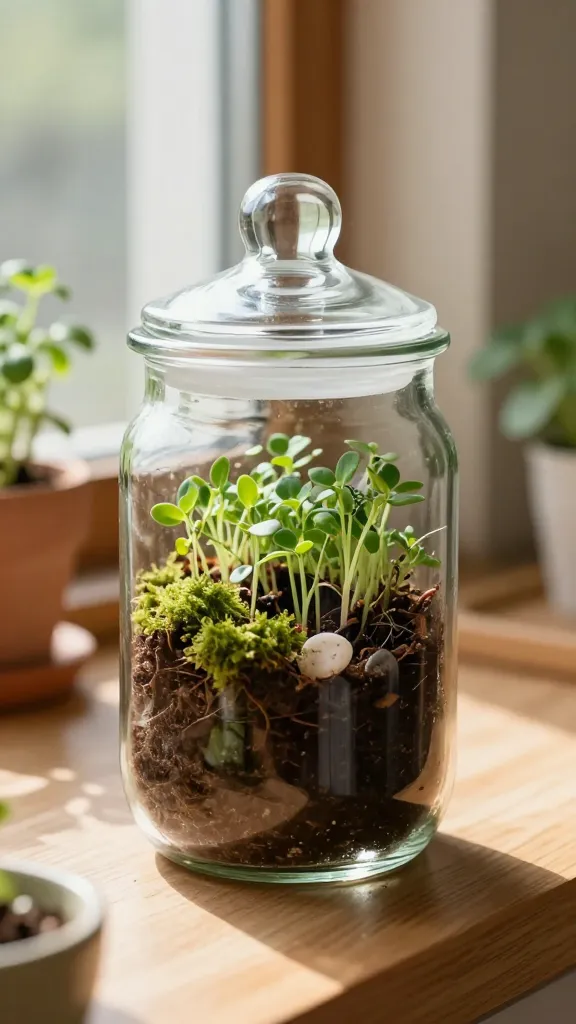
Turn nature’s small treasures into a portable green space. This project blends a kid-friendly lesson in germination with a cute, reusable display jar that doubles as a living ornament.
Finish: a tiny, thriving jar garden that can live on a kitchen sill or windowsill, teaching responsibility and care in a tangible way.
Materials Needed
- Clear glass or plastic jar with lid
- Moist potting mix
- Seed packets (fast-growing options like herbs or flowers)
- Small decorative stones or moss
- Label markers or masking tape for naming
How to Make It
- Layer a small amount of stones for drainage, then add potting mix.
- Sow seeds according to packet directions; lightly press into soil.
- Water sparingly, seal with the lid to create a mini greenhouse effect, and place in a bright spot.
- Label with the plant name and date to track growth.
Pro Tips / Styling Ideas
- Change the seed mix with seasons to keep the display dynamic.
- Use colored or chalkboard labels to personalize each jar.
- Create a “Garden Parade” by lining jars along a windowsill like a tiny bloom street.
Who loves it: curious scientists and future green thumbs who enjoy monitoring growth and celebrating tiny wins. FYI, kids love watching sprouts appear week by week.
6. Bug Hotel In a Box: A Cozy Home for Backyard Insects
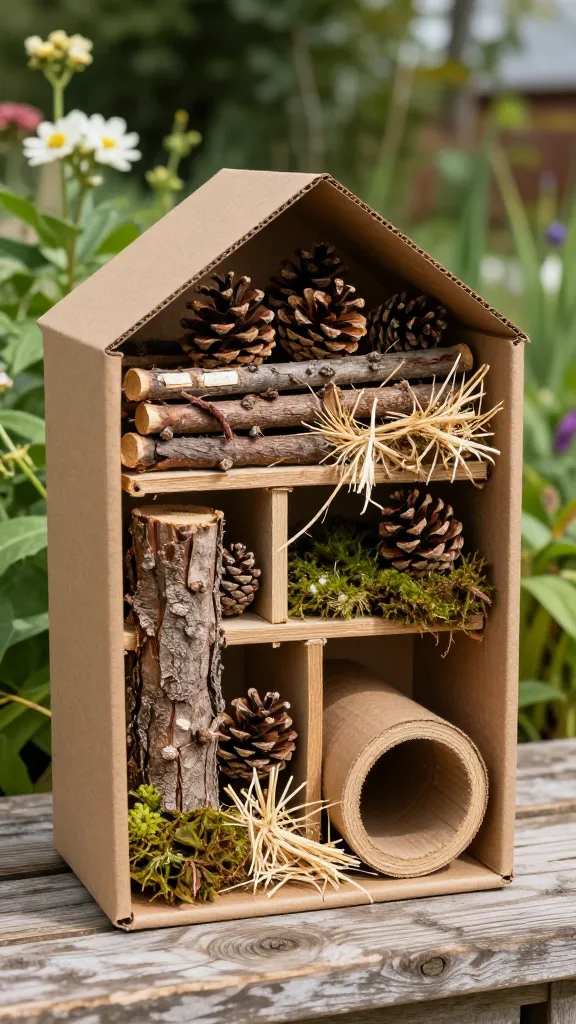
Turn a simple shoebox, scraps, and a sprinkle of nature into a cozy residence for friendly bugs. It’s a gentle way to teach kids about ecological roles while building something tactile and adorable.
Finish: a charming, rustic little hotel that attracts pollinators and beneficial insects, all while being a tactile project you can display outside or near a garden bed.
Materials Needed
- Cardboard shoebox or small wooden box
- Natural materials: sticks, pinecones, bark, straw, dried moss
- Cardboard tubes or paper rolls
- Non-toxic glue or tape
- Optional: tiny decorative elements like acorn caps
How to Make It
- Fill the box with layered natural materials, creating compartments for different bug habitats.
- Stabilize tubes and hollow sections with glue to form tiny tunnels.
- Leave gaps and crevices for insects to hide; place the box on a shaded wall or garden corner.
Pro Tips / Styling Ideas
- Place near flowering plants to attract pollinators.
- Refresh materials seasonally to keep the inhabitants happy and to spark new exploration each time.
- Label sections with fun, kid-friendly names like “Bug Bistro” or “Wormy Way.”
Who loves it: budding naturalists who want a hands-on way to observe insects up close. Seriously, it makes the garden feel like a tiny, inviting ecosystem.
7. Snail and Stone Fairies: A Whimsical Garden Treasure Trail
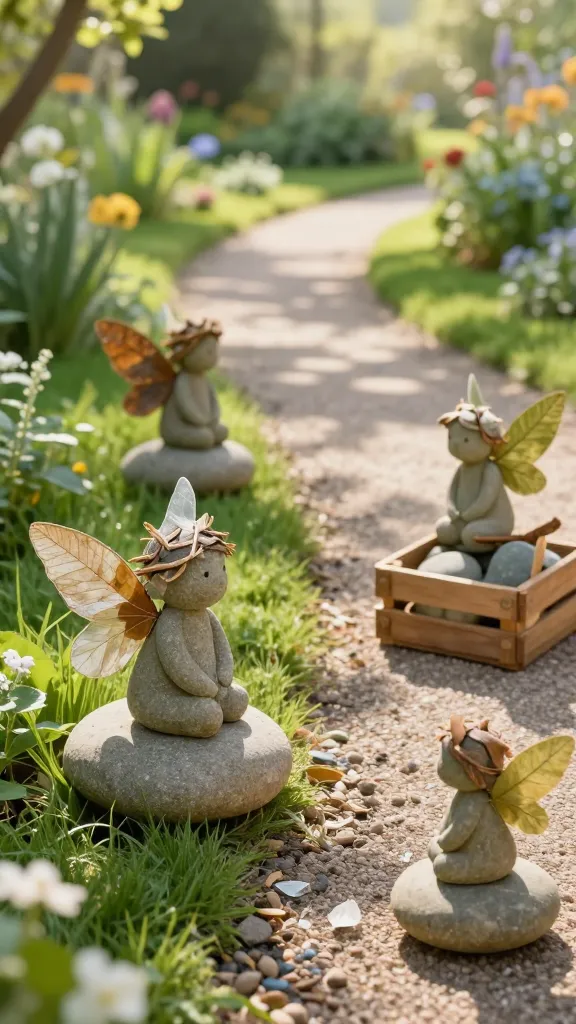
This one turns plain garden stones into magical fairies armed with tiny, nature-made wings. It’s a gentle project that blends art with a stroll through your yard as you hunt for the “fairy stones.”
Finish: a playful garden path or tabletop display that sparks giggles and stories as kids pretend the fairies have tiny adventures at sunrise.
Materials Needed
- Smooth stones collected outdoors
- Acrylic paints, fine brushes
- Natural materials for wings: dried leaves, thin bark, or translucent petals
- Hot glue or strong craft glue
- Clear sealant (optional for outdoor use)
How to Make It
- Paint a friendly face on each stone; add simple details for character.
- Craft delicate wings from leaves or bark; attach with glue to the stone’s back.
- Place the fairies along a path or among plants, creating tiny cities with clustered stones.
Pro Tips / Styling Ideas
- Create a “Fairy Corner” in a shaded bed with mulch and small plants to hide the stones slightly for a magical reveal.
- Rotate fairies seasonally, giving each a new outfit of colors that reflect the time of year.
- Invite kids to write tiny fairy backstories on labeled pebbles for an imaginative scavenger hunt.
Who loves it: dreamers who adore nature-inspired whimsy and little, portable art they can place anywhere in the yard. You’ll smile every time you spot a tiny winged friend peeking out.
Conclusion
These 7 fun nature DIY kids activities for outdoor exploration prove that outdoor time can be creative, colorful, and super engaging. Each project is distinct, easy to personalize, and wonderfully shareable—perfect for saving, pinning, and actually making. Ready to grab a pocketful of nature and get crafty today?