8 Delightful Craft Ideas for a 3-Year-Old Girl
Ready to spark tiny hands’ big creativity? These eight crafts are playful, safe, and seriously adorable for a 3-year-old’s growing imagination. They’re easy to pull off, look gorgeous on display, and make perfect gifts or party activities. Trust me, your little one will be giggling with delight.
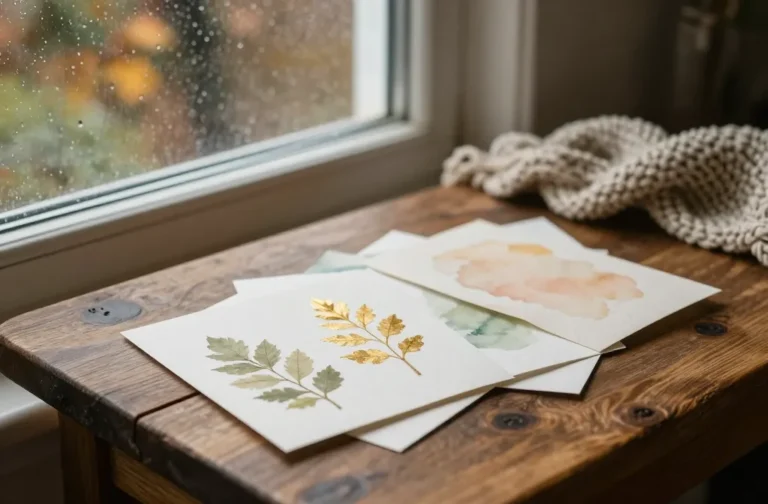
1. Puffy Paint Flower Garden Wall Art
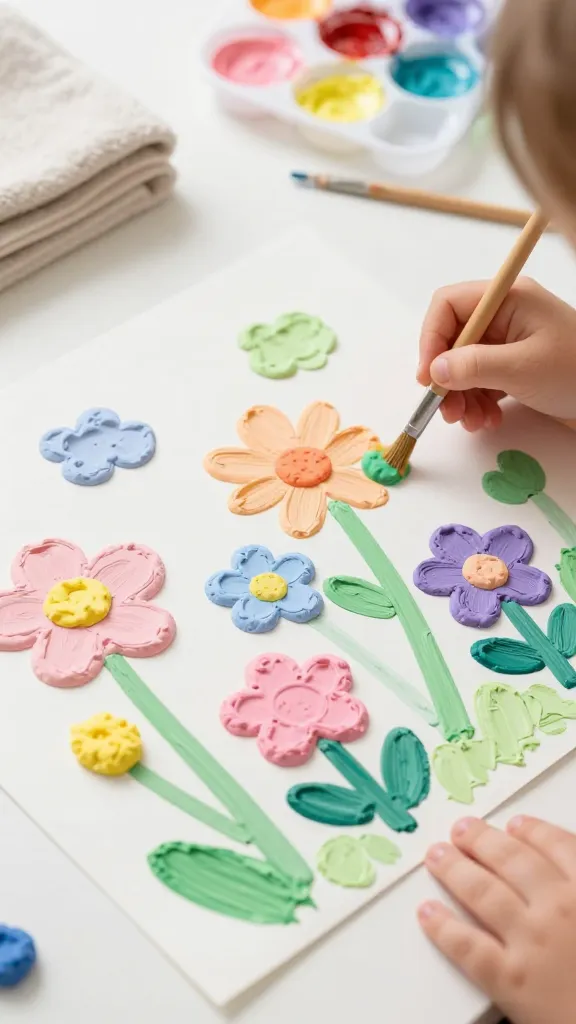
Imagine a bright, cheerful canvas blooming with soft, cloud-like textures. This project turns a simple sheet into a tiny garden of happy colors, perfect for a toddler’s imaginative world. The best part? It’s low-muss, high-wow.
Materials
- Paper or poster board
- Puffy paint in assorted colors
- Foam brushes or sponges
- Green construction paper for stems and leaves
- Optional:✦Sequins or buttons for centers
How to Make It
- Glue or press green stems and leaves onto the paper first.
- Dot and swirl puffy paint to create flowers atop the stems. Layer colors for depth.
- Finish with a glossy squiggle of paint around the edges to frame the garden.
Pro Tips / Styling Ideas
- Use bold primaries for a pop-art feel or pastels for a dreamy wall piece.
- Let your kid press sequins in the centers while the paint is tacky for extra texture.
- Frame it or turn it into a handmade greeting card—two-in-one sweetness.
Who would love this? Any toddler who adores colors and florals. It’s a cozy, whimsical project you’ll both smile about long after the paint dries.
2. Sticker Kaleidoscope Collage
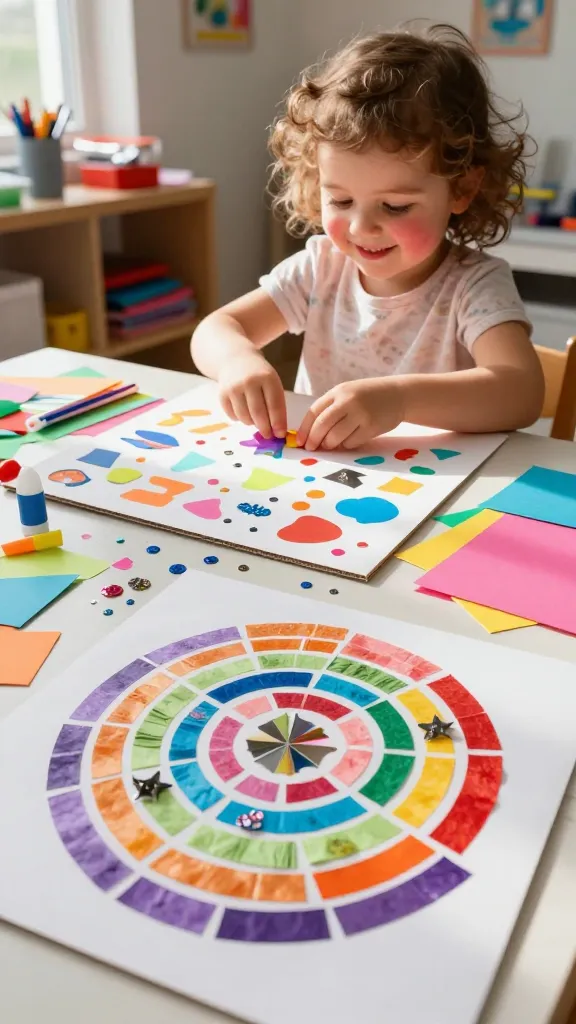
Delight in a burst of tiny shapes and textures as your little one creates a mirrored, rainbow collage. The process is all about exploration—picking colors, textures, and the way they fit together. Seriously satisfying for busy fingers and curious minds.
Materials
- Colored craft paper or old magazines
- Kid-safe glue or glue sticks
- A sturdy sheet of cardstock or thin cardboard
- Kids’ stickers, tissue paper scraps, mini sequins
How to Make It
- Cut assorted shapes and color swatches into small pieces.
- Let your child arrange pieces like a mosaic, then glue them down.
- Add sticker accents and a few shiny bits for sparkle.
Pro Tips / Styling Ideas
- Create sections by color family to build a mini rainbow map.
- Turn the finished collage into a mail-friendly gift tag by trimming it to a card shape.
Who would love this? Little artists who adore putting tiny pieces together and discovering how colors mix in their tiny universe.
3. Mini Felt Animal Plush Balls
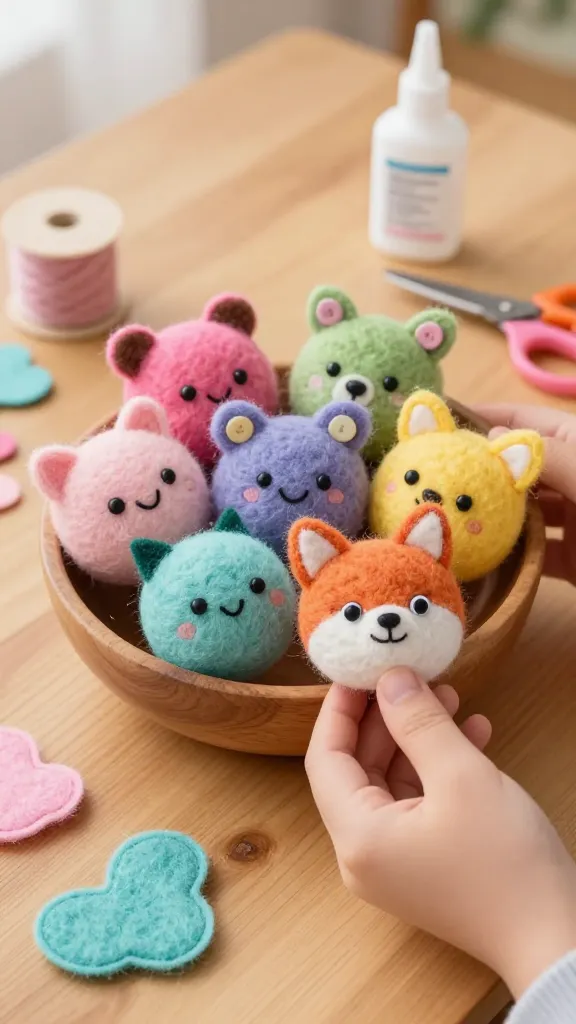
Soft, squeezable, and adorably squishy—these plush balls bring a gentle, tactile moment into playtime. The felt makes everything forgiving, and the finished mini creatures are giftable or perfect for pretend play nests.
Materials
- Assorted colors of craft felt
- Cotton stuffing or scraps
- Non-toxic felt glue or needle (adult supervision)
- Googly eyes or small buttons
- Optional: embroidery thread for tiny smiles
How to Make It
- Cut two small circular felt shapes per animal. Sit with your kid and pick a face.
- Stitch or glue edges with a small opening for stuffing, then seal it up.
- Lightly stuff, place the face accents, and gently finish with a stitch line for a mouth.
Pro Tips / Styling Ideas
- Pair two balls with a ribbon to create a mini puppet buddy set.
- Match colors to a “favorite animal” theme—dinosaurs, bunnies, or birds.
Who would love this? Tiny cuddly-creators who adore soft textures and making their own pals for cozy storytelling.
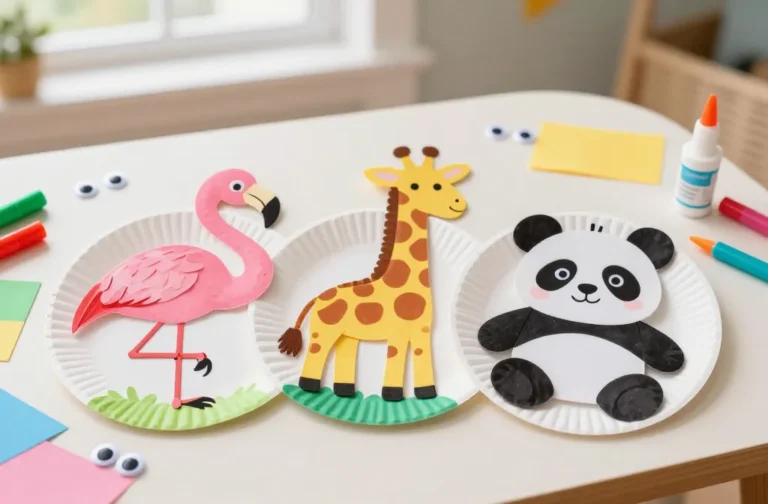
4. Sparkly Paper Plate Shadow Puppet Theater
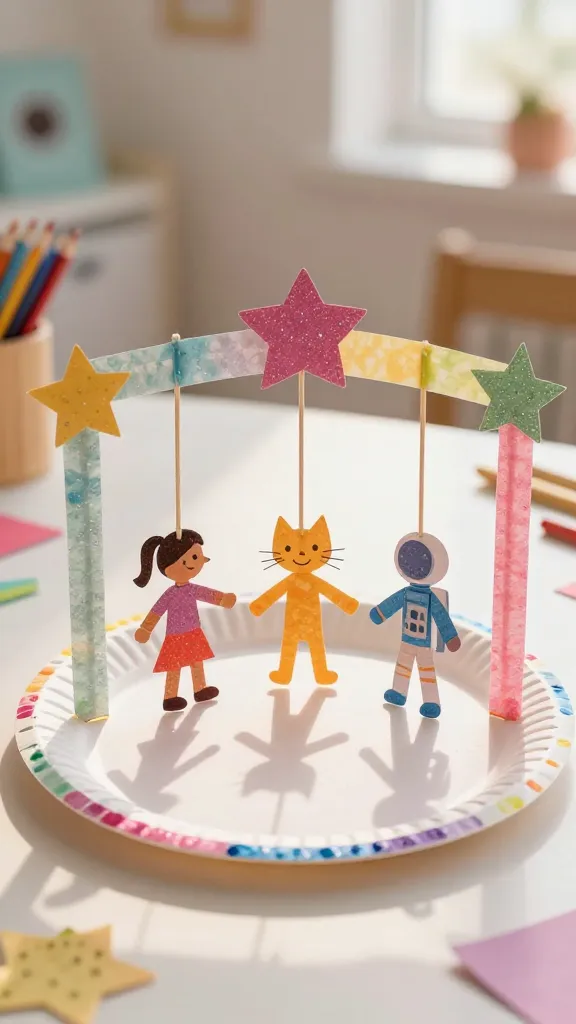
A simple paper plate transforms into a tiny stage for flash-fun storytelling. The shimmer from kid-friendly glitter and washi tape brings dramatic flair to ordinary afternoons. It’s theater, but cute and totally doable.
Materials
- Paper plates (one per puppet or character)
- Colored paper, markers, and washi tape
- Safety scissors (kid-friendly) and glue
- String or popsicle sticks for handles
How to Make It
- Cut out shapes from colored paper to become each puppet’s body and clothes.
- Glue the shapes onto the plate, adding facial features and details.
- Attach a handle to the back with a short strip of tape or glue.
Pro Tips / Styling Ideas
- Use a string of fairy lights for a magical backdrop during performances.
- Create a tiny script with your child to perform a 2-3 minute show.
Who would love this? Budding actors and story lovers who enjoy turning everyday objects into magical scenes.
5. Accordion Paper Jiggly Giraffe Bookmarks
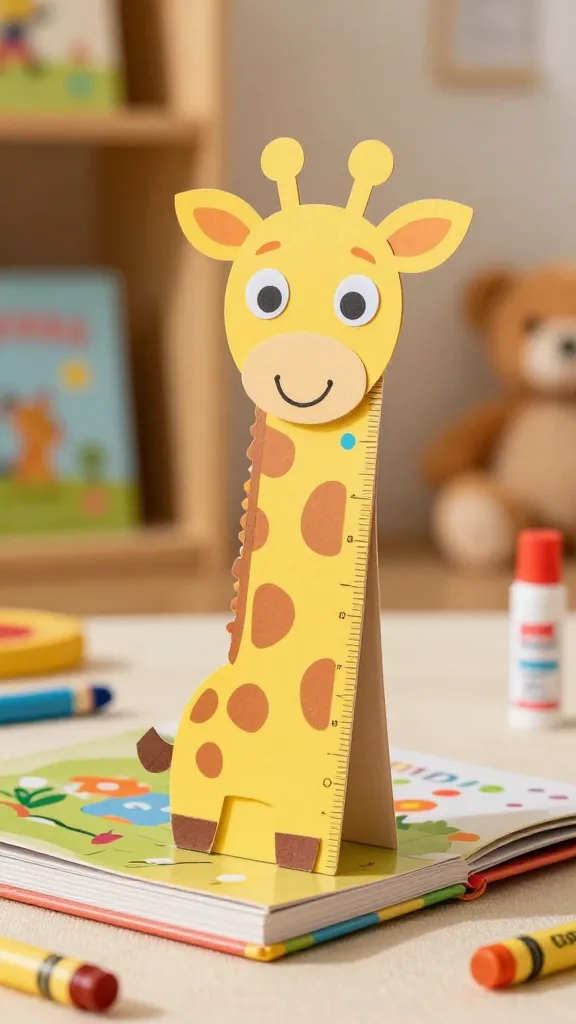
Bright, cheerful bookmarks that stand at attention in a favorite book. The accordion fold adds a playful dimension, and the giraffe motif keeps it friendly and kid-appropriate. A small project with big personality.
Materials
- Bright construction paper
- Markers, crayons, or colored pencils
- Googly eyes or tiny stickers
- Stapler or glue to secure the bookmark
How to Make It
- Fold a strip of paper into an accordion spine (about 1 inch wide).
- Cut a giraffe head and neck from another sheet and glue to the top of the spine.
- Decorate with spots, a smile, and a friendly expression.
Pro Tips / Styling Ideas
- Laminate the bookmark or cover with a protective tape to extend life.
- Personalize with the child’s name for a special gift.
Who would love this? Book-loving toddlers who adore animals and tiny, magical details that peek from the page.
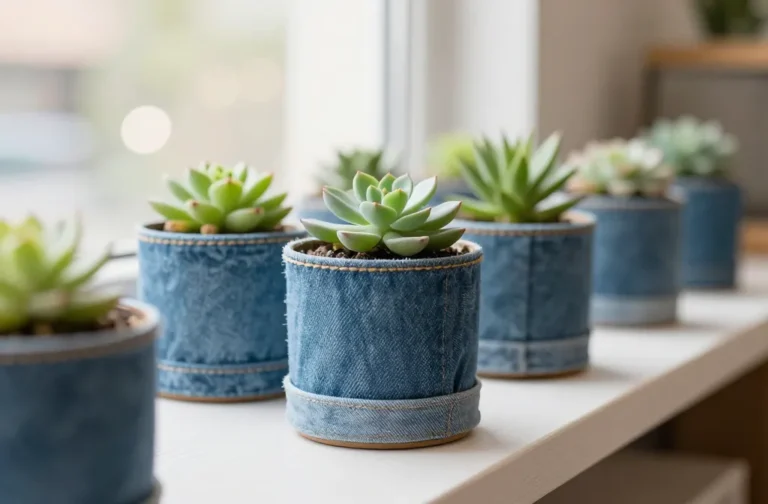
6. Milk Carton Miniature Garden Planters
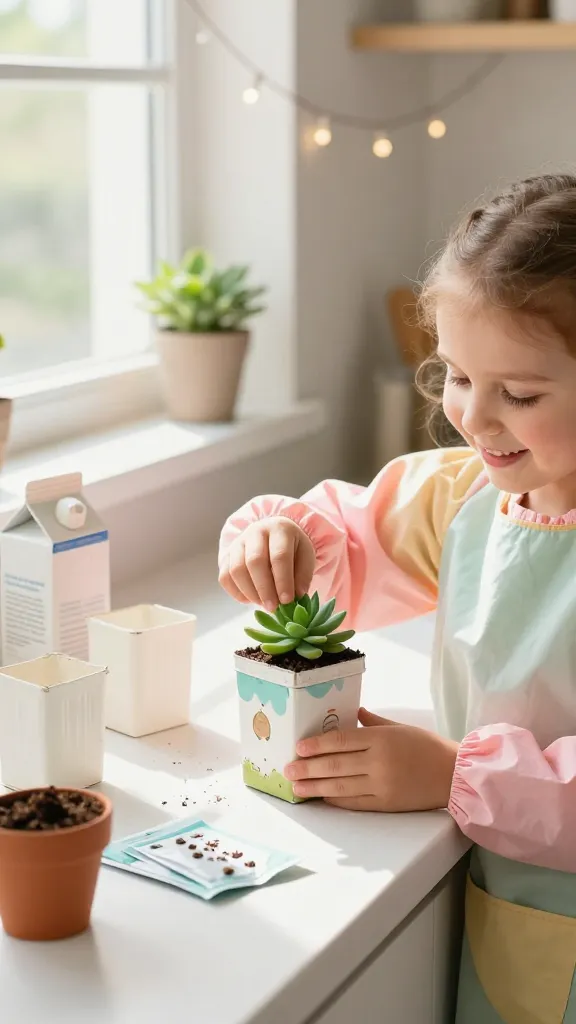
Repurposed cartons become adorable mini planters that teach little ones about growing things while delivering instant satisfying outcomes. It’s messy-free joy with a big green payoff.
Materials
- Clean, dry empty milk cartons
- Acrylic paints or markers
- Soil and tiny faux or real seeds
- Paintbrushes and stencils
- Ribbon or string for display hooks
How to Make It
- Cut or shape the carton into a small planter, then decorate with paints or markers.
- Fill with soil and plant a seed or tiny succulents.
- Use a bit of twine to hang or place on a sunny windowsill.
Pro Tips / Styling Ideas
- Keep the color palette bright for a darling garden vibe.
- Pair with a mini chalkboard sign labeling each plant.
Who would love this? Little gardeners who adore hands-on care and watching tiny plants grow in a tiny house they helped create.
7. Textile Ribbon Ribbon Tassel Coaster Set
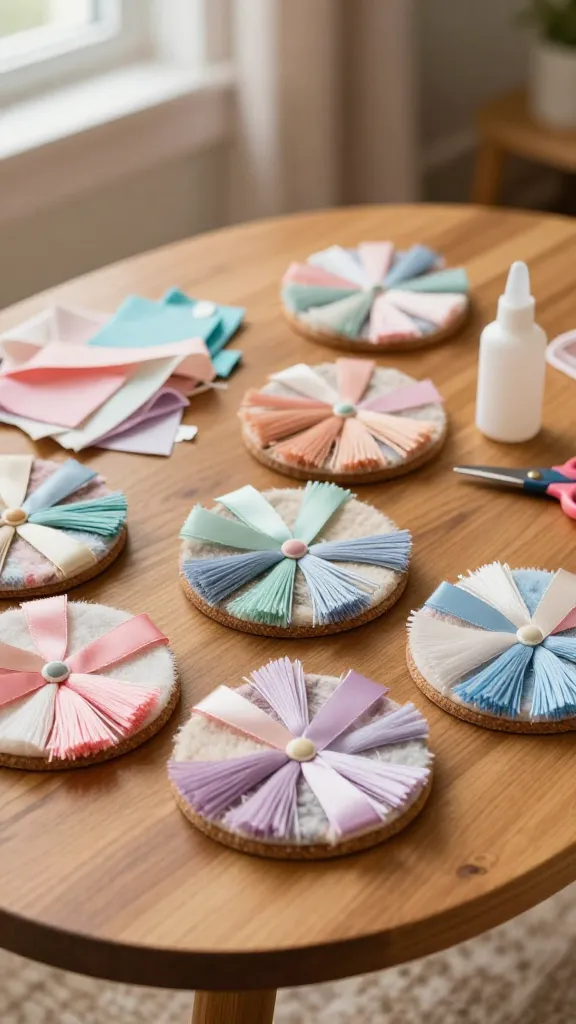
Soft, swishy tassels on coasters that protect the coffee table and look like a party on a tray. This craft is a great way to explore textures and color mixing with ribbons and fabric scraps. It’s cozy, stylish, and totally Pinterest-worthy.
Materials
- Felt or cork coasters (ready-made or DIY from cardboard)
- Satin ribbons, ribbon tails, or fabric scraps
- Kids-safe glue or hot glue with adult supervision
- Small beads or buttons for embellishment
How to Make It
- Glue ribbon tails in a fan or tassel shape along the edge of each coaster.
- Layer colors for a rainbow effect, securing ends with glue.
- Add a few beads or buttons to anchor the tassels and add charm.
Pro Tips / Styling Ideas
- Use a single color scheme for a cohesive look or mix bold colors for playful contrast.
- Gift a set with a tiny handmade card for a charming hostess present.
Who would love this? Tiny organizers and decor lovers who adore tactile crafts and small home accents with big charm.
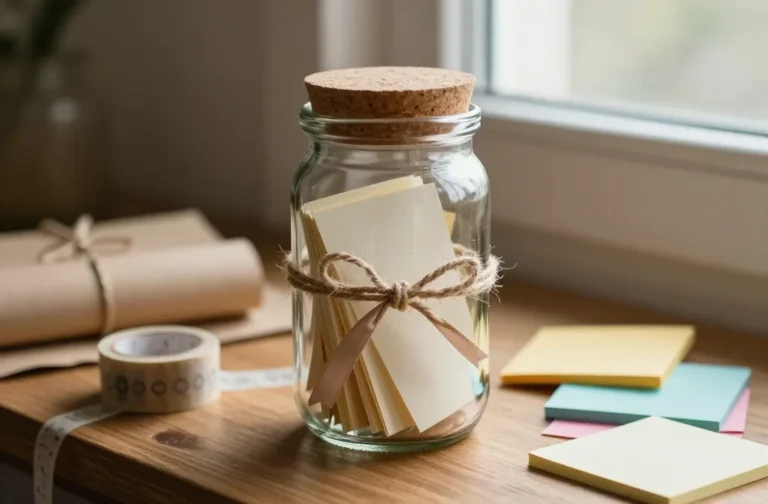
8. Paper Craft Puzzle Cards
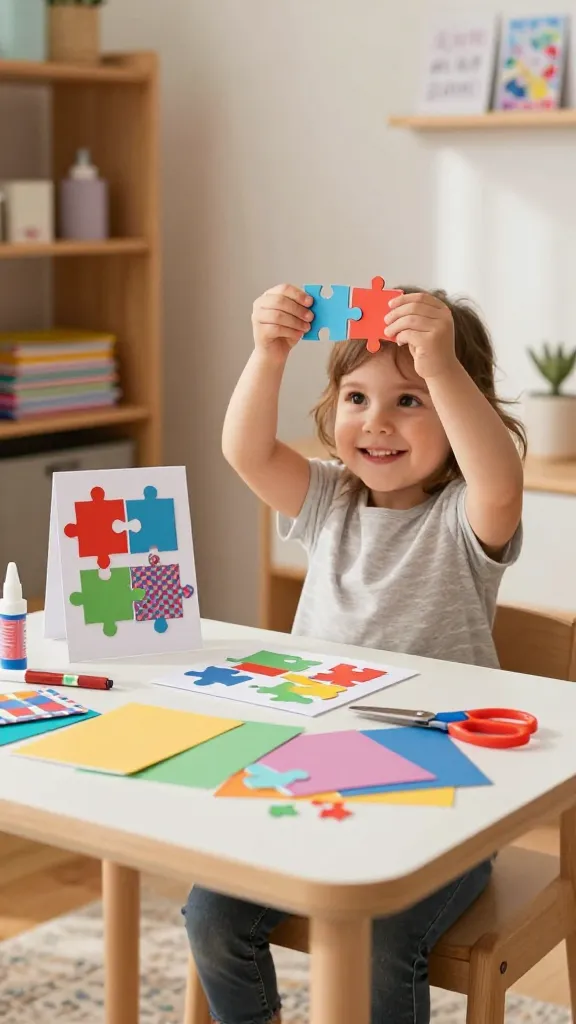
Turn a blank card into a mini puzzle by cutting a motif into two interlocking pieces. It’s a tiny challenge with a big payoff—the moment the puzzle pieces finally fit is pure joy. Plus, it doubles as a sweet note card for a special occasion.
Materials
- Blank cardstock cards
- Colored paper or patterned scrapbook paper
- Safety scissors and glue
- Markers for doodles and faces
How to Make It
- Draw a simple shape or icon on a sheet of paper and cut a matching interlocking piece from another sheet.
- Decorate both pieces with colors, patterns, and a friendly face.
- Glue each piece to the front and back of the card so they can be separated and reconnected.
Pro Tips / Styling Ideas
- Make seasonal themes—pumpkins for autumn, hearts for Valentine’s, suns for summer.
- Pair with a small envelope so the recipient can open and play right away.
Who would love this? Little puzzle lovers and card-makers who adore interactive art and sweet notes to share with someone they love.
Conclusion
Eight unique ideas, each crafted with care and kid-friendly joy. Pick one to start or dive into all eight for a season of cuddly, colorful, creativity-filled afternoons. These crafts are not only delightful to make but incredibly rewarding to display, gift, or simply enjoy in the moment. You’ll love how quick they come together and how proudly your little one will show off their handmade masterpieces.