8 Fun & Independent Craft Ideas for 7 & 8-Year-Olds
Ready for a burst of colorful creativity that your kids can actually tackle on their own? These 8 crafts are designed to spark confidence, not chaos, and they’re total Pinterest-worthy winners. Trust me, your mini makers will love showing off their independent masterpieces.
1. Giant Bubble-wrap Stamp Garden Cards
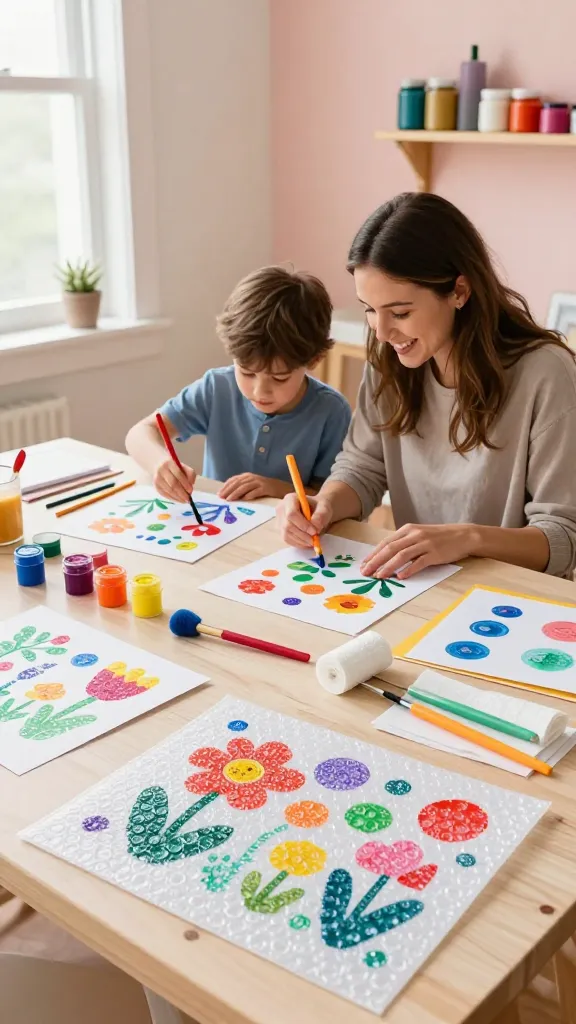
Imagine sending a cute card that smells like citrus and feels wildly tactile. This project turns everyday materials into a playful station wagon of color and texture. The finished cards look cheerful, bouncy, and totally shareable—perfect for birthdays or “just because.”
Materials Needed
- Bubble wrap sheets
- Craft paints (assorted colors)
- Sponge brushes or small rollers
- Cardstock or blank greeting cards
- Paper towels for quick cleanups
How to Make It
- Cut bubble wrap into fun shapes—flowers, circles, stars—then wrap it with paint like a stamp.
- Dab lightly onto cardstock to create bold, bubbly prints.
- Let each card dry, then add simple doodles with markers for extra personality.
Pro tips: Use a single color per card for a clean look or mix colors for a splashy garden vibe. This project scales up or down, so it’s great for a quick afternoon or a mini card-making party. The results feel delightfully handmade and totally unique. This is the kind of craft that screams autumn mail or cheerful party invites.
Who will love it: kids who adore bold textures and instant gratification, plus anyone who enjoys a little stamping magic.
2. DIY Felt Animal Magnets
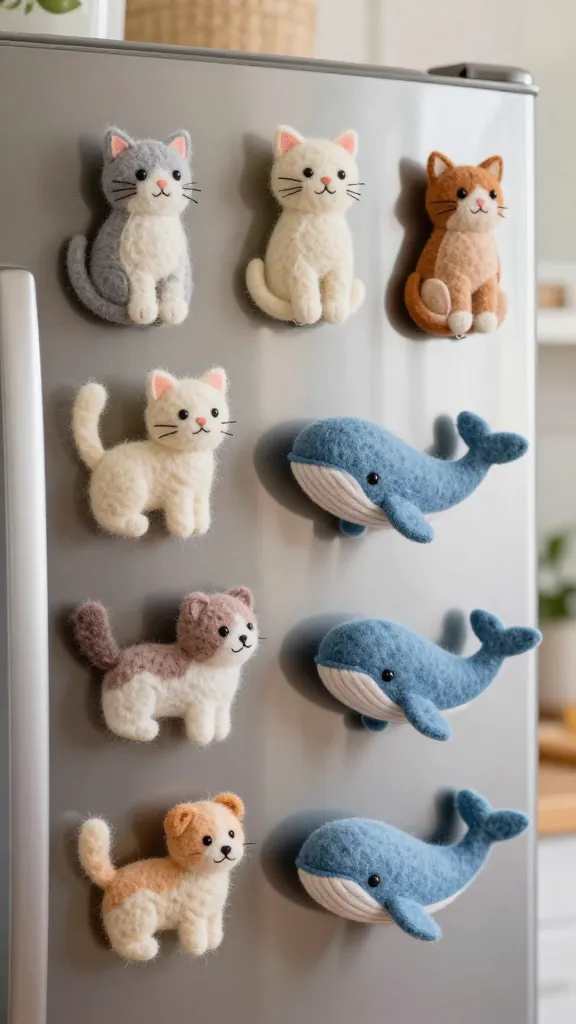
Little felt critters perched on the fridge bring whimsy to the everyday. These magnets are soft to the touch, easy to assemble, and endlessly cute. The finished set becomes a tiny menagerie that’s both decor and play incentive—perfect for preschool pretend or a classroom display.
Materials Needed
- Assorted felt sheets
- Glue stick or fabric glue
- Magnetic sheets or small magnets
- Black embroidery thread or marker for eyes
- Scissors
How to Make It
- Cut simple animal shapes (cat, dog, whale, etc.) from felt.
- Stitch or glue two layers together for a plush look, leaving a small opening to add a magnet.
- Seal the edges and attach a magnet on the back.
Pro tips: Use bright contrasting colors for a playful zoo on your fridge. Add tiny accessories like ears or fins with extra felt scraps. Your kitchen wall will suddenly feel like a mini wildlife sanctuary.
Who will love it: kids who love tiny details and making “cute” with their hands—and grown-ups who crave cheerful fridge decor.
3. Mini Banner Notebooks
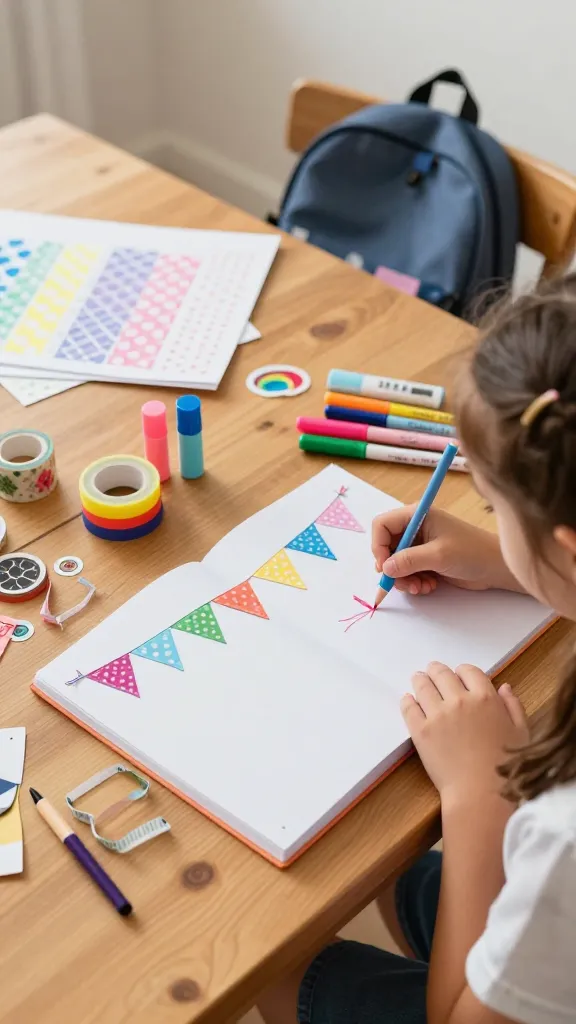
Turn plain notebooks into graphic, personalized journals with a few simple silhouettes and color pops. It’s a perfect independence project—kids can customize every page edge, title, and doodle. They’ll carry their own tiny creative empire in a backpack.
Materials Needed
- Plain notebook or notebook covers
- Patterned paper or cardstock scraps
- Double-sided tape or glue
- Pens, markers, or gel crayons
- Optional: washi tape, stickers, tiny ribbon
How to Make It
- Cut pennant-shaped banners from patterned paper to fit the cover edges.
- Adhere them to the notebook spine or cover, layering colors for a festive vibe.
- Decorate the front with the child’s name and a small motif (stars, hearts, or lightning bolts).
Pro tips: Encourage a theme—space, ocean, or forest—so the pages feel cohesive. The result is a chic, personal stationery set that’s ready for school or journaling time.
Who will love it: aspiring authors and doodlers who want a stylish, portable creative space.
4. Painted Rock Photo Holders
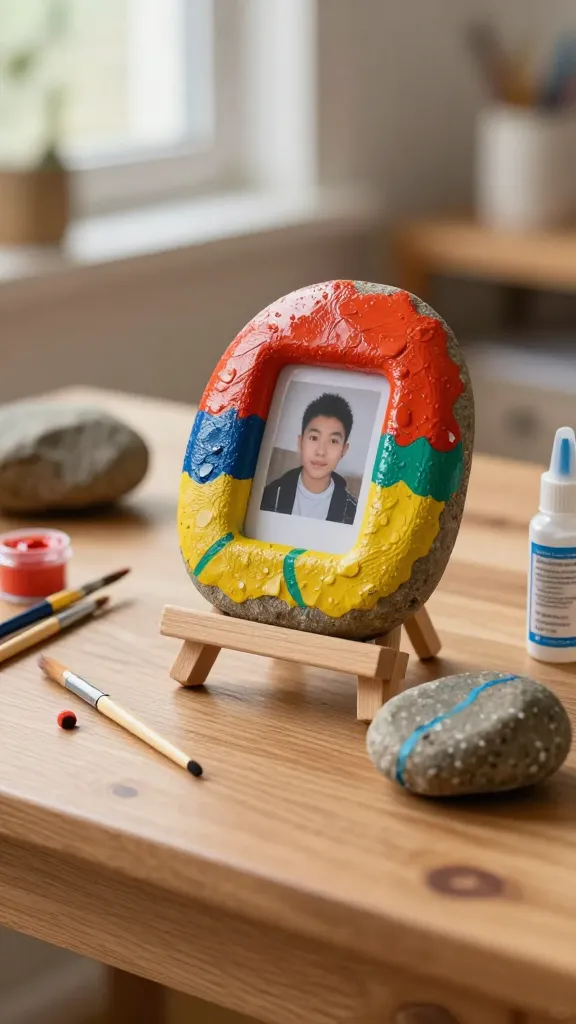
Rock art meets mini gallery—these sturdy little holders are both decor and keepsake. They’re perfect for desks, shelves, or gifting a loved one a tiny “frame” with a photo tucked inside. The finished pieces feel polished but totally handmade, a combo that kids adore.
Materials Needed
- Smooth flat rocks
- Acrylic paints and brushes
- Small wooden skewers or mini stands
- Mod Podge or clear sealant
- Printed small photos or drawings
How to Make It
- Paint the rock as a frame: a vivid background with a lighter center to showcase a photo.
- Glue a wooden stand or a skewered base to the back for display.
- Attach a tiny photo or drawing with a dab of Mod Podge for a glossy finish.
Pro tips: Coordinate colors with the room’s aesthetic—think coral and teal for a coastal vibe or candy pastels for a playful desk accessory. These hold memories in a pinch, and the sealant keeps photos vibrant for years.
Who will love it: kids who enjoy a tiny art gallery vibe and families who want meaningful, low-cost gifts.
5. Cookie-Cutter Clay Charms
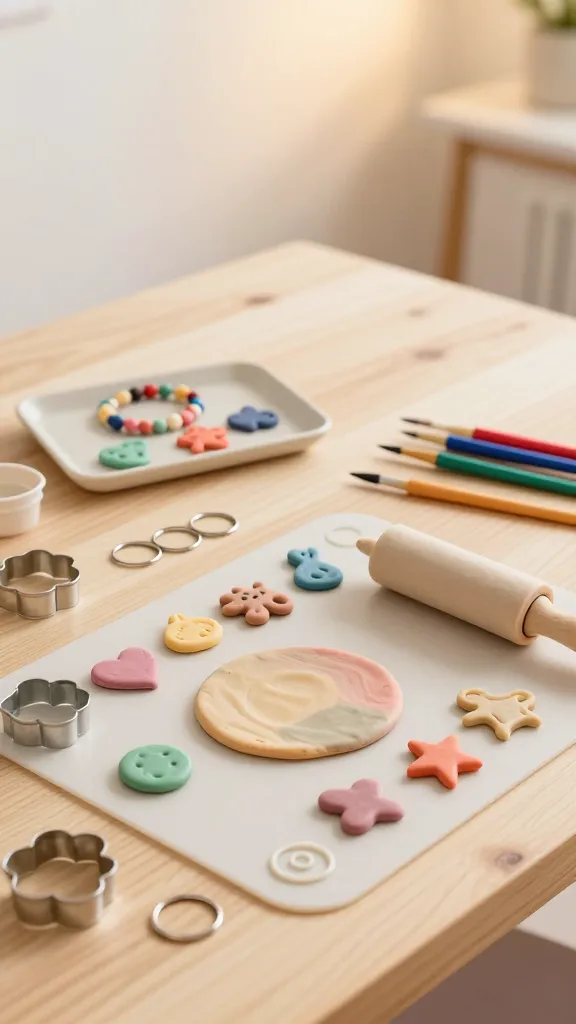
Soft clay, a kid-friendly cutter set, and a dash of color—these little charms are highly satisfying to sculpt. Bake them, string them, and you’ve got a whimsical bracelet, bookmark, or key chain. The charm kit becomes a tiny factory of creativity, ideal for stocking stuffers or party favors.
Materials Needed
- Oil-based clay or air-dry clay
- Shoot-of-color acrylic paints
- Circular or themed cookie cutters
- Jump rings and cord or ribbon
- Needle-nose pliers (for beginners)
How to Make It
- Roll clay to about a quarter-inch thick and cut shapes with cutters.
- Make a small hole at the top for hanging.
- Base coat, then add details with paint after it’s set/baked.
Pro tips: Mix in fine glitter for sparkle or stamp tiny letter initials for a personalized touch. The result is collectible, wearable art that’s as cute as a button and as satisfying as baking cookies.
Who will love it: kids who enjoy shaping, colors, and tiny accessories that feel like grown-up jewelry projects.
6. Upcycled Sock Puppets
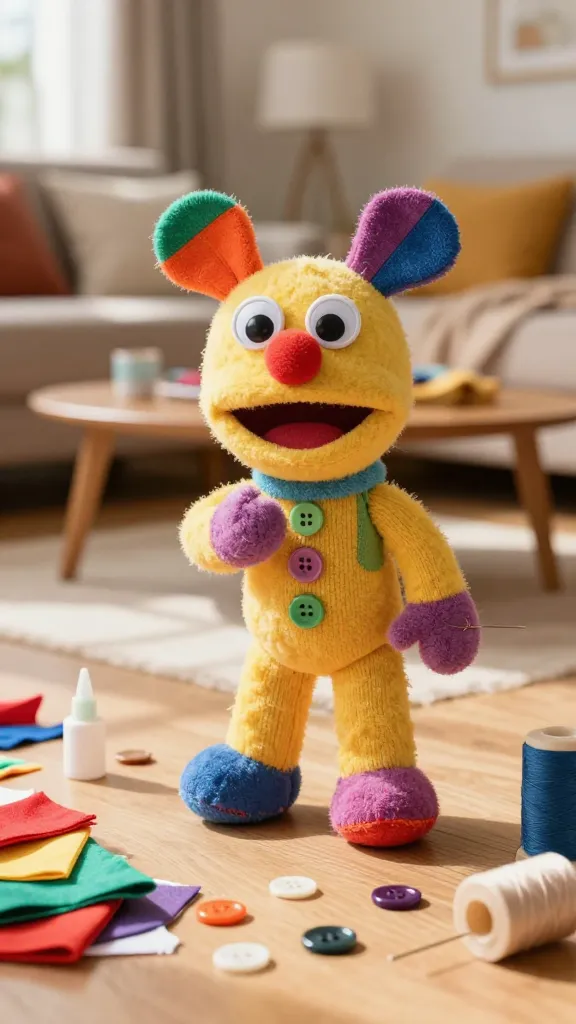
Turn ordinary socks into friendly characters that come with their own stories. These puppets are quick, funny, and encourage storytelling, which is great for language skills and confidence. The finished puppets are adorable props for pretend play and family theater nights.
Materials Needed
- Ankle socks (fun colors or patterns)
- Fabric scraps for ears, noses, and mouths
- Glue or fabric adhesive
- Googly eyes or buttons
- Needle and thread (optional for stronger seams)
How to Make It
- Flip the sock inside out and glue on features using fabric scraps and eyes.
- Turn right side out and adjust facial expressions with markers or stitched details.
- Add a simple felt mouth or whiskers to bring the character to life.
Pro tips: Let kids name their puppets and write a quick backstory for a mini show. The charm is in personality—quirky smiles, goofy eyebrows, and bright cheeks never get old.
Who will love it: kids who love improv, storytelling, and making their own little theater troupe.
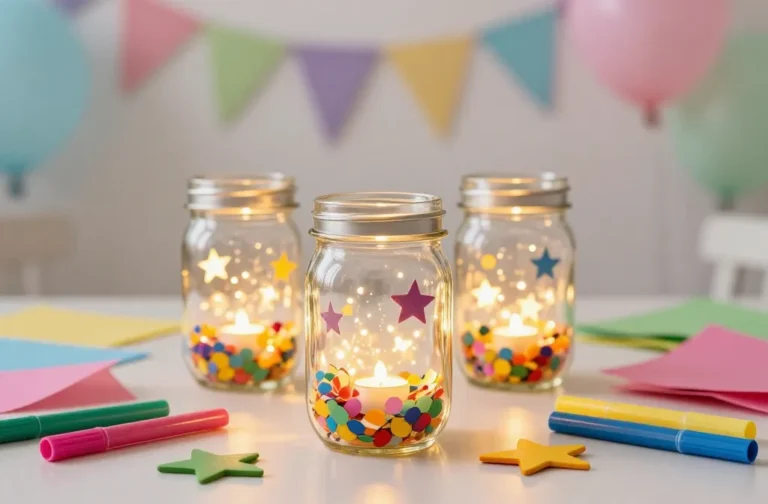
7. Simple Seed-Planting Terrariums

A tiny, self-contained garden that’s easy to care for and endlessly soothing to watch. Tiny jars, soil, and a few seeds create a micro world that teaches responsibility and patience. The result is a peaceful desktop accent that doubles as a science-bug magnet for curious minds.
Materials Needed
- Small glass jars or jars with lids
- Potting soil
- Colorful gravel or decorative stones
- Slow-growing seeds (chia, cress, or small herbs)
- Spray bottle for light misting
How to Make It
- Layer a bit of gravel for drainage, then add soil
- Plant seeds according to package direction, then lightly mist
- Seal loosely or keep jar open for air flow and watch growth
Pro tips: Label each terrarium with a cute tag so kids remember what’s planted where. The tiny landscape you create becomes an ongoing science project that’s also a sweet desk companion.
Who will love it: young botanists and anyone who enjoys a calm, mini-green retreat on their desk.
8. Papel Picado-Style Paper Garlands
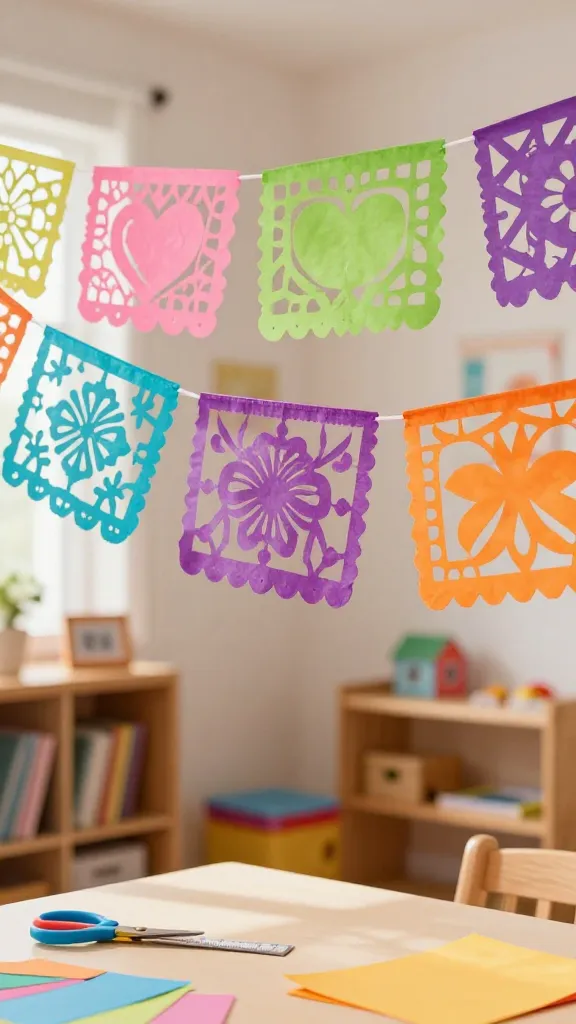
Crisp, colorful perforated paper banners that flutter with every breeze. This project blends cutting, folding, and a little math to create symmetry—great for developing fine motor skills without feeling like a chore. Hang them in a bedroom, playroom, or outdoor patio for instant festival vibes.
Materials Needed
- Colored construction paper
- Scissors (kid-safe) or craft knives supervised
- String or yarn
- Ruler and pencil
How to Make It
- Fold and cut paper into intricate, repeating shapes—think hearts, stars, and arrows.
- Open the folds to reveal a lacy pattern, then trim any rough edges.
- Attach papers to a string at regular intervals for a festive garland.
Pro tips: Start with simple shapes and gradually increase complexity as confidence grows. The result is a cheerful garland that instantly elevates any space and invites more decorating sessions. This is the kind of craft you’ll proudly photograph for social media.
Who will love it: kids who enjoy symmetry, patterns, and a little DIY theatre backdrop for pretend parades or birthday parties.
Conclusion
These 8 Fun & Independent Craft Ideas for 7 & 8-Year-Olds are designed to spark confidence, creativity, and a little personal flair. Pick one to start, or let your kiddo choose all eight and build a mini craft marathon. You’ll be amazed at how capable they feel—and how proudly they’ll display their finished masterpieces. Get crafting, and watch the spark turn into a little explosion of color and joy.