Air Dry Clay Vs. Polymer: Quick Choice Guide
Air Dry Clay vs. Polymer
You’ve probably seen both clays lounging around in craft stores, waiting to be the star of your next project. One dries on its own, the other bakes like it’s got a mini culinary career. So which path should you choose? Short answer: it depends on what you want to make and how patient you are. Let’s break it down like you’re chatting with a friend who actually knows their clay.
What they are at a glance
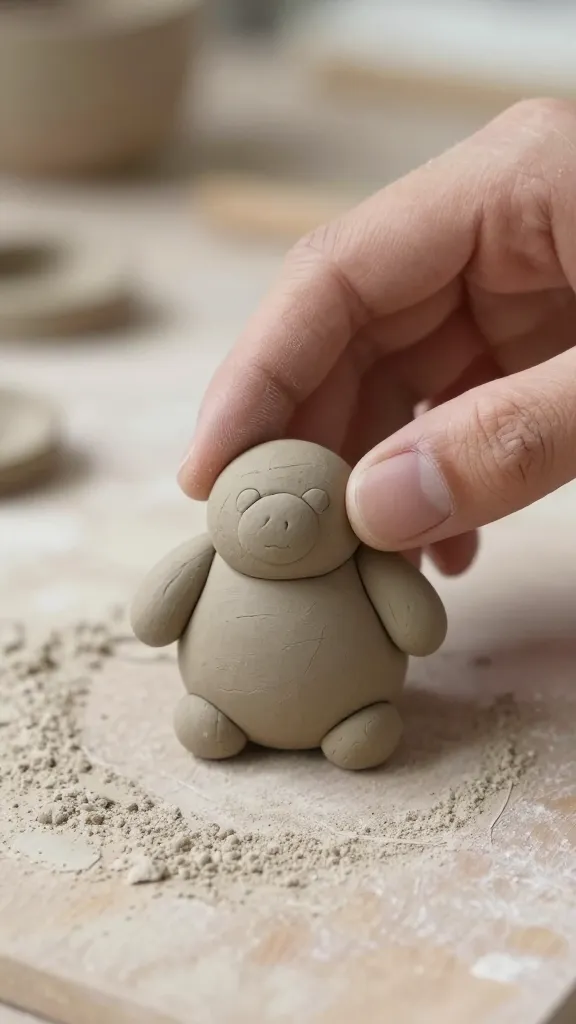
– Air dry clay hardens when the moisture leaves it. No oven, no fuss, just time and a little patience.
– Polymer clay stays soft until you bake it in a home oven, then it cures into a rock-solid finish.
ICYMI: both start as pliable, colorful doughs, both can mimic pottery, but their destinies diverge once you push them across the “dry/finish line.” FYI, polymer clay is technically a plastic-based clay, which is why it needs heat to set.
Speed, convenience, and the art of waiting
Air dry clay
– Pros: You can work on multiple pieces without firing; no heat source required; great for classroom projects and beginners.
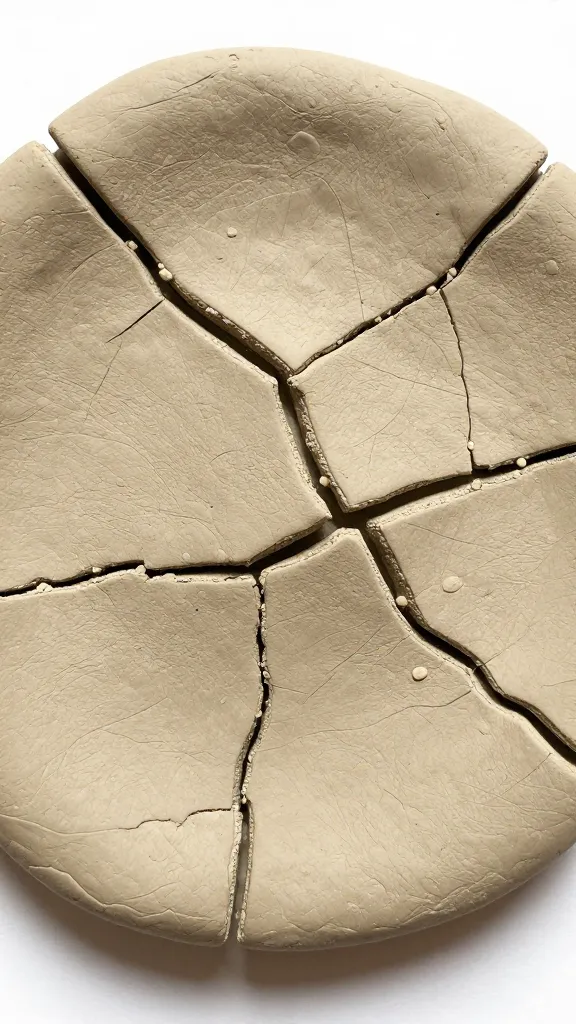
– Cons: Drying times vary a lot; humidity or thick pieces can stall your progress; edges can crack if you rush or forget to smooth.
Polymer clay
– Pros: Quick turnaround if you have a preheated oven and a timer; precise shape control with tools; sturdy finished pieces with proper curing.
– Cons: You’ll need a dedicated work environment with a reliable oven; fumes aren’t ideal if you’re sensitive (ventilation helps).
Which vibe suits you? If you’re all about spontaneous, cozy crafts on a rainy afternoon, air dry clay might be your soulmate. If you crave tiny, detailed figures that won’t crumble at the next tumble, polymer clay is your forged-in-fire friend.
Texture, detail, and the look you’re chasing
Air dry clay
– Texture: Often a bit porous; can be smoothed with water or alcohol, but finish may show fingerprints and air bubbles.
– Detail: Fine details tend to blur if you’re not careful; great for chunky beads, simple figurines, or decorative surfaces.
Polymer clay
– Texture: Smooth, waxy feel when you’re kneading; holds sharp edges and fine lines well.
– Detail: Incredible for miniatures, fine jewelry components, and tiny sculpted features. You can shave, sand, and buff for a polished look.
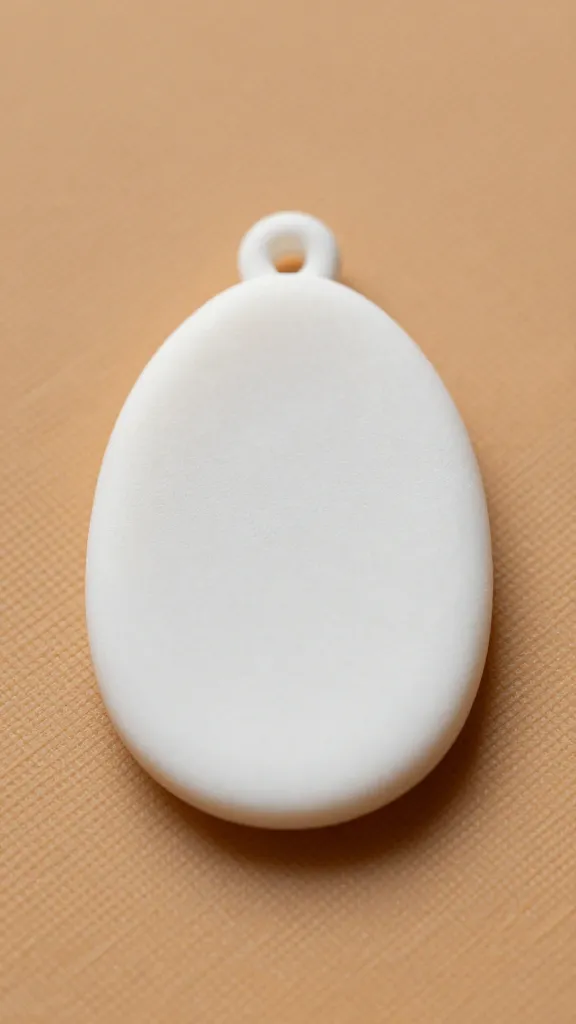
If you want a sculpture with feather-light elegance or a polymer clay bracelet with razor-thin patterns, polymer wins on precision. If you’re making a handmade coaster with a rustic vibe, air dry clay might be perfect.
Strength, durability, and how long it lasts
Air dry clay
– Pros: Feels sturdy once fully dry; easy to sand and paint.
– Cons: Can be brittle if thick or not fully dry; moisture can re-wet it, so storage matters.
Polymer clay
– Pros: Very strong after baking; resists cracking with thin, even walls; durable for jewelry and figurines.
– Cons: Overbaking can burn or discolor; overheating is a rookie mistake.
If you’re building a model you expect to handle a lot, polymer clay’s baked resilience is a major plus. For keepsakes that sit on a shelf, air dry can still be plenty sturdy when sealed and finished properly.
Finishing touches: paint, sealants, and upkeep
Air dry clay finishing
– Paint after it fully dries; use acrylics for best coverage.
– Seal with a matte or satin sealant to reduce dust absorption and boosts durability.
– Tips: Sand lightly between coats for a smoother look; avoid soaking pieces in water if you want to keep the surface pristine.
Polymer clay finishing
– Paint before or after curing, then seal for protection if you want a glossy or satin finish.
– Sand lightly after baking if you crave a glassy surface.
– Tips: Some polymer clays accept oil-based or acrylic paints differently—test a scrap piece first.
Quick pro-tip: sealing is your friend for both clays. It makes colors pop and protects from moisture and wear. FYI, if you seal air dry clay, make sure it’s completely dry to prevent trapping moisture under the sealant.
Tools, mess, and the learning curve
Air dry clay
– Tools: Basic sculpting tools, water, and patience. You can improvise with household items.
– Mess factor: Moderate. Most clays leave dust and residue; wash hands regularly.
– Learning curve: Gentle. Great for absolute beginners and kids.
Polymer clay
– Tools: Sharp blades, rolling pin, dedicated oven, and a jewelry-friendly glaze if you’re feeling fancy.
– Mess factor: Low. Mostly clean once you get the hang of it.
– Learning curve: Moderate. You’ll want to learn baking times, temperature, and ventilation to avoid fumes or burnt pieces.
If you’re the type who enjoys a ritual around clay, polymer clay happily joins your craft oven to create a satisfying baking routine. If you’d rather avoid the oven entirely, air dry clay is a friend you can toss into the project queue at any time.
Safety, storage, and long-term care
Air dry clay
– Storage: Keep in airtight containers to slow drying; re-wet as needed for malleability.
– Safety: Generally safe for kids, just supervise and avoid ingesting big mouthfuls.
Polymer clay
– Storage: Store in a cool, dry place and keep dust-free until you bake.
– Safety: Some brands include fillers or scents; check labels if you have sensitivities. Bake in a well-ventilated space.
If you’re planning a long-running project, think about where it’ll live when finished. Air dry pieces can bow with humidity, so consider a display case or humidity-controlled room. Polymer pieces usually hold their shape better but keep them away from extreme heat sources to prevent warping or discoloration.
A quick compare-and-contrast cheat sheet
- Drying vs. baking: Air dry uses moisture loss; polymer uses heat curing.
- Detail: Polymer shines with fine lines; air dry handles broad surfaces well.
- Durability: Polymer is tougher; air dry is sturdy with seals but softer to heavy handling.
- Projects: Air dry for big, simple shapes; polymer for tiny, detailed, or wearable pieces.
Choosing the right path for your project
Ask yourself:
– Do you want a fast, no-fuss project, or do you love the ritual of baking and finishing?
– Will your piece be handled a lot or sit on a shelf?
– Do you need fine detail, or are you chasing a chunky, rustic vibe?
If you answered “fast and simple,” reach for air dry clay. If you crave control, durability, and detailed miniatures, polymer clay is your pick. And hey, you can actually combine them in a single project—start with air dry for the form, add polymer components for intricate accents, and seal everything for a cohesive finish. It’s like a craft crossover episode.
Conclusion
Air dry clay and polymer clay each bring their own flavor to the craft table. One gives you the ease of no-bake confidence, the other rewards patience with crisp details and durable results. IMO, the best approach is to experiment with both. You never know when you’ll fall into a perfect hybrid project that satisfies your inner artist and your clutter-loving, time-saving side.
FAQ
Can I bake air dry clay to speed up hardening?
Air dry clay relies on moisture leaving the material. Baking it in an oven won’t speed up drying in the way you’d expect, and it can cause cracking or warping. Stick to air drying, or switch to polymer clay if you want a quick bake.
Is polymer clay safe for kids to use?
Most polymer clays are non-toxic when baked according to instructions, but they aren’t edible. Keep kids supervised, bake in a well-ventilated area, and use dedicated tools to avoid food contamination.
Which is cheaper in the long run?
Air dry clay typically costs less upfront and doesn’t require a dedicated oven, so it can be cheaper for occasional crafters. Polymer clay can be more cost-effective for high-detail work and durable pieces, but you’ll pay for the baking process and materials.
Can I paint and seal air dry clay?
Yes. Use acrylic paints and a sealant to protect and finish. Let the clay dry completely first, then seal to minimize dust absorption and improve longevity.
What about sanding—how do I get a smooth finish?
Air dry clay sands well with fine-grit sandpaper after it’s fully dry. For polymer clay, you can sand after baking and buff for a glossy finish. Either way, wipe away dust and test any sealants on a scrap piece first.