How to Waterproof Paper Crafts: Quick, Simple Tips to Protect Art
Sure thing—let’s get your paper crafts stormproofed without turning it into a science lecture. You’ll be surprised how simple good sealing can be, and how many projects survive a spill if you pick the right method. Ready to waterproof your masterpieces? Let’s dive in.
Why waterproofing paper crafts matters (and what it actually does)
Ever spent hours on a papercraft only to watch a rain shower, a splash, or sweaty hands ruin it? Waterproofing isn’t magic; it’s a practical shield. It helps protect colors from running, keeps glue from softening, and preventsざzeal messes from turning your art into mush. FYI, the goal isn’t to turn paper into plastic—just to add a breathable, water-resistant layer that lets you display or handle your piece with confidence.
Choose your weapon: coatings and sealants that actually work
There are more options than you might think. Some are clear, some add a sheen, and some are meant for specific finishes. Here’s the quick spin:
- Acrylic varnish (water-based): Easy to use, dries clear, and adds a nice tough shell without turning paper brittle. Great for most crafts.
- Mod Podge or PVA glue sealers: Acts as both glue and sealant. Layer lightly and let it cure. Handy for decoupage projects.
- Spray sealants (acrylic or polyurethane): Fast, even coats, but spray in a well-ventilated area. Danger: overspray can smudge delicate ink.
- Wax (pencil or beeswax): Gives a soft, matte finish and a touch of stiffness. Best for vintage looks, not heavy rain protection.
- Waterproof clear coats for paper: Specifically formulated for paper crafts—think layered protection with better flexibility.
Prep like a pro: clean, dry, happy surfaces
Before you whisk on any coating, do this quick prep or you’ll regret it:
- Make sure the surface is clean and completely dry. No fingerprints, no dust bunnies, no glitter chaos from last project.
- Flatten any warps. If your paper curled during painting, press it under a stack of books for a day or two.
- Test first. Pick a corner or a scrap and coat it to see if inks smear or colors bleed.
Method 1: spray sealants—fast, clean, satisfying
Spray sealants are a lifesaver for big projects or when you want a crisp, even finish. Here’s how to nail it:
- Work in a well-ventilated space. Open a window, or go outside if you can—your lungs will thank you.
- Shake well, then apply in several light passes rather than one heavy coat. Think zebra stripes, not paint can drench.
- Keep the can 6–12 inches away from the surface. Too close = drips; too far = uneven coverage.
- Let it dry fully between coats. Time varies by product; FYI, patience pays here.
Quick tip: matte vs. gloss
– Matte looks more natural on vintage-y pieces and reduces glare.
– Gloss makes colors pop and gives a durable surface, but can highlight flaws. Pick based on the vibe you want.
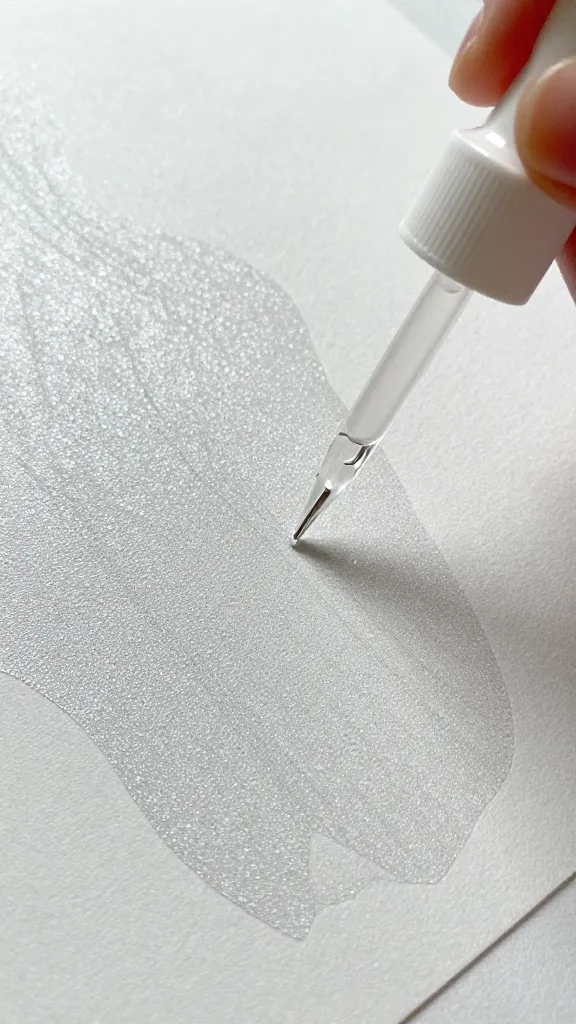
Method 2: brush-on coatings for precision and texture
If you’ve got a tiny project or you want to build texture, brush-on is your friend. It’s slower, but controllable.
- Use a soft brush for even strokes and to avoid rough brush marks on delicate paper.
- Apply thin, even layers. Two light coats beat one heavy one every time.
- Watch for bubbles—gentle brushing helps prevent them.
Layering for extra stubborn pieces
– For projects that meet moisture often (like a card in a shaded garden), add a second protective layer once the first is fully dry.
– If you’re going for a glossy finish, a final thin gloss coat can enhance color depth without making the surface feel slick.
Method 3: apply a combined approach for longevity
Some crafts benefit from a combo: a glue-based sealant to lock pieces, followed by a topcoat for moisture resistance.
- Adhere pieces with a light PVA glue, then seal with a matte spray for a non-sticky feel.
- For decoupage, seal the surface after each layer to keep the underlying images vibrant and intact.
- Always let each layer cure completely before adding the next one.
Common mistakes and how to avoid them
Even pros trip up sometimes. Here are the big ones and how to dodge them:
- Over-saturating with glue or sealant: makes paper soggy and weak. Light coats win every time.
- Skipping a dry test: colors can smear or ink bleed can ruin your design. Test on a scrap first, always.
- Ignoring heat and humidity: it can warp or peel. Aim for a calm, dry day or a controlled indoor space.
Care tips after you seal
Sealants don’t turn your piece into invincible invulnerability, but they do help with daily life.
- Avoid rubbing too hard on corners; a light touch keeps the finish intact.
- Store flat or in a protective sleeve to prevent scuffs. Think of it like a poster, but cuter.
- Display away from direct sunlight to slow down color fading and coating yellowing. Your colors will thank you later.
Thinking beyond the basics: fun texture and color effects
Want to play with finishes beyond plain? Try these safe, crafty options:
- Add a tiny amount of resin-like gloss overlay for a glassy surface on small accents. Use sparingly; resin can get messy.
- Try a wax topcoat for a vintage, tactile feel. It ages gracefully and doesn’t feel plasticky.
- Experiment with tinted sealants for subtle color shifts. Keep it subtle unless you’re aiming for bold vibes.
Conclusion
Waterproofing your paper crafts doesn’t have to be intimidating. With the right product, a bit of prep, and a couple of smart application steps, your creations stay vivid and intact longer than you’d think. IMO, it’s the small investment that pays off big time when you’re hauling projects to markets, shows, or just leaving a card on the kitchen table without fear of a spill.
FAQ
Is it really necessary to seal all paper crafts?
Not every piece needs sealing, but if you plan to handle, display outdoors, or store where moisture might sneak in, sealing adds durability. For purely decorative, non-handled pieces, you can skip it or choose a light protective layer to keep colors crisp.
What’s the best sealant for beginners?
A clear, water-based acrylic varnish is the easiest starting point. It dries clear, is forgiving, and you can add thin coats without much risk. If you’re doing decoupage, Mod Podge works well too—but test first so you don’t end up with a sticky surprise.
Can I seal inkjet printed paper without smudging the ink?
Yes, but test first. Water-based sprays can cause some inks to feather if they’re not fast-drying. Consider a quick, light coat from a distance or using a sealant specifically labeled compatible with inkjet prints.
How many coats should I apply?
Start with 2–3 light coats, letting each dry fully between applications. More coats can improve water resistance, but you’ll risk warping or a plastic-y feel if you go overboard.
Do I need different sealants for matte vs. glossy finishes?
Yes. Matte coats reduce glare and preserve a soft look; gloss coats deepen color and add shine. You can also combine: a matte base with a thin gloss topcoat for a controlled, polished finish.
Where should I store sealed paper crafts?
Store flat in a cool, dry place away from direct sunlight. If you must stack, use protective sheets between pieces to prevent sticking or scratches.
If you want, tell me about the exact project you’re sealing (card, scrapbook page, small sculpture), and I’ll tailor a step-by-step plan with product suggestions just for you.