10 Toilet Paper Roll Crafts for Teens
Ready for a craft session that’s budget-friendly and totally Instagram-worthy? These 10 Toilet Paper Roll Crafts for Teens prove you don’t need fancy materials to make standout pieces. Trust me—these ideas are cute, quick, and seriously addicting.
1. Neon Wall Mondrian Panels
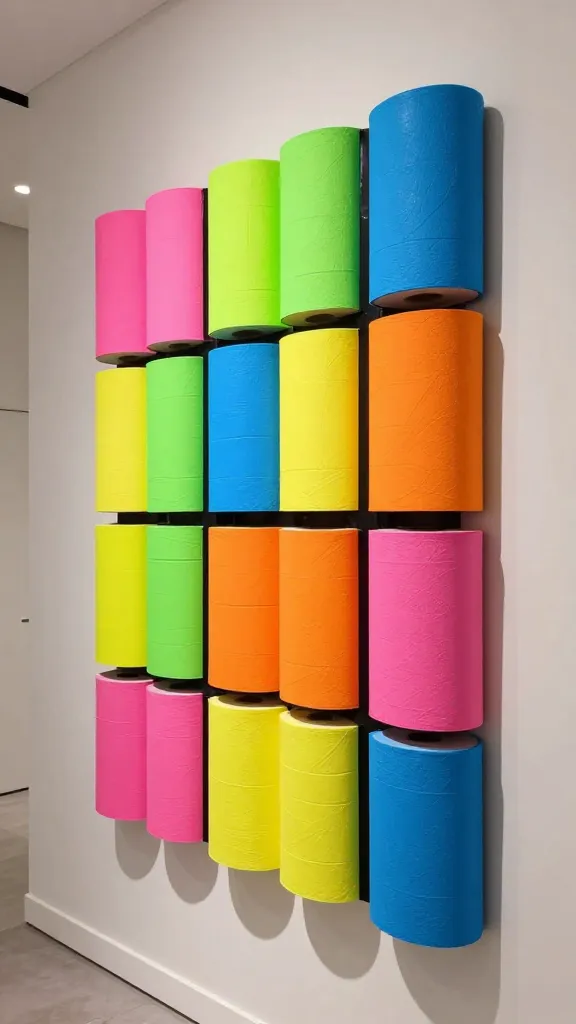
Imagine a bold, geometric wall collage that screams modern art, all made from humble rolls. The finished panels glow with color and attitude, turning a bland hallway into a gallery vibe. You’ll love how easy it is to customize to your space.
Materials Needed
- Cardboard frame or canvas
- Toilet paper rolls, cut into rectangles
- Acrylic paints (neon colors)
- Painter’s tape
- Mod Podge or clear acrylic sealer
How to Make It
- Paint assorted roll pieces in bright neon shades and let dry.
- Arrange on the canvas in a grid, using painter’s tape to keep lines sharp.
- Glue pieces down, then seal with a light coat of Mod Podge.
Pro Tips
- Play with scale—vary widths for dynamic rhythm.
- Hang as a set or split into three modular panels for flexibility.
Who will love this? Teens who love bold color blocks and modern decor, especially for dorm rooms or shared spaces.
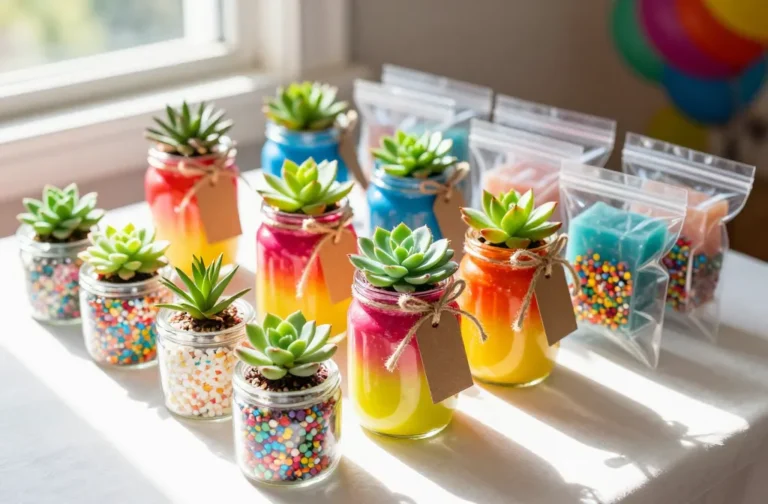
2. Mini Planter Buds: Cheery Duo Planters
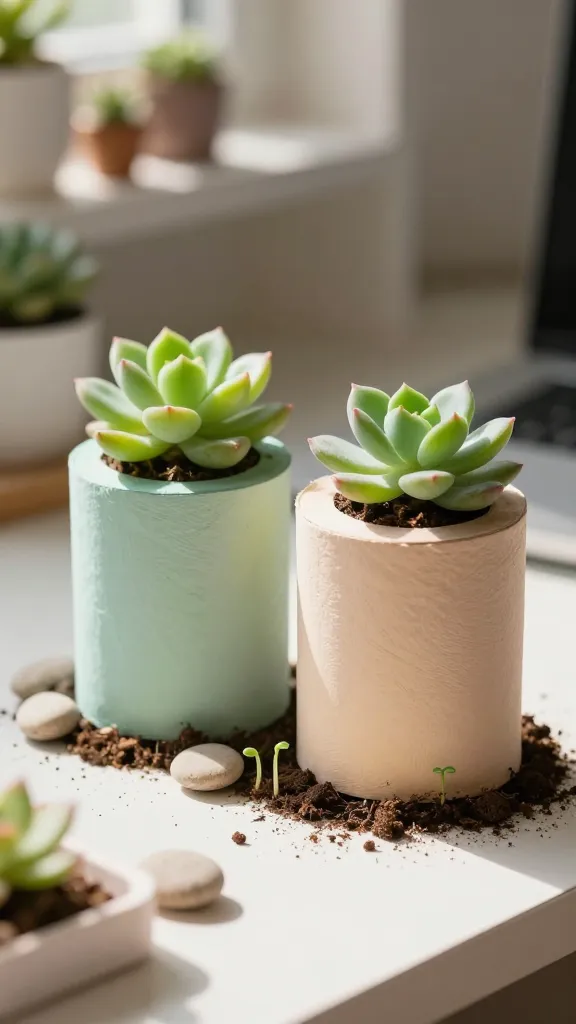
A pair of tiny planters carved from rolls makes green-thumb goals feel achievable in a snap. They’re quirky, cute, and perfect for small succulents or air plants. Seriously adorable for desk shelves.
Materials Needed
- Two toilet paper rolls
- Acrylic or spray paint
- Small stones or gravel
- Potting soil and tiny plants (succulents work well)
- Hot glue (optional for added stability)
How to Make It
- Cut the rolls to desired height and paint in complementary colors.
- Line the bottom with a bit of stones for drainage, add soil, and plant.
- Glue the two planters together in a cute facing-pose if you want a “buds” vibe.
Pro Tips
- Use metallic accents for a chic look; add tiny faces with a marker for whimsy.
- Place on a sunny windowsill or a desk for a pop of greenery.
Who would love this? Plant lovers who crave tiny, lovable decor pieces for desk or windowsills.
3. Tassel-Top Pencil Cup Creatures
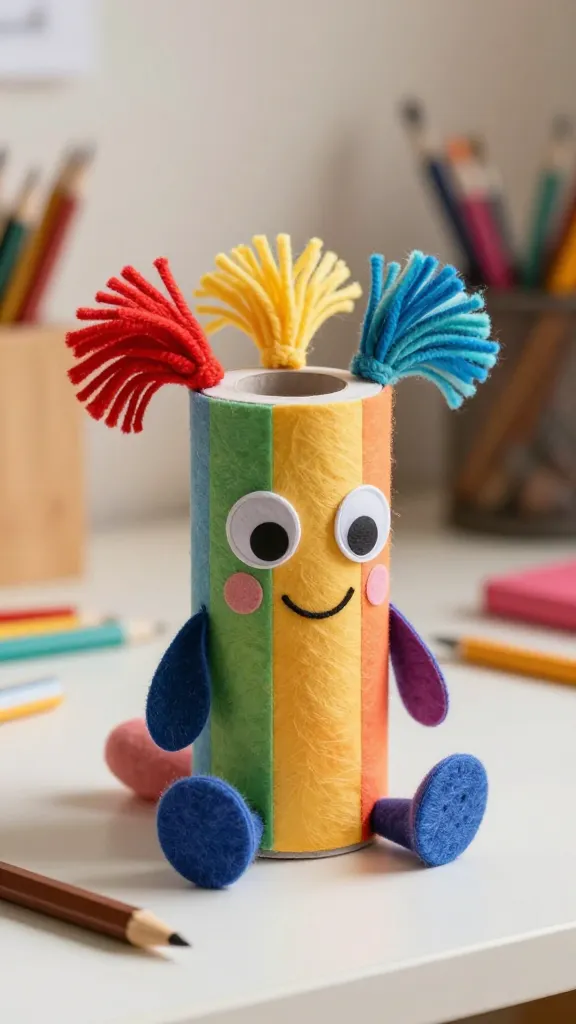
Turn ordinary desk organization into a playful throne for your pens. These little creature pencil cups bring personality to any study space and double as fun desk mascots. You’ll grin every time you reach for a pen.
Materials Needed
- Toilet paper rolls
- Colored paper, felt, or foam for ears and faces
- Googly eyes or markers
- Yarn for fringe tassels
- Glue gun or strong craft glue
How to Make It
- Wrap the rolls in colorful paper and glue on felt pieces to craft ears and faces.
- Attach tassels to the open ends to create a quirky “tassel-top.”
- Add eyes and a smile with markers or stickers for character.
Pro Tips
- Mix different color combinations for a cute forest of desk pals.
- Use as a gift idea for a friend who loves cute stationery.
Who will love this? Teens who adore cute, functional decor with a dash of whimsy.
4. Stackable Stack-Sculpture Orbs
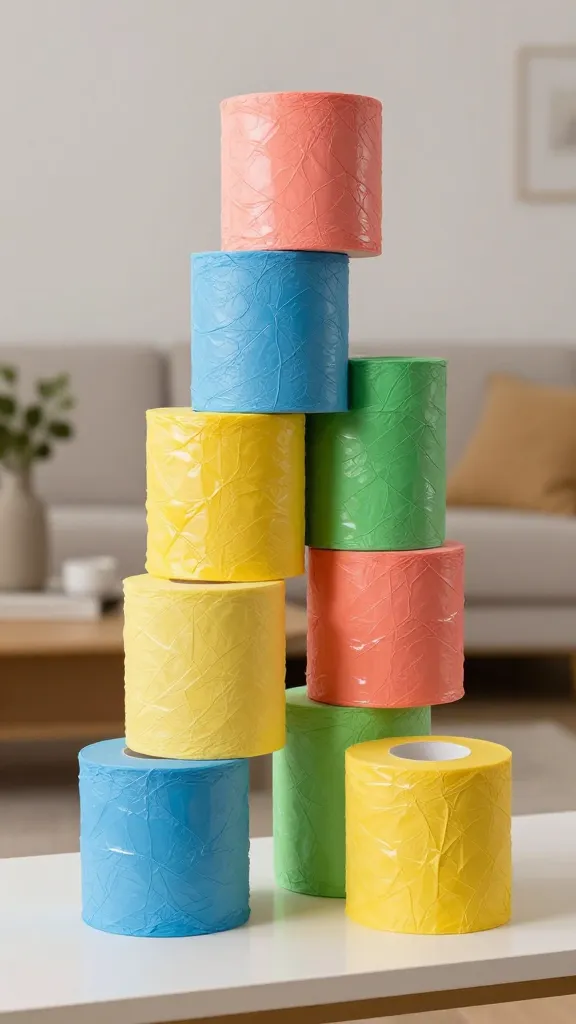
Turn plain rolls into a gravity-defying sculpture you can stack and display. A few strategic cuts and colorful wraps create an eye-catching centerpiece vibe for a shelf or coffee table. You’ll impress not just with the look but the DIY bragging rights.
Materials Needed
- Several toilet paper rolls
- Craft paint or glossy spray paint
- Strong glue or hot glue
- String lights (optional)
How to Make It
- Cut rolls into varying lengths and paint in complementary hues.
- Stack and glue in a pyramid-like formation, creating hollow spaces between pieces for visual drama.
- Wrap a string of lights around the sculpture for a glowing touch at night.
Pro Tips
- Experiment with metallic paints for a chic, modern finish.
- Place on a mirrored tray to amplify color and depth.
Who would love this? Teens who want a showpiece that’s both artful and functional for a living room or bedroom nook.
5. Paper Lanterns With a Twist
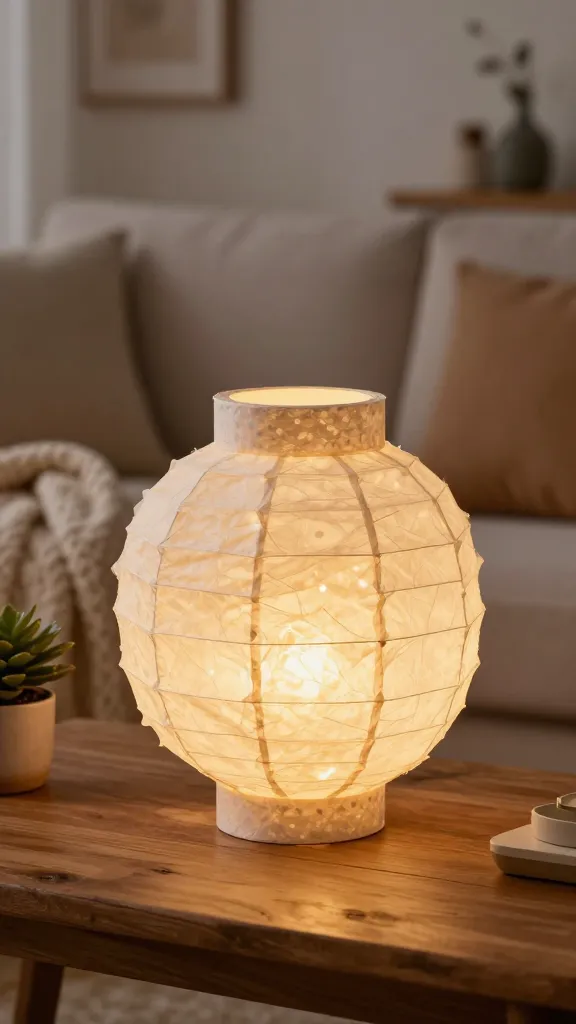
Twist up the classic paper lantern by crafting panels from toilet paper rolls. The result is a lightweight light fixture or decor piece that looks fancy without the fuss. A bright idea that brings cozy ambiance anytime.
Materials Needed
- Toilet paper rolls
- Parchment or lightweight translucent paper
- LED fairy lights
- Decorative washi tape or paint
- Ribbon for hanging
How to Make It
- Cut and glue triangular panels from the rolls onto the lantern shape.
- Wrap with translucent paper and decorate with tape or paint.
- Place LED lights inside and hang with a ribbon.
Pro Tips
- Use pastel tones for a soft, dreamy look or neon accents for party vibes.
- Great for dorm room ceilings or outdoor summer nights.
Who would love this? Teens who enjoy soft lighting, cozy vibes, and DIY home decor that doubles as party flair.
6. Cozy Cable Knit Ornaments
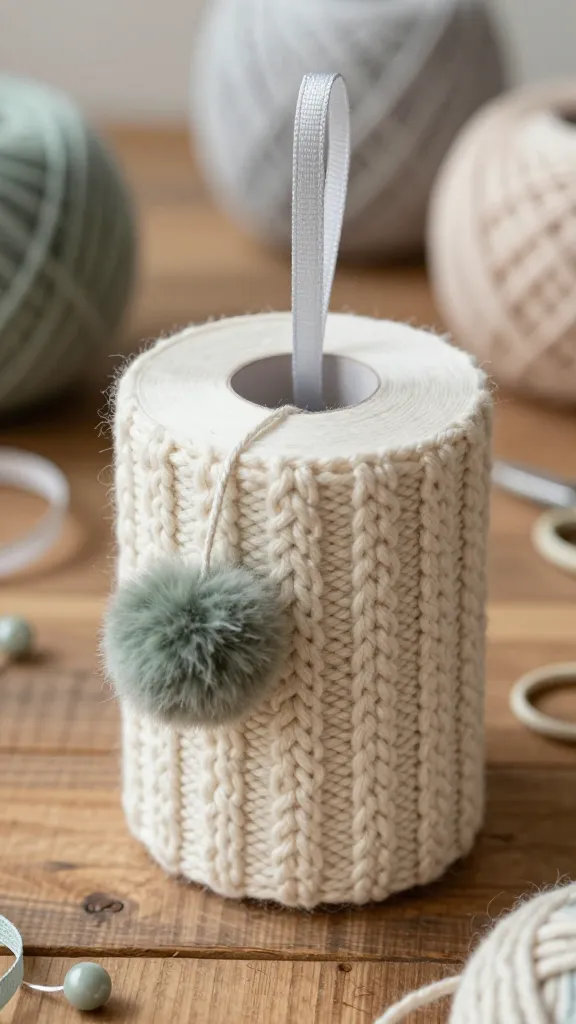
Get a cozy, handmade feel by turning rolls into fluffy cable-knit ornaments. They’re perfect as decor, backpack accessories, or lightweight Christmas ornaments. Yes, you can get that snug-chic texture without knitting needles.
Materials Needed
- Toilet paper rolls
- Yarn in assorted colors
- Mini felt pom-poms or beads
- Glue
- Ribbon for hanging
How to Make It
- Wrap the roll with yarn in a tight, even pattern to resemble cable knitting.
- Secure ends and decorate with a pom-pom or bead embellishment.
- Attach a loop of ribbon for hanging on a tree or wall hook.
Pro Tips
- Switch colors seasonally—winter whites with silver, or autumn oranges and browns.
- Combine several in a garland for a cozy display.
Who would love this? Teens who crave soft textures and warm, crafty vibes without complex knitting projects.
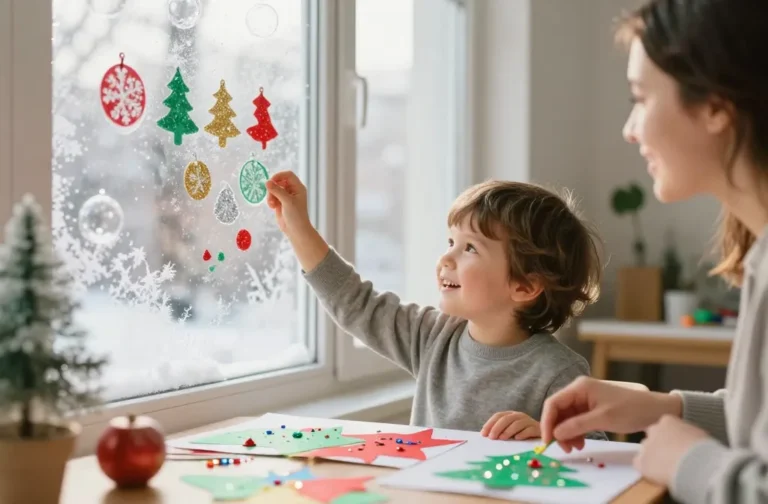
7. Dreamscape Window Clings
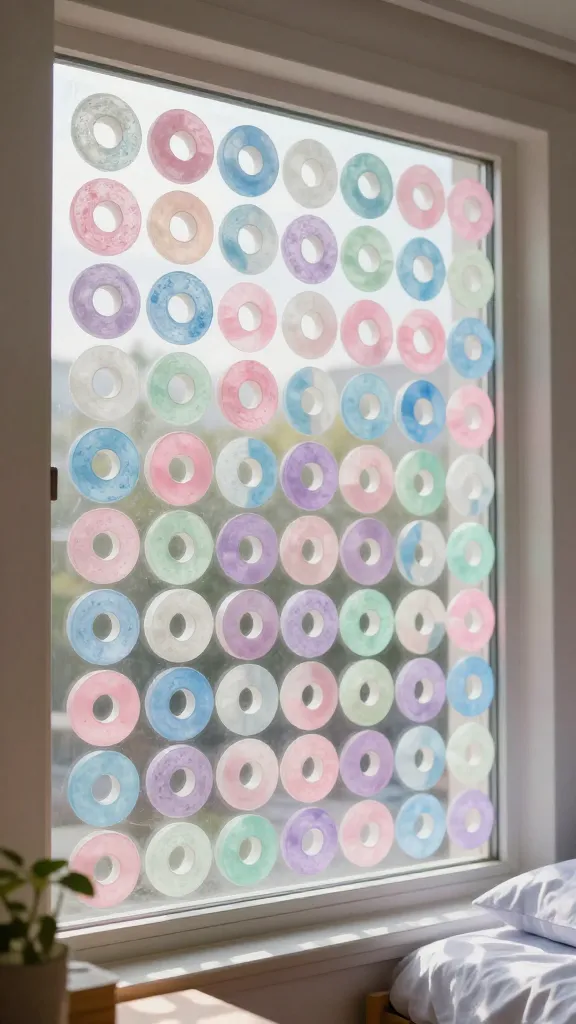
Turn empty windows into a dreamy collage of shapes using cutout rolls as stencils. This is a playful way to craft removable decor for a dorm window or bedroom. The result is whimsical, airy, and totally unique.
Materials Needed
- Toilet paper rolls
- Clear contact paper or window-safe vinyl
- Acrylic paints or markers
- Scissors and craft knife
How to Make It
- Cut the rolls into rings and arrange on contact paper as a stencil mosaic.
- Paint or color the rings, then press onto a window with the sticky side down.
- Seal edges and trim excess for a clean look.
Pro Tips
- Use translucent paints for a stained-glass effect.
- Change it up with seasons or moods—easy to update.
Who would love this? Teens who enjoy wall-to-window art and a playful, ever-changing display.
8. Puzzle Piece Coasters
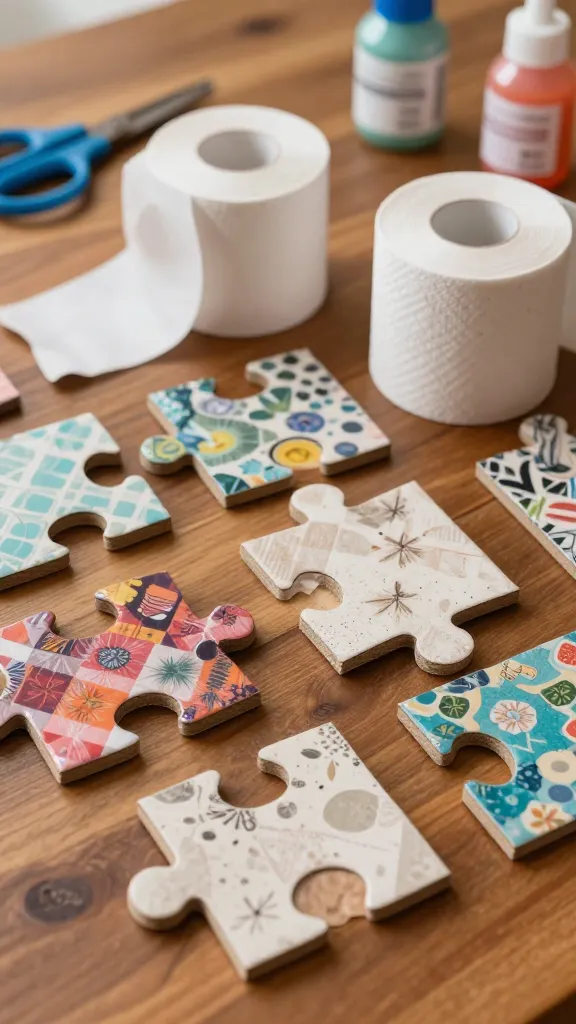
Rolls become stylish, conversation-starting coasters when you cut them into puzzle shapes. The finished set protects surfaces with flair and creates a quirky tabletop story. These are surprisingly easy to customize with color and texture.
Materials Needed
- Toilet paper rolls
- Cardboard or cork backing
- Decorative papers, paints, or decoupage materials
- Gloss sealant
- Scissors or craft knife
How to Make It
- Flatten rolls and cut into rounded puzzle-piece shapes.
- Glue onto the backing and decorate with color patterns.
- Seal with a water-based gloss for durability.
Pro Tips
- Coordinate with a matching placemat for a set look.
- Seasonal patterns—fun for gift-giving or dorm room accents.
Who would love this? Teenvengers who love clever, functional decor and a bit of puzzly charm.
9. Floating Flower Cylinders
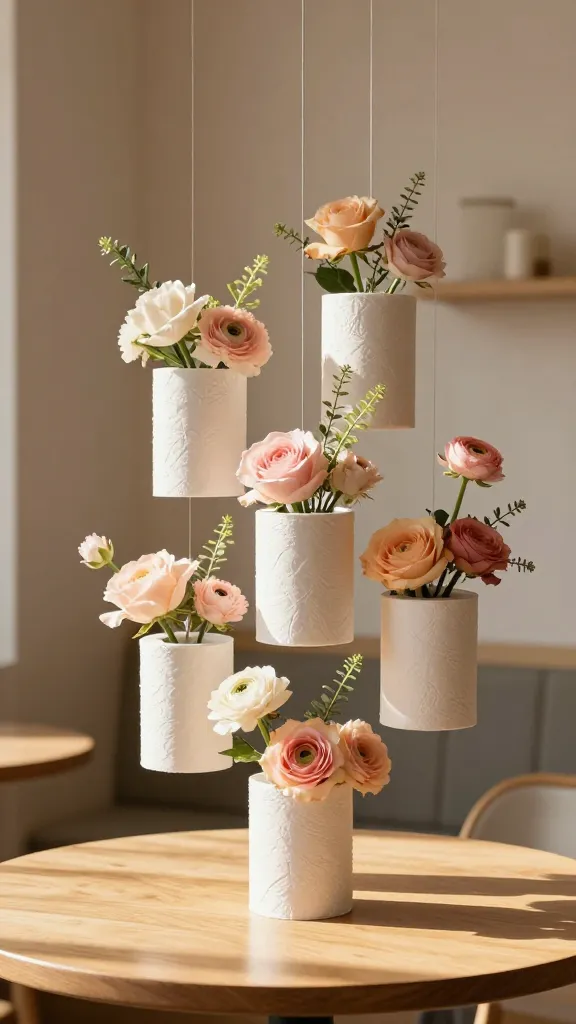
Delicate, airy faux floral arrangements rise from simple cylinders made of rolls. This is a light, budget-friendly centerpiece that feels elegant enough for a cafe-style vibe at home. It’s the kind of decor you’ll want to photograph for an aesthetic feed.
Materials Needed
- Toilet paper rolls
- Floral foam or Styrofoam balls
- Artificial flowers and greenery
- Hot glue or craft glue
- Clear fishing line or invisible thread
How to Make It
- Stack rolls to form hollow cylinders and secure with glue.
- Fill with floral foam topped with a bouquet of faux florals.
- Use thread to suspend the arrangement, giving a floating look.
Pro Tips
- Experiment with varying heights for a tiered effect.
- Swap in seasonal florals to keep it fresh.
Who would love this? Teens looking for chic, light decor that’s easy to customize and photograph for socials.
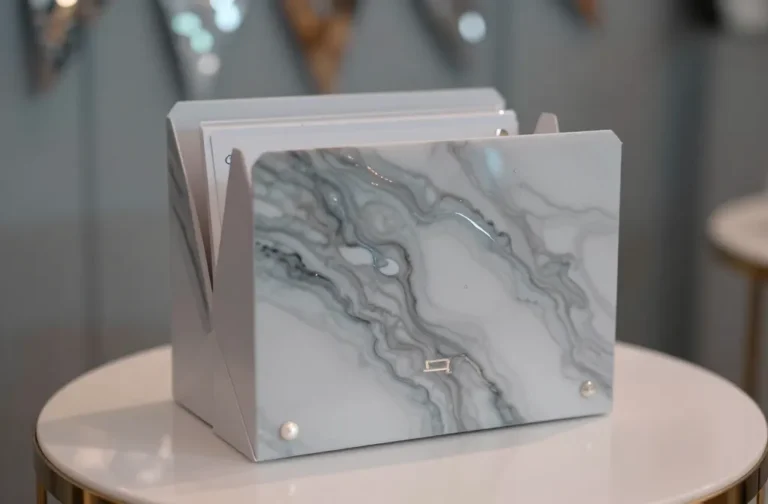
10. Hidden Message Shadow Boxes
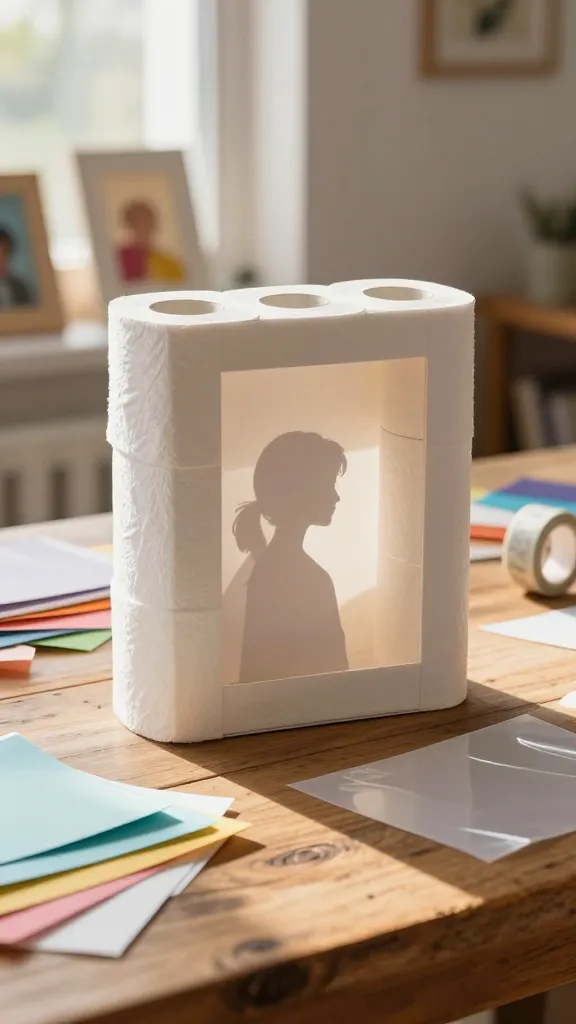
Turn a set of rolls into a clever mini shadow box that reveals a hidden message when light hits through. It’s interactive, quirky, and surprisingly quick to assemble. A little mystery on your wall—or a gift that sparks a smile.
Materials Needed
- Toilet paper rolls
- Cardboard or foam core for the back
- Colored paper, washi tape, or fabric scraps
- Transparent sheet or clear plastic (optional)
- Light source or sunny spot for shading effect
How to Make It
- Cut slots in the rolls to create a layered, stacked look and arrange them on the backboard.
- Decorate each piece with colors and textures to form a message when viewed from the front.
- Position near a light source to let the hidden message reveal itself as the light shifts.
Pro Tips
- Make a friend’s name as the secret message for a personalized gift.
- Use metallic papers for a subtle glow when sunlight hits.
Who would love this? Teens who enjoy clever home accents and little DIY puzzles to brighten a room.
Conclusion: Ready to dive in? These 10 Toilet Paper Roll Crafts for Teens prove that tiny tubes can spark big creativity. Pick one (or all) and start crafting—your space, photos, and newly discovered crafty skills will thank you.