13 Craft Ideas Birthday Gifts for Beginners: Quick Wins
Ready to become the gift-giving hero your friends brag about? These 13 craft ideas birthday gifts for beginners are goofy-cheesy-elegant, totally doable, and guaranteed to brighten any celebration. Trust me, you don’t need fancy tools or a workshop—just a little creativity and a splash of your own personality.
Whether you’re gifting a bestie, family member, or coworker, these projects are designed for quick wins and big smiles. Let’s dive in and start crafting something memorable today!
1. Personalized Linen Tote Bag with Whimsical Stamps

Picture a soft canvas tote, proudly displaying a hand-stamped pattern and a cheeky message. This tote becomes a go-to for groceries, library trips, or weekend errand runs. It’s chic, practical, and delightfully beginner-friendly.
Materials Needed
- Plain linen tote bag
- Stamping ink or fabric ink pads
- Custom stamps or simple homemade stamps (foam, eraser-carved, or pre-made)
- Waterproof sealant spray (optional)
How to Make It
- Stamp a repeating pattern or a single bold motif across the front of the bag.
- Let dry, then seal with a light spray if you want extra durability.
- Optionally add a short name or quirky quote for a personal touch.
Pro Tips / Styling Ideas
- Choose colors that match the recipient’s vibe—earthy tones for chic minimalists, bright pops for playful friends.
- Pair with a small plant or a set of chambray tassels for a ready-to-use gift combo.
Who will love it?
Ace for: university students, busy friends, or anyone who loves carrying a little art everywhere they go.
2. Handmade Photo Coaster Set in Resin with Favorite Moments
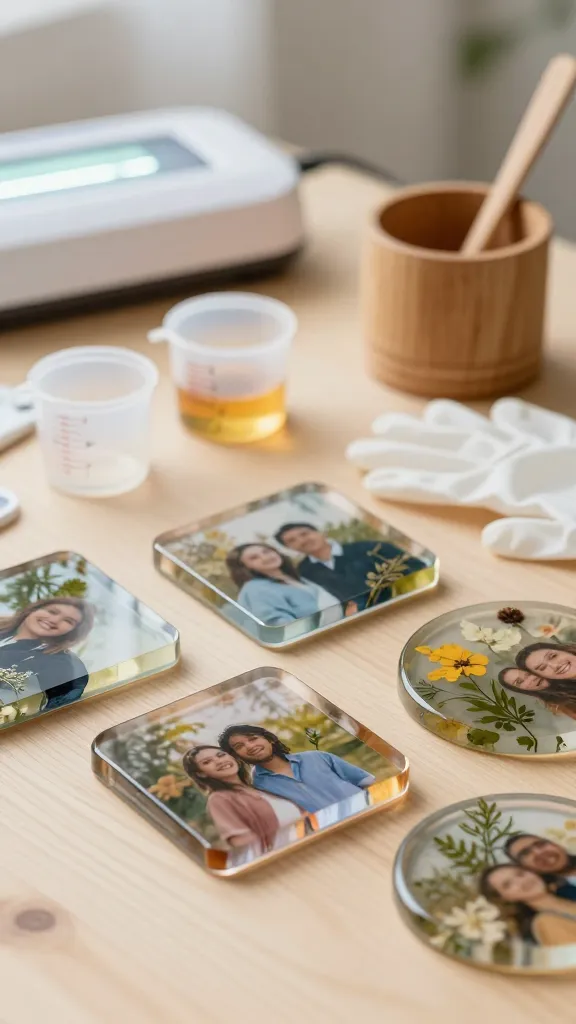
Imagine a set of coasters that are basically tiny time capsules. They protect surfaces and hold memories all in one glossy, table-ready package. Beginner-friendly resin crafting with a personal twist makes this a standout gift.
Materials Needed
- Epoxy resin kit (with measuring cups and gloves)
- Round or square coaster molds
- Printed mini photos or pressed botanicals
- Mixing sticks and a UV lamp or curing space
How to Make It
- Cut and arrange photos or botanicals in each mold.
- Mix resin according to package directions, pour into molds, and remove bubbles.
- Let cure completely, then sand and finish edges.
Pro Tips / Styling Ideas
- Seal with a protective top coat for long-lasting shine.
- Pick a cohesive color theme for all four coasters to create a set that feels curated.
Who will love it?
Perfect for newlyweds, grandparents who adore photos, or anyone who loves a good coffee-and-chat session.
3. DIY Beaded Bookmarks with a Pop of Personality
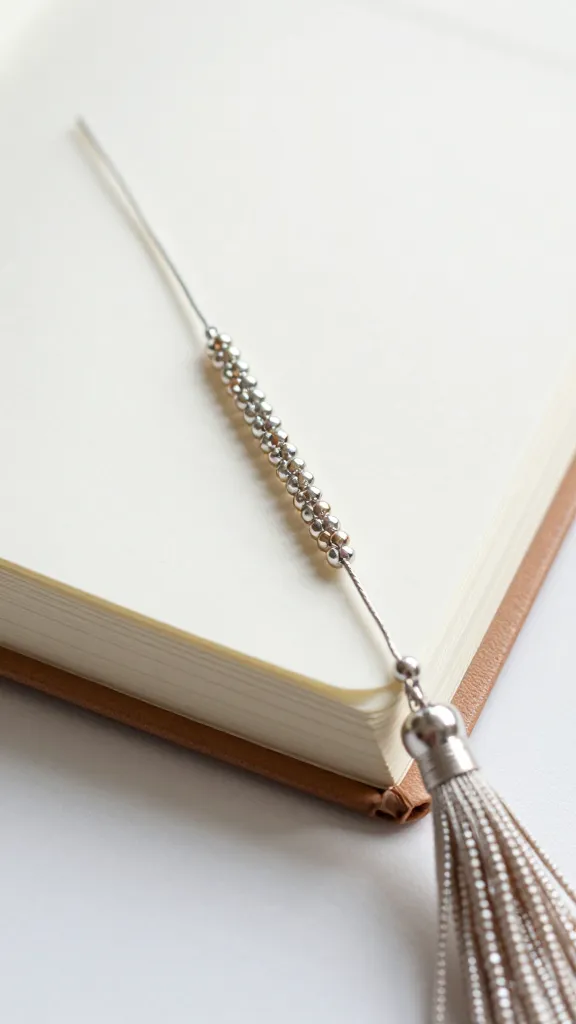
A bookmark that doubles as a tiny sculpture—how could you resist? This project looks gorgeously intricate but remains wonderfully beginner-friendly.
Materials Needed
- Leather or fabric tassels
- Delicate bead strands or metallic beads
- Strong jewelry wire or fishing line
- Scissors and pliers
How to Make It
- Thread beads onto wire to create a short beaded segment.
- Attach the beaded piece to one end of the tassel and secure with a knot.
- Slip through the page corner and keep a steady hand for a clean finish.
Pro Tips / Styling Ideas
- Use color schemes that align with the recipient’s favorite shades or book genres.
- For a luxe touch, add a tiny charm at the end—mini pencil, leaf, or star.
Who will love it?
Bookworms, students heading back to school, or anyone who loves a touch of handmade whimsy in their reading nook.
4. Cozy Scented Soy Jar Candles in Minimalist Jars
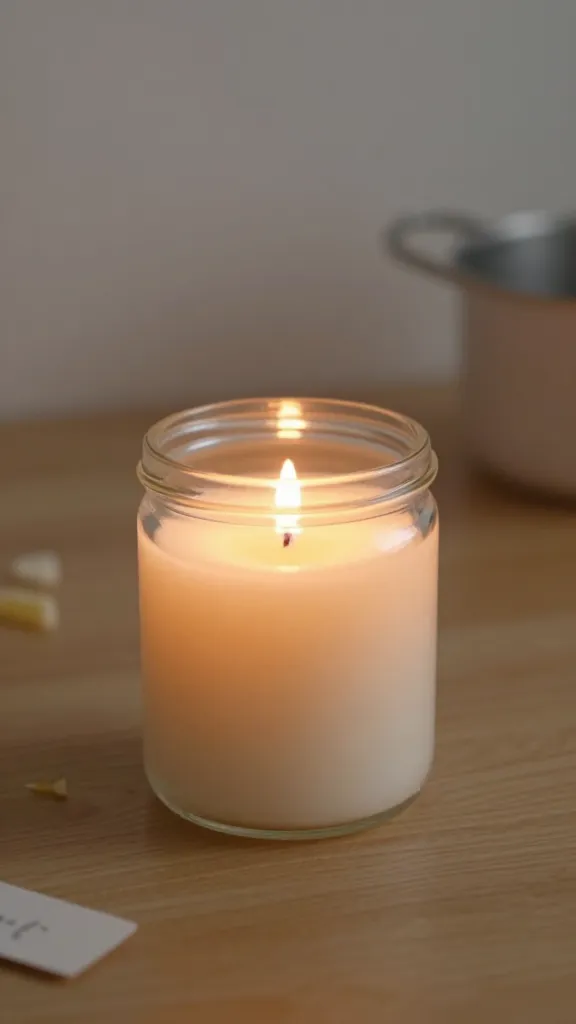
Soft glow, cozy scent, and a neat jar you can reuse after the wax is gone—this gift checks all the boxes. It’s approachable, smells amazing, and makes a home feel like a hug.
Materials Needed
- Soy candle wax chips
- Scented oil of choice
- Wicks and jars (repurpose small glass jars)
- Double boiler or a heat-safe pot
How to Make It
- Melt wax, stir in fragrance, and secure the wick in the jar center.
- Pour carefully, let cool, and trim wick to the ideal length.
- Label with a cute handwritten tag for a personal touch.
Pro Tips / Styling Ideas
- Color the wax with a touch of natural dye for a soft look.
- Layer scents in family sets—cozy woods, citrus calm, lavender lullaby.
Who will love it?
The candle lover, homebody, or anyone who appreciates a little ambient glow.
5. Hand-Painted Ceramic Mugs with Inside-Joke Moments
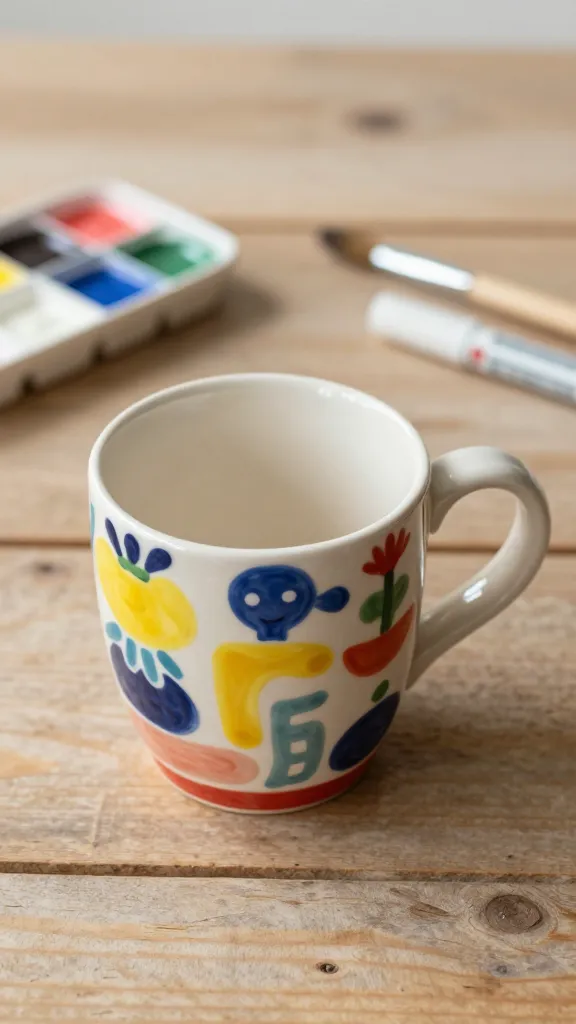
Every coffee deserves a personality. A hand-painted mug makes daily rituals feel special and gives the gift a story you can tell in person—or via a voice memo in a card.
Materials Needed
- Plain ceramic mugs
- Non-toxic acrylic paint or ceramic markers
- Sealant for ceramic (baked or air-dried, depending on product)
How to Make It
- Sketch a simple design or write a joking quote around the mug.
- Fill in with color, then seal according to the product’s directions.
Pro Tips / Styling Ideas
- Keep the design legible and wipe-clean; avoid overly fiddly patterns.
- Pair with gourmet coffee beans or a cute spoon for a complete set.
Who will love it?
Friends who adore cozy caffeine rituals, new roommates, or coworkers celebrating a milestone.
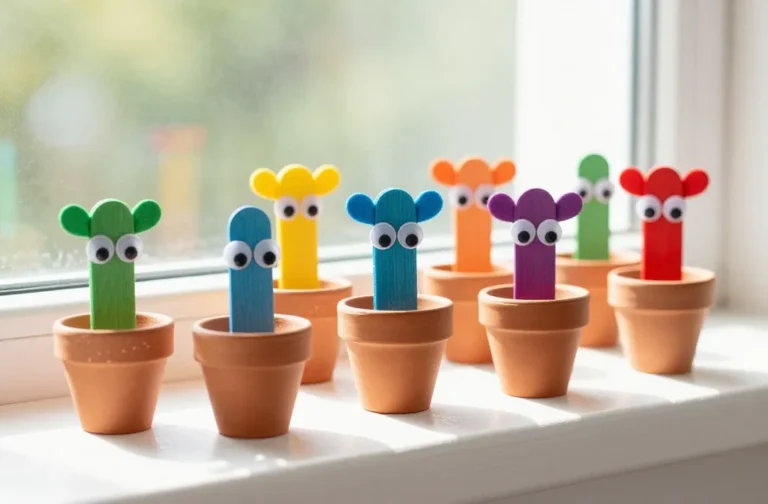
6. Mini Succulent Terrarium in a Recycled Glass Bottle
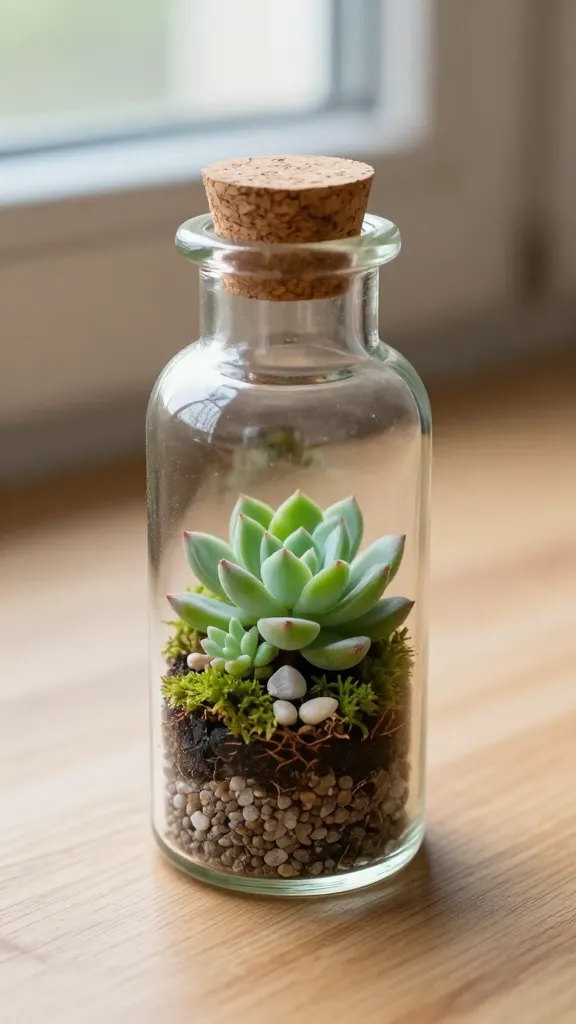
Tiny green world, zero pressure maintenance, and a brag-worthy upcycling story. This terrarium fits on a desk, a shelf, or a windowsill, and it looks utterly curated.
Materials Needed
- Small glass bottle or jar with cork
- Gravel, activated charcoal, potting soil
- Small succulent cuttings
- Decorative pebbles or dried moss
How to Make It
- Layer gravel, charcoal, and soil in the bottle.
- Place a little succulent, press gently, and top with moss and pebbles.
Pro Tips / Styling Ideas
- Water sparingly and place in bright, indirect light.
- Swap out decorations for seasons—mini pumpkins in fall, seashells in summer.
Who will love it?
Office neighbors, plant lovers, or anyone who needs a touch of green without a big commitment.
7. Embroidered Hoop Art with a Quote Burst
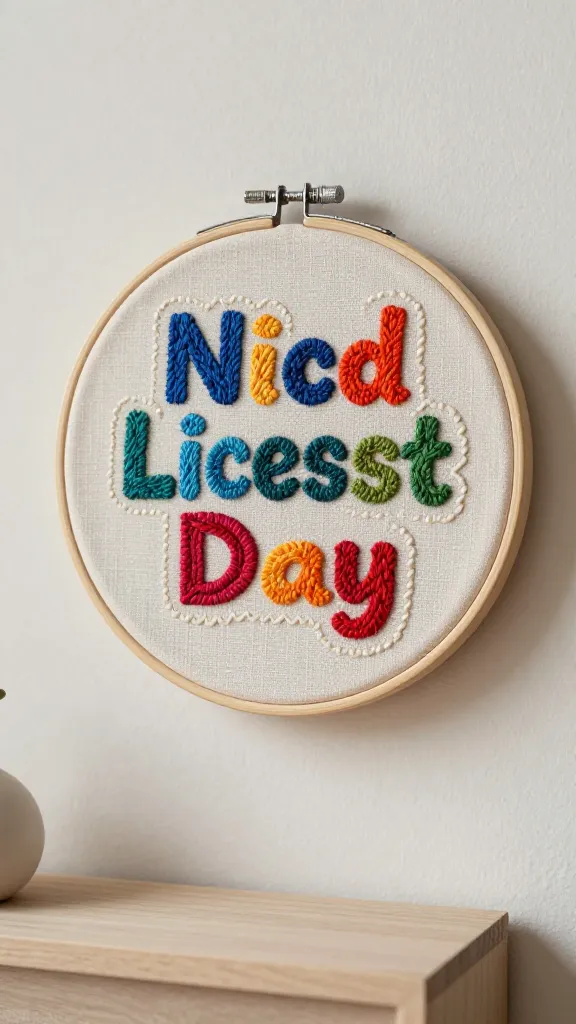
A nibble of textile art that instantly elevates a space. Embroidery is meditative and the finished hoop looks polished enough to gift as wall-ready décor.
Materials Needed
- Acrylic hoop frame
- Colorful embroidery floss
- Needle and fabric cloth or canvas
- Printed quote or your own hand-lettering idea
How to Make It
- Transfer the quote onto fabric with light pencil marks.
- Stitch a bold outline and fill in with color to create a striking contrast.
Pro Tips / Styling Ideas
- Use a limited palette for a modern, cohesive look.
- Pair with string lights or a small shelf display to complete the vignette.
Who will love it?
Literary friends, new graduates, or anyone who loves small-but-mighty art pieces.
8. DIY Herb Planter in Painted Tin Can Sconces
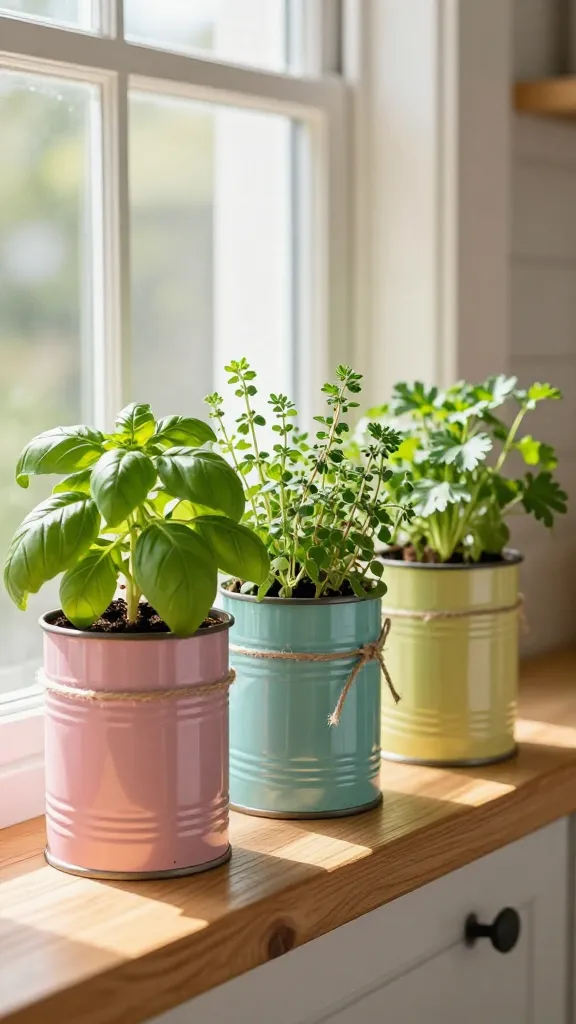
Herbs at arm’s reach, a splash of color, and a sustainable vibe all in one. This starter planter set is easy to customize and looks lush on a sunny kitchen sill.
Materials Needed
- Empty tin cans (washed and labels removed)
- Acrylic paint and brushes
- Potting soil and herb starts (basil, thyme, parsley)
- Twine or ribbon for hanging (optional)
How to Make It
- Paint the cans in cheerful hues; let dry.
- Fill with soil and plant herbs; tie with twine for a hanging display if desired.
Pro Tips / Styling Ideas
- Create a mini herb garden station with a small note card for care tips.
- Label each can with a chalkboard dot for easy identification.
Who will love it?
New apartment dwellers, kitchen enthusiasts, or anyone who loves fresh flavors at their fingertips.
9. Handmade Fabric Journal Cover with Pockets
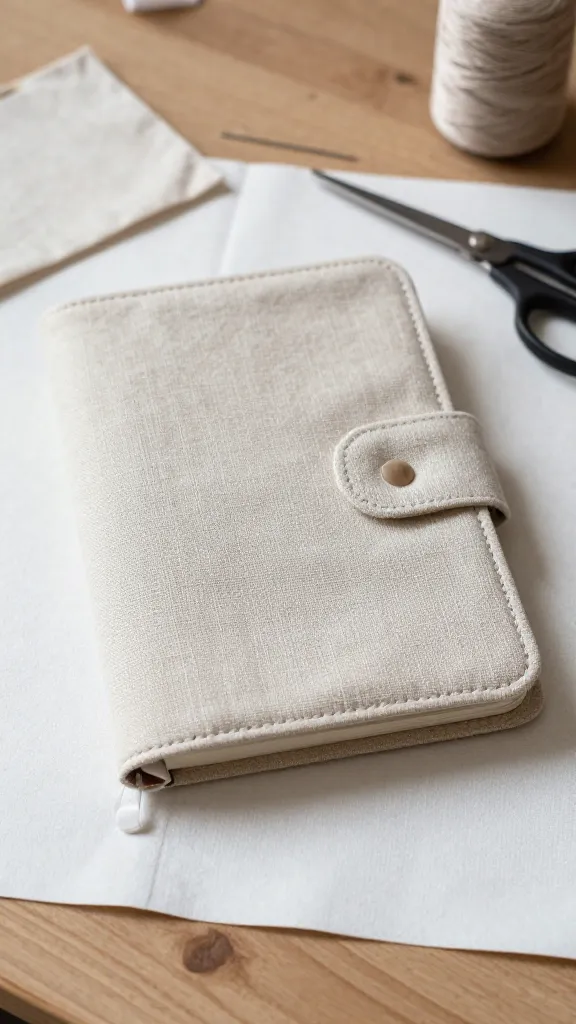
Turn a plain notebook into a treasured keepsake. A fabric journal cover adds texture, personality, and a practical place to stash notes, tickets, and doodles.
Materials Needed
- Plain fabric or pre-cut fabric squares
- Interfacing for structure
- Snaps, Velcro, or buttons
- Needle, thread, and scissors
How to Make It
- Cut fabric to fit the notebook, add interfacing for stiffness, and sew pocket panels.
- Attach closure and sew the cover around the notebook carefully.
Pro Tips / Styling Ideas
- Use contrasting stitches for a playful look, or monochrome for a sleek vibe.
- Include a hidden inner pocket for keepsakes like photos or receipts.
Who will love it?
Writers, planners, students, or anyone who loves a personalized, reusable notebook cover.
10. Customizable Wall Clock Made from Reclaimed Materials
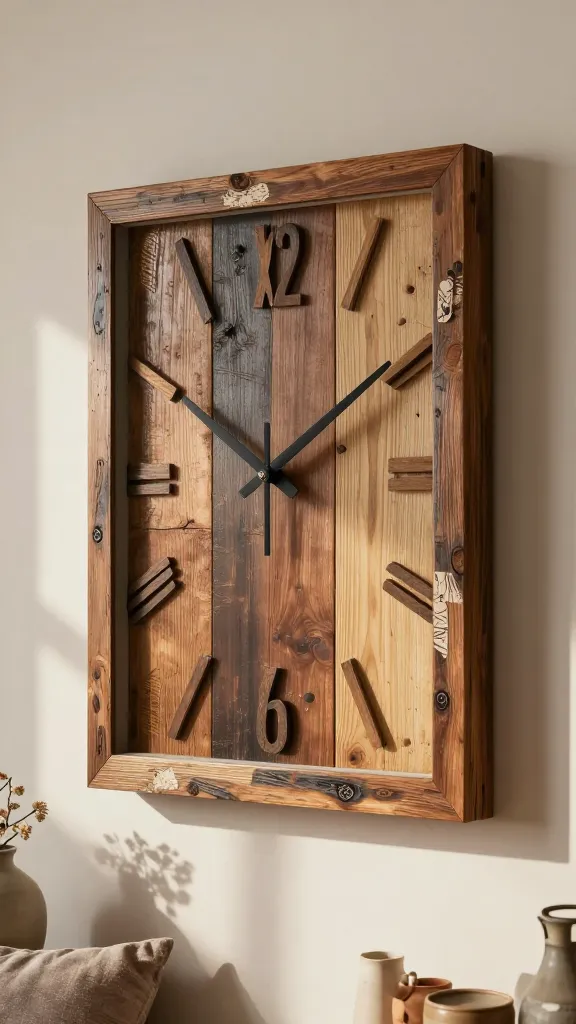
Time to give a wall clock a personality transplant. This project is all about curb appeal, texture, and a dash of upcycled charm.
Materials Needed
- Old wooden frame or circular wooden board
- Clock kit with hands and mechanism
- Paint, decorative paper, or decoupage supplies
How to Make It
- Decorate the frame/board with paint, paper, or fabric layers.
- Install the clock mechanism and attach hands; set the time.
Pro Tips / Styling Ideas
- Coordinate with the recipient’s room palette.
- Use bold numbers or minimalist markers to set the mood.
Who will love it?
Home décor lovers, DIY enthusiasts, or anyone who enjoys a functional piece with character.
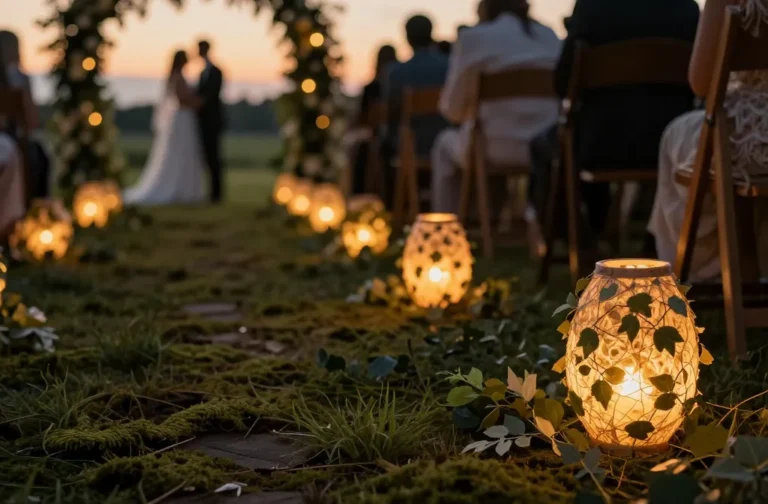
11. Upcycled Bottle Lanterns with Fairy Light Glow
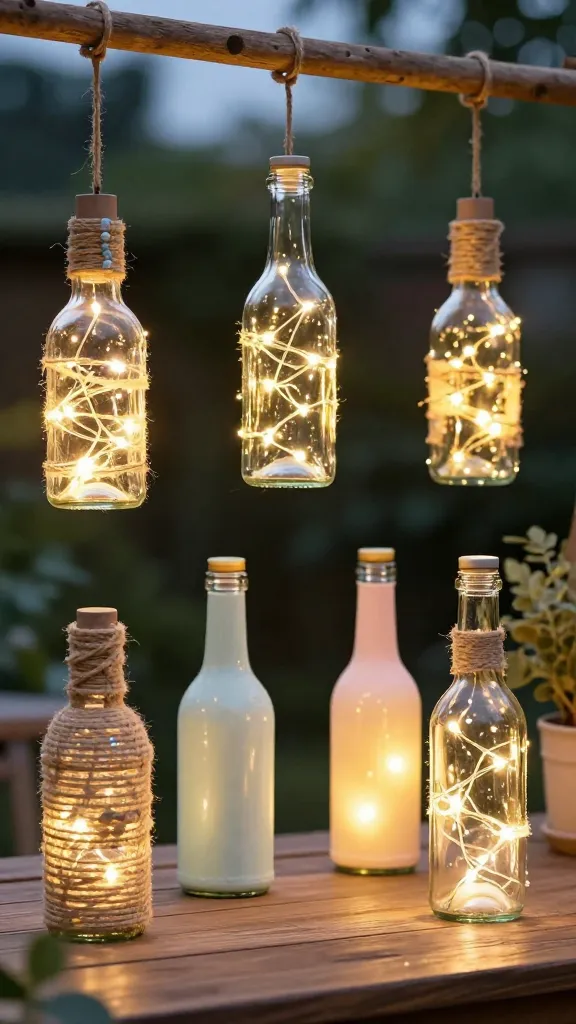
A soft, magical glow that’s truly beginner-friendly. Upcycled bottle lanterns make a charming addition to patios, bedrooms, or party tables.
Materials Needed
- Empty glass bottles
- Battery-operated string lights
- Jute twine, paint, and decorative accents (glitter, beads)
How to Make It
- Wrap bottles with twine or paint them in your color scheme.
- Fill with lights and place them on a table or hang from a hook.
Pro Tips / Styling Ideas
- Group several bottles for a magical centerpiece.
- Add seasonal accents like faux berries or seashells for variety.
Who will love it?
Outdoor party hosts, apartment dwellers, or anyone who loves a cozy, twinkly vibe.
12. Mason Jar Snow Globe with Mini Scenes
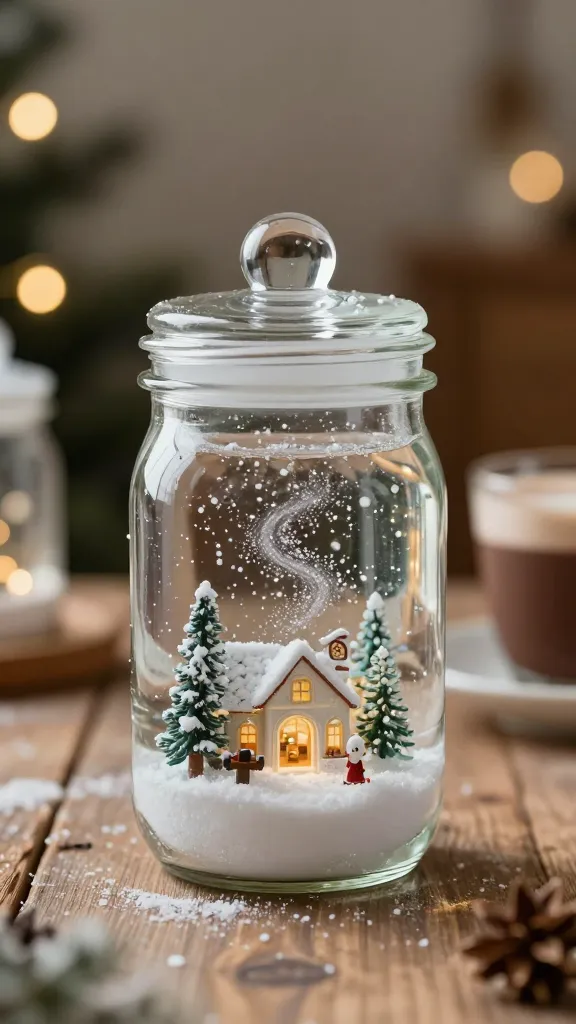
A tiny, portable winter wonderland. This snow globe kit uses humble components to create a delightful, gif-ready keepsake that pairs perfectly with hot cocoa.
Materials Needed
- Mason jar with lid
- Mini figurines or tiny scene elements
- Glycerin or clear glue, distilled water
- Glitter or faux snow
How to Make It
- Glue mini scene inside the lid area, fill jar with water, a drop of glycerin, and glitter.
- Secure lid tightly and shake to enjoy the snow swirl.
Pro Tips / Styling Ideas
- Customize with a name tag or a short message on the lid.
- Use pastel glitter for a softer aesthetic or iridescent for a magical shimmer.
Who will love it?
Stocking stuffer fans, winter holiday gift givers, or anyone who loves a touch of whimsy.
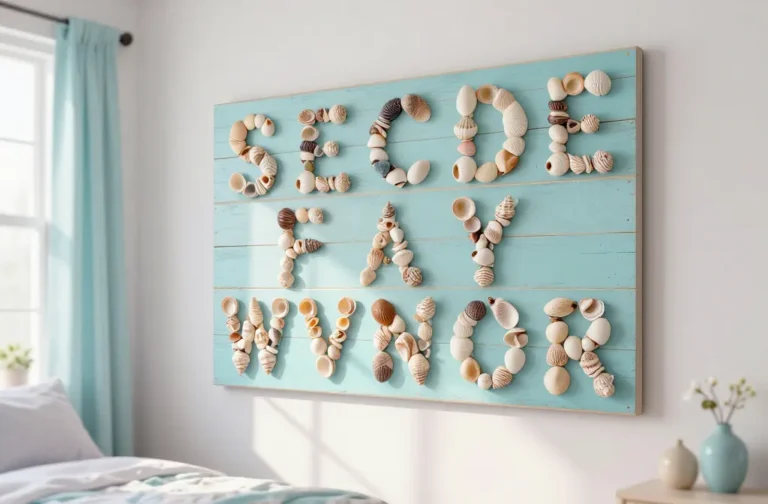
13. No-Sew Fleece Throw Pillow with Bold Monograms
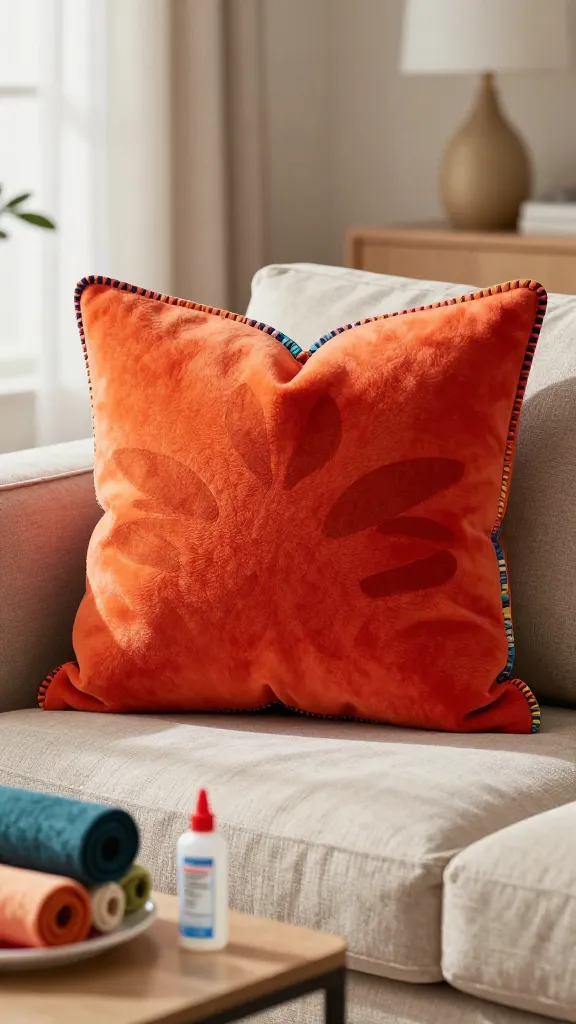
Soft, stylish, and nearly effortless, this no-sew pillow elevates a couch with a splash of color and personality.
Materials Needed
- Two coordinating pieces of fleece fabric
- Ribbon or bias tape for edging
- Fabric glue or a hot glue gun
- Optional: iron-on vinyl letters for monogram
How to Make It
- Cut two fabric squares; lay them patterned sides together.
- Glue edges, leaving a small opening to insert a pillow form.
- Seal the final edge and add a bold monogram if you like.
Pro Tips / Styling Ideas
- Choose colors that match the recipient’s living space for easy integration.
- Pair with a cozy throw blanket for a complete gift set.
Who will love it?
New homeowners, college dorm residents, or anyone who loves a quick, comfy décor upgrade.
Conclusion
These 13 craft ideas birthday gifts for beginners prove that thoughtful handmade presents don’t have to be complicated. Each project is designed to be doable, visually appealing, and delightfully personal. Pick one (or all) and start gifting with a little extra sparkle—your friends will pin, save, and seriously treasure them. Happy crafting!