5 Easy Paper Craft Ideas You Can Make in Minutes
Stuck at home with a stack of colorful paper and a craving for quick wins? These five paper crafts prove you don’t need a big setup or hours to create something that looks totally polished. Each idea is distinct, doable in a snack-size session, and totally Pinterest-worthy. Trust me, you’ll love how fast you can go from zero to stylish.
1. Rainbow Paper Cloud Garland
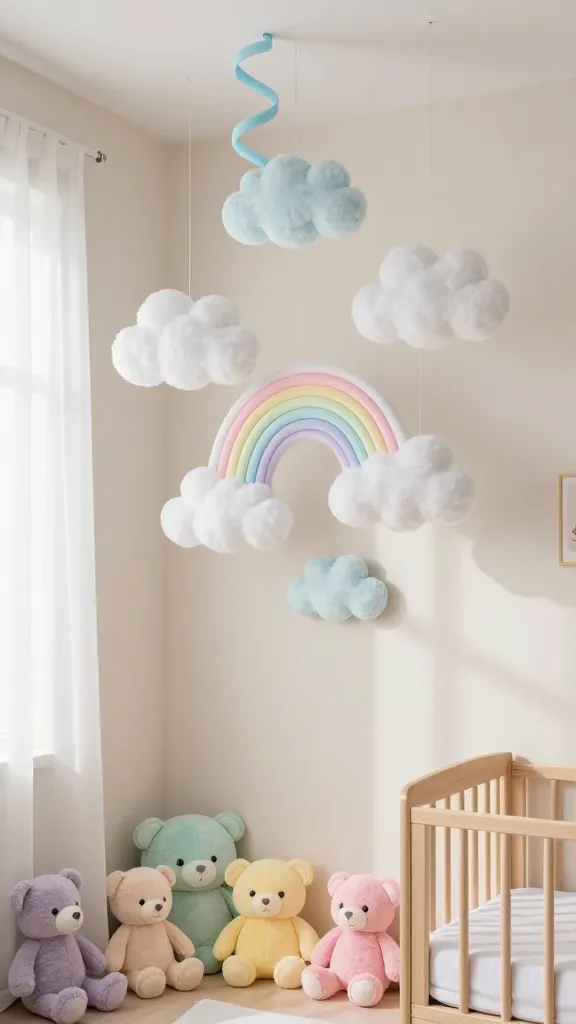
Finish with a flutter of whimsy across your wall or ceiling—this cloud garland feels airy, playful, and utterly cozy. The soft shapes and bright pops of color vibe perfectly with nursery corners, playrooms, or a cheerful weekend party setup.
Materials Needed
- Colorful pastel construction paper
- White paper or light card stock
- Scissors
- Glue stick or double-sided tape
- String or twine
- Optional: mini clothespins for hanging
How to Make It
- Cut several cloud shapes from white or light blue paper. Vary the sizes for a playful cascade.
- Fold small triangles of pastel paper into gentle, puffy shapes to mimic rainbows peeking behind clouds.
- Glue the clouds onto a length of twine, staggering them for movement and depth.
- Attach extra pastel dots or tiny triangles to add color accents along the string.
Pro Tips / Styling Ideas
- Hang near a crib wall or a reading nook for a dreamy vibe.
- Switch out colors with the seasons—warm corals and yellows for summer, cool blues and purples for winter.
- Date-stamp the back of a cloud with a tiny year for a charming keepsake display.
Who will love it: anyone who wants a soft, joyful backdrop that’s as easy to assemble as it is to adore.
2. Geometric Paper Coasters Set
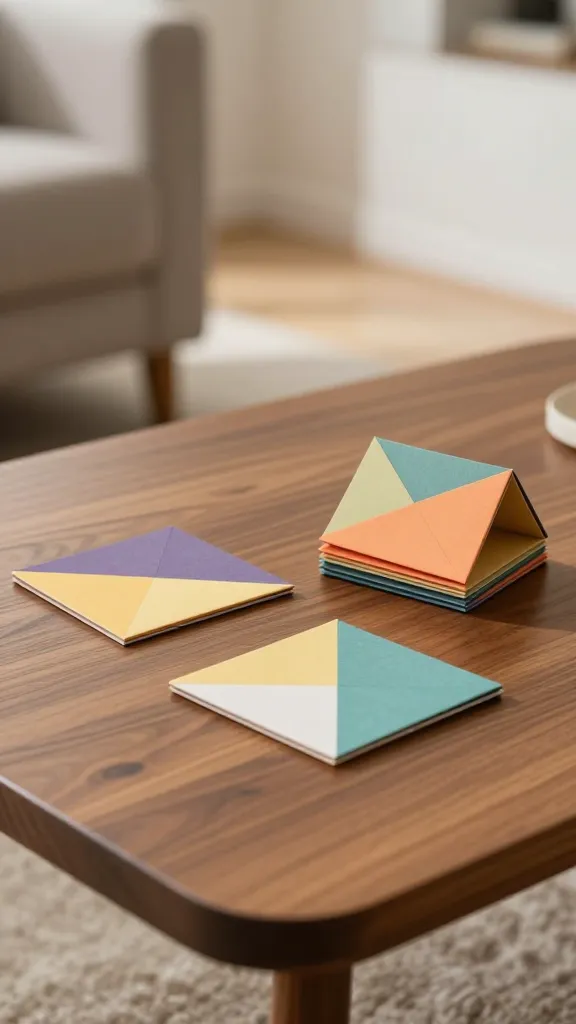
Protect your coffee table in style with a minimal, modern coaster set made from folded paper triangles. It’s a tiny project with big impact—clean lines, tactile texture, and a chic, gallery-wall-ready vibe.
Materials Needed
- Cardstock in 3–4 coordinating colors
- Scissors or a paper trimmer
- Ruler and pencil
- Double-sided tape or glue
- Clear matte sealant spray (optional)
How to Make It
- Cut matching squares (3.5 inches works well) from each color.
- Fold each square diagonally into a tiny triangle and then flatten back flat to create crisp triangular facets.
- Arrange triangles into geometric tile patterns and glue them into a coaster-sized panel; trim edges as needed.
- Seal with a light spray for durability, if you like.
Pro Tips / Styling Ideas
- Gold foil accents or metallic pens can elevate the corners without adding bulk.
- Coat sets in different color palettes for mix-and-match hosting diplomacy.
- Use the panels as a gift tag tray or a tiny tray for jewelry—surprisingly versatile.
Who will love it: design lovers who want a compact, reusable decor piece with a modern edge.
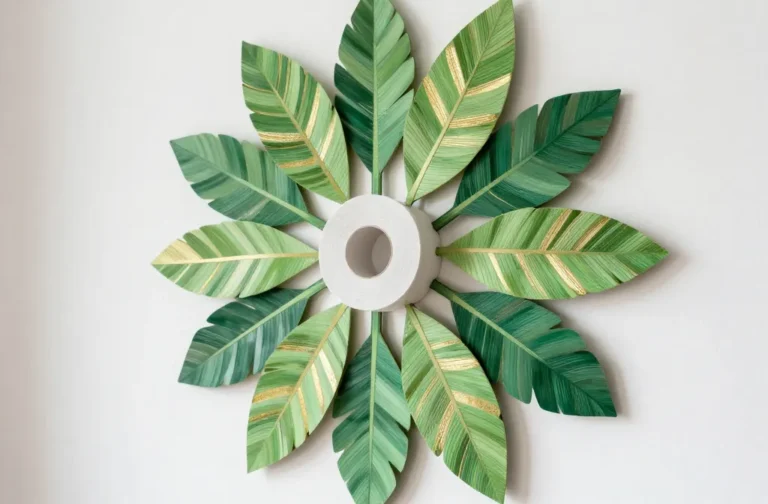
3. Mini Paper Succulent Wall Art
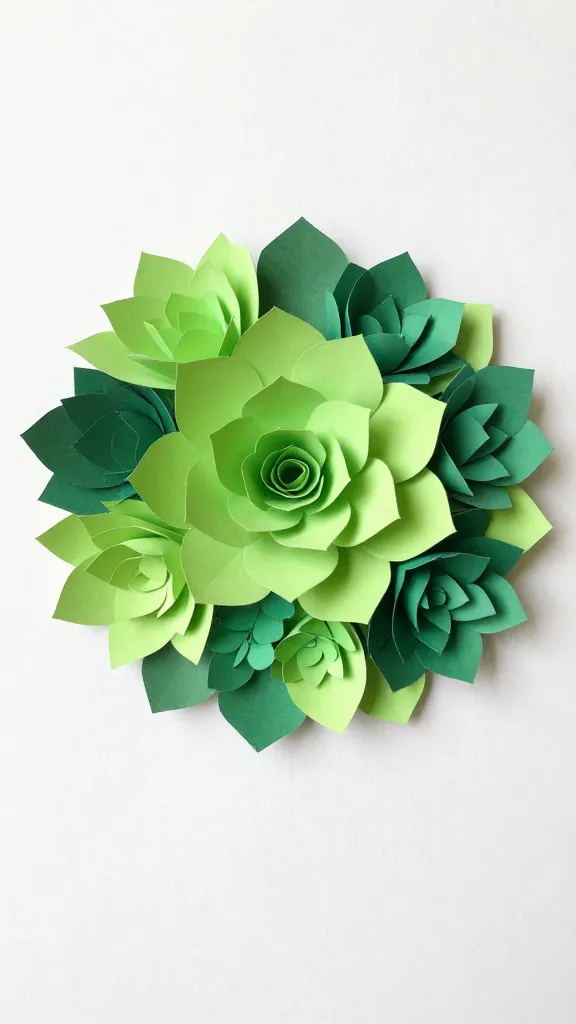
Green-thumb not required. Create a cheeky little wall piece with paper succulents arranged in a fresh, living-looking circle. It’s vibrant, textural, and totally within reach even for non-artists.
Materials Needed
- Green-toned construction paper in several shades
- White or kraft cardstock for base
- Scissors or craft knife
- Glue or glue dots
- Foam tape or thin mounting adhesive
How to Make It
- Cut leaf shapes in different greens and sizes to mimic a variety of succulents.
- Shape each piece with slight curves to give depth, then glue into a circular arrangement on the base.
- Layer different shades to build dimension—darker greens toward the back, lighter toward the front.
Pro Tips / Styling Ideas
- Pair with a light wood frame or mount directly on a pastel accent wall for a fresh gallery look.
- Mix in a few tiny flower shapes for a playful surprise.
- Place in a kitchen or entryway to greet guests with a mini botanical vibe.
Who will love it: anyone who wants a lush look without water or dirt—and it’s seriously forgiving for beginners.
4. Paper Fringe Picture Frame
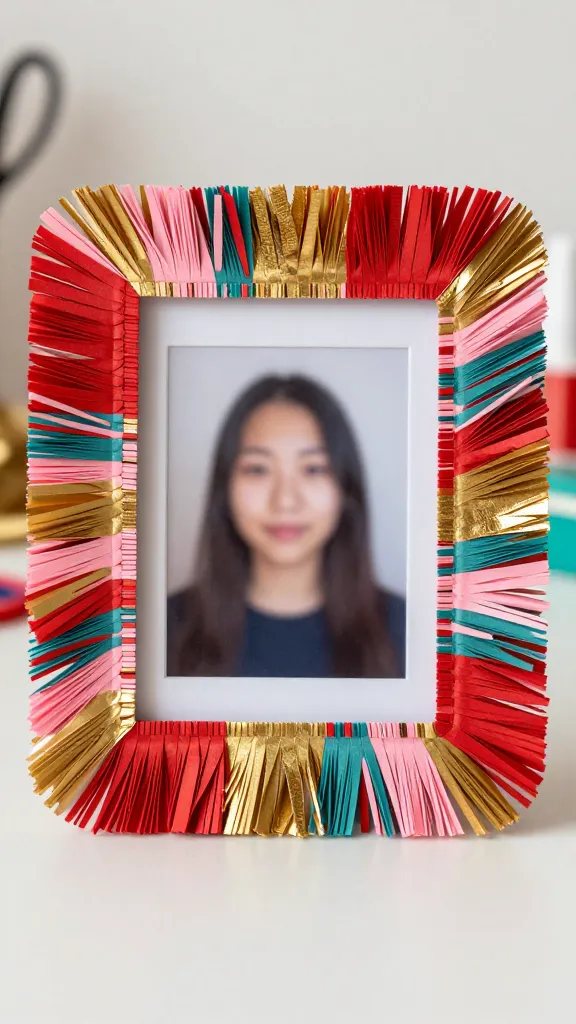
Turn a simple photo into a statement piece with a fringe frame that feels festive and holiday-ready all year. The texture from the fringed edges makes even a simple portrait pop.
Materials Needed
- Plain lightweight frame or foam board frame
- Colorful long paper strips or tissue paper
- Double-sided tape or glue
- Scissors
- Printed photo or favorite print
How to Make It
- Cut long, thin strips from your paper or tissue in a color family you love.
- Attach strips around the edges of the frame using glue or tape, creating a dense fringe moat.
- Pop your photo behind the fringe and secure it in the frame as usual.
Pro Tips / Styling Ideas
- Keep a cohesive color scheme with your room for an integrated look.
- Trim fringe at an angle for a subtle gradient effect.
- Swap in metallic or neon strips for a party-ready vibe.
Who will love it: photo lovers who crave a bold, tactile presentation without breaking the bank.
5. DIY Paper Tape Wall Mocketry Cards
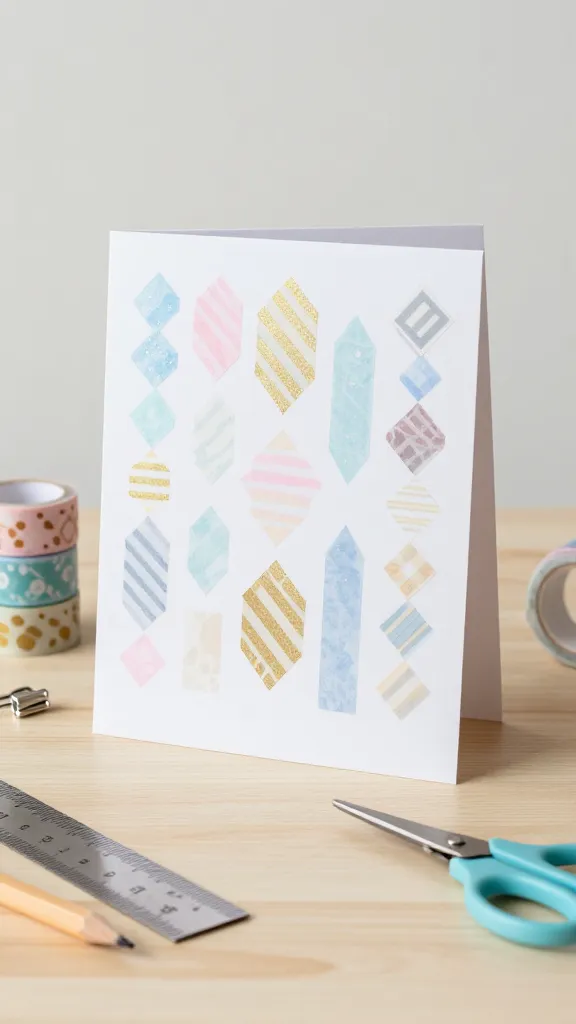
Send zippy, handmade vibes through a card that doubles as wall art. These “mocketry” cards are crafted with decorative paper tape (washi tape) to form patterns and micro-milestones that you can display as mini framed art or gift-ready keepsakes.
Materials Needed
- Blank kraft or white cards
- Decorative paper tapes in complementary colors
- Scissors
- Ruler and pencil
- Optional: small magnets or clips for display
How to Make It
- Plan a simple geometric pattern on the card with tape—think diamonds, stripes, or chevrons.
- Layer tapes to create bold color blocks or negative-space shapes.
- Leave a small space to write a sweet message or date on the back.
Pro Tips / Styling Ideas
- Keep the patterns tight and symmetrical for a clean, modern look.
- Turn finished cards into mini wall panels by mounting them on a single backing board with magnets.
- Gift a set: a trio of colors with matching patterns for a thoughtful present.
Who will love it: crafty friends who adore quick, stylish, and highly customizable accents.
Conclusion: These five Paper Craft Ideas You Can Make in Minutes prove that creativity doesn’t need hours or a fancy studio. Pick your favorite, grab a few supplies, and start crafting—whether you’re decorating a space, gifting something handmade, or just having a wholesome, satisfying afternoon. Have fun, experiment, and watch your home brighten up with personal touches you proudly made yourself.