5 Exciting 10th Birthday Party Craft Ideas
Ready to sprinkle a little DIY magic on a big milestone? Whether you’re planning a party or crafting with the birthday kid after the balloons settle, these ideas are fun, kid-friendly, and totally Instagrammable. You’ll love how easy they are to pull off and how proudly they double as party keepsakes.
Trust me, these projects spark creativity without stressing you out. FYI, each idea is a complete, unique craft—no overlaps or repeated concepts. Let’s dive into five standout, totally doable ideas that will make a 10th birthday unforgettable!
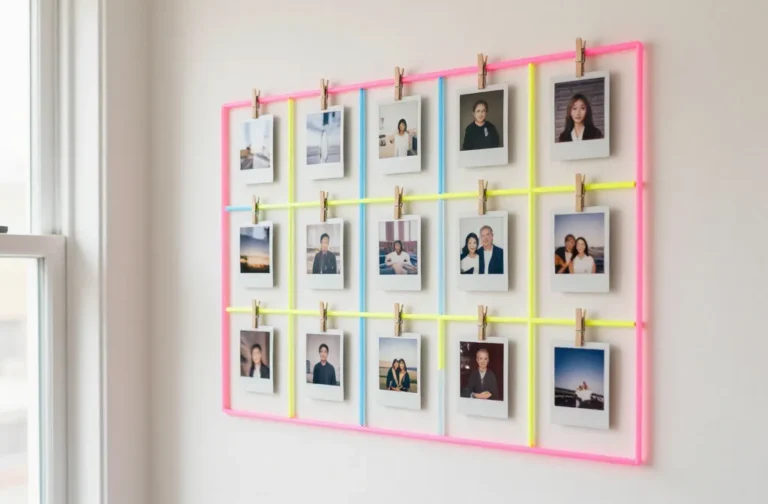
1. Neon Tie-Dye Cube Photo Booth Frames
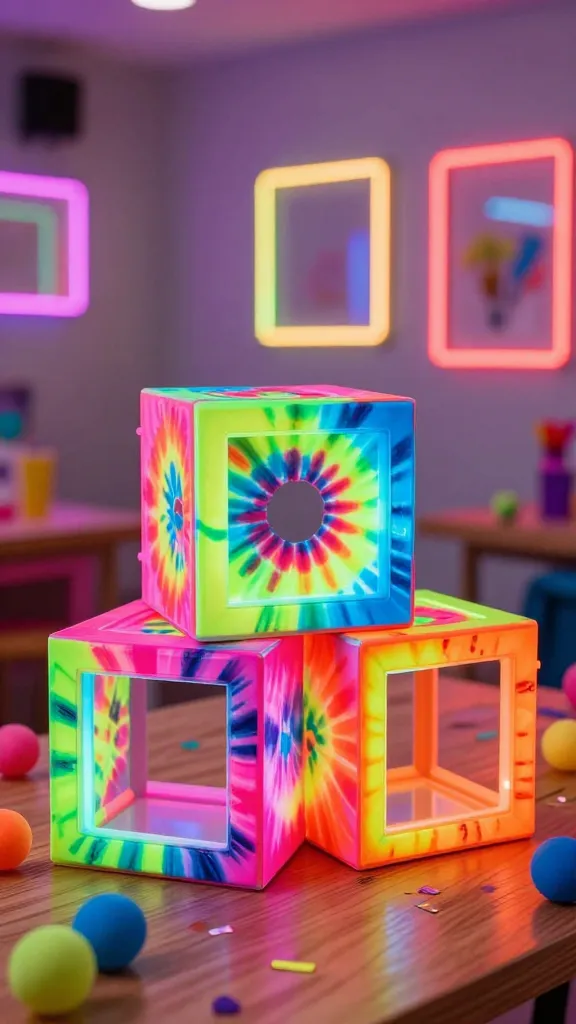
Imagine vibrant neon frames that scream party energy, perfect for goofy posed photos with friends. When finished, these cube frames resemble mini candy-colored sculptures you can set on a table or prop against a wall. The result is bold, playful, and totally share-worthy.
Materials Needed
- Cardboard or thick foam board (eight 6×6 inch squares per frame)
- Neon acrylic paints or spray paints
- Painter’s tape
- Foam brushes and sponges
- Hot glue or strong craft glue
- Ribbon or string for hanging (optional)
- Printed photos or polaroids (fun add-on)
How to Make It
- Paint each cardboard square in a bright neon color. Let dry completely.
- Arrange the eight squares into a cube shape, sealing edges with glue. Use painter’s tape to hold while drying if needed.
- Connect two opposite faces with a simple hinge using extra cardboard so the frame stands or folds for easy storage after the shoot.
- Attach photos or a giant letter collage on the outer panels for a personalized touch.
Pro Tips / Styling Ideas
- Line the inside of the cube with a lightweight fabric strip in contrasting color for a pop of texture.
- Hang the frames on a backdrop wall and let guests snap mini selfies inside the neon cube—instant social gold.
- Use different neon shades on each cube to create a chromatic rainbow installation.
Who would love it: Photo booth fans, party hosts looking for a bold statement piece, and kids who adore bright colors. This is something guests will pause to photograph—trust me, the smiles are guaranteed.
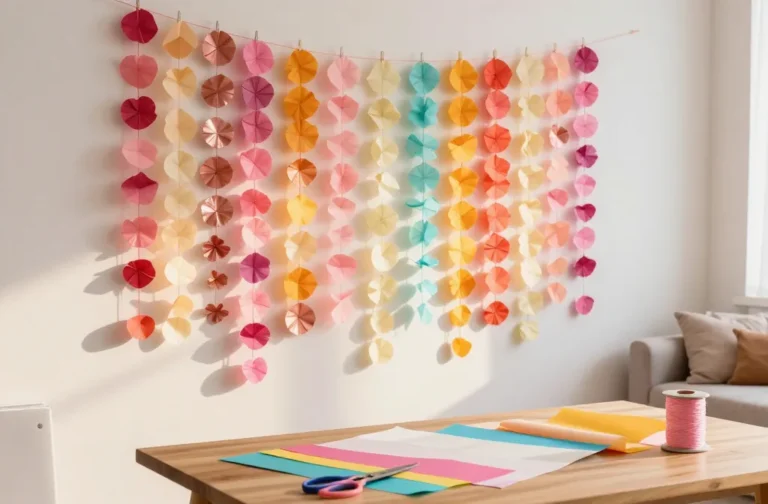
2. Confetti Cloud Wall Garlands
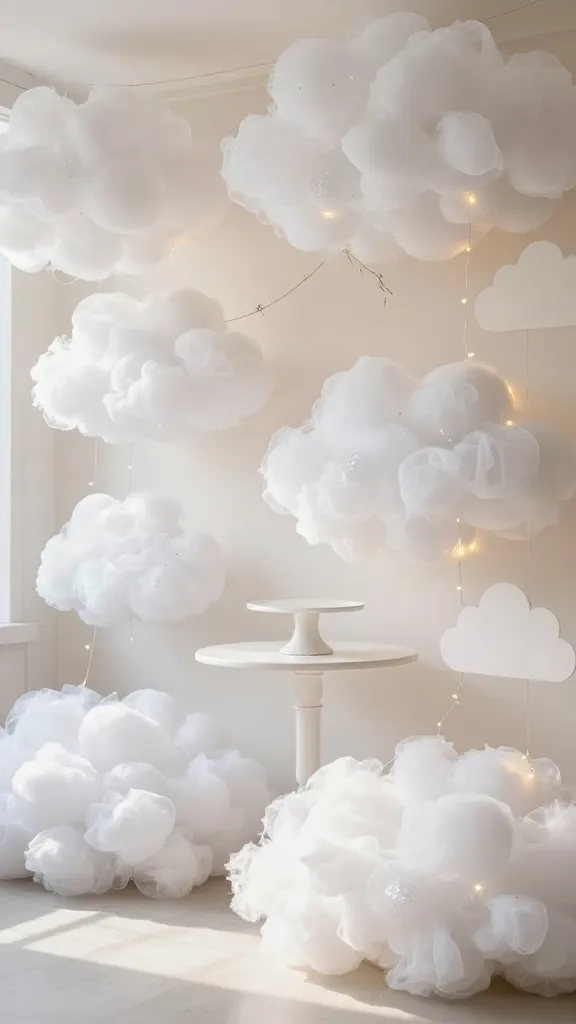
Soft, fluffy, and irresistibly cheerful, this cloud garland brings whimsy to any party corner. It’s simple to assemble, looks luxe, and doubles as a sweet keepsake treasure after the cake is cut.
Materials Needed
- White tissue paper or crepe paper
- Cardstock for cloud shapes
- String or twine
- Glue sticks or a hot glue gun
- Scissors
- Glitter (optional) for a little sparkle
How to Make It
- Fold tissue paper into thick accordion shapes, then fan out to create fluffy cloud forms.
- Cut cloud shapes from white cardstock and poke holes to thread with twine.
- String several clouds at varying lengths to form a cascading garland across a wall or doorway.
Pro Tips / Styling Ideas
- Mix subtle gray or pale blue clouds for depth and dimension.
- Spritz a light veil of shimmer on some clouds for a dreamy effect when photographed under party lights.
- Place the garland behind the cake table or at the photo backdrop for a soft, magical vibe.
Who would love it: Anyone wanting a whimsical, airy vibe without heavy decor. A cloud garland feels like a warm hug from the party itself.
3. DIY Marbleized Mason Jar Lanterns
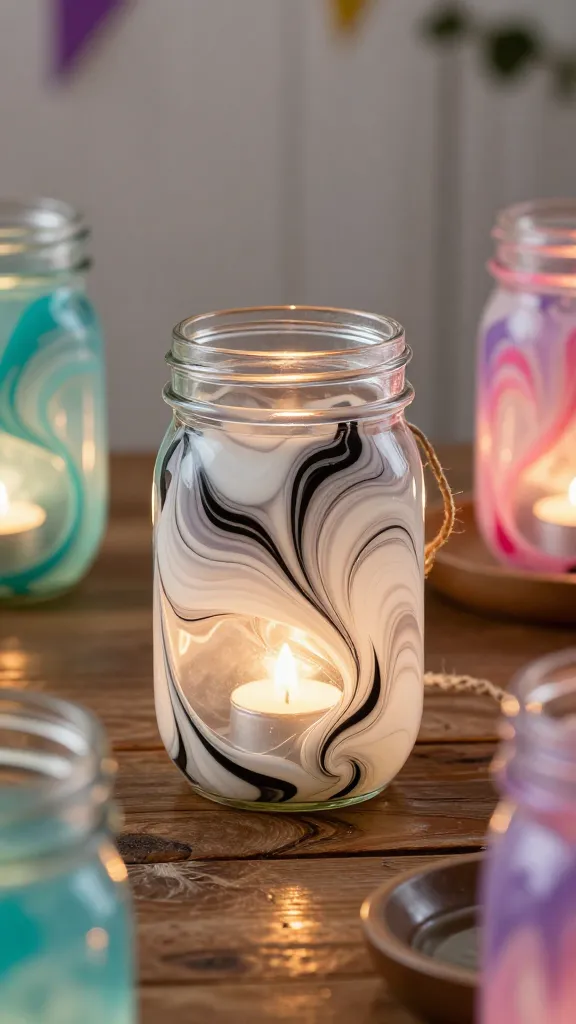
These lanterns glow with a chic, modern vibe while staying playful enough for a 10-year-old’s celebration. The marbling effect looks complex, but the process is delightfully simple and highly satisfying.
Materials Needed
- Mason jars (clear glass)
- Acrylic paints in white, black, and a pop color (turquoise, pink, or lavender)
- Liquid or nail polish for marbling (optional for extra swirl)
- Water and a shallow tray
- Tea lights or battery-operated LEDs
- Ribbon for lidding or handles
How to Make It
- Fill a shallow tray with small amounts of paint and swirl with a stick or brush to create marble patterns in water.
- Dip the mason jars into the water gently, letting the paint cling and swirl. Lift and let dry on a rack.
- Seal or decorate the lids, then add a tealight inside for a warm glow.
Pro Tips / Styling Ideas
- Pair with a color-coordinated table runner and copper or gold accents to elevate the look.
- Line multiple jars at the center of the party table for a soft, cinematic glow as dusk falls.
- Use labels with the birthday kid’s name and age for a personal touch.
Who would love it: Home decor lovers who want a sophisticated touch without the heaviness. These jars cast a calm, stylish mood that still feels kid-friendly.
4. Mini Monster Plush Pillow Party Faves
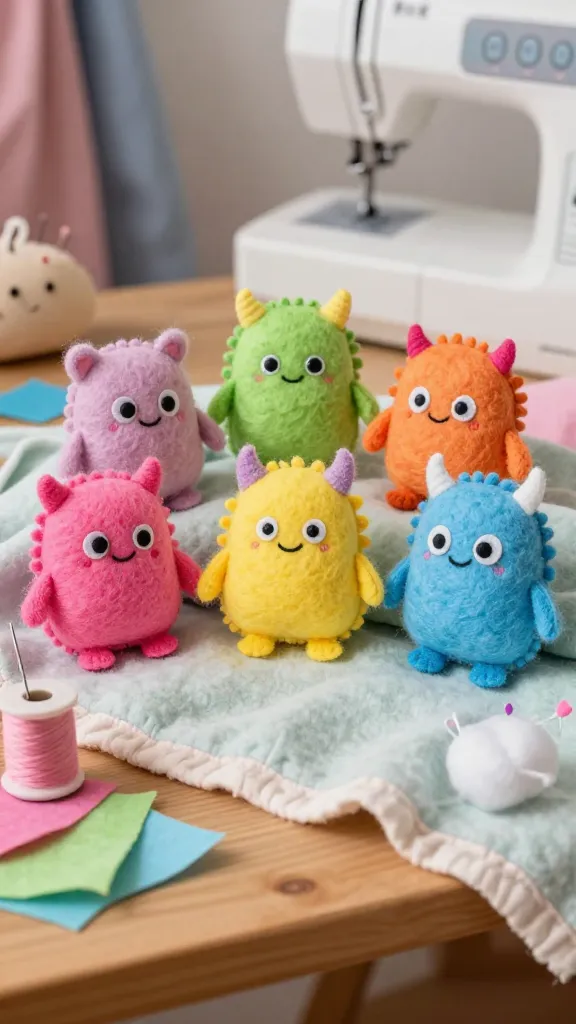
Adorable, tiny plush monsters stitched from bright fabrics are perfect as party favors or a cozy corner accessory. They’re beginner-friendly but look professionally cute, making guests (and parents) swoon.
Materials Needed
- Bright craft felt or fleece in several colors
- Polyfill stuffing
- Black and white embroidery floss or fabric markers
- Needle and thread or a basic sewing machine
- Small buttons or felt pieces for eyes
- Ribbon or keychain rings (optional for a plush keychain)
How to Make It
- Cut two identical monster shapes from felt for each plush—round bodies with quirky horns or wiggly antennae work great.
- Stitch around the edge, leaving an opening to stuff with polyfill. Add a little personality with stitched mouths and eyes.
- Finish by closing the opening and attaching any extra features like horns, ears, or tails.
Pro Tips / Styling Ideas
- Choose a color palette that matches the party theme for a cohesive look.
- Turn each plush into a mini mascot by giving them a tiny name tag or a beaded necklace.
- Coordinate with mini gift bags so guests can bring home their plush friend as a memento.
Who would love it: Kids who adore stuffed animals, parents who want a cuddly, non-plastic keepsake, and a party that’s equal parts cozy and cute. These little monsters are seriously charming.
5. Cardboard Crown Workshop with Royal Party Flair

Let the birthday kid shine with a DIY crown station that doubles as a craft and a party activity. Young guests create their own regal headwear to wear for the rest of the celebration, and the finished crowns are perfect photos with the birthday cake.
Materials Needed
- Thick cardboard or foam sheets
- Assorted decorative papers, stickers, gems, glitter (optional)
- Glue sticks or hot glue gun
- Elastic cord or ribbon to secure the crown
- Scissors and ruler
How to Make It
- Trace a simple crown pattern on cardboard and cut out two identical pieces per guest.
- Decorate one side with paper, stickers, glitter, and gems. Glue the two pieces together with the decorated sides facing outward.
- Attach elastic cord at the ends so the crown fits on their heads. Let dry completely before wearing.
Pro Tips / Styling Ideas
- Offer a crown color coding by guest, with their initials on the front for a personalized touch.
- Set up a “royal photo corner” nearby with a velvet backdrop and a faux fur rug to amplify the crown moment.
- Place a few extra crowns at the cake table so everyone can partake in the royal procession.
Who would love it: Birthday kids who love being in the spotlight, budding designers, and guests who enjoy a tactile, creative activity. This crown workshop gives everyone a royal vibe with zero pretense.
Conclusion
These five completely unique craft ideas are designed to be fun, quick, and proudly shareable. Each project brings a distinctive vibe—from neon photo frames to plush monsters—so you can mix and match based on space, time, and the birthday kid’s personality. So grab your supplies, pick a favorite, and start crafting together. You’ll be surprised how joyful and rewarding a little hands-on creativity can be at a milestone like a 10th birthday.
Ready to dive in? Pick one idea or try all five to create a cohesive, memorable celebration. After all, the best party moments aren’t just the cake—they’re the crafts your guests carry home and remember long after the last glitter has settled. Have fun, be playful, and enjoy the crafting rollercoaster with your kiddo!