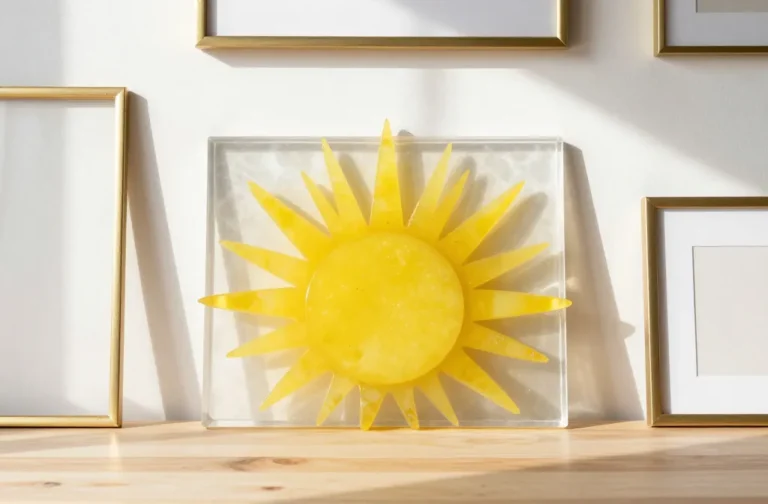
5 Super Easy Craft Ideas for 6-Year-Olds (Quick & Mess-Free)
1. Colorful Button Frame Then and Now
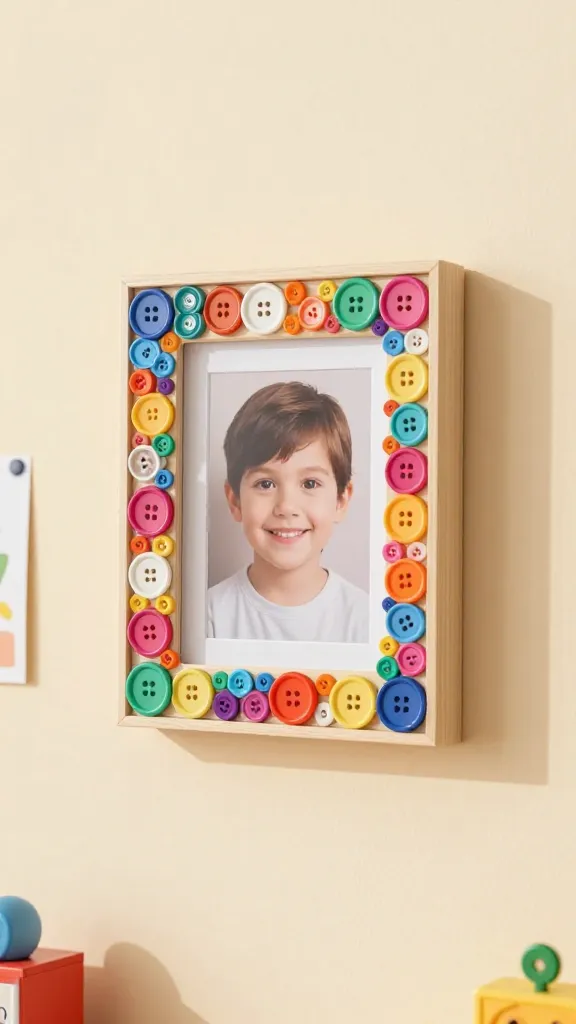
Imagine a wobbly masterpiece that somehow ends up looking perfectly playful on the wall. This button-embellished picture frame does that—bright, kid-friendly, and totally mess-free. Your little artist gets to curate a tiny gallery of favorite moments while learning color combos that sing on a bedroom or classroom wall.
The finished frame feels retro-cute with a modern twist, like a mini museum piece that’s totally theirs. It’s a sweet way to celebrate a milestone photo or a doodle-heavy drawing from art time.
Materials Needed
- Plain wooden or cardboard frame (size your kid loves)
- Assorted buttons (large and small, in a rainbow of colors)
- Non-toxic craft glue or hot glue with supervision
- Optional: small decorative stickers or washi tape
How to Make It
- Lay out a color plan with your kid. They decide if buttons will form a pattern, a heart, or a simple mosaic.
- Glue buttons along the inner edge of the frame or create a bold center motif. Press gently and let dry.
- Add a minimal border with washi tape or a few stickers for extra flair.
Pro Tips / Styling Ideas
- Use a clear photo insert so the art peekaboo shines through.
- Try a monochrome palette (all blues or pinks) for a chic, kid-friendly look.
- Hang in a grid with siblings’ frames for a mini gallery wall.
This craft is perfect for: gifting a tiny memory to grandparents, decorating a kid’s room, or celebrating a classroom milestone. Your mini curator will love this simple, satisfying project.
2. Paper Plate Patchwork Animals
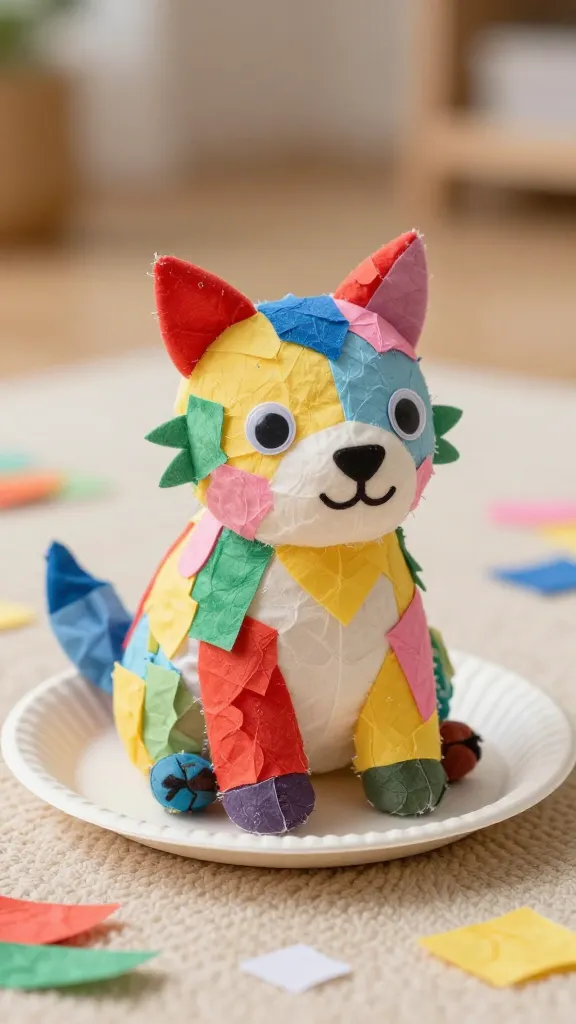
Who needs a felt kit when paper plates turn into a playful zoo in minutes? This patchwork animal project is fast, forgiving, and totally mess-free. Your child gets to experiment with textures, colors, and a dash of silly personality.
The finished critter is soft, charming, and ready to star on a shelf or book nook. It’s a cheerful, cozy addition to any play space.
Materials Needed
- Plain paper plates
- Colored tissue paper or construction paper scraps
- Non-toxic glue sticks
- Googly eyes or marker pens
- Lanyard yarn or ribbon for a hanging loop
How to Make It
- Cut or tear tissue paper or scraps into small shapes. Create a mosaic on the plate’s outer edge.
- Add facial features with markers or googly eyes to finish your character.
- Attach a small ribbon to the back for quick hanging, or leave it as a tabletop buddy.
Pro Tips / Styling Ideas
- Choose a bold color palette for a punchy look, or go all pastel for a calm vibe.
- Turn multiple plates into a tiny animal parade—think fox, owl, and bunny!
Great for: classroom crafts, a kid’s room decor boost, or a playful party activity. It’s seriously satisfying to see a cute creature come to life from simple scraps.
3. Easy Felt Window Stickers Gallery
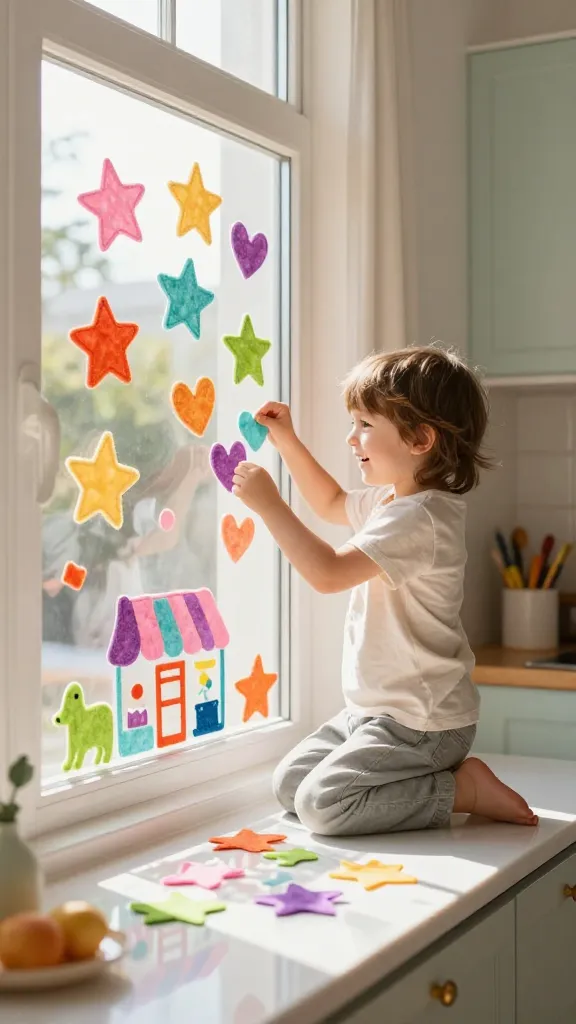
Window decals without the mess? Yes, please. This felt sticker gallery uses simple shapes that stick to glass with zero glue residue, making it perfect for households that want mess-free crafts. The best part: your 6-year-old can rearrange and design anew whenever inspiration strikes.
Bright felt shapes feel soft to the touch and look wonderfully whimsical caught in sunlight. A tiny, portable gallery that travels with you from kitchen to living room with ease.
Materials Needed
- Assorted felt sheets in bold colors
- Scissors (kid-safe)
- Clear tape or removable adhesive (optional for extra grip)
- Marker for facial details (optional)
How to Make It
- Cut simple shapes: hearts, stars, animals, or flowers. Keep edges soft and rounded.
- Arrange on a window and press gently. Use a tiny bit of tape on the edges if needed.
- Add tiny faces or textures with markers for extra personality.
Pro Tips / Styling Ideas
- Create a seasonal display—pumpkins in autumn, snowflakes in winter, suns in summer.
- Swap shapes weekly to keep the display fresh and exciting.
Who will love it: window watchers, DIY lovers who want quick visual impact, and kids who love designing their own little world on glass. It’s playful, reversible, and seriously easy.
4. DIY Ribbon Weave Wall Banner
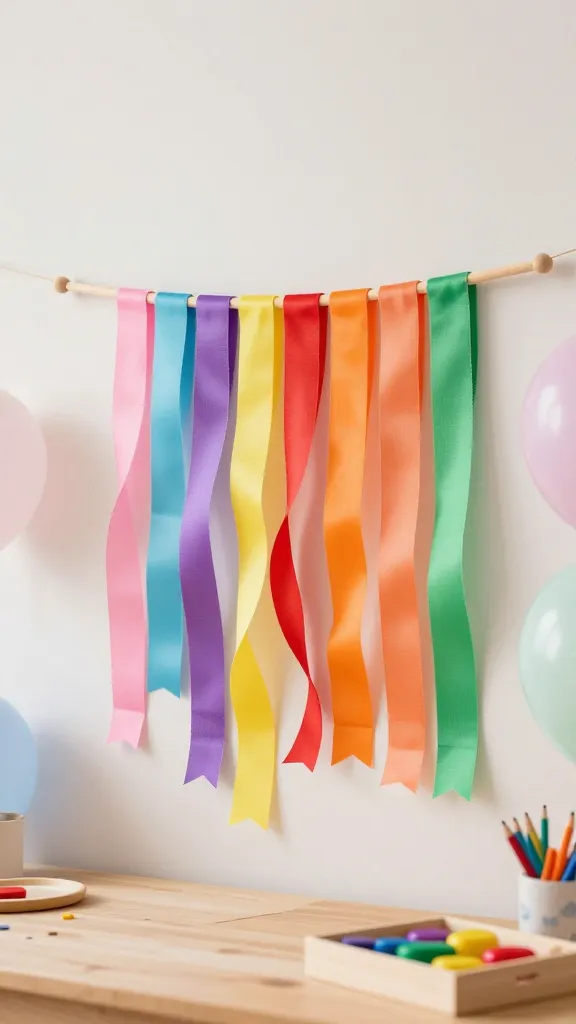
This banner looks like a mini fiber art project, but it’s gentle on little hands and quick to finish. Weave bright ribbons between craft sticks to create a cheerful wall decoration that doubles as a birthday banner or room accent. The result feels airy, colorful, and totally Pinterest-worthy without the fuss.
The texture and movement of the ribbons bring life to any empty wall space. It’s a light, celebratory craft that kids can personalize with favorite colors and messages.
Materials Needed
- 5–7 craft sticks or a small wooden dowel
- Assorted ribbon lengths in multiple colors
- Glue or double-sided tape
- Paper or cardstock tags for letters (optional)
How to Make It
- Lay out sticks in a fan or simple row, depending on wall space.
- Weave ribbons between sticks, creating a crisscross pattern. Secure ends with a dab of glue.
- Optional: add letter cutouts to spell a name or message on the banner.
Pro Tips / Styling Ideas
- Keep ribbon lengths staggered for dynamic texture.
- Mount with removable adhesive so you can relocate without damage.
Who would love it: kids who adore color play, homespun decor fans, and anyone seeking a quick, uplifting wall piece. It’s festive, tactile, and delightfully simple.
5. Mystery Mini Plant Holders
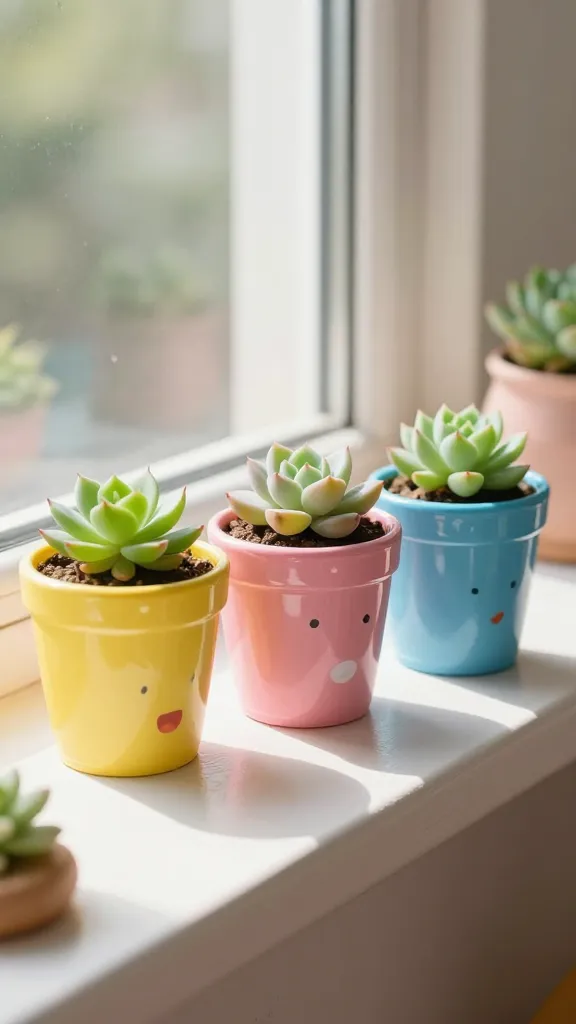
Small, sunny, and surprisingly practical, these little plant holders let kids “adopt” tiny succulents or pretend plants in colorful cups. It’s a mess-free, responsible way to teach care and responsibility while adding a dash of greenery to a desk or windowsill. The best part? They’re portable and easy to customize with stickers and paint.
The finished trio (or quartet) of mini planters feels like a tiny horticultural exhibit—dad joke-free, yet adorable enough to make you smile every time you pass by.
Materials Needed
- Small plastic cups or biodegradable plant pots
- Acrylic paints or markers
- Stickers, tape, or decorative washi
- Optional: faux moss or pebbles for top dressing
How to Make It
- Paint the cups in bright, cheerful colors. Let dry completely.
- Decorate with stickers or patterns. Add a border with washi tape for a tidy finish.
- Fill with faux plants or small real plants you can care for together. Place on a sunny shelf.
Pro Tips / Styling Ideas
- Create a mini “plant family” by painting each cup with a different character face.
- Line them up on a floating shelf for a modern, kid-friendly display.
Who’ll love it: budding green thumbs, parents who want a tidy, low-muss project, and kids who crave a sense of ownership over a tiny living thing (even if it’s faux). It’s wholesome, cute, and surprisingly doable.
Conclusion
These 5 super easy craft ideas for 6-year-olds pack big charm into tiny, mess-free moments. They’re crafted to be quick, visually appealing, and incredibly kid-friendly—trust me, your mini artist will want to start right away. Pick one, or dive into all five, and watch a few satisfied smiles multiply as each project finds its new home in your cozy corner of the world.