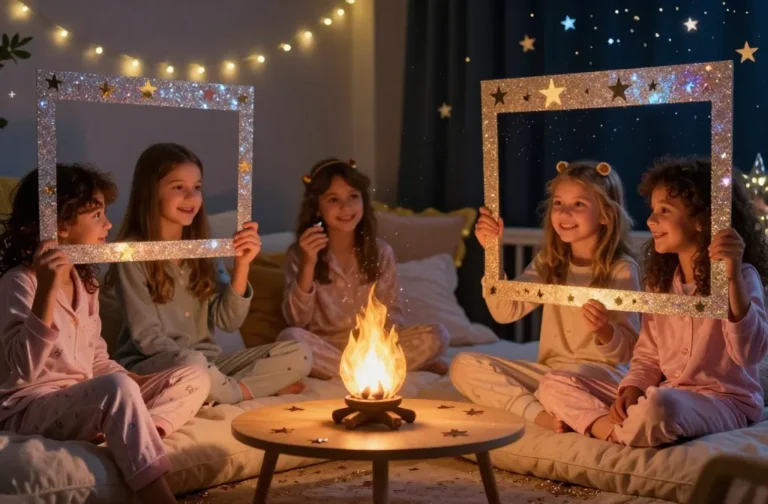
6 Cool Middle School Crafts for 5th & 6th Graders
Looking for fast, fun, and totally doable crafts that kids won’t outgrow? These six projects are perfect for 5th and 6th graders—creative, kid-friendly, and proudly shareable on social media. Trust me, they’ll love the mix of color, texture, and a little DIY sparkle.
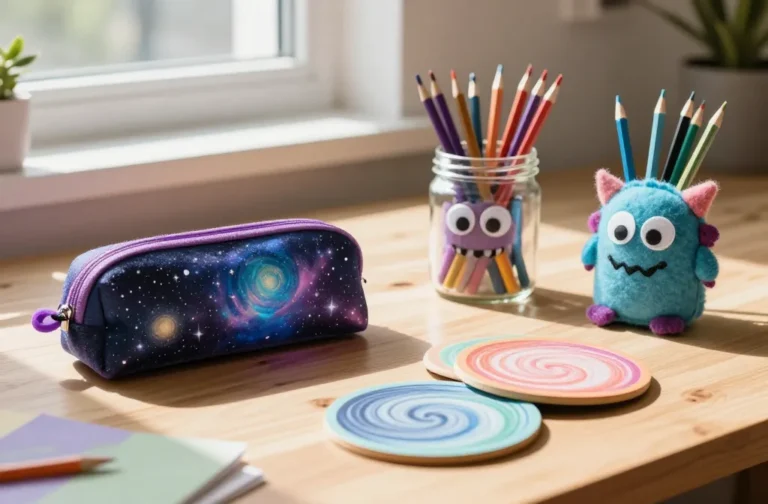
1. Upcycled Colorful Pencil Box Dream Garden
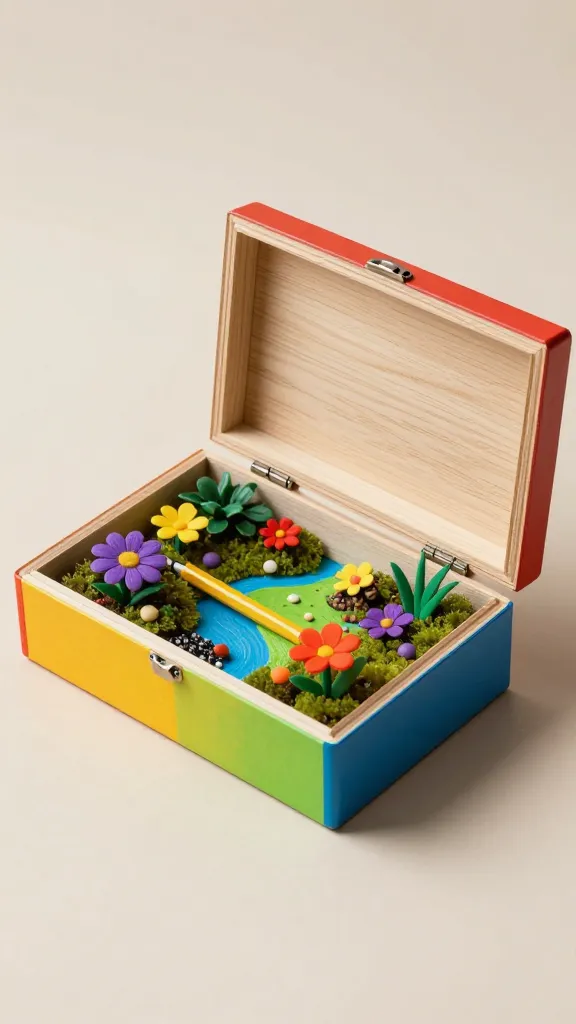
Imagine a plain pencil box transformed into a tiny, vibrant garden you can carry to class. This project blends upcycling with pop-art color, so it feels modern and totally Pinterest-ready. The finished box is not just cute; it’s a pocket-sized mood booster for study sessions.
Materials Needed
- Plain wooden or cardboard pencil box
- Acrylic paints (assorted bright colors)
- Paintbrushes (various sizes)
- Mini artificial flowers, faux moss, and tiny decorative pebbles
- Hot glue gun or strong craft glue (adult supervision for younger kids)
- Clear sealant spray (optional)
How to Make It
- Paint the lid and sides in a lively color palette. Let each layer dry for a bold, glossy finish.
- Glue in mini artificial flowers and a touch of faux moss along the edges for a tiny garden vignette.
- Sprinkle in decorative pebbles for texture and shine. Seal if you like with a clear spray.
- Add a fun label or initials with contrasting paint. Personalize, then let dry fully.
Pro Tips / Styling Ideas
- Pair with a matching notebook or sticker sheet for a cohesive desk set.
- Use as a gift-tacking box for a friend—fill with a few goodies for extra charm.
- Switch out the decorations by season: daisies in spring, candy-cane stripes for winter.
End Note
This craft is perfect for kids who love color blocks and cute details. It’s a practical keepsake that doubles as desk decor—great for a classroom display or a gifting moment. You’ll love how easy it is to personalize.
2. Marbleized Paper Lanterns: Night Sky Edition
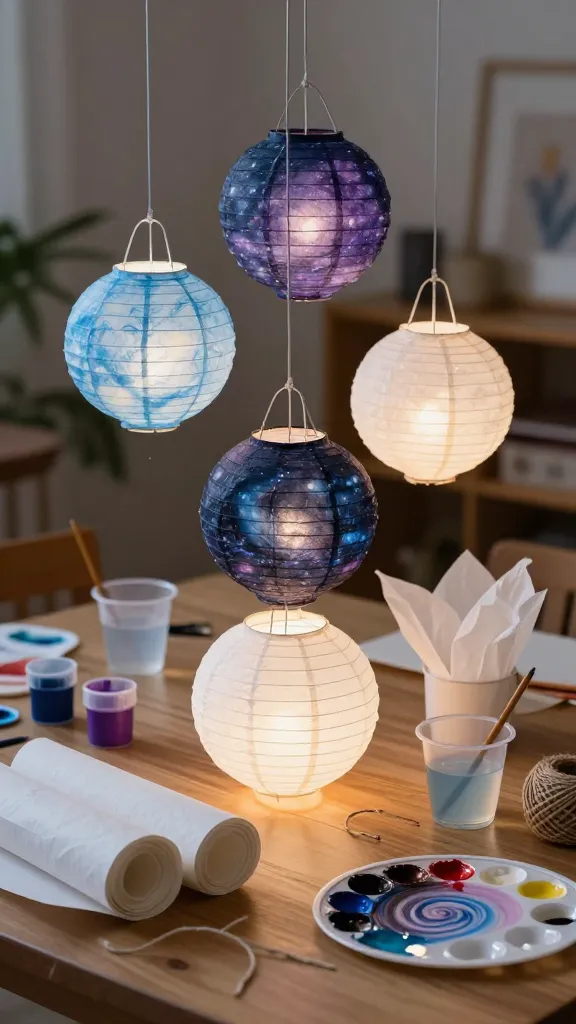
Light up a room with lanterns that look like tiny galaxies. These marbleized paper lanterns are fast, inexpensive, and incredibly satisfying to create. Plus, they glow softly, making study nooks feel magical.
Materials Needed
- Rolled paper lanterns or white tissue paper lanterns
- Tempera or acrylic paints (blue, purple, black, white)
- Plastic cup or palette for paint mixing
- Water in a cup for rinsing brushes
- String or twine for hanging
- Battery-operated LED tea lights
How to Make It
- Fill a tray with a few drops of each paint color, then swirl with a toothpick to create a marbled look.
- Dip a sponge or brush into the paint and dab onto the lantern surface in circular motions, layering colors as you go.
- Let dry, then hang with twine and place an LED light inside for a soft glow.
Pro Tips / Styling Ideas
- Group several lanterns at different heights for a starry ceiling effect.
- Add silver or gold flecks with a thin brush for extra cosmic sparkle.
- Use as party decor or to brighten a bedroom reading nook.
End Note
If you love a little drama and a lot of warmth, these lanterns are your jam. They’re quick, share-worthy, and transform plain space into a celestial retreat.
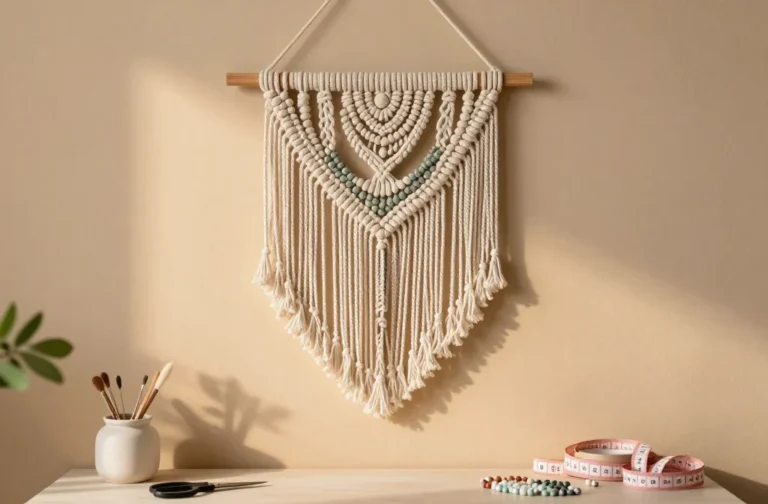
3. Textile Snapshot Wall Banner

Think mood boards meet DIY fabric art in a cheerful banner. This project is all about texture and color—great for bedrooms, study corners, or a classroom display. It’s a friendly way to show off sewing basics without getting tangled in complicated stitching.
Materials Needed
- Scrap fabric squares (varied colors and patterns)
- Plain banner fabric or a long strip of cotton canvas
- Fabric scissors
- Fabric glue or a needle and thread for simple stitching
- Alphabet iron-on letters or fabric paint
- Rope or ribbon for hanging
How to Make It
- Arrange fabric squares into a fun pattern on the banner fabric. Experiment with a gradient or a playful checkerboard.
- Glue or stitch squares in place, leaving a little space between for a quilt-like look.
- Decorate with the magic phrase or initials using iron-on letters or painted letters.
- Attach a loop of ribbon or rope for hanging and hang on a wall or door.
Pro Tips / Styling Ideas
- Swap out fabrics seasonally for a fresh look—summer brights vs. cozy autumn patterns.
- Add a border of pompoms or tassels for extra whimsy.
- Combine different textures: denim, flannel, lace, and corduroy scraps look amazing together.
End Note
This banner is a flexible, creative outlet that kids can design to reflect their style. It’s soft, tactile, and ultimately very “you.” Perfect for a personal space swap or a thoughtful dorm-room touch.
4. Mini Terrarium Jar With Painted Cogs

Whimsy meets a touch of steampunk in a tiny glass jar—minus the complicated mechanisms. These mini terrariums are easy to assemble and look incredibly polished on a shelf or desk. They’re a little science-meets-art project that stays visually compelling long after the glue dries.
Materials Needed
- Small glass jars with lids
- Colored gravel, sand, and moss
- Miniature plastic plants or spiky artificial succulents
- Tiny plastic gears or cogs (optional, for steampunk vibe)
- Hot glue or craft glue
- Water spray bottle (to adjust greenery)
How to Make It
- Layer gravel, sand, and moss inside the jar to create a miniature landscape.
- Top with a few plastic plants to mimic a tiny forest or garden scene.
- Drop in a couple of gears for a quirky mechanical touch. Glue in place if needed.
- Seal the lid with a little glue if you want to keep the setup pristine, or leave it loose for easy rearrangement.
Pro Tips / Styling Ideas
- Label each jar with a tiny painted tag for a dynamic display—think “Biome” or “Micro Garden.”
- Group jars on a tray with a few wood accents for a natural-yet-industrial vibe.
End Note
If you crave a blend of nature and quirky tech vibes, this terrarium twist nails it. It’s compact, visually striking, and endlessly adjustable as tastes change.
5. Texture-Heavy Cardboard Cityscape Keepsakes
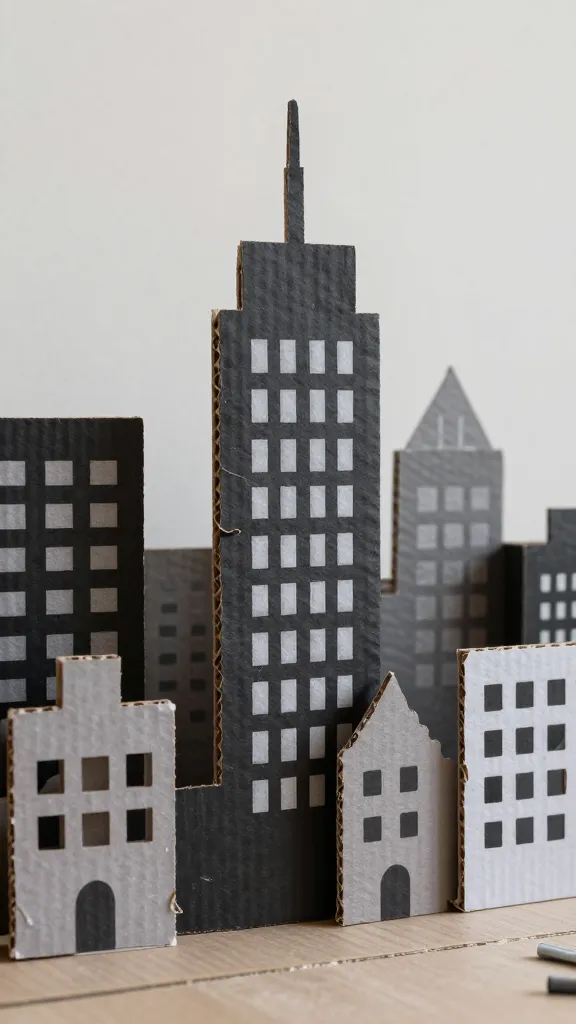
Turn scrap cardboard into a bustling little skyline full of character. This project is all about layering, texture, and bold silhouettes. It’s a perfect gift for grandparents or a fun room decoration that shows off a kid’s creativity and architectural curiosity.
Materials Needed
- Cardboard pieces in various thicknesses
- Paint (black, gray, white, and accent colors)
- Box cutter or scissors (adult supervision)
- Glue or mod podge
- Ruler and pencil for precise cuts
- Optional: metallic markers for windows and details
How to Make It
- Sketch a simple city silhouette on the largest cardboard panel, then cut out layers to create a layered skyline.
- Paint the pieces in a gradient of dark to light tones, adding windows with dots or tiny rectangles.
- Stack and glue the layers, offsetting some to create depth. Add a horizon line and a tiny sun or moon if you like.
- Seal with a matte finish for durability and a crisp look.
Pro Tips / Styling Ideas
- Place on a mantle or desk as a dramatic focal point. Add LED strips behind for a backlit wow factor.
- Use as a personalized “city” for stories or imagination prompts—great for creative writing time.
End Note
This project celebrates bold shape, contrast, and DIY confidence. It’s incredibly satisfying to see a cityscape emerge from humble cardboard—trust me, your future self will thank you for the clever setup.
6. Glow-In-The-Dore Doodle Jar: Floating Messages
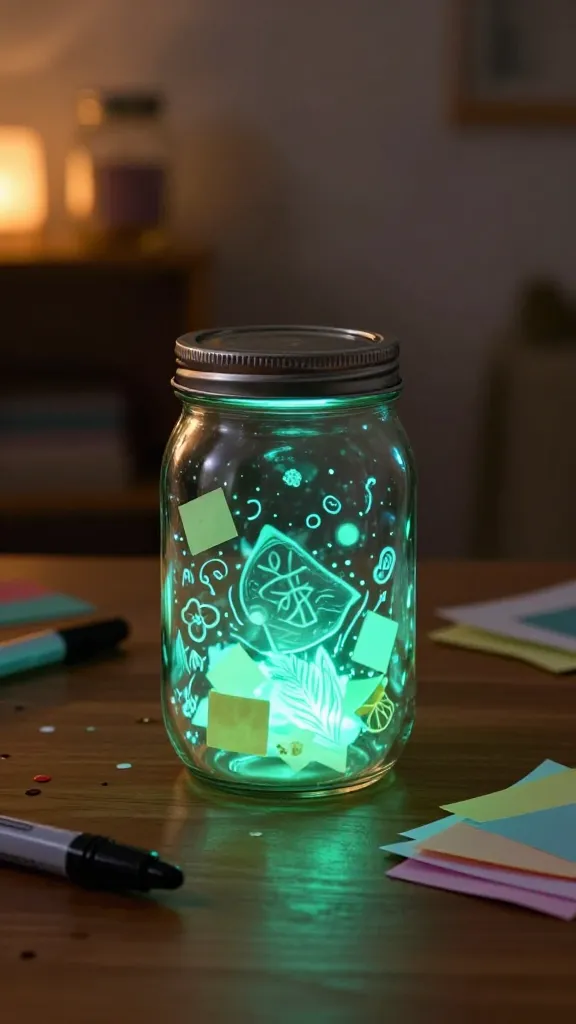
Fill a jar with glow-in-the-dark doodles and tiny notes for a magical surprise. This is a fantastic after-dark project that kids can curate with messages for friends, siblings, or parents. It’s part keepsake, part secret-lantern, and totally shareable.
Materials Needed
- Clear glass jar with lid
- Glow-in-the-dark paint or tape
- Fine-tip permanent markers for doodling
- Small paper slips with positive messages or drawings
- Confetti or tiny decorative items (optional)
How to Make It
- Draw doodles and write messages on the inside walls of the jar with the markers. Layer with a few slips of paper and confetti for texture.
- Sprinkle in a few glow-in-the-dark elements or apply glow tape around the rim.
- Charge the glow by exposing it to bright light for a few minutes, then enjoy the soft glow in the dark.
Pro Tips / Styling Ideas
- Write a weekly message or a gratitude note and rotate it to keep the glow fresh.
- Gift as a “daily inspiration” jar for a friend or family member—super thoughtful and low-pressure to assemble.
End Note
Who wouldn’t love a jar that shines with tiny words of encouragement? It’s a cozy, comforting project that doubles as a mood-lifter and a keepsake. Seriously, it’s a win for after-dusk creativity.
Conclusion
All six crafts are designed to be approachable, colorful, and endlessly customizable for 5th and 6th graders. Grab some supplies, pick a project, and dive in—each one is a little celebration of creativity that you’ll want to pin, share, and repeat. Have fun, make mistakes, and enjoy the glow of finished pieces you’re genuinely proud of.