6 Craft Ideas Using Seashells for Coastal Creations
I’ve got a shell stalker confession: seashells aren’t just scavenged souvenirs. They’re tiny treasure chests begging to be turned into something delightful. If you’ve ever stared at a pile of beach finds and thought, “What now?” this is for you. We’ll turn those spirals, ridges, and iridescent edges into six crafty ideas you can actually finish before the tide comes back in. FYI, your living room might smell faintly of salt and possibility after this.
1. Shell-Inspired Wall Art That Feels Boutique, Not Beachy-Grocery Store
Turn a sleepy bare wall into a gallery of coastal chic. Your mission: create a simple, impact-driven piece that says, “I went to the beach, but I didn’t litter the entire shoreline.” Here’s how:
– Collect shells of various shapes and sizes, then rinse and dry them.
– Arrange them on a strong, flat backing like a wooden plaque or canvas board.
– Glue with a hot glue gun in a pattern you love—think a gentle gradient, a heart shape for whimsy, or a busy mosaic for drama.
If you want a polished finish, seal the whole thing with a clear spray or resin. The result: a wall piece that looks professionally curated and totally handmade. And yes, you can reuse an old frame to save money. Pretty satisfying, right?
Subsection: How to choose shells that actually look good together
– Pick a color family: whites and creams for a minimalist vibe, or iridescent blues and pinks for a pop.
– Mix textures: smooth whelks with ridged scallops create depth.
– Don’t overpack it: negative space gives your eye a rest and makes the shells feel intentional.
2. Jewelry‑Wall: Wearable Seashell Delights
If you’ve ever wanted to carry a tiny bit of the beach with you, this one’s for you. Jewelry that’s easy to DIY, surprisingly sturdy, and keeps your tan lines honest.
What you’ll do:
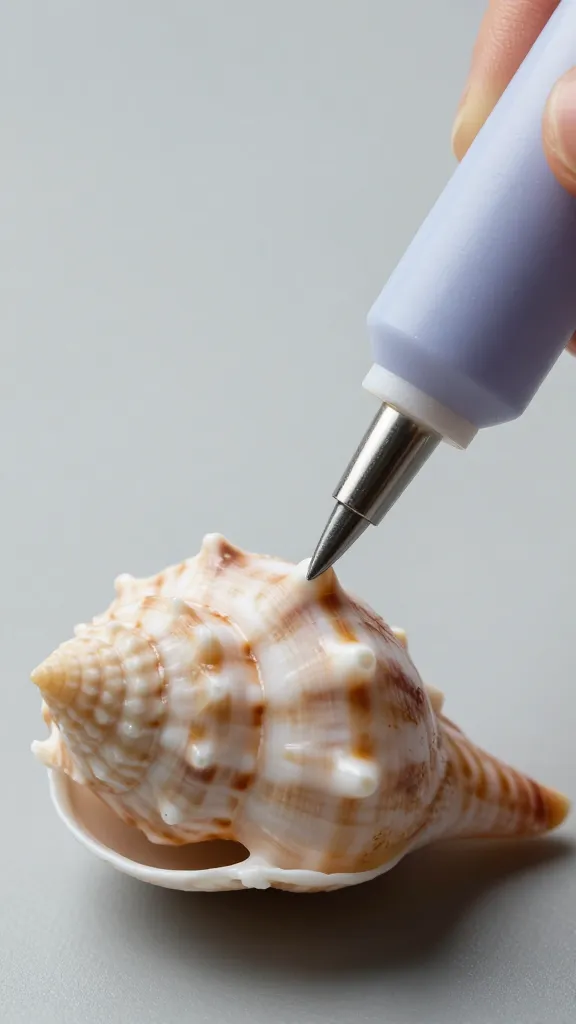
– Clean shells thoroughly; remove any sharp edges with light sanding.
– Drill tiny holes near the edges for pendant strings or earring hooks (careful—some shells crack if you’re not gentle).
– Use jump rings, cords, or thin chain to assemble simple pieces: a bracelet with a few tiny shells, or a pendant on a leather cord.
For a modern twist, pair shells with raw brass or matte black findings. And if you’re worried about fragility, choose durable shells like large whelks or cowries and seal them with a clear resin to prevent chipping. IMO, this is the perfect gift for someone who already has every beachy tchotchke imaginable.
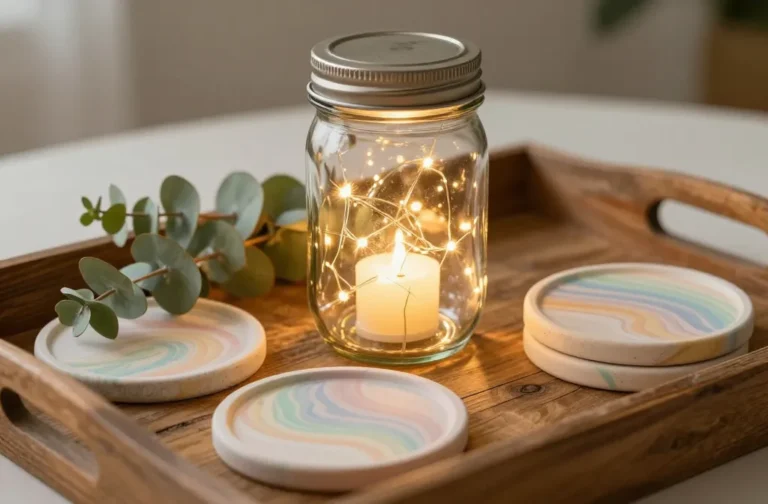
3. Shell Magnets and Coasters: Everyday Fun, Everyday Use
Here’s a quick win: transform shells into practical items your kitchen and fridge will actually appreciate.
– Shell magnets: clean shells, attach small magnets with strong epoxy, and maybe a dab of paint to brighten the look.
– Shell coasters: glue shells onto cork or wooden squares in a neat grid; seal with clear epoxy to make water wipeable.
Tip: mix in a few flat shells with fewer curves to avoid a lopsided look. The best part? You’ll finally have a reason to keep a shell collection around beyond “I’ll turn them into something someday.”
4. Seashell Wind Chimes: Soundscapes from the Shore
Want a musical seaside mood that won’t blow away in a gust? Wind chimes are your jam. They’re satisfying to assemble, and the tinkling sound can be oddly therapeutic.
What to grab:
– A sturdy ring or hoop for the base
– Thin fishing line or sturdy string
– A handful of shells with natural holes or drilled holes
– Small bells or wooden beads (optional)
How to assemble:
– String shells at different lengths so they sway independently.
– Tie knots securely at each attachment point to reduce tangles.
– Add a personal touch with a slip of driftwood as the top hanger or a painted wooden tag with a blessing or your name.
FYI: heavier shells make deeper tones, lighter ones create higher, tinklier sounds. If you want a longer-lasting chime, waterproof your strings with a dab of clear nail polish.
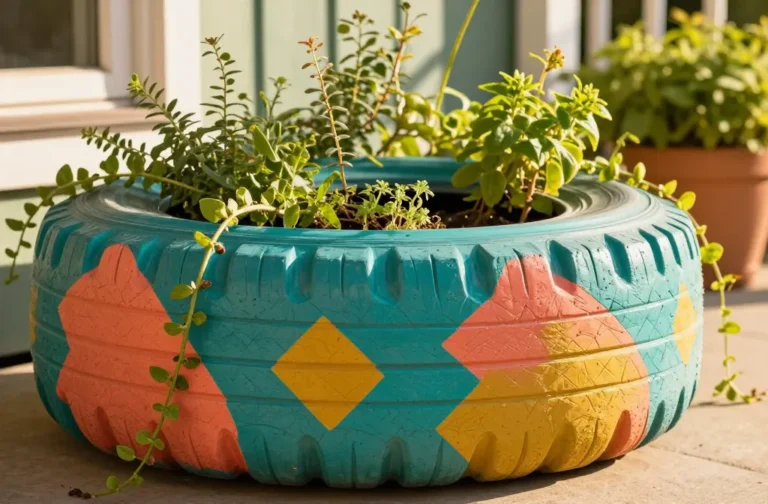
5. Beachy Planters and Trinket Boxes
Bring the beach literally indoors with planters and tiny keepsake boxes covered in shells. It’s a soothing project that yields charming results for any shelf, desk, or window ledge.
What you’ll do for planters:
– Pick a plain terracotta pot or a small ceramic container.
– Glue shells around the exterior in a decorative pattern—spirals, a wave motif, or a border at the top.
– Seal the shell-adorned surface with clear resin or outdoor sealant to protect from moisture.
For trinket boxes:
– Take a small wooden box and glue shells around the lid or sides.
– Consider painting a pale beachy color beneath the shells so they pop.
– Finish with a sealant that’s safe for indoor use.
Want a double win? Fill the planters with hardy succulents or air plants, so you get green life and shells in one package. IMO, it’s the perfect “I’m cozied up at home” vibe.
6. Upcycled Shell Diaries, Notebooks, and Journals
Okay, you can’t all be diary entries from mermaids, but you can make a beautiful notebook cover that turns any jot into a tiny postcard from the coast.
Steps:
– Choose a hardcover notebook with a plain cover.
– Arrange shells on the cover in a design you adore. You can glue directly or use a thin sheet of Mod Podge as a protective layer.
– Seal everything with a layer of clear Mod Podge or resin so the shells stay put through daily use.
If you’re worried about durability, simply attach a decorative shell to a detachable flap that closes the notebook. This keeps the shells at the surface while you protect your notes.
Subsection: Quick-start kit and safety tips
– Gather a small, organized kit: shells, glue, sealant, sandpaper, and a brush or sponge for applying glue and resin.
– Always wash shells to remove sand and salt. Dry completely before any glueing.
– Use protective gear when drilling or sanding: safety glasses to protect eyes from tiny shell fragments.
– Work in a well-ventilated space when applying sealants or resin—these fumes aren’t vibes.
What to do with leftover shells?
– Sort by color or size and keep them in a decorative jar.
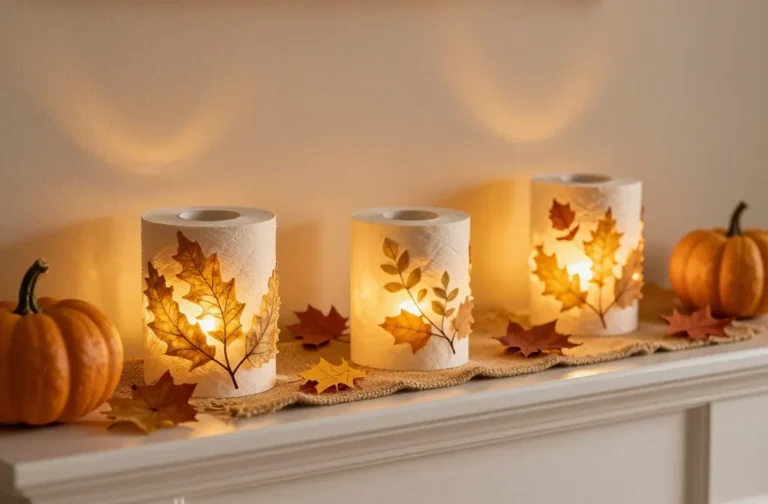
– Use them for seasonal crafts, like autumn wind ornaments with a few teal accents mixed in.
– Donate extras to local schools or community art projects. Sharing is caring, plus it gives your shells a second life.
Final Touch: Making It Your Own
So you’ve got six ideas. Now it’s time to remix them into your own bespoke collection. Ask yourself: what space needs a little sunshine? Is there a wall that cries out for texture, or a desk that could use a coastal pep talk? The beauty of seashell crafts is that you can scale up or down, mix and match, and still end up with something totally you.
– Start small: pick one project and finish it this weekend.
– Mix materials: pair shells with wood, fabric, or metal for contrast.
– Personalize: add initials, dates, or favorite colors to make it feel truly yours.
Conclusion
Seashells aren’t just decorations; they’re versatile, tactile prompts to get creative. The six ideas above are just the beginning. Whether you want bold wall art, wearable keepsakes, or practical trinkets you’ll actually use, shells can ride along in your craft journey. So grab a bag, head to your crafting corner, and start turning those beach finds into something you’ll actually brag about at your next Zoom call. IMO, you might just surprise yourself with what you can make when you’re not overthinking it.
FAQ
1. Do I need fancy tools for these projects?
Paraphrase: Not at all. A hot glue gun, a safe drill (for shells with holes), some sandpaper, and a clear sealant are enough to get started. You can improvise with household items, and you’ll learn what you actually need as you go.
2. How do I prevent shells from cracking during crafting?
Keep shells at room temperature, handle gently when drilling, and use a light touch with glue. If a shell cracks, you can hide the flaw in a mosaic or paint it to look intentional.
3. Can I use artificial shells if I don’t have many real ones?
Absolutely. Real shells have a charm, but painted or resin-coured faux shells can achieve the same aesthetic. It’s okay to borrow from the store if your local coastline isn’t cooperating.
4. How long do these projects typically take?
Most of these projects can be done in an afternoon. If you’re slow-and-steady or want a more complex piece, give yourself a weekend. It’s not a race; it’s a craft therapy session.
5. Are there safety concerns with resin?
Yes. Work in a well-ventilated area, wear gloves, and follow the resin product’s safety instructions. Clear epoxy creates a glassy, durable finish, but it’s not something you want to inhale or splash around recklessly.
6. Any tips for gifting shell crafts?
Put them in simple packaging—think twine, a kraft paper wrap, and a small handwritten note. People love a personal touch. Bonus points for including a short story about the shell’s journey from the shore to their home.