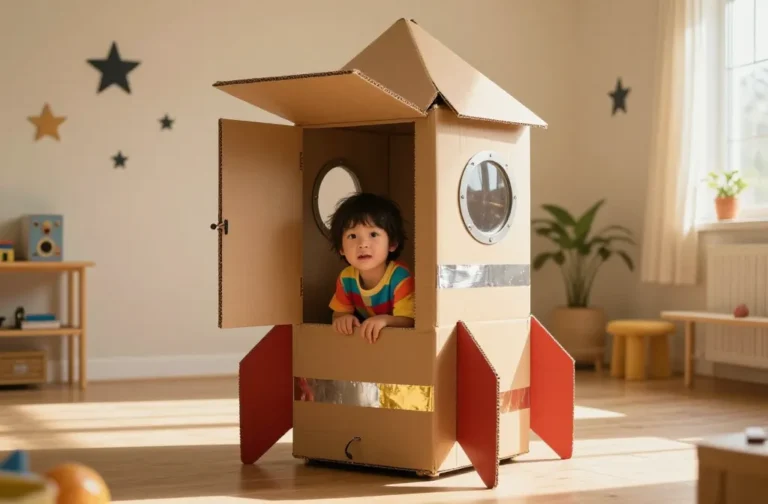
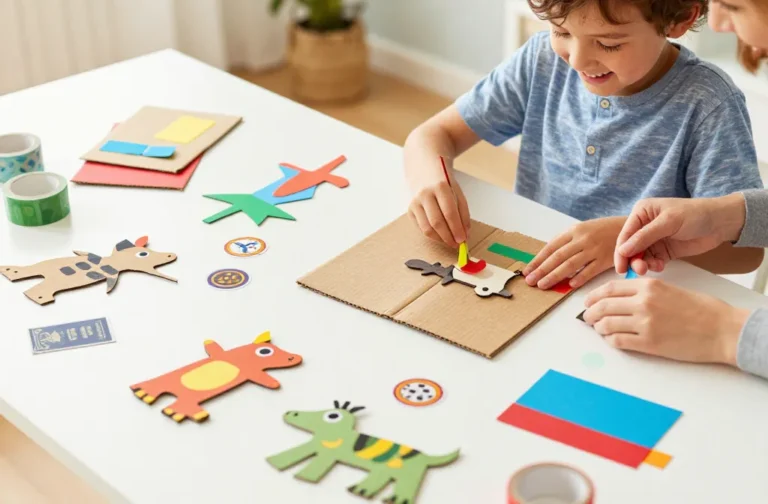
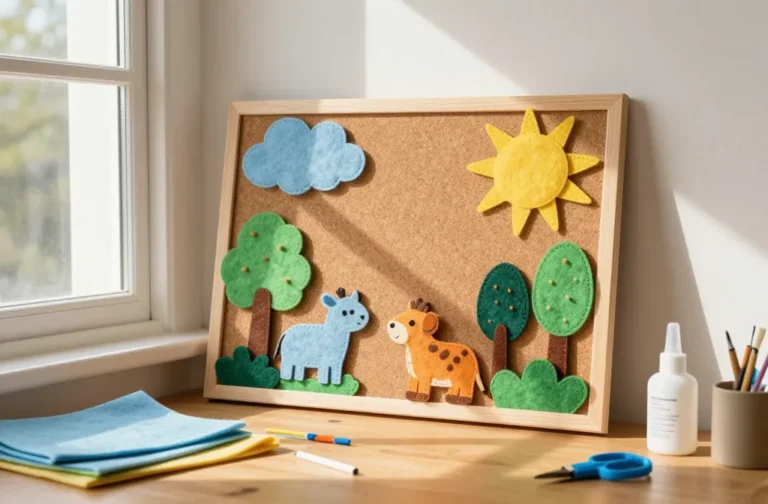
6 Engaging Craft Ideas for a 12-Year-Old Boy
Ready for a weekend full of creativity and cool swaps you’ll actually want to show off? These six ideas are crafted to spark imagination, be easy to tackle, and scream “collector-worthy” when finished. Trust me, your 12-year-old will be begging to dive back in, and you’ll love the tangible, brag-worthy results.
1. Neon Cardboard Arcade Cabinet: Mini Gamer’s Paradise
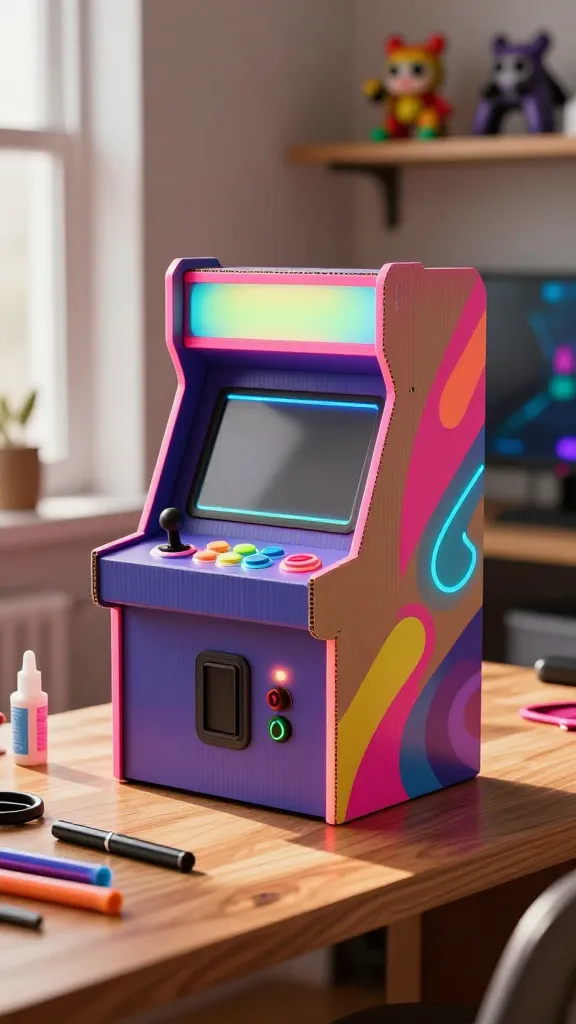
Imagine a compact arcade cabinet perched on a desk, flashing neon lights and ready-to-press buttons. This project turns simple cardboard into a playful centerpiece that doubles as a storytelling prop or a keepsake of favorite games. It’s bright, bold, and surprisingly sturdy.
Materials Needed
- Sturdy cardboard (a large cereal box works well)
- Acrylic craft paints in neon hues
- Black duct tape or electrical tape
- Printer paper, markers, glue, scissors
- Glue gun and glue sticks
- Common craft supplies: ruler, pencil, safety cutter
How to Make It
- Sketch a simple arcade cabinet silhouette on cardboard, then cut out the panels.
- Assemble with glue and tape, reinforcing edges for a sturdy look.
- Paint a bold black base, then add neon accents, buttons, and a faux screen with printable art.
- Glue in a small speaker from a thrifted toy and finish with a catchy game title.
Pro Tips / Styling Ideas
- Use glow-in-the-dark paint for accents so it pops after dusk.
- Leave a slot for a pretend coin insert, or replace with a USB drive to mimic a modern arcade vibe.
- Place it on a low shelf with a few retro game posters for a teen-approved aesthetic.
End Note
Who would love it? Kids who adore gaming lore, makers who want a flashy desk feature, and anyone chasing a bold statement piece. It’s seriously a showstopper you’ll proudly display.
2. Custom Magnet Mosaic Wall Clock: Time Tells a Tale
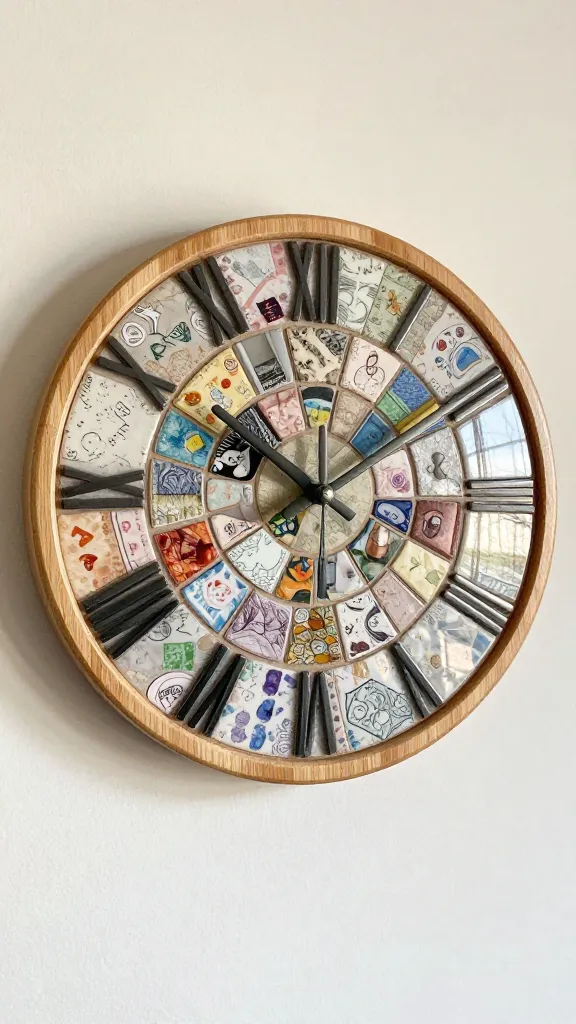
Turn a plain clock into a mini gallery where each magnet tile tells a story. This project blends craft with a dash of design magic, and the result is a functional piece that doubles as wall art. Your space will feel instantly cooler and more personal.
Materials Needed
- Plain wooden clock base or a circular frame kit
- Magnetic tiles or small flat magnets
- Acrylic paints and brushes
- Strong adhesive (hot glue works)
- Printed photos, doodles, or fabric scraps for tile designs
How to Make It
- Paint the clock face in a bold, modern color palette.
- Arrange magnetic tiles across the face to form a mosaic; secure with adhesive.
- Decorate each tile with mini designs—initials, tiny icons, or mini prints—then seal with a light spray sealant.
Pro Tips / Styling Ideas
- Use a cohesive color family (neons with charcoal, or blues and coppers) for an on-trend look.
- Switch up tiles seasonally: sports icons in winter, suns and waves in summer.
- Hang with a sleek, matte black frame to elevate the gallery vibe.
End Note
If you’re into personal decor with a playful twist, this clock is your jam. It’s a conversation piece that’s easy to customize and endlessly changable.
3. DIY Card Slot Wallet: Slick Card Holder With a Techy Twist
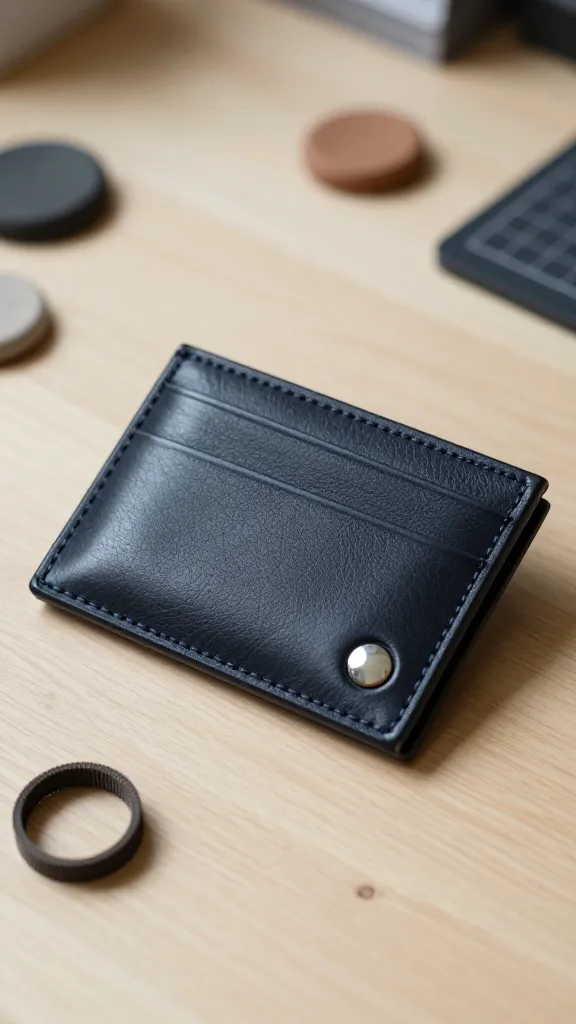
Who says a wallet has to be boring? This leather-style, tech-inspired card slot wallet is compact, durable, and perfect for gifting or semester show-and-tell. It feels grown-up but is totally doable for a crafty teen.
Materials Needed
- Air-dry clay or faux leather sheet (recyclable): color choices in charcoal, tan, and metallic
- Elastic band or magnetic snap for closure
- Rivet starter kit (optional for extra flair)
- Craft knife, ruler, and cutting mat
- Decorative stamps or decals
How to Make It
- Cut two card-sized pieces from your material; shape one with rounded corners.
- Score a pocket between the two pieces; lock into place with a notch or pocket design.
- Attach the elastic band or snap for the closure and add subtle faux-stitch detailing with a thin pen or paint.
Pro Tips / Styling Ideas
- Add a tiny monogram or a favorite symbol on the front for a personalized touch.
- Pair with a matching lanyard or keychain for a complete set you’d actually want to carry.
End Note
Totally practical and surprisingly sturdy, this wallet is loved by teens who crave sleek, pocket-sized accessories that still show a bit of personality.
4. Upcycled Wooden Sword Hunt: A Safe, Scroll-Worthy Prop
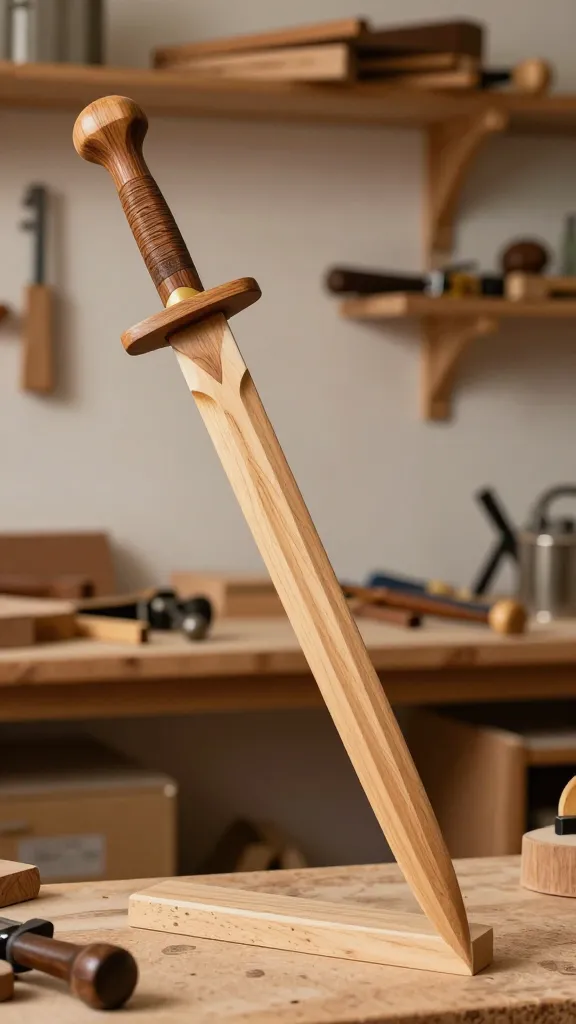
Channel treasure-hunt energy with a wooden, safe-for-home prop that looks museum-worthy on a shelf. This project blends woodworking basics with a dash of adventure-ready drama, perfect for play, cosplay, or storytime theatrics.
Materials Needed
- Thin planks of light plywood or craft wood
- Non-toxic wood stain or paint in bronze and forest tones
- Foam or soft tip for the tip end (for safety)
- Wood glue, sandpaper, and a small dowel for the guard
- Printed decal flag or fabric for a pennant
How to Make It
- Cut the blade shape from the wood, then sand edges to a smooth finish.
- Attach a small dowel to form a guard and smooth the transition with glue and sandpaper.
- Paint or stain the blade with aged, metallic tones; add a fabric pennant for flag flair.
Pro Tips / Styling Ideas
- Keep the base light and balanced so it doesn’t tip on display.
- Pair with a rustic display stand and a few antique-rust props for a cohesive vibe.
End Note
Who’s this for? Fans of fantasy and storytelling, or anyone looking to decorate a kid-friendly “hero corner.” It’s safe, visually striking, and totally collectible.
5. Solar-Powered Night Sky Lanterns: Glassless Glow Orbs
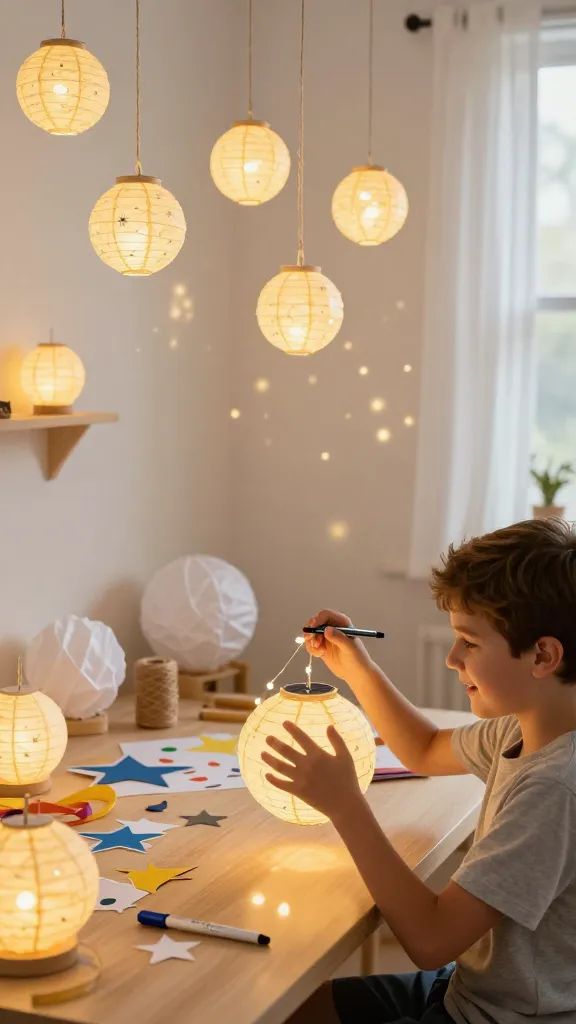
Bright, airy, and surprisingly simple, these lanterns conjure a starry night indoors. Use them as a desk feature, a room ambiance piece, or a party favor that glows with personality. You’ll love the soft glow and the easy, kid-friendly assembly.
Materials Needed
- Paper lanterns or DIY tissue-paper spheres
- Small solar-powered LED string lights
- Glow-in-the-dark paint or metallic markers
- Twine or ribbon for hanging
- Optional star-shaped stencils
How to Make It
- Paint a dreamy night-sky pattern on the lanterns using glow-in-the-dark paint for a subtle after-dark glow.
- Wrap the LED lights around the inside, secure the solar panel to the exterior, and hang with twine.
- Add star shapes with stenciling for extra whimsy.
Pro Tips / Styling Ideas
- Line them along a windowsill or hang in a group for a magical ceiling effect.
- Mix sizes for a constellation-inspired installation.
End Note
Who would adore this? Anyone who enjoys cozy lighting, room makeovers, or a science-meets-art vibe. It’s soft, sustainable, and seriously charming.
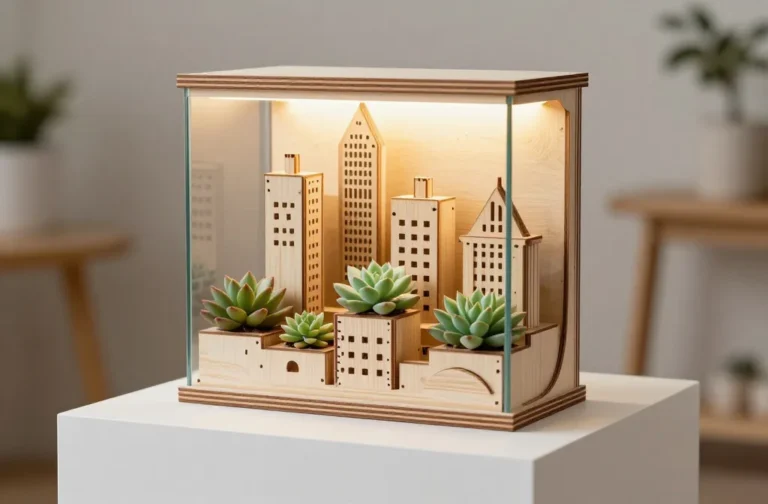
6. DIY Terrarium Rocket Kit: Tiny Greenhouse, Big Imagination
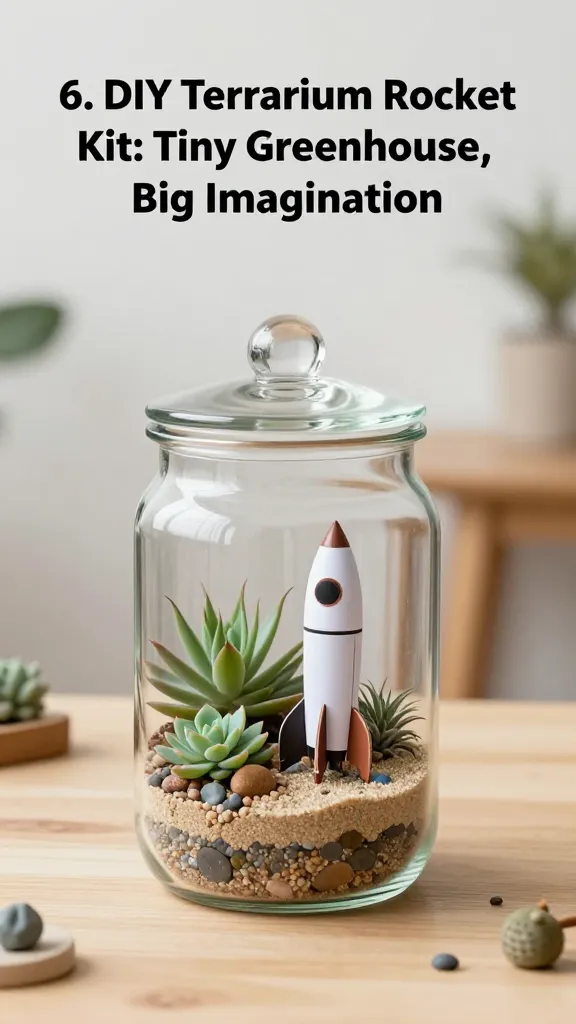
A tiny world inside a glass container—this terrarium rocket kit fuses biology-inspired curiosity with kid-friendly craft. It’s a perfect blend of science, design, and play, and it looks incredible on a desk or shelf.
Materials Needed
- Glass terrarium jar with lid or clear plastic container
- Small succulents or air plants
- Colored sand, tiny pebbles, and decorative figurines
- Mini plastic rocket or DIY paper rocket
- Fine-grain gravel for drainage
How to Make It
- Layer sand and pebbles at the bottom for a moon-like base.
- Plant the succulents or place air plants, ensuring roots have air and space.
- Top with a tiny rocket figure and a few decorative accents to evoke a space launch vibe.
Pro Tips / Styling Ideas
- Label the rocket with a tiny chalkboard tag for a fun “mission control” touch.
- Change up the plant choices with the seasons for a living diorama that evolves.
End Note
Perfect for curious minds who love a good sci-fi twist. It’s a micro-adventure you can watch grow as the plants thrive.
Conclusion
These six Engaging Craft Ideas for a 12-Year-Old Boy are designed to spark imagination, be approachable, and deliver standout results. Pick one (or dive into all six) for a weekend of creativity that’s both fun and proudly shareable. You’ll love the energy, the finished pieces, and the sense of accomplishment that comes with crafting something totally original.