6 Fun Birthday Party Crafts for 8-Year-Olds
Ready to turn a birthday into a full-on craft-fest? These six unique DIY ideas are playful, easy, and perfect for curious eight-year-olds. Trust me, kids will come back for seconds and you’ll love how simple they are to set up.
FYI, each project is designed to be independent with its own vibe—no overlaps, no clone ideas. Let’s dive into six totally distinct crafts that make party time sparkle.
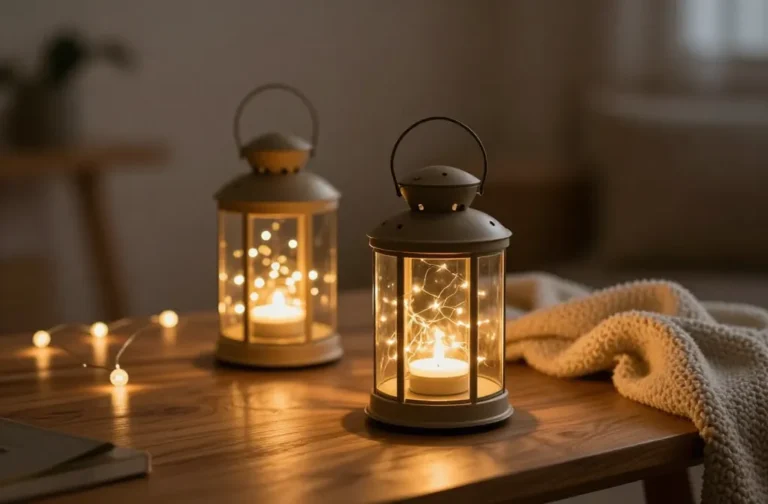
1. Glow-In-The-Droplet Mason Jar Night Lights
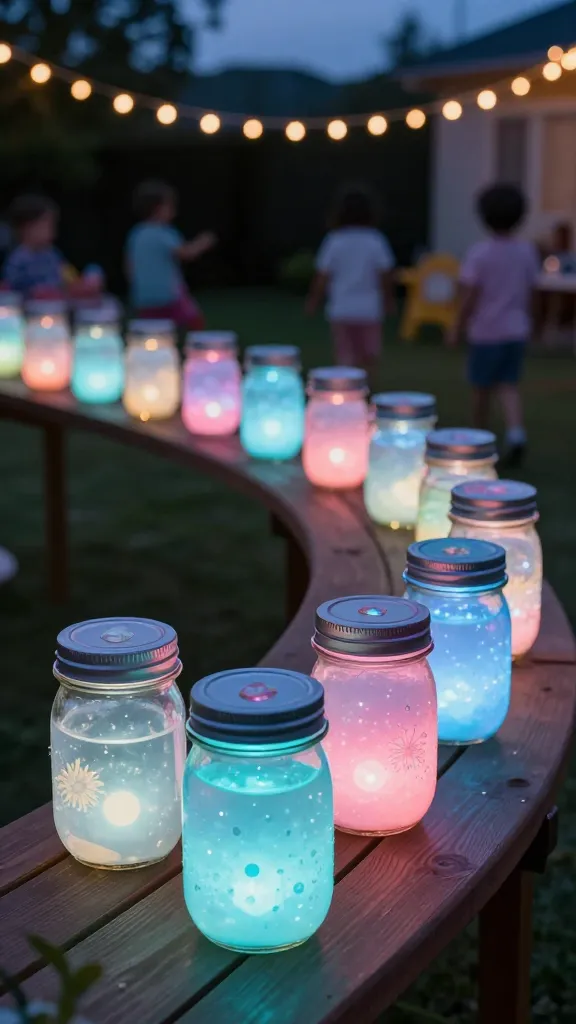
Imagine a circle of bubble-glow jars lining the party table or lighting the backyard after dusk. These little night lights feel magical without being fussy. The finished jars glow softly, casting dreamy blue and pink tones that kids will adore.
Materials Needed
- Mason jars (clear, medium size)
- Glow-in-the-dark paint or UV-reactive acrylic paint
- Paintbrushes
- Battery-operated tea lights
- Thin ribbon or twine for lid decorations
- Optional: Stickers or marble beads for added texture
How to Make It
- Paint the inside of each jar with a few swirls or polka dots. The glow will pop through once the lights are on, so bold colors work best.
- Let the paint dry completely, then place a tea light inside (battery-powered only, no real flame).
- Decorate the lids with ribbon or twine, and add a small sticker or bead charm for personality.
Pro Tips / Styling Ideas
- Line them along the path to the party area or use as table centerpieces for a magical glow.
- Pair with lightweight tissue paper clouds suspended above for a dreamy sky effect.
- Use different color palettes per table or guest group for a playful variety.
End note: This craft is perfect for beginners and ages 8 and up. Kids will love turning plain jars into twinkling night lights to take home or keep for next time.
2. Pocket-Sized Pop-Up Creature Bookmarks
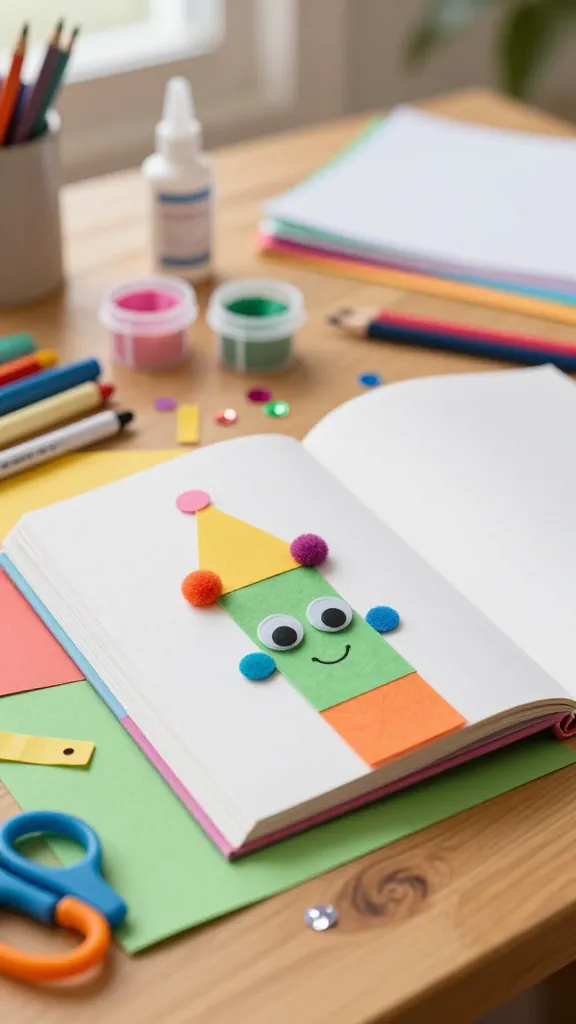
Bookworms unite! These tiny, friendly bookmarks sneak into reading time with character. Each kid designs a mini creature that peeks over the page—super cute and totally functional.
Materials Needed
- Colored cardstock or thick scrapbook paper
- Scissors
- Googly eyes, washi tape, small pom-poms
- Glue sticks or craft glue
- Markers or colored pencils
- Ribbon cut into 6–8 inch pieces (optional)
How to Make It
- Cut a strip about 2 inches tall and 6 inches wide to form the bookmark base. Fold in half lengthwise.
- Decorate the front with your creature design—think squiggle monsters, little dragons, or cheeky cats.
- Glue a small beak, ears, wings, or antennae from extra cardstock and attach googly eyes and embellishments.
- Punch a tiny hole at the top and thread a ribbon for a dangling tail (optional).
Pro Tips / Styling Ideas
- Give each creature a name and a tiny “bio” on the back for a mini library scavenger hunt.
- Pack sets of 6 as party favors or use them as a classroom reading challenge reward.
End note: Parents will love how portable these are, and kids will love the character-driven designs. It’s a win for imagination and literacy in one cute package.
3. Waffle Cone Confetti Party Hats
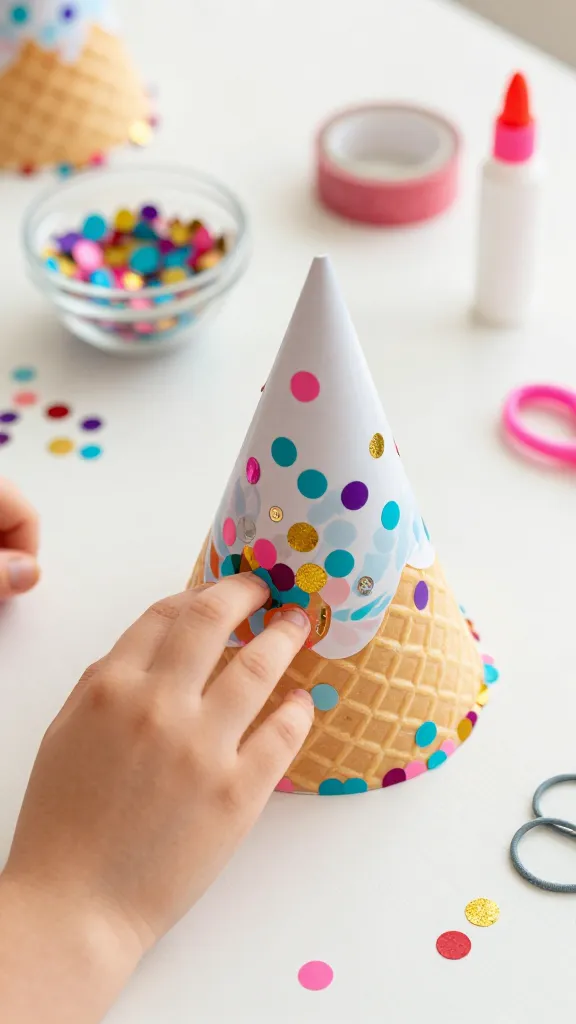
Party hats are a must, and these edible-looking, paper-thin conical hats bring whimsy without the mess. The waffle cone texture plus bright confetti is delightfully playful and surprisingly simple.
Materials Needed
- Conical craft hat bases (cardstock or pre-made party hats)
- Assorted confetti, sequins, and hole-punch confetti shapes
- Glue sticks
- Washi tape for accents
- Elastic string or ribbon to secure under chin
How to Make It
- Decorate the cone with a layer of glue and press confetti and sequins onto the surface in random patterns.
- Add a few strips of washi tape around the base for a finished edge.
- Attach elastic or ribbon to hold the hat in place, tying a bow underneath the chin.
Pro Tips / Styling Ideas
- Match colors to the birthday theme for a cohesive display (think rainbow confetti or neon pops).
- Offer mini personalized hats by writing each guest’s name on the base with a fine-tip marker.
End note: Lightweight, cost-effective, and endlessly photo-friendly—the perfect accessory for birthday selfies and party games.
4. Texture-Tastic Felt Balloon Surprise Pins
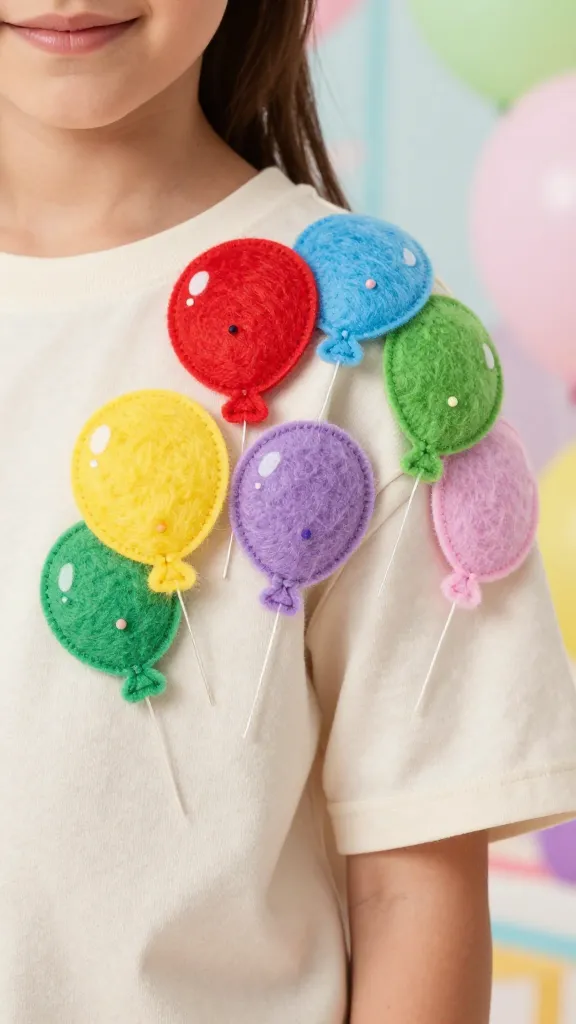
Tiny needle-free felt pins add a tactile twist to party fashion. Kids can customize balloon pins with a surprise inside—like a small pom-pom or bead—hidden within a felt balloon body. It’s mindful crafting with a playful reveal.
Materials Needed
- Assorted colors of felt
- Needleless craft pins or brooch backs
- Poly-fil or small pom-poms
- Optional: embroidery floss, tiny beads
- Glue or fabric glue
How to Make It
- Cut two identical balloon shapes from felt and stitch (or glue) around the edge, leaving a small opening for stuffing.
- Fill with a tiny pom-pom or bead before sealing the opening securely.
- Attach a pin back to the back of the felt balloon with glue and let dry completely.
Pro Tips / Styling Ideas
- Place a few finished pins in a decorative display tray for quick access during games.
- Let kids trade pins as party “toujours” for a fun social moment.
End note: Subtle, textural, and totally adorable. Pin-making becomes a conversation starter and a keepsake craft kids will wear proudly home.
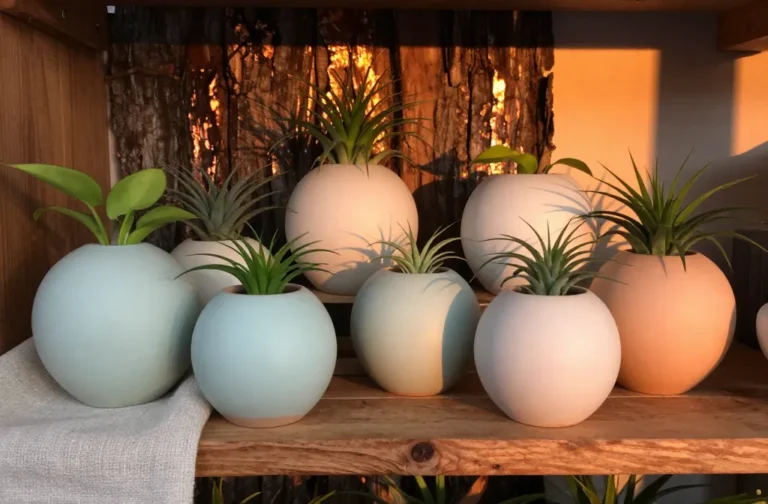
5. Seashell Dream Jars (Inside a Bottle)
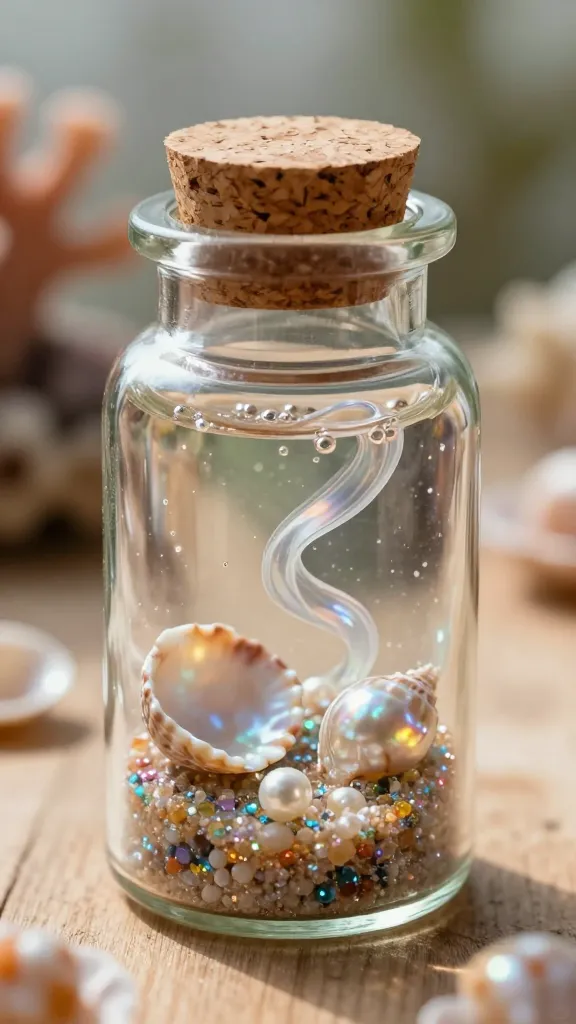
A tiny underwater world sealed in a bottle—this craft blends glam, science, and a dash of imagination. The glossy shells, glittery sand, and a pinch of colored water create a mini biome that fits in a kid’s palm.
Materials Needed
- Small clear glass micro bottles with cork stoppers
- Colored sand or glitter mix
- Miniature shells or faux pearls
- Water
- A drop of glycerin (optional, to slow movement)
- Hot glue gun (adult supervision required)
How to Make It
- Pour a base layer of colored sand or glitter into the bottle.
- Layer shells, then add a tiny pinch of glitter for sparkle.
- Fill with water, add a drop of glycerin if you have it, and seal with the cork.
Pro Tips / Styling Ideas
- Label each bottle with a name and a tiny date from the party for a personal touch.
- Wrap the neck of the bottle with a twine bow for a nautical vibe.
End note: This one is seriously dreamy and perfect as a decorative keepsake. It’s a little science lesson wrapped in a magical coastal glow.
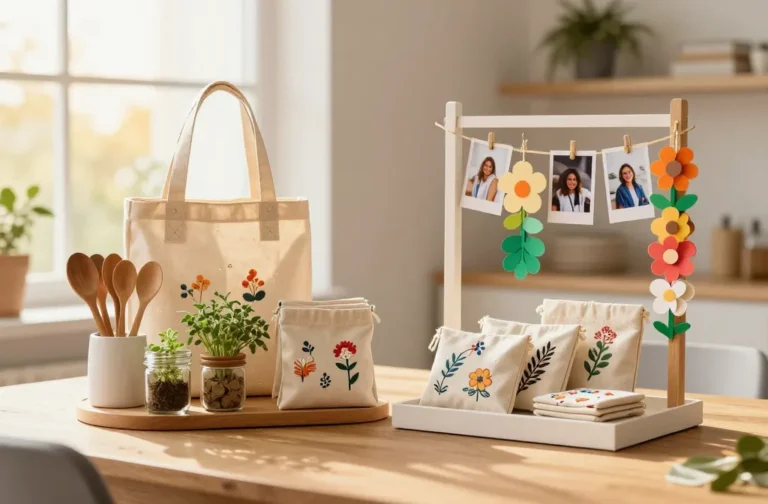
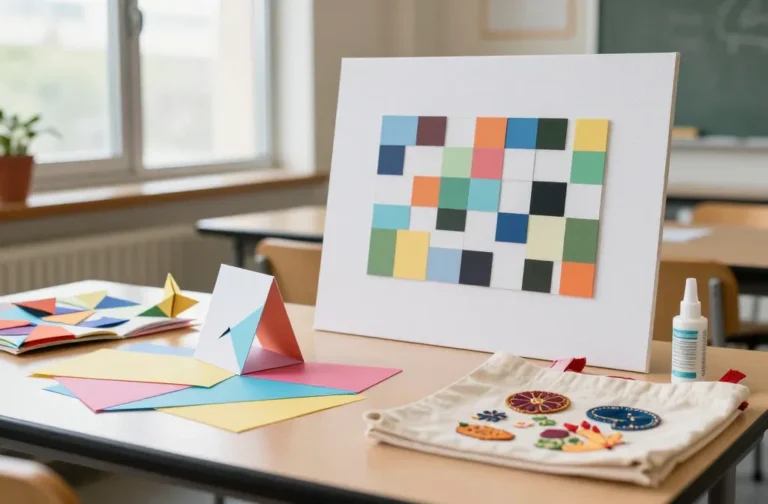
6. Mini Mosaic Story Frames
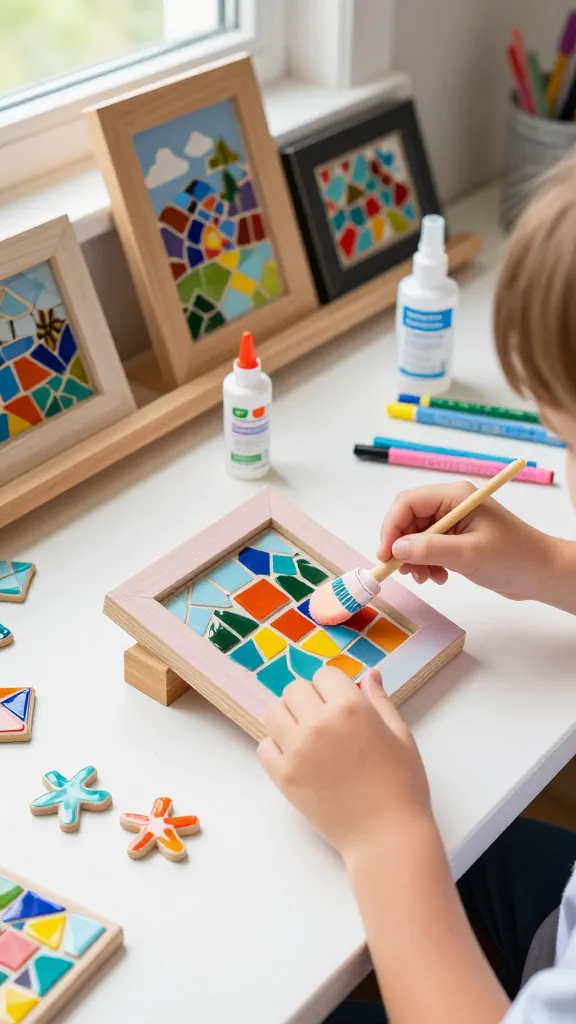
Turn plain frames into tiny artwork galleries. Kids arrange colorful mosaic tiles to create a story frame—each kid’s scene becomes a snapshot of their imagination. It’s a sweet display piece and a wonderful gift idea.
Materials Needed
- Small wooden frames (5×7 or 4×6)
- Colored ceramic tiles or paper mosaic tiles
- Non-drying Mod Podge or clear craft glue
- Foam brush or small paintbrush
- Fine-tipped markers for outlining
- Clear sealant spray (optional, adult-use)
How to Make It
- Paint the frame in a base color and let dry.
- Arrange mosaic tiles on the frame to form a border or an abstract scene.
- Glue tiles in place and seal with Mod Podge to keep everything secure.
- Optionally, draw tiny details or a border with markers for extra punch.
Pro Tips / Styling Ideas
- Provide small paper prints or party photos to slip into each frame for a personalized gift.
- Group frames into a cluster on a wall for a bold, colorful display.
End note: A little art studio, a little gallery wall, all in one adorable craft. It’s a heartwarming way to celebrate each guest’s creativity.
Conclusion
These six crafts are designed to be uniquely different—no overlapping ideas, each with its own vibe, color story, and brag-worthy finish. Dive in with a playful spirit, assemble quick kits, and let the kids lead the way. You’ll end the party with full hearts, happy kids, and a bunch of adorable keepsakes that say: we had a blast making memories.