6 whimsical crafts for senior citizens
Ready to sprinkle some joy into your days with simple, charming projects? If you’re age 60 and fabulous (or anyone who loves a cozy, creative moment), these crafts are crafted with care—easy, engaging, and perfectly shareable.
Trust me: these six ideas mix nostalgia with fresh flair, so you’ll have fun while making something absolutely adorable. FYI, you’ll be hooked after the first one.
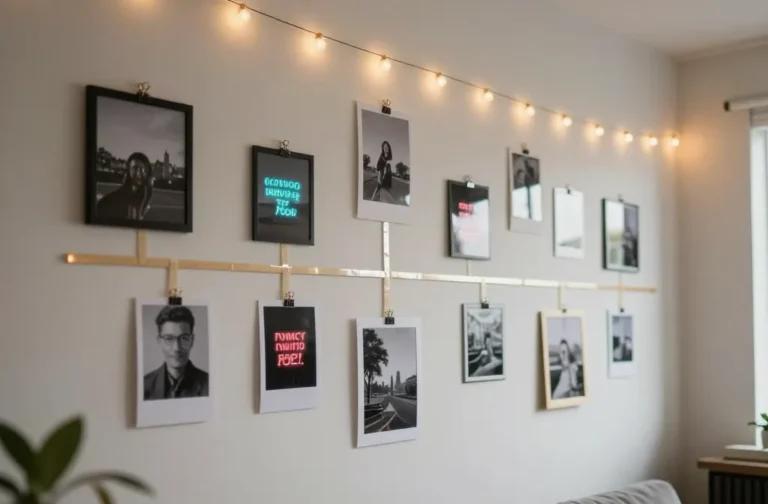
1. Cozy Memory-Glow Photo Orbs
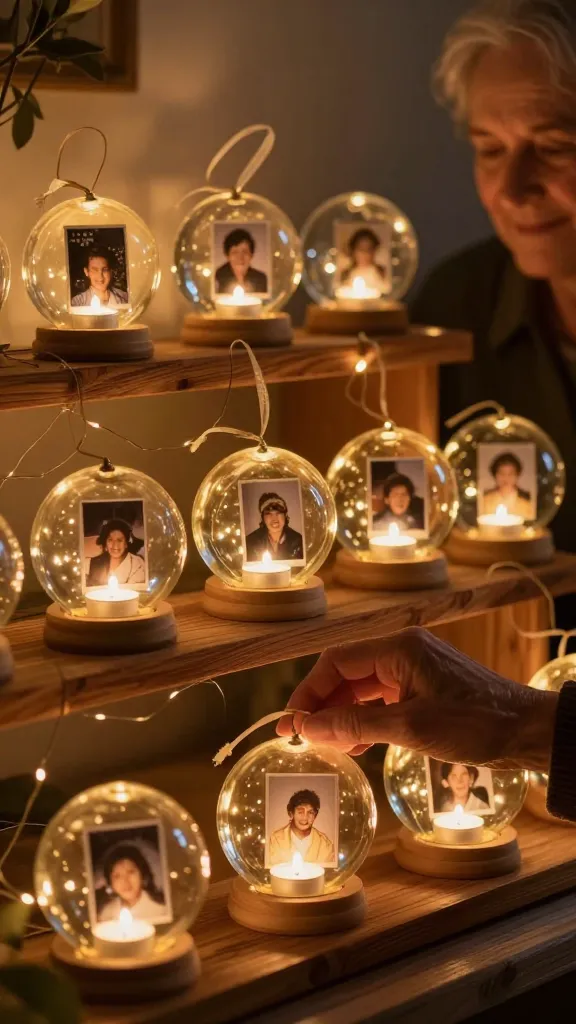
Imagine a soft, glowing orbs display that doubles as a stroll down memory lane. These photo orbs shine softly on a shelf, honoring loved ones and adventures with a warm, comforting glow.
Materials
- Clear glass or plastic orbs with a small opening
- Photos printed on regular paper (cut to fit)
- Tea light or LED candle replacements (battery-powered)
- Mod Podge or clear-drying glue
- Ribbon or twine for hanging
- Optional: soft fairy lights for extra glow
How to Make It
- Cut your photos to fit the orb opening. Layer memories—grandkids, trips, pets—inside the orb.
- Brush a thin coat of Mod Podge on the photo to seal it, then pop it into the orb lid-first so the image faces outward.
- Place a small tea light or LED inside (battery-powered is safest) and seal the opening.
- Wrap with ribbon or string for hanging. If you’re using fairy lights, thread them through before sealing.
Pro Tips / Styling Ideas
- Use muted vintage photos for a nostalgic vibe, or bright, playful pics for a cheerful display.
- Group three to five orbs on a mantel for a soft, gallery-worthy arrangement.
End note: This craft is perfect for gifting to a friend or keeping as a heartwarming centerpiece. You’ll love how the gentle glow makes any room feel cozier.
2. Snug Patchwork Coasters With a Twist
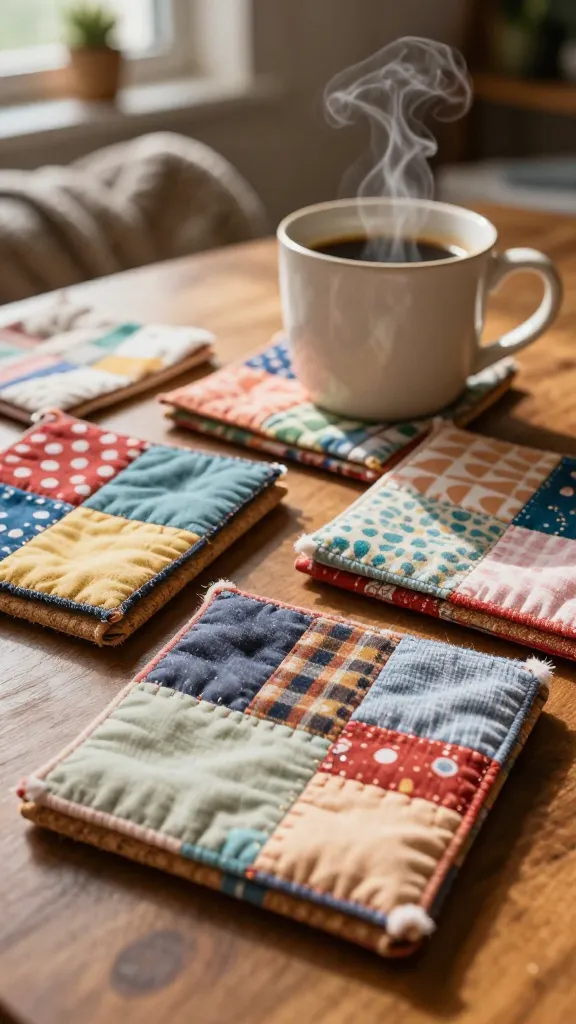
Cozy up your coffee table with patchwork coziness—hand-sewn or glue-fused patchwork coasters that mix fabric textures and cheerful patterns. They’re practical, tactile, and delightfully retro.
Materials
- Assorted fabric scraps (soft cottons, wool blends)
- Fabric glue or a needle and thread
- Fusible interfacing or thin cork backing
- Scissors, ruler, markers for tracing
- Optional: embroidery floss for simple stitches
How to Make It
- Cut fabric squares (6×6 inches works well). Create a small patchwork block with 4–9 pieces per coaster.
- Arrange pieces into a pleasing design, then sew together or secure with fabric glue.
- Adhere a layer of interfacing or cork backing to give stamper-meets-table protection.
- Finish edges with a simple zigzag stitch or a decorative hand stitch.
Pro Tips / Styling Ideas
- Coordinate with your living room palette—sage greens, soft pinks, or warm neutrals look polished.
- Stitch a tiny initial or motif in one patch for a personalized touch.
End note: A charming hostess gift or a sweet addition to your own coffee nook. You’ll love the texture, color, and the soft, hand-made feel.
3. Garden-Tone Monogram Terrariums
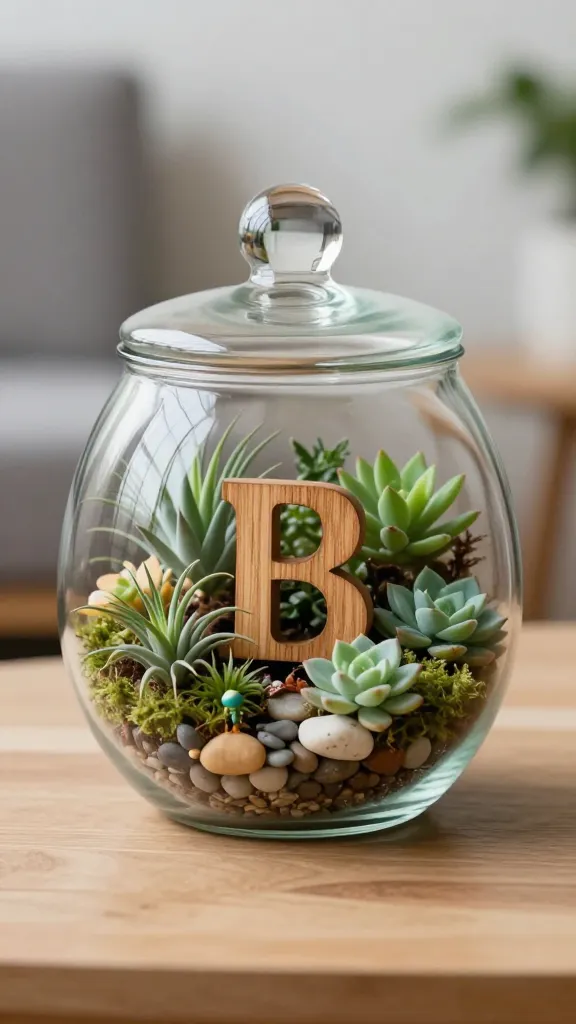
Bring a splash of greenery to indoor spaces with mini monogram terrariums. The combination of glass, greenery, and a bold initial looks stylish and thoughtful—especially for desks or bedside tables.
Materials
- Small glass terrarium vessel or jar
- Air plants or tiny succulent cuttings
- Pebbles or gravel for drainage
- Monogram wooden cutout or DIY painted letter
- Mini decorative pebbles, moss, and decorative figurines
- Non-toxic glue or hot glue gun (careful with use)
How to Make It
- Layer pebbles at the bottom for drainage, then add a thin layer of moss.
- Place air plants or succulents, arranging them so they frame the monogram.
- Attach the monogram to the inside or outside of the jar’s lid, depending on your vessel.
- Top with a sprinkle of decorative pebbles for a finished look.
Pro Tips / Styling Ideas
- Choose a color palette that echoes your room—terra cotta, emerald, or pale lavender all work nicely.
- Group two or three terrariums on a tray for a mini-green corner.
End note: A fresh, air-clean vibe in a compact form. You’ll adore how easy it is to care for and how much personality it adds.
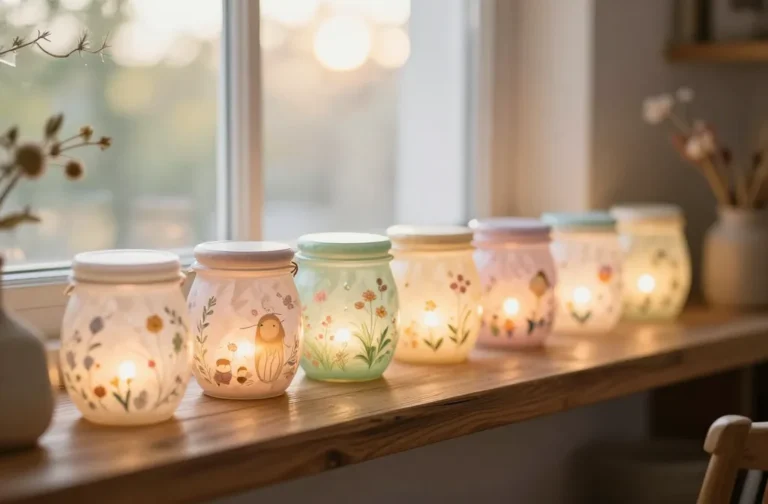
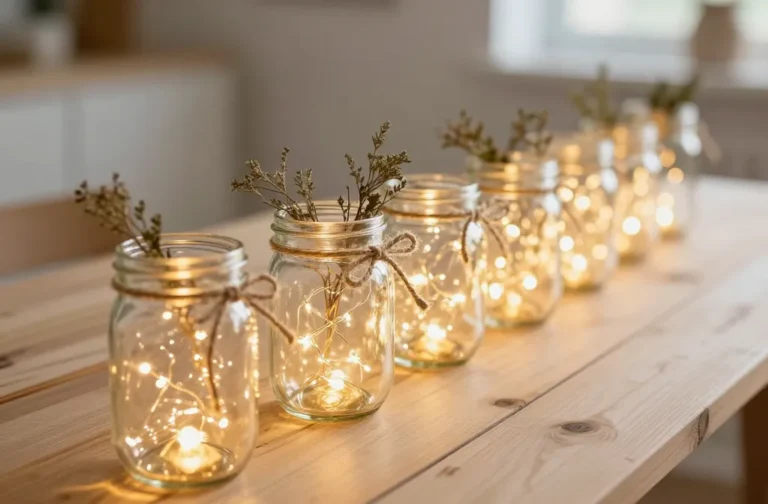
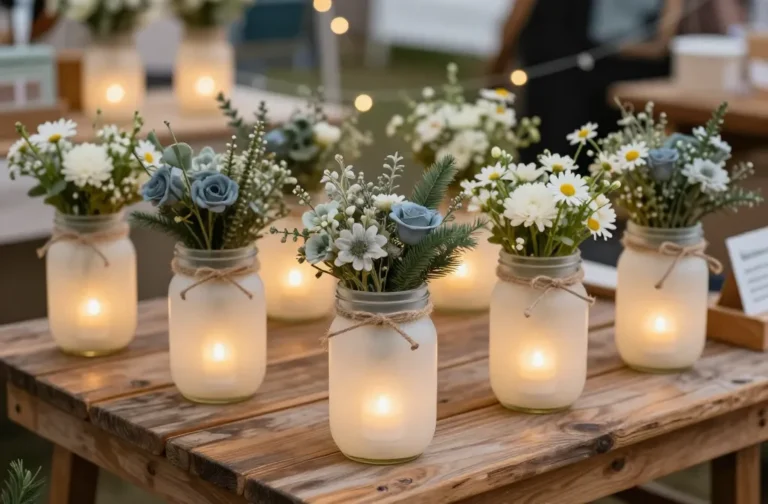
4. Nostalgia Jar Lanterns
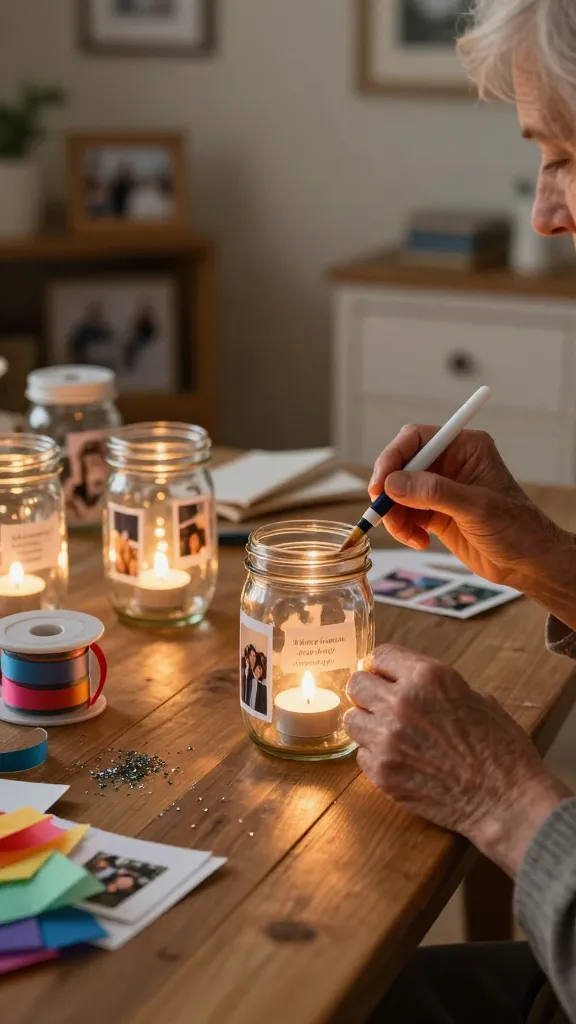
Turn ordinary mason jars into glowing nostalgia lanterns. A soft, flickering glow and a sprinkle of heirloom photos or quotes make these jars a warm tribute to your cherished moments.
Materials
- Clean, empty mason jars
- Washed photos or printed quotes (small, light-print)
- Tea lights or battery-powered LEDs
- Mod Podge or decoupage glue
- Fine glitter or colored tissue paper (optional)
- Ribbon for handles
How to Make It
- Adhere photos or quotes to the outside of the jar with Mod Podge, trimming neatly around the rim.
- Optional: add a layer of glitter or tissue paper for extra sparkle.
- Place a tea light or LED inside, then cap with the lid and add a ribbon handle.
Pro Tips / Styling Ideas
- Use a mix of large and small jars for a festive tablescape or porch display.
- Change the photos with the seasons for a dynamic yearly installation.
End note: DIY lanterns are perfect for evenings on the patio or cozy nights indoors. You’ll love the soft glow and the stories they tell without saying a word.
5. Gentle-Texture Wall Wreaths

Craft a tactile wall wreath that greets visitors with warmth and whimsy. Layer yarn, fabric, and dried botanicals for a piece that’s modern and comforting at once.
Materials
- Wreath base (foam, grapevine, or wire)
- Bulky yarn, fabric strips, felt shapes
- Glue or hot glue gun (careful with heat)
- Optional: dried botanicals, buttons, small trinkets
How to Make It
- Wrap the base with bulky yarn or fabric strips in a pleasing color story.
- Layer shapes and textures in a circular, clustered arrangement.
- Affix dried botanicals or small decorations to add whimsy and depth.
Pro Tips / Styling Ideas
- Choose soft neutrals for a modern look, or bold jewel tones for a statement piece.
- Hang above a sofa or on apartment doors for seasonal charm.
End note: It’s a tactile feast that adds quiet personality to any room. You’ll appreciate the slow, soothing process as much as the final look.
6. Whimsy Button-Art Panels
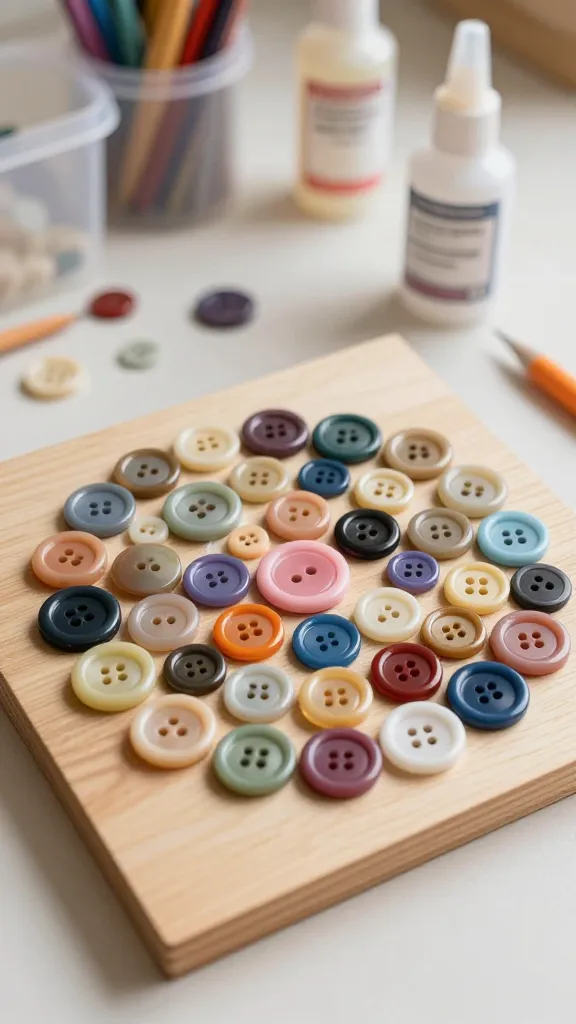
Turn a handful of buttons into a playful, abstract art panel. It’s a forgiving, forgiving project that yields a colorful, conversation-starting piece for walls or hallways.
Materials
- Small canvas or wooden board
- Assorted buttons in different sizes and colors
- Non-toxic craft glue
- Optional: acrylic paints to tint buttons or create background
- Clear sealant spray (optional)
How to Make It
- Plan a design: a loose spiral, grid, or freeform cluster.
- Glue buttons from the center outward or in your chosen pattern.
- Seal with a light spray to keep buttons secure and give a finished look.
Pro Tips / Styling Ideas
- Coordinate button colors with your room’s palette for a cohesive vibe.
- Pair with a simple frame or float-mounted on the wall for a gallery feel.
End note: This is one of those “you’ll be surprised how fun it is” projects. It’s perfect for a rainy-day craft session or a creative gift for a friend who loves bright, quirky decor.
Conclusion: These six whimsical crafts for senior citizens are designed to be inviting, doable, and absolutely delightful. Each project keeps things light, tactile, and visually appealing—perfect for saved pins, quick shares, and joyful making. Pick one (or all six) and start creating a little magical space around you today. You’ll feel the rush of accomplishment and the cozy satisfaction of a handmade moment that sticks around. Have fun crafting!