resin vs clay whimsical crafts
From the moment you pour resin and mold clay, you know you’re in for a tiny, glittery revolution. Resin gleams like frozen candy, while clay looks back at you with the warmth of a sunlit sculpture class. Which path suits your whimsy? Both have their own quirks, constantly vying for your attention with sparkles, textures, and endless color combos. Let’s dive into the crunchy, glossy world of resin versus clay whimsical crafts and figure out which side you want to fantasize with tonight.
Why these two materials spark joy (and headache, in the best way)
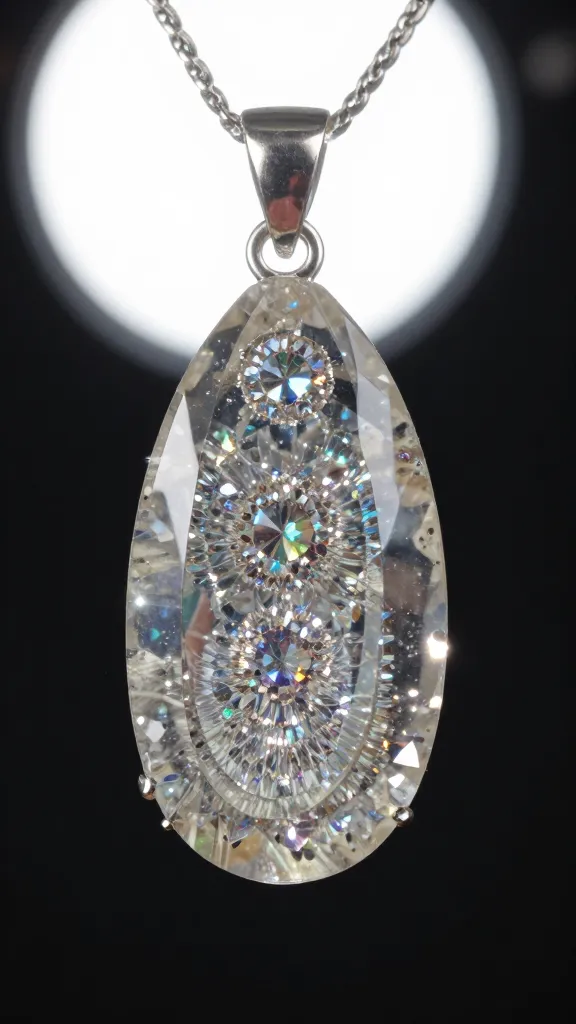
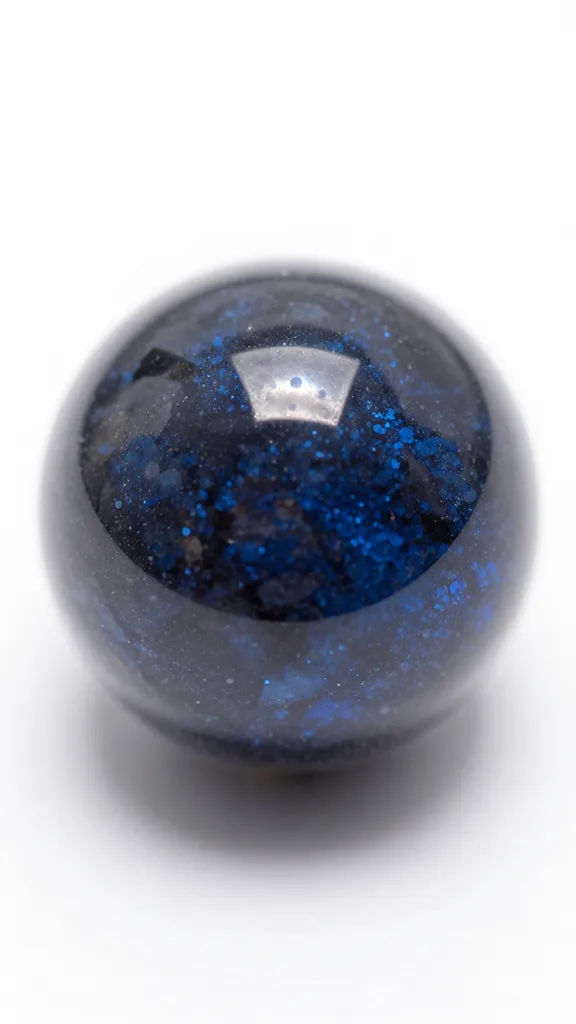
Resin and clay both let you turn ordinary objects into tiny, impossible-to-ignore masterpieces. Resin captures light like a tiny aquarium on your shelf, and clay invites you to sculpt stories with your hands. The big difference? Resin freezes color into a hard, glassy surface. Clay, whether air-dry or kiln-fired, carries the warmth of your fingerprints and a tactile charm that resin sometimes misses. FYI, you can even combine them for hybrid magic—think resin inlays on a clay charm or a clay base with resin domes.
Resin: the glossy unicorn you can customize to infinity
Resin is basically a two-part chemical romance that hardens into a crystal-clear, durable coating or cast. It’s forgiving in little doses and finicky when you push it too far, so you’ll want a splash of patience with your glitter. Here’s the gist:
- Pros: Stunning clarity, high gloss, ultra-durable when cured, great for embedding charms, pigments, and tiny treasures.
- Cons: Mixed feelings about ventilation, fumes, and proper sealing; heat can warp delicate pieces; mis-timing your pour can create bubbles you’ll regret forever (or at least a few minutes).
- Best uses: Jewelry cabochons, coasters, keychains, charms, and preserving pressed flowers or glittery chaos.
What you actually need to start
- Resin and hardener in correct ratio
- Disposable cups, sticks, and a thermometer
- Protective gear: gloves, mask, work area with ventilation
- Colorants, pigments, and inclusions to make it yours
Common resin pitfalls (and how to dodge them)
- Bubble trouble: warm the resin slightly and pour slowly to minimize bubbles.
- Poor heat tolerance: don’t leave thick pours in direct sun; they’ll warp.
- Unwanted cloudiness: use a clear mixing line and degassing if you’re serious about perfection.
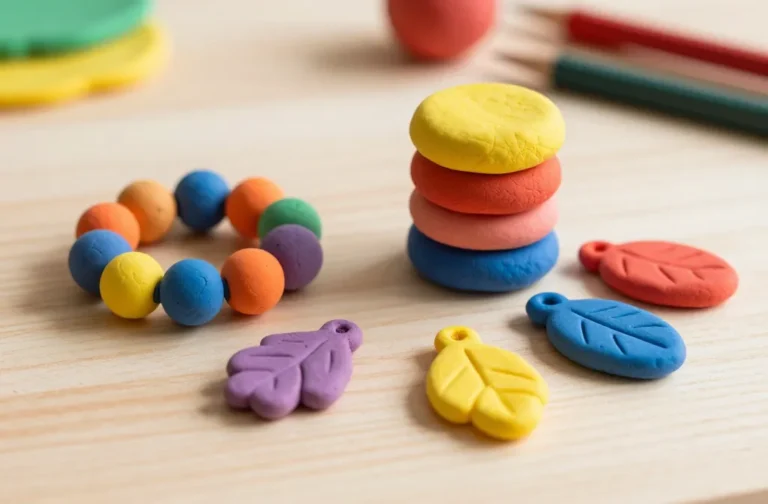
Clay whimsy: tactile, cozy, endlessly remixable
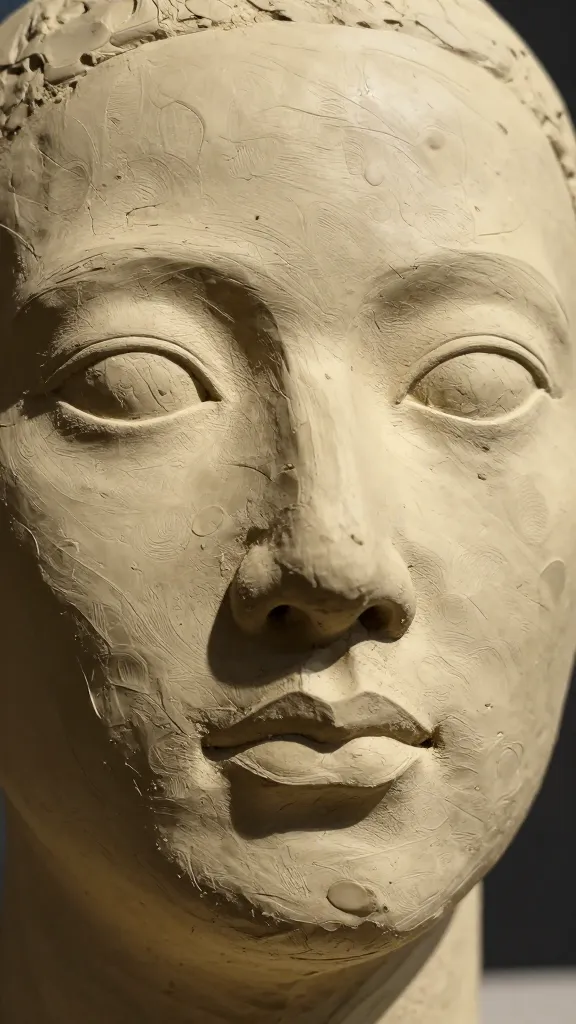
Clay invites you to feel every curve with your fingertips. It dries to a matte finish with loads of texture options, from smooth porcelain-like surfaces to rough, rustic grooves. The beauty of clay is that you can fix mistakes with a little water, re-wedge it, and try again. Here’s the lowdown:
- Pros: Immediate tactile feedback, forgiving edits, wide range of textures, easy to color with paints or glazes.
- Cons: Durability depends on the type (air-dry, polymer, or kiln-fired); some pieces crack under pressure or shrink a bit as they dry; you’ll need space and time to bake or air-dry.
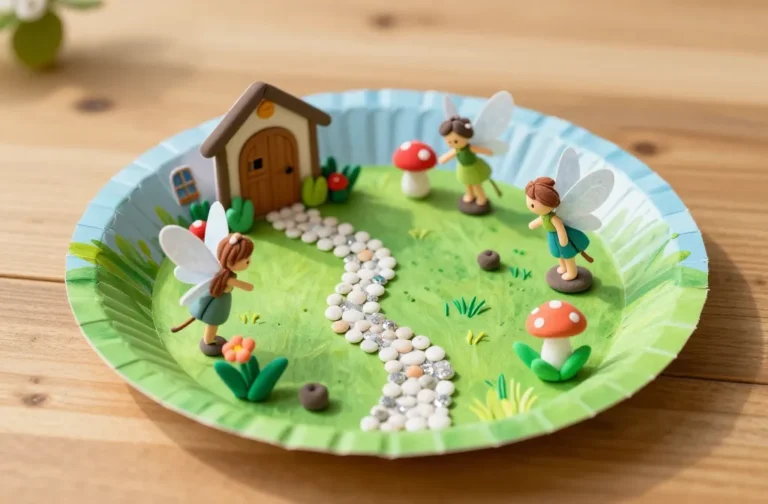
- Best uses: Mini figurines, beads, charms, tiny bowls, and decorative accents with a warm, handmade vibe.
Air-dry vs polymer vs kiln-fired: what’s in your kit?
- Air-dry clay: super approachable; no oven needed but watch for cracking if you go thick.
- Polymer clay: cures in a kitchen oven; tiny, colorful, perfect for detail; beware of overheating pigments.
- Kiln-fired clay: tough and long-lasting; best for serious sculpture projects but requires access to a kiln.
When to choose resin, when to choose clay
So how do you pick? It boils down to a few practical questions:
- Do you crave a glossy, glass-like finish? Resin wins.
- Do you want a warm, handmade texture you can feel with your hands? Clay wins.
- Are you building something that needs to be water-resistant or UV-stable for outdoor display? Resin often handles that better, but it depends on your resin and sealers.
- Do you want to embed objects or add a clear magnifier over a scene? Resin is your friend.
Hybrid crafts: weaving resin and clay into one piece
You don’t have to pick sides like it’s a heated debate in a chat group. You can fuse the two for endlessly creative outcomes.
Tips for a smooth collaboration
- Plan your layers: build clay first, then resin on top for a protective, glossy cap.
- Use a mold-friendly clay that won’t crack when embedded objects are added.
- Seal clay pieces before resin if they have dust or moisture; moisture can ruin a clear pour.
Sample ideas to try
- Clay base with a resin dome containing tiny beads or flowers
- Resin inlays in a carved clay pendant for depth and shimmer
- Mini dioramas with resin water effects sitting atop clay landscapes
Tools, safety, and setup you won’t regret
Crafting with resin or clay means you owe it to your future self to set up smartly.
Safety first
- Ventilation matters. Open windows, use a fan, and wear a mask when sanding resin or curing in enclosed spaces.
- Gloves are non-negotiable. Resin can irritate skin, and some clays have powders you don’t want on your hands all day.
- Protective eyewear is sensible when drilling or sanding either material.
Workspace setup
- Cover surfaces with silicone mats or parchment—resin bleeds, and clay dust gets everywhere.
- Organize a color station: pigments, mica powders, and glazes within arm’s reach.
- Label your mixes and cures. You’ll thank yourself later when you don’t confuse resin with paint.
Finishing touches that elevate every piece
Finish transforms a decent piece into “wow, I made that.” Here are finishing moves that work for both resin and clay.
- For resin: a topcoat or UV-resistant sealant to prevent yellowing and add extra gloss. Compare gloss vs matte if you want a different vibe.
- For clay: sand progressively from coarse to fine grits, then seal with a clear glaze or varnish for protection and depth.
- Edge details matter: clean, smooth edges read professional even if your design is playful.
Insects in the studio: troubleshooting common quirks
Every creative studio has its quirks. Here are a few you’ll probably meet, with quick fixes.
Bubbles in resin?
- Tap out bubbles after mixing by a slow pour and a quick pass with a heat source at a safe distance.
- Degassing with a pressure pot is an option if you’re serious about crystal clarity.
Cracks or warping in clay pieces?
- Thin your clay sections or add supports for taller pieces.
- Avoid rapid temperature shifts; let pieces dry slowly and evenly.
Conclusion: your whimsical future, one splash or pinch at a time
Resin and clay each offer a playground of possibilities, and you don’t owe them a single grand decision today. If you’re chasing a high-gloss, glassy finish, resin helps you capture light and embed tiny universes inside. If you want tactile warmth, texture, and the satisfying feel of hands shaping something tangible, clay welcomes you with open arms. The best path might be a little of both—with hybrid pieces that echo your personality and celebrate your evolving skills. So what are you waiting for? Pick a side, or don’t pick at all—just start making something delightful.
FAQ
Is resin hard to learn for a beginner?
Not at all, as long as you follow the safety guidelines and start with small, simple pours. Beginners often get hooked by the instant gratification of a glossy result. Take it slow, measure accurately, and you’ll gain confidence quickly.
Can I mix resin with polymer clay directly?
You can, but you’ll want to ensure the clay is fully cured and sealed so moisture and solvents don’t interfere with the resin. Start with small tests—FYI, patience pays here.
What’s the easiest beginner project for resin?
Jewelry cabochons with a few embedded trinkets or a small resin coaster with glitter are perfect starter projects. They teach you about mixing, pouring, and bubble control without overwhelming you.
Which lasts longer, resin or clay pieces?
That depends on the type of clay and how you finish it. Kiln-fired clay with proper glaze can be very durable, while well-sealed resin pieces resist moisture and impact well. For outdoor pieces, pick UV-stable resin formulas and protective coatings.
What if I want a matte look instead of gloss?
Seal with a matte spray or apply a matte resin topcoat. For clay, a matte glaze or a satin-finish sealant works wonders. It’s all about the vibe you’re chasing.