6 Stunning Paper Quilling Crafts for Beginners
Ready to turn a strip of paper into something magical? If you’re eyeing those intricate quilled designs but don’t know where to start, you’re in luck. These six projects prove quilling can be playful, approachable, and totally Pinterest-worthy.
Trust me, these tiny coils and scrolls are surprisingly forgiving—and incredibly satisfying when you see the finished piece. FYI, you’ll gain confidence with each project, and you might just find a new favorite hobby along the way.
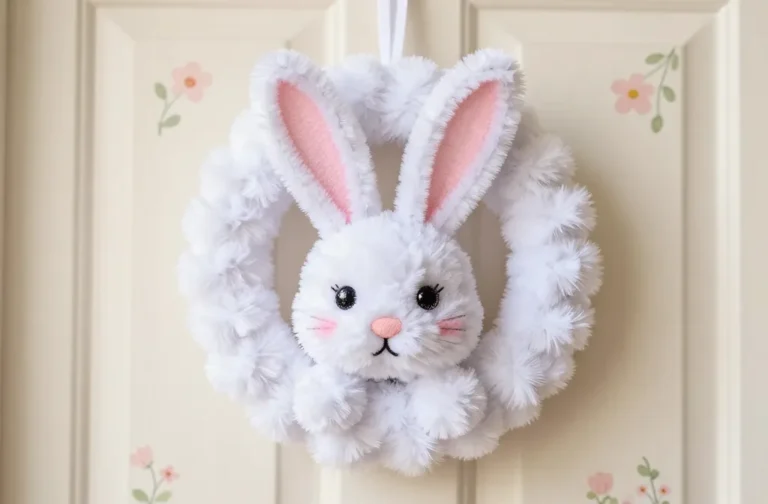
1. Mini Floral Quilling Wreath for Doors or Desks
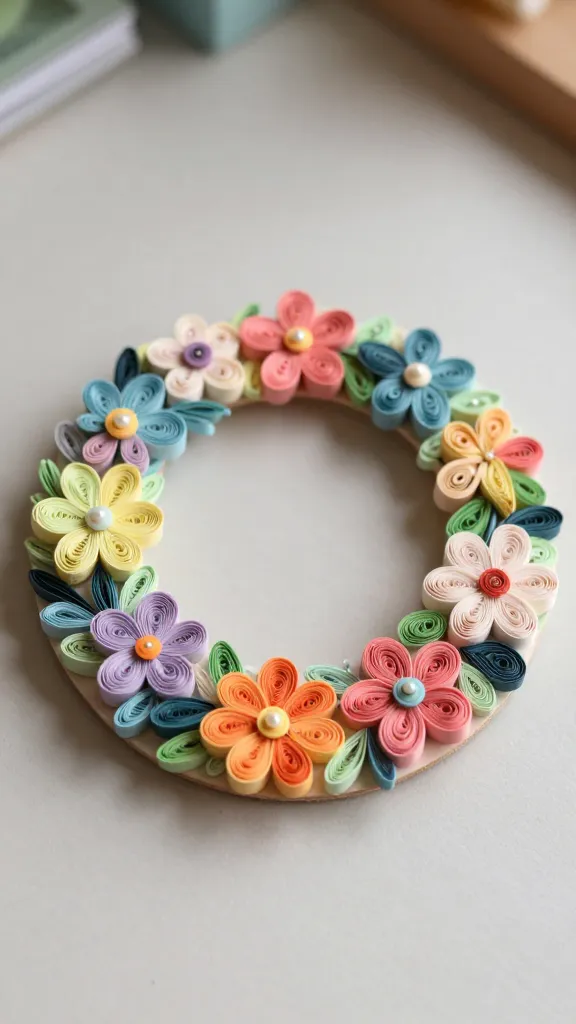
Picture a delicate, blooming wreath perched on your door or desk, made entirely from colorful paper curls. The finished piece feels light, botanical, and elegantly charming, like a tiny garden you can carry in your hands. This one is forgiving for beginners and looks sophisticated in any color combo.
Materials Needed
- Quilling paper strips (various colors)
- Quilling tool or a thin needle
- Glue (clear drying)
- Small craft board or cardboard base
- Optional: tiny adhesive embellishments (beads, pearl accents)
How to Make It
- Roll a few tight coils for centers of blooms, then fan out to petal shapes.
- Arrange petals around a small circular base, layering colors for depth.
- Secure with glue, letting it dry flat. Add a ribbon loop if you want to hang it.
Pro Tips / Styling Ideas
- Use a soft, pastel palette for a serene look or go bold with jewel tones for a statement piece.
- Mount on a kraft paper backing to give the wreath a warm, rustic vibe.
- Hang near a sunny window to catch the light and make those coils sparkle.
Who’ll love it: a cozy entryway welcome, a thoughtful housewarming gift, or a cheerful desk accessory. It’s delicate enough to feel special, but simple enough for a first-timer.
2. Quilled Animal Portrait: A Pocket-Sized Character
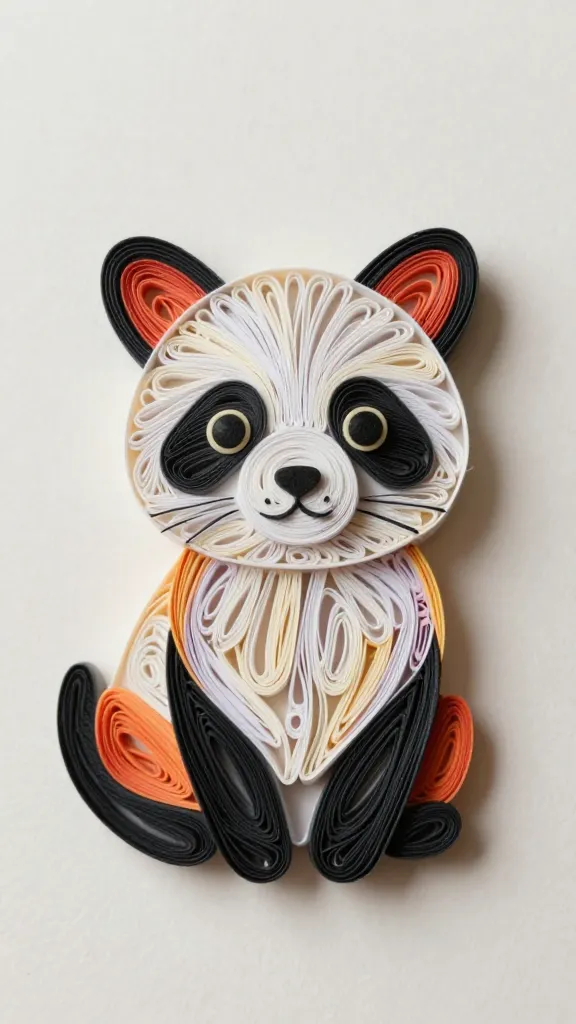
Turn a photo into a playful quilled character using simple shapes. Imagine a tiny cat, a cheerful panda, or a curious fox, all built from slim paper strips. The result is endearing, whimsical, and surprisingly lifelike—without needing advanced skills.
Materials Needed
- Colored quilling strips
- Quilling tool
- Fine-tipped glue
- Small canvas or sturdy cardstock
- Fine black marker for details
How to Make It
- Sketch a simple silhouette on your canvas (animal’s head, ears, and facial features).
- Quill the major shapes (eyes, ears, nose, face outline) and place them according to your sketch.
- Glue pieces in place and add tiny details with a marker for expression.
Pro Tips / Styling Ideas
- Limit yourself to 3–4 colors for a bold, graphic look.
- Frame it in a slim white frame for a modern gallery vibe.
- Use it as a cute desk buddy or a gift tag ensemble for a friend’s birthday.
Who’ll love it: animal lovers and people who adore tiny, character-driven art. It’s a charming gift or a standout piece in a child’s room.
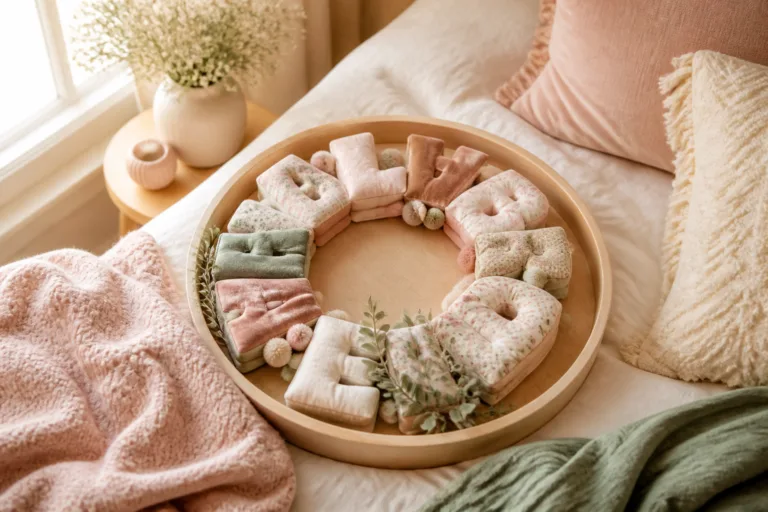
3. Elegant Monogram Letter Quilling Wall Art
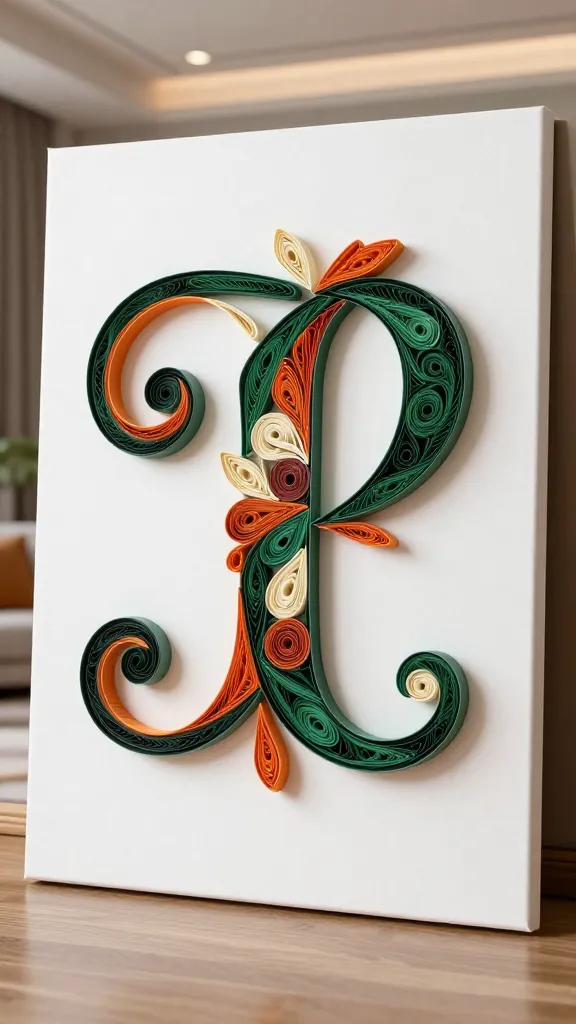
Monograms meet paper artistry in a refined piece you can customize for any space. A bold initial, softened by gentle quilled flourishes, instantly elevates a wall—perfect for entryways, living rooms, or above a desk.
Materials Needed
- Thick poster board or canvas
- Quilling strips in your chosen color palette
- Quilling tool, glue, scissors
- Ruler and pencil for layout
How to Make It
- Draw a large initial on the board and plan a framing border around it.
- Quill decorative swirls, teardrops, and tight coils to fill the letter’s silhouette.
- Fill negative space with lighter coils to create contrast and depth.
Pro Tips / Styling Ideas
- Stick with 2–3 complementary colors for a chic, cohesive look.
- Seal with a light spray of matte finish to protect the quilled pieces.
- Pair with a simple frame and a crisp white mat for a polished presentation.
Who’ll love it: a personalized gift for graduates, newlyweds, or anyone who loves a stylish, modern home accent. It’s bold yet refined—seriously impressive for a first-time project.
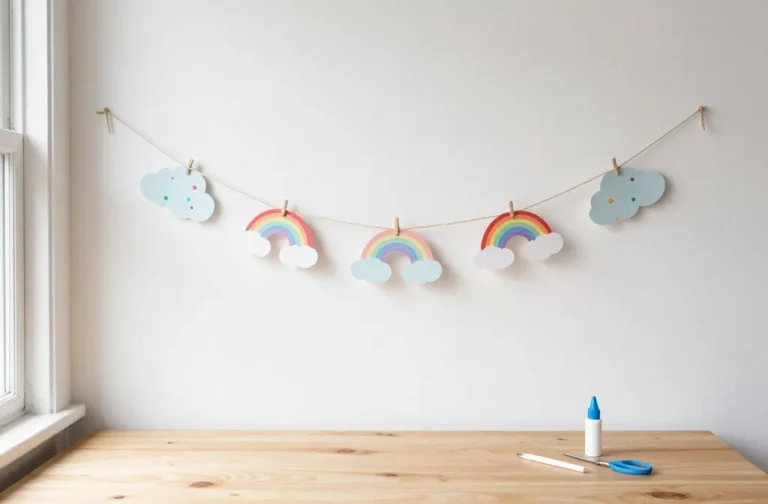
4. Whimsical Quilled Flower Garland

Create a flowing garland made entirely of tiny quilled blooms linked with delicate spirals. It’s a festive, whimsical streamer that brightens shelves, mantels, or party tables. Think summer garden meets fairy-testival vibe.
Materials Needed
- Assorted quilling strips
- Quilling tool
- Twine or lightweight cording
- Glue and small hot glue gun (optional for extra security)
- Scissors
How to Make It
- Make a stack of petals in different sizes from circular coils.
- String the blooms with short links of quilled coils to mimic stems.
- Attach the blooms along a length of twine at regular intervals.
Pro Tips / Styling Ideas
- Alternate flower sizes for a natural, organic look.
- Use metallic or iridescent strips for a magical shimmer.
- Hang across a window, a mantel, or above a bed’s headboard for whimsy all season.
Who’ll love it: folks throwing a garden party, kids’ rooms that crave color, or anyone who wants a handmade, airy touch to brighten a space. It’s cheerful, breezy, and easy to adapt to holidays or celebrations.
5. Quilled Card Set: Tiny Art You Can Mail
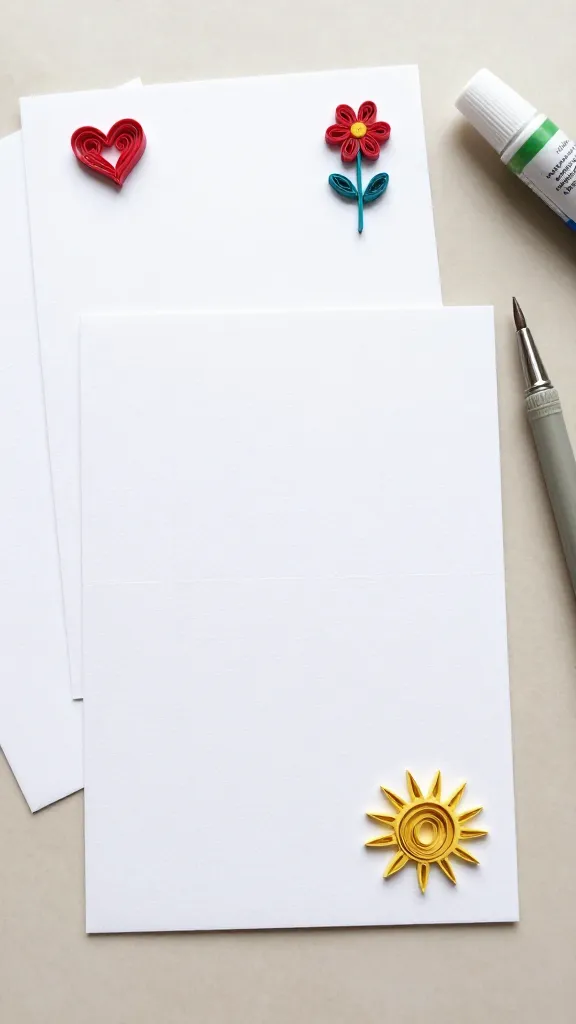
Turning ordinary greeting cards into tiny masterpieces is a delightful way to share art with loved ones. A set of three or four quilled cards becomes a thoughtful, tactile gift that’s as heartfelt as it is gorgeous. This project balances charm with practicality.
Materials Needed
- Blank blank cards or folded cardstock
- Quilling strips in a cohesive palette
- Quilling tool, glue
- Fine-tipped markers for details
How to Make It
- Design a simple motif (heart, flower, sun, or leaf) on each card.
- Quill the motifs directly onto the card or on a small backing before mounting.
- Use markers to add tiny accents like faces or outlines for extra charm.
Pro Tips / Styling Ideas
- Keep each card to a different motif but use the same color family for a cohesive set.
- Include a tiny envelope seal within the card design for a playful reveal.
- Package the set with a matching envelope liner for a polished finish.
Who’ll love it: super fans of handmade stationery, bridesmaids’ gifts, or anyone who appreciates a thoughtful, mailed note. It’s personalized, affordable, and endlessly giftable.
6. Quilled Jewelry: Delicate Pendants and Earrings
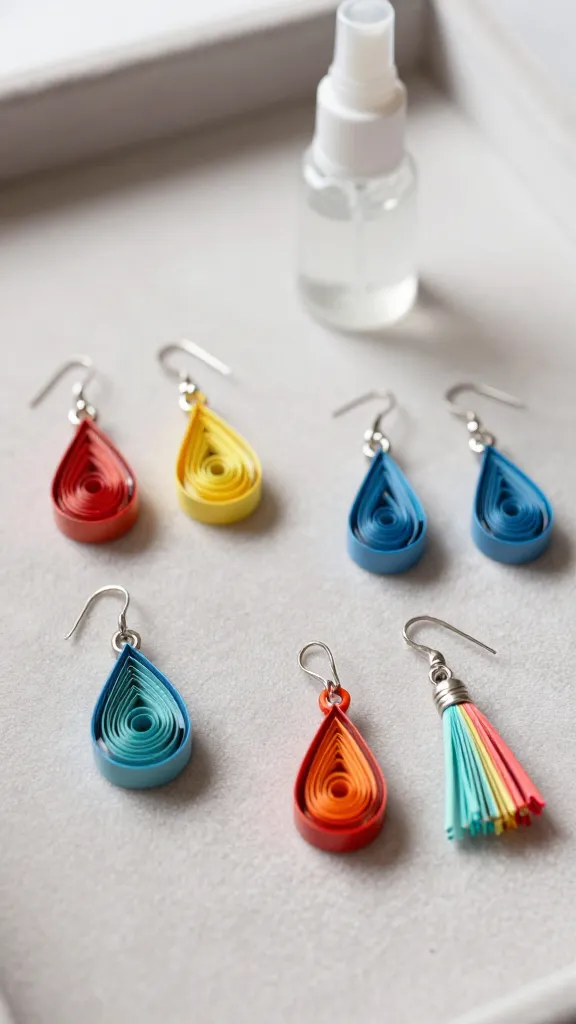
Yes, you can wear art. These dainty quilled pieces transform paper into jewelry you’ll actually want to show off. Lightweight, colorful, and utterly unique, they’re the kind of accessories that spark compliments and curiosity alike.
Materials Needed
- Thin cardboard backing or resin for durability
- Colorful quilling strips
- Jewelry findings (ear hooks, jump rings, necklace chain)
- Strong glue or jewelry adhesive
- Clear sealant spray (optional)
How to Make It
- Quill small shapes (teardrops, tiny tassels, spirals) to form a pendant or earring design.
- Seal shapes and mount onto a sturdy backing or wire frame.
- Attach findings and ensure everything is secure and balanced.
Pro Tips / Styling Ideas
- Stick to a color story that matches a go-to outfit palette for easy wearability.
- Use a clear varnish to protect delicate edges and prevent fraying.
- Pair with a simple, monochrome outfit to let the quilling shine.
Who’ll love it: fashion-forward crafters, gift-seekers, or anyone who wants one-of-a-kind jewelry that tells a story. It’s wearable whimsy that won’t weigh you down.
Conclusion: These six paper quilling ideas prove that you don’t need to be a master to make stunning art. Each project is beginner-friendly, visually striking, and highly customizable. Pick one to start, or dive into all six—either way, you’ll have a blast and a batch of gorgeous, handmade decor or gifts you’ll proudly show off.
So, which project are you trying first? Grab your quilling kit, pick a color story you love, and start curling. You’ll be amazed how quickly a little paper magic can brighten your space—and your creative confidence. Happy quilling!