9 dollar tree whimsical crafts
Ready to turn everyday Dollar Tree finds into magical decor? These 9 completely unique ideas prove you don’t need to spend a fortune to get big, bold, Pinterest-worthy results. Trust me, you’ll want to start today.
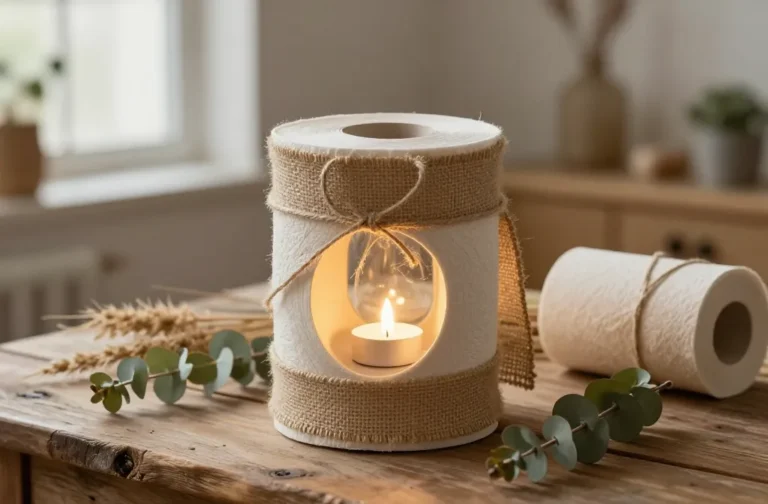
1. Whimsical Cloud Light Jar
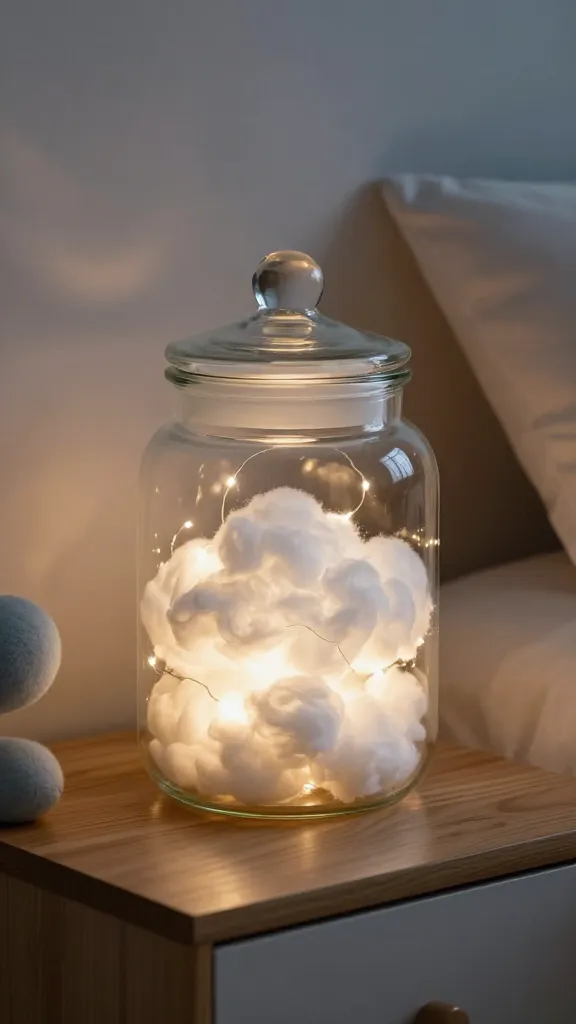
You’ll love how soft and dreamy this looks when the lights are low. A simple jar, some cotton, and a touch of glow create a sky-house vibe that’s perfect for bedrooms or living rooms.
Materials Needed
- Wide-mouth glass jar with lid
- White cotton batting or fluff
- Battery-operated fairy lights
- Felt in pale blue or gray (for accents)
- Hot glue gun
How to Make It
- Tuck the cotton batting into the jar to form a fluffy cloud shape, leaving space for the lights.
- Drape the fairy lights inside, weaving them through the cotton until they glow evenly.
- Seal with the lid, and add a small felt cloud or raindrop charm on the front.
Pro Tips / Styling Ideas
- Use a dimmable set of lights for mood control.
- Pair with a soft-blue lampshade for a cohesive dreamy corner.
Who would love this? Cozy bedrooms, nurseries, or reading nooks. A sweet, calming glow that’s seriously adorable.
2. Vintage-Inspired Tin Can Garden Orbs
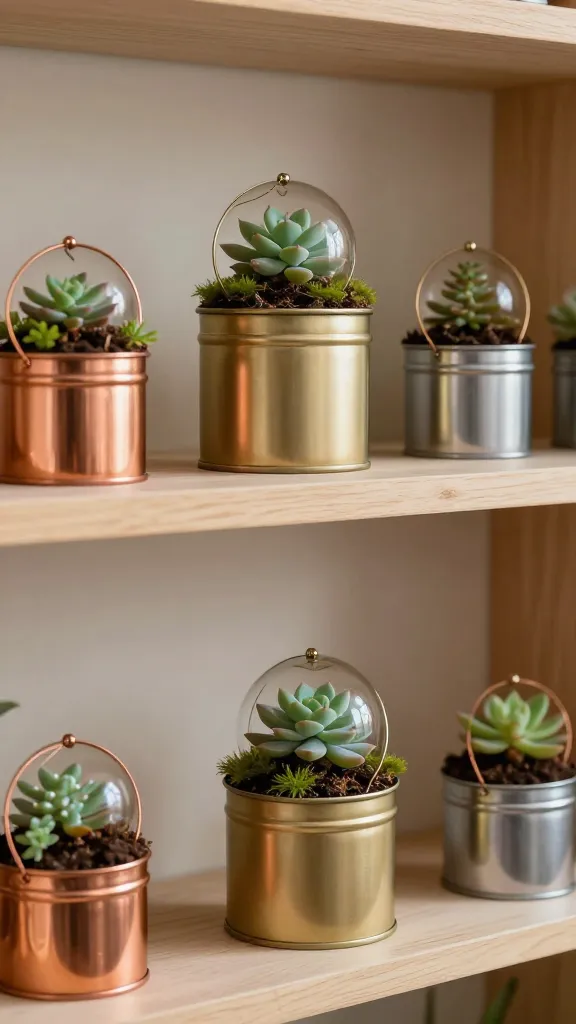
Picture delicate orbs sitting on a shelf, each filled with a tiny plant and a hint of shimmer. It’s like hosting a tiny indoor garden in repurposed tins.
Materials Needed
- Assorted small tin cans (empty soup or bean cans work)
- Potting soil and tiny succulent or moss packets
- Spray paint in metallic shades
- Thin copper or gold cord for hanging
- Mini figurines or charms (optional)
How to Make It
- Clean cans and spray them with metallic paint; let dry.
- Fill with a mix of soil and tiny plant or moss, pressing gently.
- Hang or place on a small stand, adding charms for whimsy.
Pro Tips / Styling Ideas
- Group in a trio at different heights for visual interest.
- Seal with a clear matte spray to reduce rust if left in a humid space.
Who would love this? Plant lovers and anyone who adores a tiny, charming garden vibe.
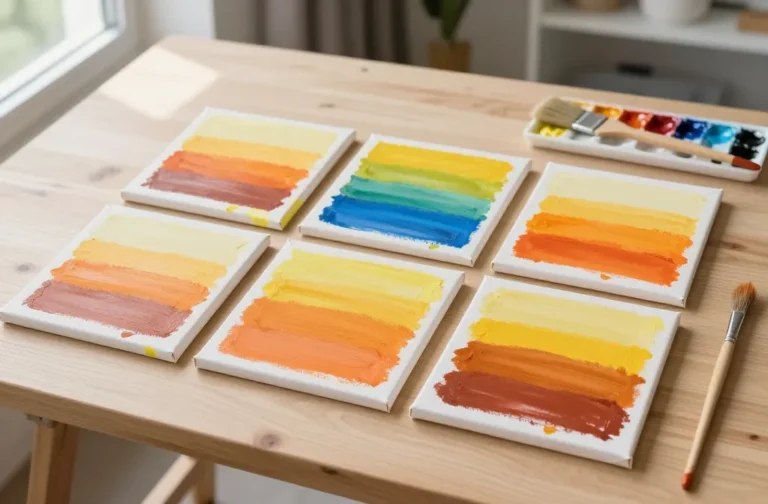
3. Dreamy Resin Cutout Wall Plaque
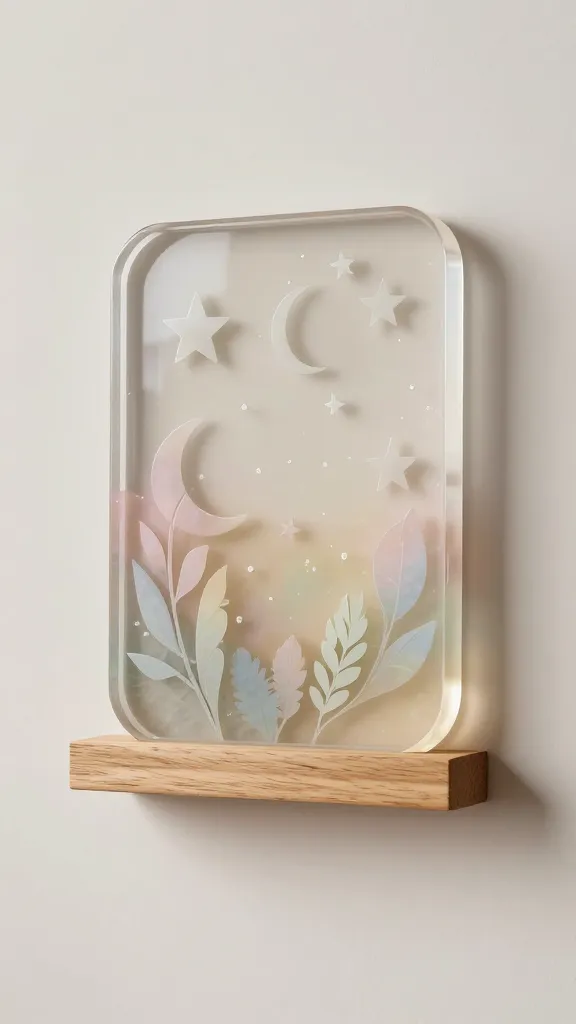
A modern, airy wall statement that looks high-end but costs next to nothing. This one uses Dollar Tree resin pieces and a little imagination.
Materials Needed
- Resin kit (clear) and pigment powders from the craft aisle
- Decorative cutout shapes (stars, moons, leaves)
- Wooden plaque or sturdy cardboard as base
- Hanging hardware
How to Make It
- Mix resin according to package directions, tint with pigment for a dreamy color.
- Pour into shallow tray with cutouts arranged on the bottom; allow to set until solid.
- Glue the resin piece onto the plaque and hang.
Pro Tips / Styling Ideas
- Angle the cutouts to catch light and cast soft shadows on walls.
- Use pastel undertones for a gentle, chic vibe.
Who would love this? Fans of modern wall art and glossy, collectible decor pieces.
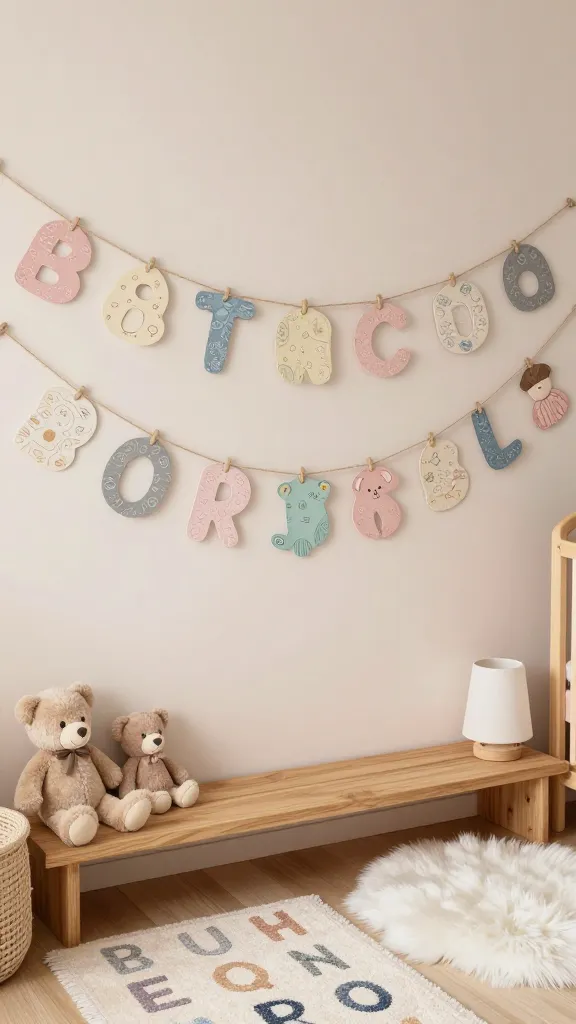
4. Cozy Felted Letter Wall Mascots
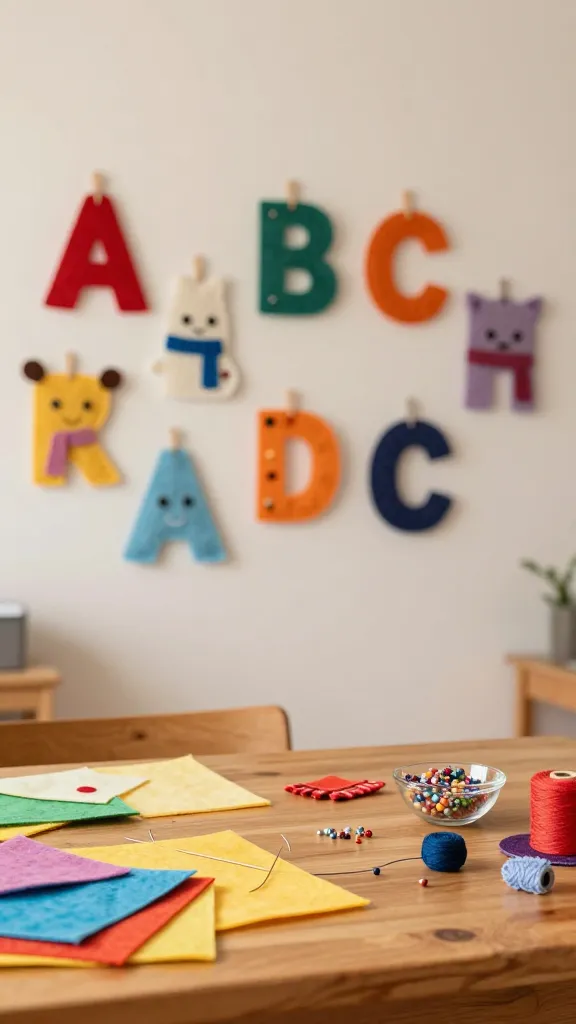
Turn cheap felt into adorable, tactile mascots you can pin to walls or doors. It’s playful, approachable, and fully customizable.
Materials Needed
- Assorted felt sheets in bright colors
- Needle and thread or fabric glue
- Wire or suction hooks for hanging
- Small beads or buttons for eyes
How to Make It
- Cut letters or cute shapes (blocks, stars, hearts) from felt.
- Stitch or glue petite facial features and tiny accessories (scarves, hats).
- Attach to wall with hooks; arrange in a playful alphabet display.
Pro Tips / Styling Ideas
- Create an interchangeable banner by stringing felt shapes on twine.
- Switch up colors by season—pastels for spring, bolds for fall.
Who would love this? Kids’ rooms, craft nooks, or anyone who loves a tactile, handmade touch.
5. Marbleized Dollar Tree Glass Vases
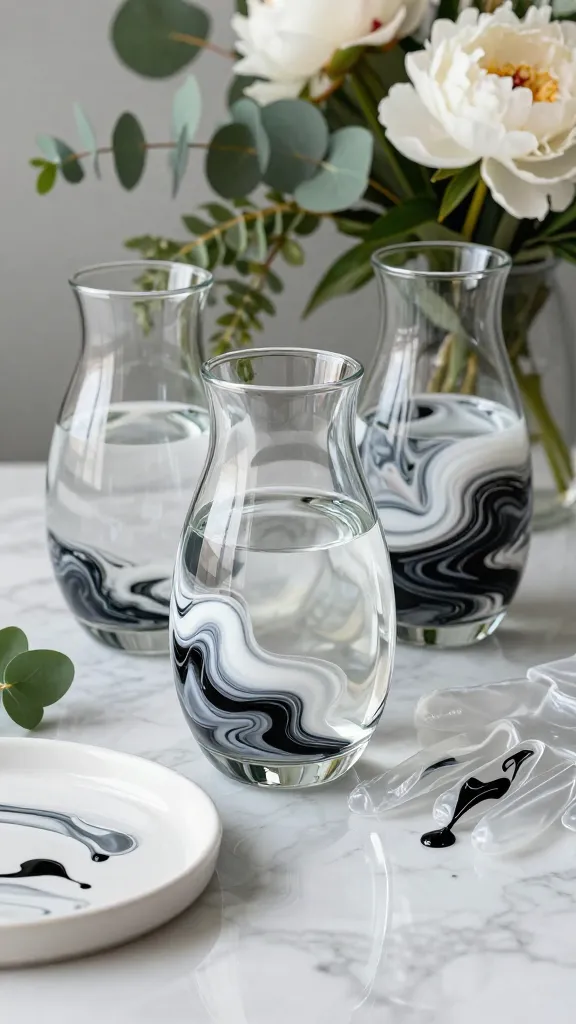
A high-end look with minimal effort—liquids, swirls, and shine. These vases make florals and faux greenery sing.
Materials Needed
- Clear glass vases from the Dollar Tree
- Nail polish in white, black, and a couple accent colors
- Waterproof gloves and a tray to catch drips
- Floral arrangements or faux greenery
How to Make It
- Fill a shallow dish with water. Drip nail polish onto the surface and swirl gently with a toothpick to create a marble pattern.
- Dip the vase carefully, swirl to cover, and let dry completely.
- Fill with fresh or faux stems for a luxurious look.
Pro Tips / Styling Ideas
- Seal with a light spray to prevent chipping if you plan to handle often.
- Pair with metallic accents for an upscale vignette.
Who would love this? Anyone who loves chic, sophisticated decor on a budget.
6. Upcycled Fabric Ribbon Wreath
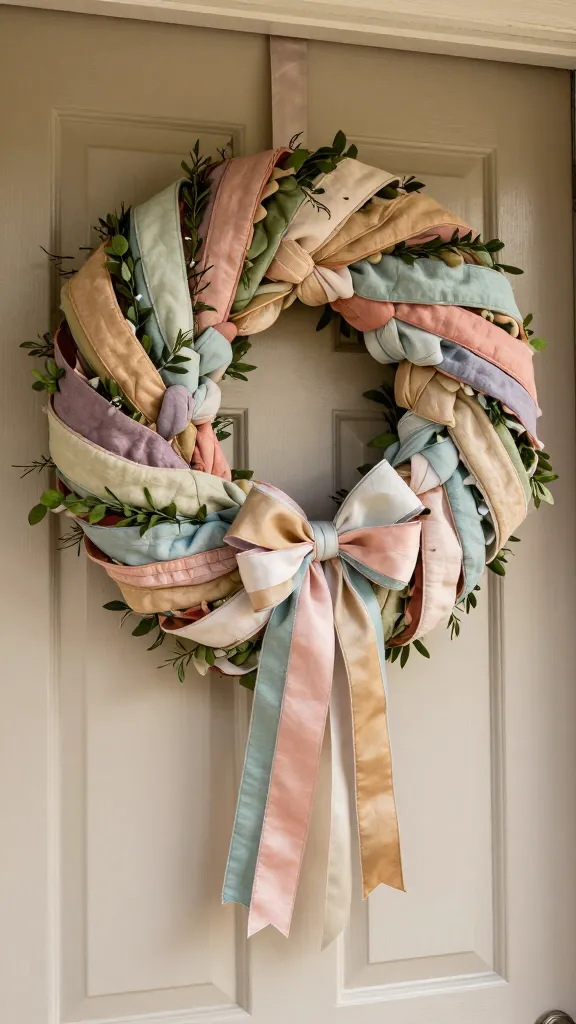
A soft, textured welcome to your door or wall, crafted entirely from ribbons and a tree wreath form from the Dollar Tree.
Materials Needed
- Foam or wire wreath form
- Assorted fabric ribbons (thick and thin)
- Hot glue gun and scissors
- Optional: faux greenery picks
How to Make It
- Cut ribbons into 6–8 inch lengths. Tie them in knots around the wreath form, layering colors and textures.
- Fill gaps with extra ribbons and tuck in greenery for a garden look.
- Finish with a bow at the bottom or top as your focal point.
Pro Tips / Styling Ideas
- Change colors seasonally—reds and greens for holidays, pastels for spring.
- Hang on a front door or above a mantel for a soft, welcoming touch.
Who would love this? Door decor lovers and anyone who adores soft textures and cozy vibes.
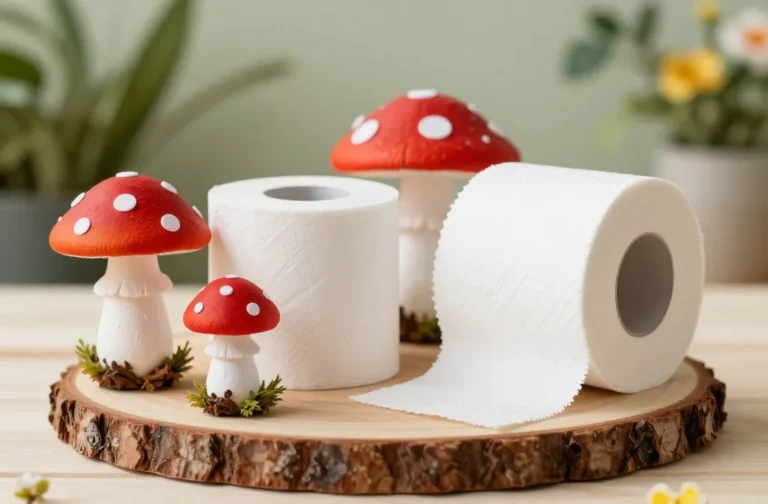
7. Tiny Terrarium Jar Terrains
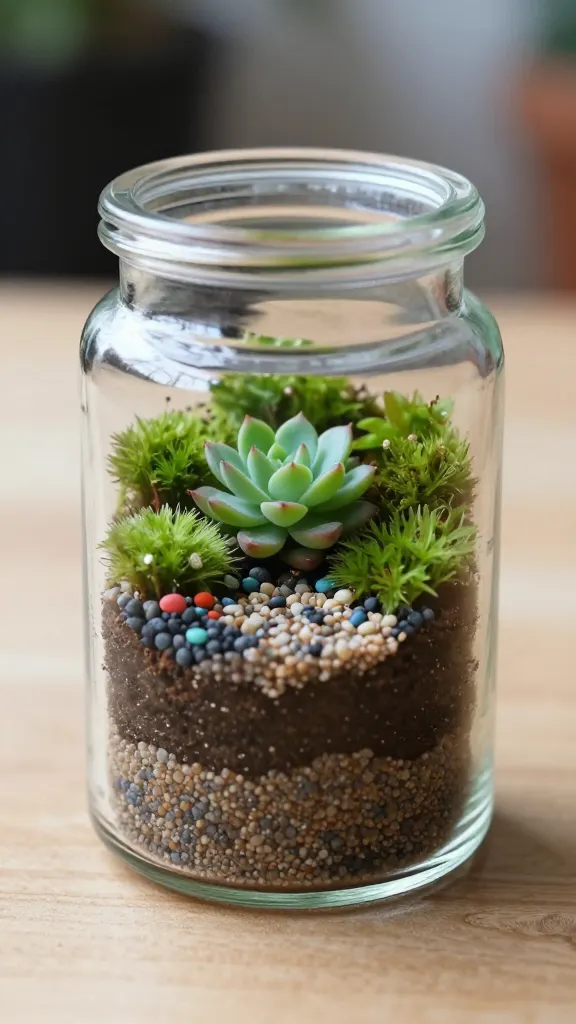
Glass jars, tiny stones, and miniature plants create a pocket-sized landscape you can place anywhere. It’s micro-garden magic.
Materials Needed
- Small glass jars with lids
- Fine gravel, activated charcoal, and potting soil
- Miniature succulents or moss, tiny figurines (optional)
- Decorative sand or colored pebbles
How to Make It
- Layer gravel, charcoal, soil in the jar to provide drainage.
- Plant a tiny succulent or lay moss, decorate with sand and mini charms.
- Seal the lid or leave open for airflow, depending on plant needs.
Pro Tips / Styling Ideas
- Use a mix of textures: smooth stones with fuzzy moss for contrast.
- Group a few jars on a tray to create a mini greenhouse vignette.
Who would love this? Plant lovers, desk workers, and anyone who enjoys tiny, serene landscapes.
8. Fairy Tale Banner of Chipboard Cutouts
A storybook banner that feels whimsical and personal. It’s perfect for nurseries, playrooms, or a cozy reading corner.
Materials Needed
- Chipboard or thick cardstock, printed or painted letters
- Jute twine or satin ribbon
- Mini clothespins or glue to attach
- Decorative stickers, washi tape
How to Make It
- Cut letters to spell a short word or phrase; decorate with doodles and patterns.
- Attach to twine with clothespins, spacing evenly.
- Hang on a wall or above a bed for a playful focal point.
Pro Tips / Styling Ideas
- Alternate with small fabric shapes for more dimension.
- Use metallic marker accents to add a touch of sparkle.
Who would love this? Story lovers and anyone who wants a whimsical, personalized wall piece.
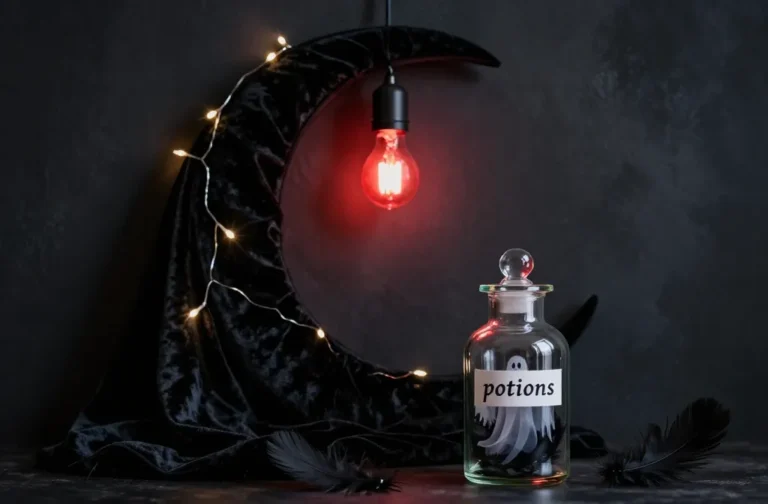
9. Sparkling Snowflake Window Ornaments

Seasonal magic that stays in view from within and out. These delicate ornaments catch light in the best, most fairy-tale way.
Materials Needed
- White tissue or coffee filters from the Dollar Tree
- Clear beads or tiny rhinestones
- String or fishing line
- Marker or fabric pen for detailing
How to Make It
- Stack filters and tie in the center to form a snowflake shape; glue beads and add a few lines with a marker to mimic ice patterns.
- Attach string to hang in a window or from a curtain rod.
Pro Tips / Styling Ideas
- Mix sizes and layer for a frosty, enchanted look.
- Place near a bright window to maximize sparkle.
Who would love this? Holiday decorators, bookish snow lovers, and anyone who enjoys a touch of winter magic year-round.
Conclusion
There you have it—nine completely unique, wallet-friendly crafts that prove Dollar Tree finds can spark major wow factor. Grab a few supplies, pick a favorite, and start creating. You’ll be surprised how fast these transform your space into a playful, personalized little haven. Happy crafting, and may your weekend be wonderfully, wonderfully crafty.