7 Craft Activities 3 Year Olds
Diving into a world of preschool crafty chaos sounds like a blast, right? Call it a tiny arts festival in your living room, starring your 3-year-old and whatever crafty chaos they can dream up. You’ll see big smiles, tiny masterpieces, and maybe a small mountain of tissue paper. The trick? Keep it simple, fun, and short enough to actually hold their attention. Here are 7 craft activities that hit that sweet spot for 3-year-olds and give you a few ideas to derail the “I’m bored” quicksand.
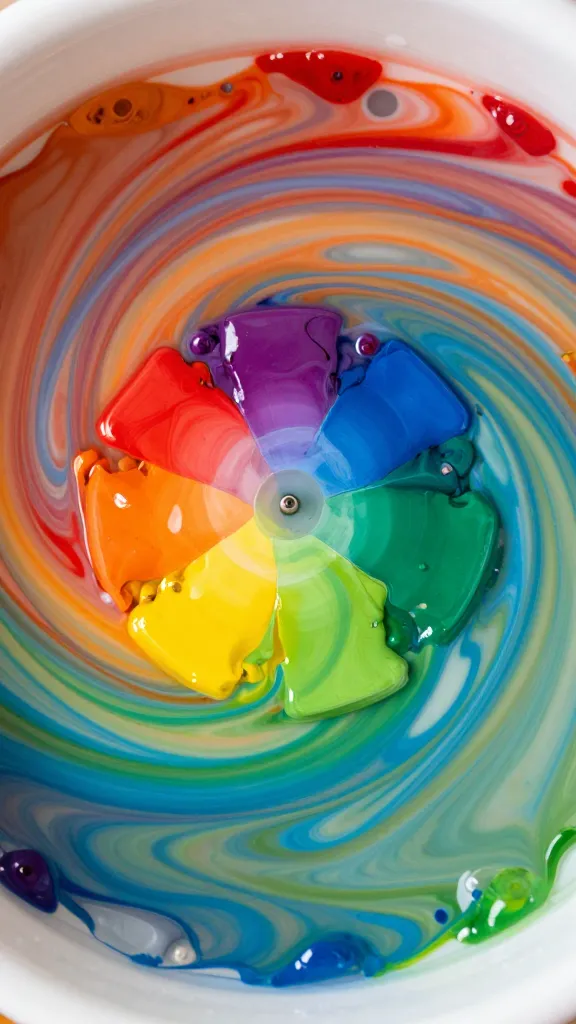
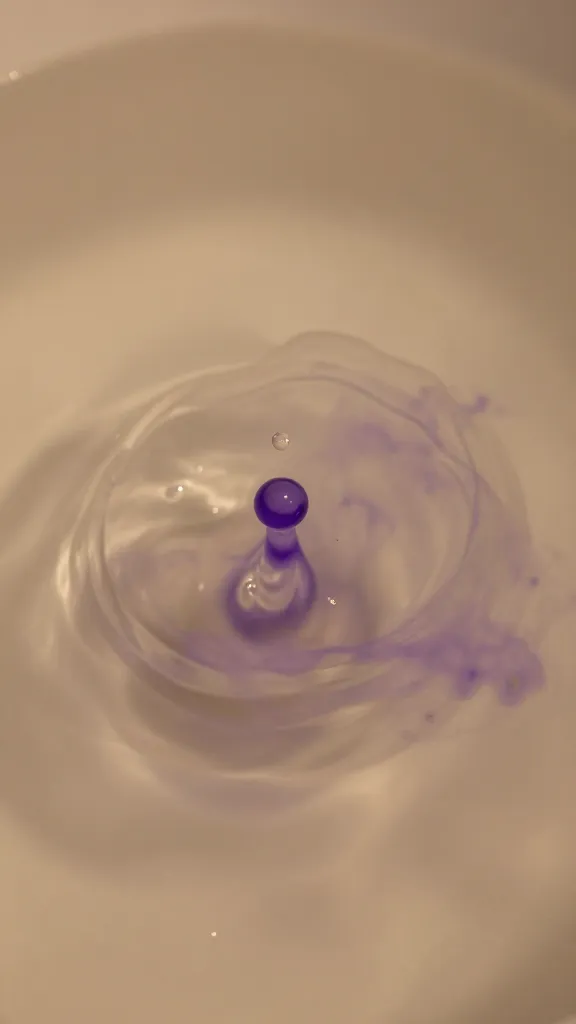
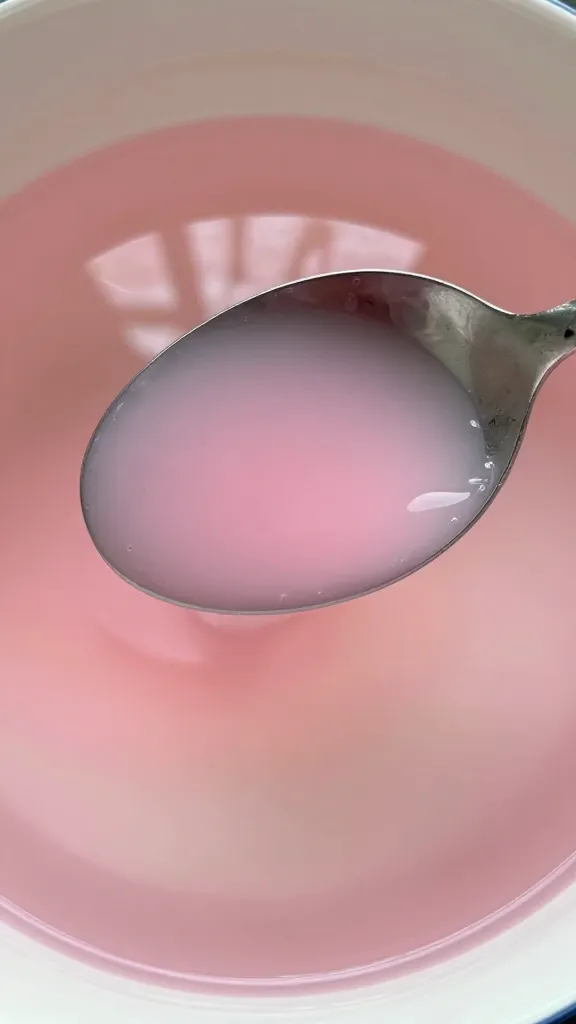
1. Water Play with Colorful Drop Art

What kid doesn’t love playing with water, color, and a little splash of surprise? This activity is messy in the most delightful way and teaches early color mixing and fine motor skills.
– What you’ll need: a shallow tray, warm water, a few cups of food coloring, droppers or small spoons, and sturdy paper or cardboard to catch the art.
– How to do it: let your kid drip colors into the water one by one, watching the colors swirl. They can sponge up colored water and “draw” on the surface with a straw or pipette.
Why it’s great: it’s sensory-rich and lasts a surprisingly long time for a toddler. FYI, set a “color watch” with a small timer to keep sessions bite-size.
Deeper dive: color mixing goals
You can guide them to see how red and blue make purple, or what happens when you add more yellow. Keep it exploratory—don’t aim for perfect blobs. The goal is curiosity, not gallery-worthy art.
2. Tiny Tool Tiny Art: Sticker Collage Bonanza
Stickers are a universal win for 3-year-olds. They build hand control, concentration, and let your kid express themselves without needing to spell a thing.
– What you’ll need: a stack of sticker sheets, sturdy paper or a large cardstock, and a little patience.
– How to do it: let your child choose stickers, then place them anywhere on the page. You can set a theme (animals, shapes, foods) or just go freeform.
Why it’s great: it’s quick, satisfying, and you don’t need perfect gluing technique. If a sticker sticks to the table, celebrate with a “stick-to-it-iveness” cheer.
Subtle tip: add a narrative
Ask simple questions like, “Where do you think this sticker belongs?” It turns a craft into a little storytelling exercise and keeps them engaged for longer.
3. Paper Plate Parade: Masks, Hats, and Face Fun
Waste-not, play-a-lot. Paper plates become masks, hats, or sun shields with just a few crafty additions. It’s theater meets fine motor practice.
– What you’ll need: paper plates, crayons, scissors (kid-safe), glue sticks, and any extra decorations (feathers, googly eyes, fringe).
– How to do it: cut only the simplest shapes if you’re doing the cutting yourself, then let your child decorate. Add a string to turn masks into wearable gear.
Why it’s great: it’s a transform-and-create activity. Your kid will practice symmetry, grip strength, and imaginative play without needing a lot of materials.
4. Collage Color Boom: Texture and Shape Fun
Collage projects give 3-year-olds a chance to experiment with texture and composition—plus they’re wonderfully forgiving.
– What you’ll need: old magazines, fabric scraps, scraps of ribbon, glue sticks, and a sturdy backing paper.
– How to do it: tear or cut pieces and arrange them before gluing. Let your child experiment with overlapping shapes and different textures.
Why it’s great: it builds planning skills and a sense of color balance without strict rules. The best part? You recycle at the same time, which is basically a win-win.
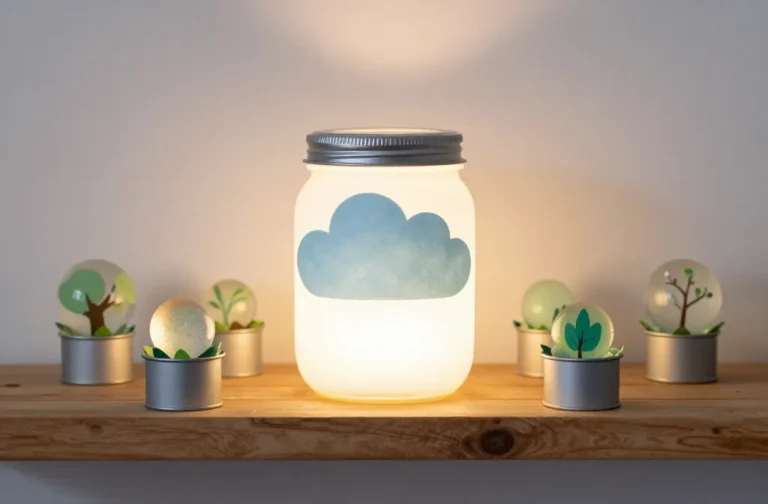
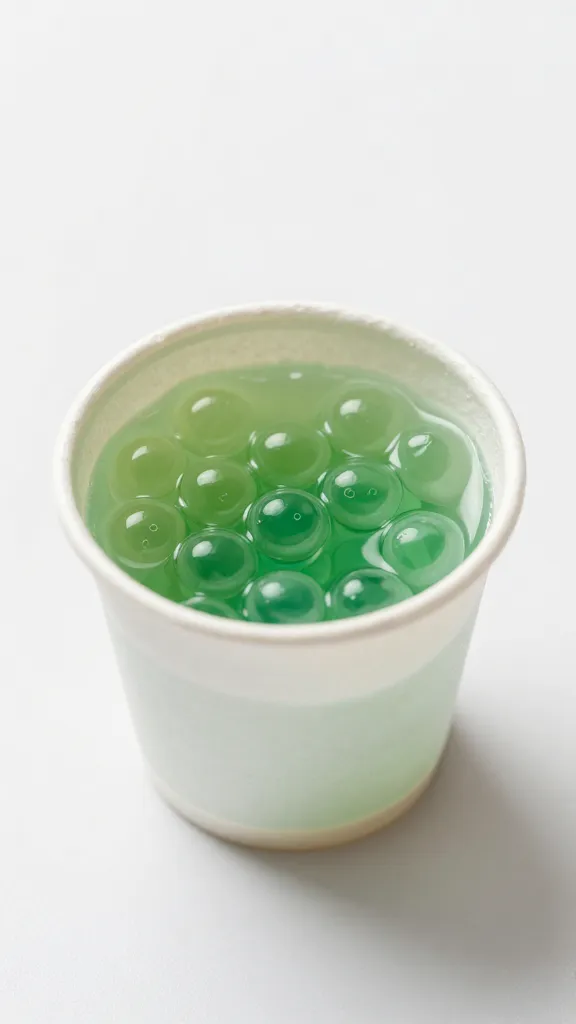
5. Easy-Peezy Sensory Bottles: Calm Down Craft
Sensory bottles are soothing and a little magical. They’re simple to assemble, endlessly mesmerizing, and perfect for a quick calm-down break or a busy toddler’s station.
– What you’ll need: clear plastic bottles, water, a bit of vegetable oil, glitter, beads, and a strong sealant (hot glue or super glue, but supervise closely).
– How to do it: fill with water and a touch of glitter, a splash of oil, seal tightly. Shake and watch.
Why it’s great: it’s a quiet activity that still feels special. Plus, you can tailor the visuals to your kid’s favorite colors or characters.
6. Nature Craft: Leaf Rubbings and Tiny Impressions
Nature crafts connect little ones with the outdoors and build an appreciation for textures, patterns, and seasonality.
– What you’ll need: robust paper, crayons, leaves or small pinecones, and a flat surface.
– How to do it: place leaves under paper and rub the crayon across the top to reveal leaf shapes. You can press leaves with a bit of cardboard to dry them for a later project.
Why it’s great: it’s outdoorsy, educational, and easily adaptable to rainy-day moods. FYI, grab a little basket so you can collect treasures while you walk.
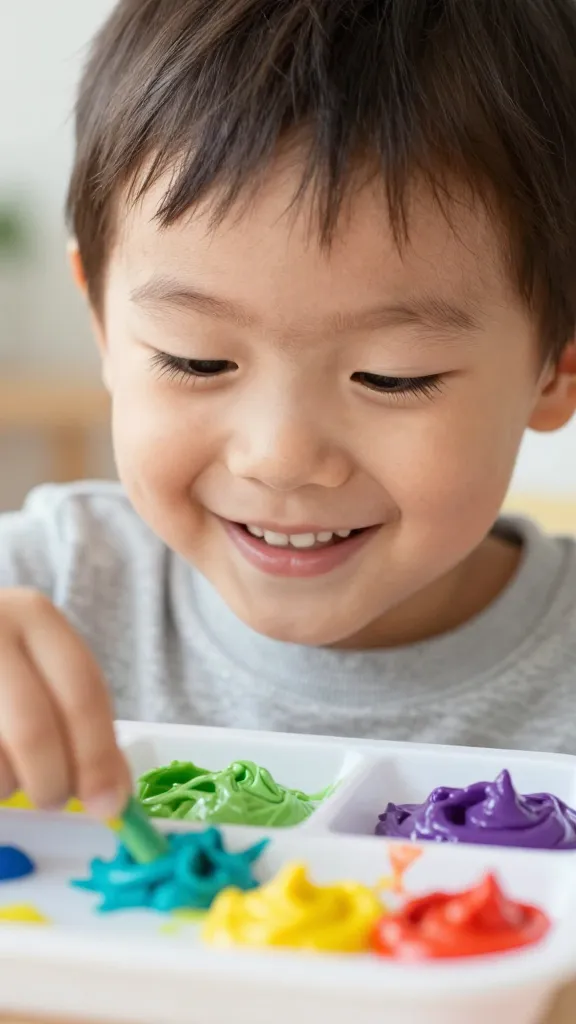
7. Play-Doh Studio: Simple Shapes, Big Smiles
Play-Doh is the universal toddler tool for exploring shapes, textures, and pretend play. It’s also highly forgiving.
– What you’ll need: a tub of Play-Doh, small tools, and a clean, flat surface.
– How to do it: roll, squish, and sculpt. Challenge them with simple prompts like “make a ball,” “shape a sausage,” or “press to flatten.”
Why it’s great: it fosters fine motor control and sensory feedback. It also lets you vacate yourself for a minute or two—balance is key.
Bonus tip: keep it fresh
Rotate activities daily or every other day. A quick swap keeps interest high and prevents boredom from creeping in.
How to Keep Craft Time Joyful (and Not a Cleanup Nightmare)
– Set a tiny, doable timer. A 10- or 15-minute window feels like a mini-episode of a favorite show and stays focused.
– Prepare a “just in case” zone with wipes, a trash bowl, and a dedicated scrap-paper station.
– Embrace the mess, then conquer cleanup in a single sweep. Your future self will thank you.
– Offer choices. “Which activity would you like to start with?” gives your kid agency and ramps up engagement.
– Celebrate the little wins. A “wow, that’s beautiful!” goes a long way in building confidence.
Conclusion
Craft time with a 3-year-old isn’t about perfect outcomes. It’s about exploration, sensory joy, and a shared moment of goofy creativity. The activities above keep things light, low-prep, and high-fun, so you can actually enjoy them too. So, raid the craft box, gather a few household bits, and let the little artist in your life lead the way. You’ll walk away with tiny masterpieces and bigger memories.
FAQ
How long should each craft session last with a 3-year-old?
Keep it short and sweet—about 10 to 15 minutes is perfect. If curiosity wanes, transition to a different activity or take a quick snack break. Fatigue can derail even the best intentions.
Are these activities suitable for supervised independent play?
Mostly yes, but supervise closely, especially with small pieces and liquids. Put away scissors and any tiny parts when playtime ends to avoid any “I found a rogue bead” moments later.
What if my child is overwhelmed by mess?
Use a designated craft mat or old shower curtain, and set a cleanup ritual at the end. If the mess becomes a trigger, switch to mess-minimized options like sticker collages or dry coloring with chunky crayons.
Can I adapt these for siblings or a small group?
Absolutely. Pair kids in buddy teams (one helps with glue, the other with colors), or run parallel stations. Rotate every 8-12 minutes so everyone gets a turn with the activity they love.
What if my kid doesn’t want to participate?
You can offer choices within the activity (e.g., “Would you like to add stickers or crayons first?”). If they still opt out, let them observe for a couple of minutes and join in later. Forcing participation kills the vibe fast.
If you want, I can tailor these activities to the materials you already have at home or plug in some seasonal twists (like a Halloween collage or spring leaf print). The point is to keep it easy, engaging, and genuinely fun.