7 Creative Craft Ideas for 7-Year-Olds
Wait, seven-year-olds and craft time? That combo = pure creativity chaos—in the best way. If you’re hunting for easy, totally engaging projects that 7-year-olds can own from start to finish, you’ve hit gold. These seven ideas are upbeat, inexpensive, and proudly mess-friendly—trust me, your table will survive the glitter.
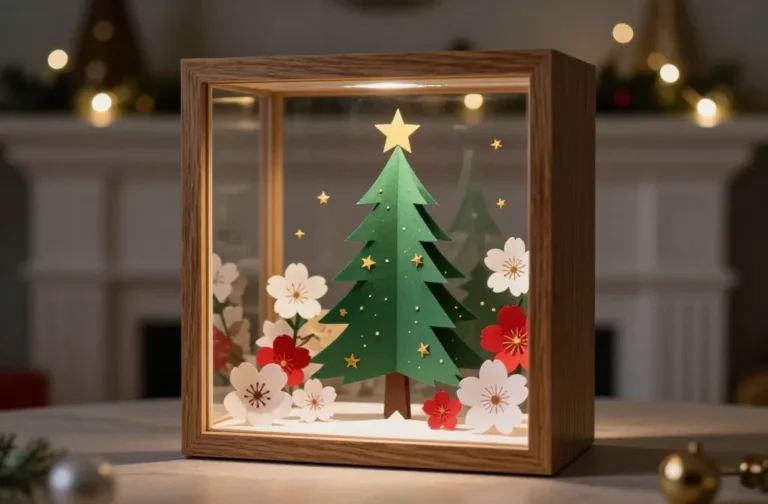
1. DIY Stitched Felt Storyboard With Mini Characters
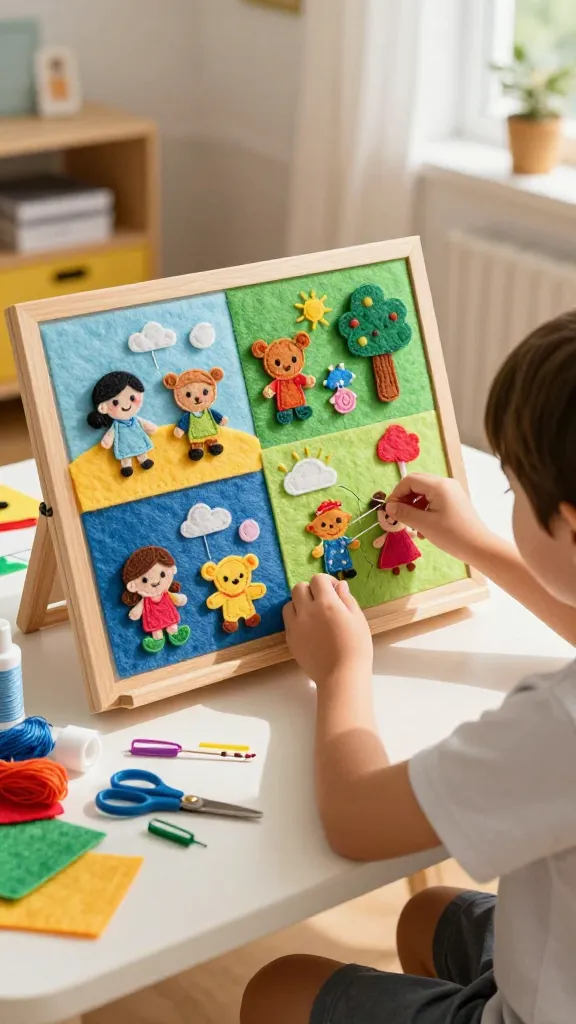
Picture this: a colorful felt board where your kid stitches tiny friends into place and narrates their own mini adventures. The finished piece looks playful on a shelf and doubles as a storytelling prop. It’s tactile, portable, and incredibly satisfying to build.
Materials Needed
- Assorted felt sheets in bright colors
- Needle and kid-safe embroidery thread or yarn
- Felt scissors
- Felt scraps for characters
- Cardboard or a wooden frame to be the board
- Glue or fabric tack
How to Make It
- Cut a large rectangle of felt to fit your board. Use contrasting colors for the background and ground.
- Trace and cut simple shapes: trees, sun, clouds, and a few cute characters. Keep shapes chunky so little hands can handle them.
- Stitch tiny details onto the characters with embroidery thread—eyes, smiles, buttons—so they feel alive.
- Attach characters to the board with velcro dots or magnets so they can be moved around during stories.
- Leave a blank space for a story title or a little speech bubble for dialogue.
Pro Tips / Styling Ideas
- Use a contrasting border around the board to frame the scene.
- Laminate the felt pieces or sew a simple back to prevent fraying.
- Turn it into a seasonal storyboard by swapping out characters and scenery.
End Note
This is a fantastic project for kids who love pretend play and storytelling. It’s perfect for rainy days, classroom centers, or a calm corner before bed. Your little author will adore this tiny world you two created together.
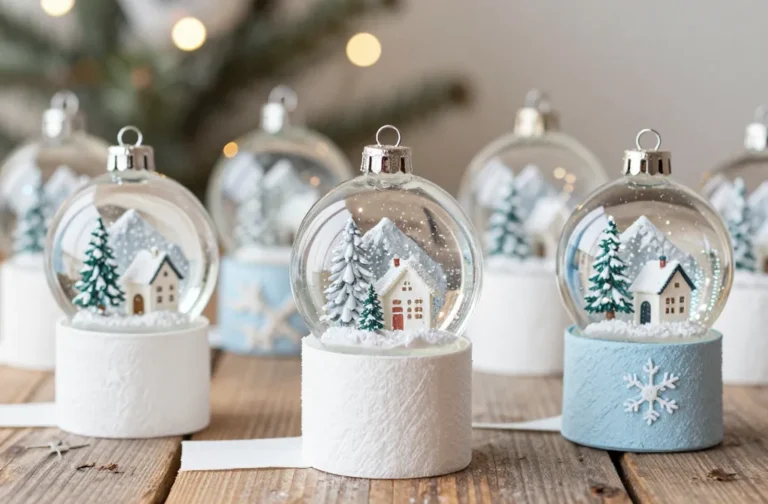
2. Glitter-Free Galaxy Slime Jars
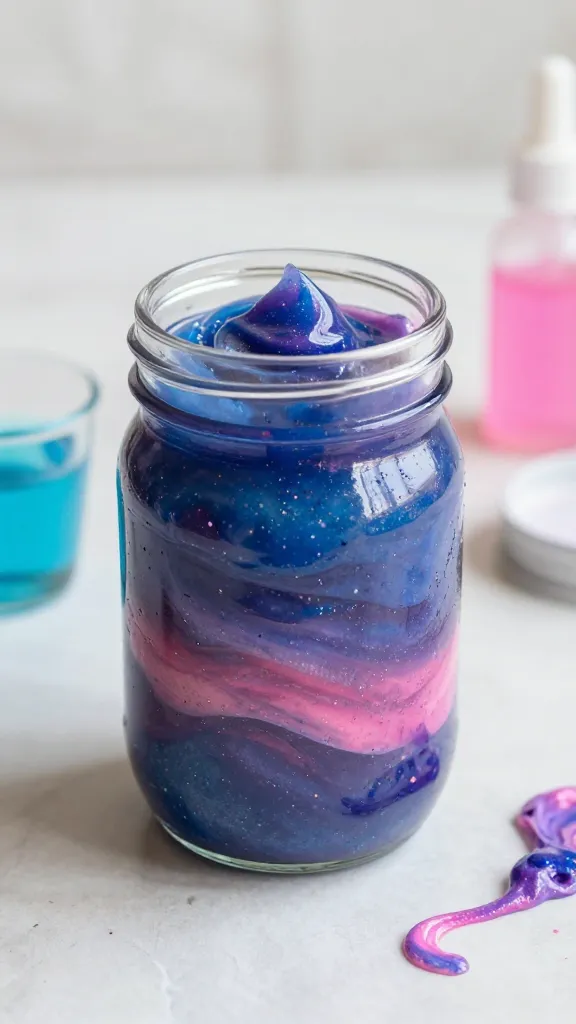
Yes, slime is a classic—but we’re dialing down the glitter, and dialing up the wow with a shimmering, galaxy-inspired jar you can clink around like a tiny universe. It’s stretchy, squishy, and oddly soothing to look at. FYI, the magic happens in the layers.
Materials Needed
- Clear glue or liquid starch base
- Blue, purple, and pink food coloring
- Acrylic paint or liquid watercolors (optional)
- Glitter-free confetti or tiny “stars” (safe, non-choking) or sequins
- Clear mason jars with lids
- Water
How to Make It
- Mix slime base in separate bowls, tinting each with a different color to resemble a nebula.
- Layer the colors in the jar, starting with the darkest hue, adding tiny stars between layers for depth.
- Seal with a lid and gently shake to blend or let kids swirl with a plastic spoon for a cosmic smear.
Pro Tips / Styling Ideas
- Label each jar with a kid-friendly planet name for extra learning vibes.
- Make a tiny “spaceship” label stamp to decorate lids.
- Place jars on a white tray to mimic a galaxy-lit surface.
End Note
The kids will adore the colorful layers and the soothing motion of the slime. It’s a clever way to explore color mixing and textures without a mess overflow—that you’ll actually like, too.
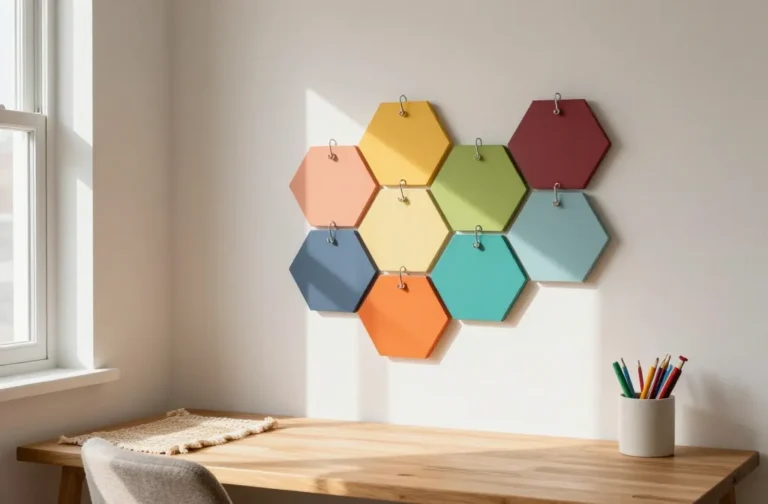
3. Cardboard Cityscape Wall Art
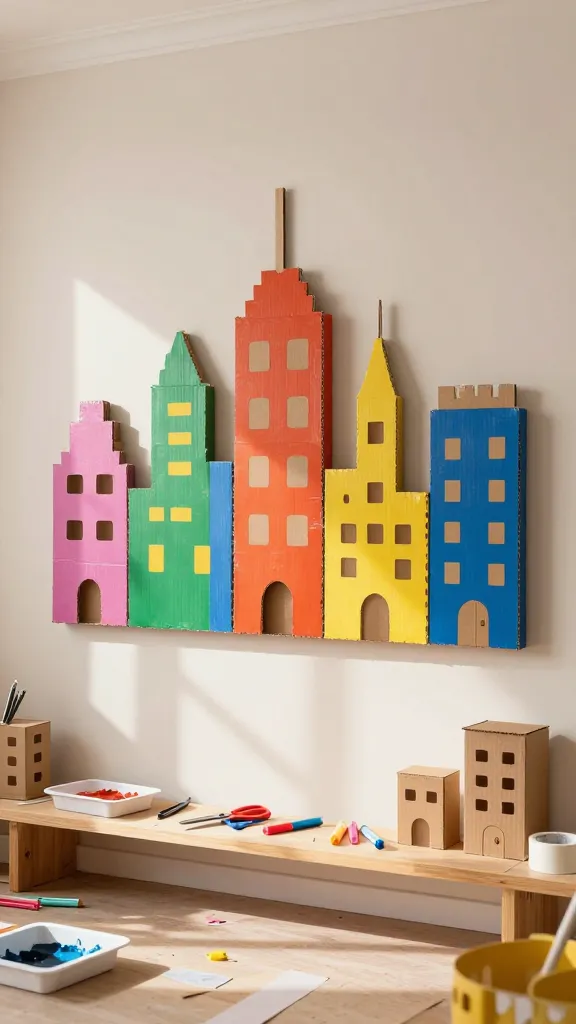
Turn a dull wall into a playful metropolis with a DIY cardboard cityscape. It’s sturdy, lightweight, and endlessly customizable—perfect for a wall gallery or a bedroom corner. The best part? Your kid can paint, cut, stack, and arrange to their heart’s content.
Materials Needed
- Thick cardboard pieces or a large sheet
- Acrylic paints or markers
- Construction paper for windows and doors
- Glue, tape, scissors
- Optional: washi tape for clean edges
How to Make It
- Cut the cardboard into city blocks of varying heights. Create a skyline with zigzag edges for fun shapes.
- Paint the base colors and let dry. Add windows with small rectangles of yellow or white.
- Decorate with doors, trees, and tiny streetlights made from paper or sticks.
- Mount the finished skyline on a contrasting wall or a poster frame for a crisp, gallery-like look.
Pro Tips / Styling Ideas
- Add a night scene by painting the sky dark blue and dotting the lamps with glow-in-the-dark paint.
- Use washi tape to create clean edges and give the piece a polished look.
End Note
City vibes without the heavy tools—this project gives kids a sense of accomplishment and a bold piece of art to show off. It’s also a fantastic gift wall-art idea for grandparents who live far away.
4. Nature Rubbing Art and Mini Frame Set

Bring the outdoors inside with a gentle rubbing art project that celebrates textures. Think leaves, bark, and petals creating layered color on sturdy paper—then framed for a mini gallery. It’s inexpensive, tactile, and surprisingly striking.
Materials Needed
- Crinkly white paper or watercolor paper
- Leaves, pressed flowers, pinecones, smooth bark slices
- Crayons or oil pastels in earthy tones
- Clear mini frames or sturdy cardboard frames
How to Make It
- Place a leaf or texture under the paper and rub with a crayon to reveal the texture and shape.
- Repeat with different textures and colors, building an abstract pattern.
- Frame the rubbings in the mini frames for a cute wall display.
Pro Tips / Styling Ideas
- Label each piece with the texture source to turn it into a mini science lesson.
- Group the frames in a grid for a cohesive look, or mix sizes for a playful wall display.
End Note
This project blends nature with creativity and makes a tiny art collection that feels mature enough for grown-up spaces while staying child-friendly.
5. Vegetable-Stamp Greeting Cards
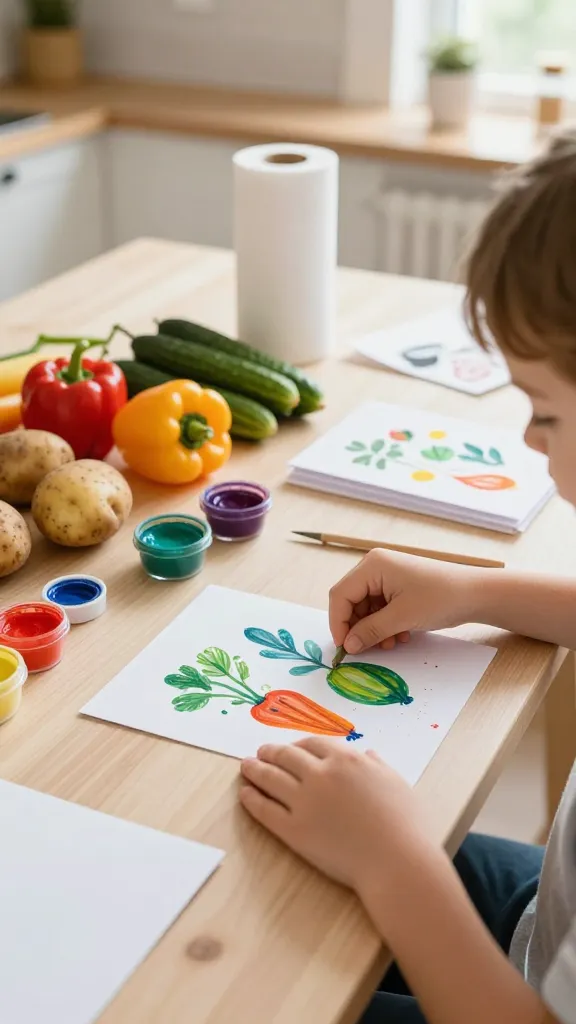
Stamps aren’t just for fancy studios—your kitchen can become a stamp-printing atelier. Carved vegetables make quirky, fresh designs for greeting cards. It’s a sensory, mess-friendly project with a big payoff: personalized mail that recipients will keep.
Materials Needed
- White cardstock or pre-folded cards
- Vegetables for stamping (potatoes, cucumbers, peppers work great)
- Self-inking stamps or washable ink pads
- Acrylic paints (optional for extra color)
- Paper towels for quick cleanups
How to Make It
- Cut a potato in half and carve simple shapes like hearts, stars, or flowers. If you’re using a veggie slice, press it directly into a stamp pad.
- Stamp onto the cards in bright colors. Layer stamps for a playful composition.
- Add a simple handwritten message for a personal touch.
Pro Tips / Styling Ideas
- Seal a lightweight card with a spray of matte sealer to prevent smudging.
- Experiment with the color mix by stamping an outline first, then filling in with a second color.
End Note
A tiny stamp studio in your kitchen, and a heartwarming result. These cards are perfect for birthdays, thank-you notes, or a sweet “just because” surprise.
6. Pom-Pom Monster Marionettes
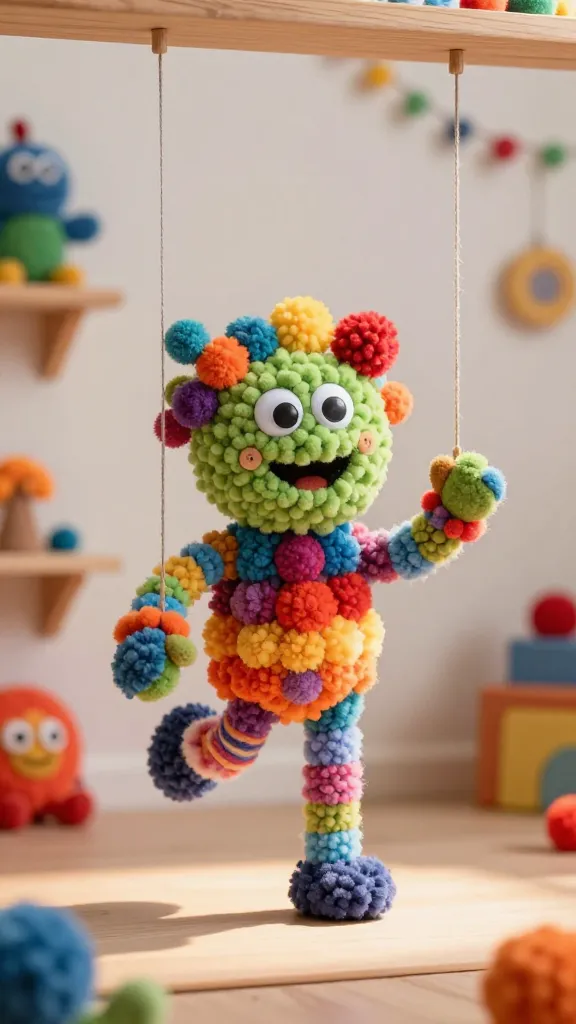
Soft, silly, and surprisingly expressive, these little pom-pom monster marionettes are a super approachable way to blend craft with storytelling theater. They bounce with color, texture, and character—ready for a tiny stage or a playful shelf companion.
Materials Needed
- Colored pom-poms of various sizes
- Googly eyes or tiny buttons
- Craft sticks or wooden dowels
- Yarn for hair and limbs
- Glue or hot glue (adult supervision as needed)
- String or embroidery thread for hanging
How to Make It
- Glue two pom-poms together to form the head and body, creating a goofy shape.
- Attach eyes and a mouth with glue. Add yarn hair for personality.
- Glue a craft stick to the bottom to create a marionette handle. Tie a piece of string to the top for hanging display or play.
Pro Tips / Styling Ideas
- Give each monster a theme—like a space monster, forest friend, or rainbow wanderer.
- Use scrap fabric scraps for capes and little outfits to boost cuteness factor.
End Note
Monsters that don’t bite! These marionettes invite kiddos to perform tiny plays or just create a whimsical display on a shelf. A super-silly, totally lovable addition to any craft stash.
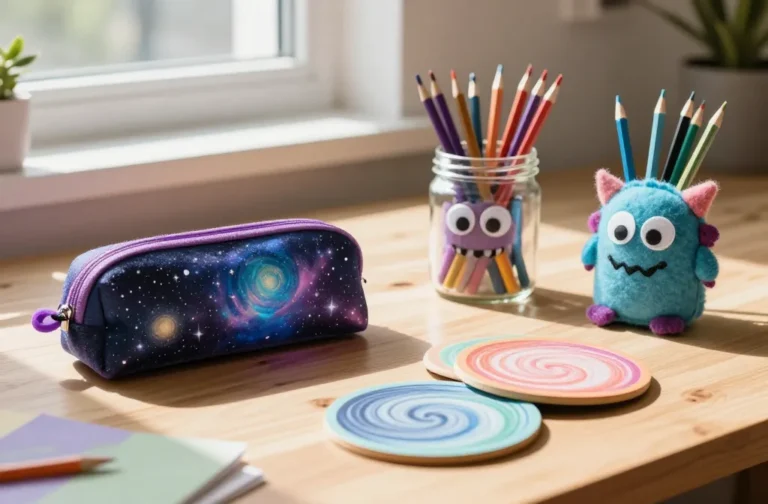
7. Upcycled Pencil-Pot Decor Booty
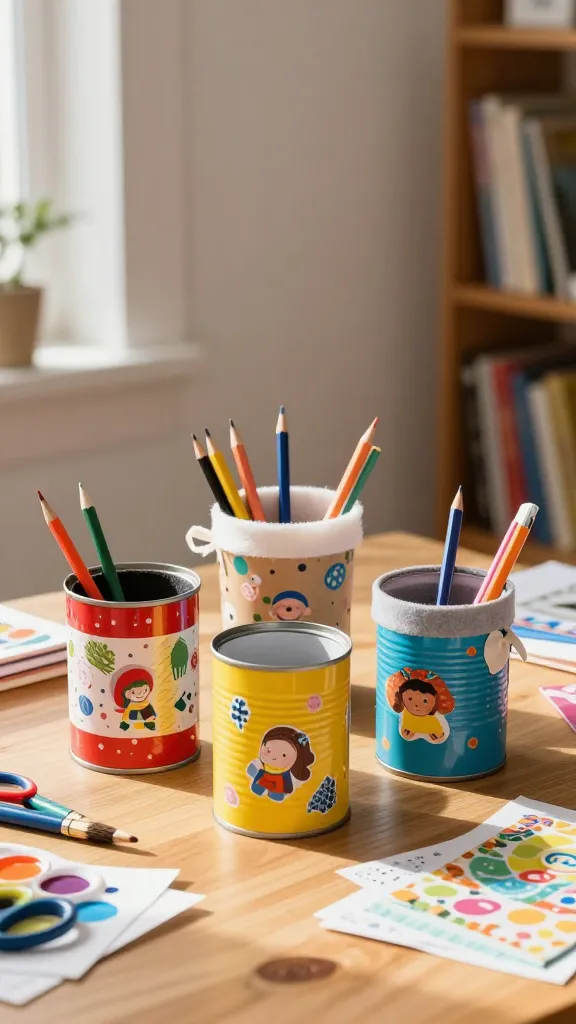
Turn empty tins or cups into bright, functional pencil pots with patterning, paint, and a dash of personality. It’s a neat way to teach upcycling while adding a cheery desk companion to a homework nook. The best part? It’s quick, satisfying, and endlessly customizable.
Materials Needed
- Empty tin cans or kraft cups (rinse and dry)
- Acrylic paints or decoupage paper
- Brushes, stickers, washi tape
- Foam sheets or felt for liner (optional)
- Ribbon or string for a handle (optional)
How to Make It
- Decorate the outside with stripes, polka dots, or a favorite character using paint or decorative paper.
- Line the inside with a small piece of foam or felt to protect pencils and pens.
- Add a ribbon handle or a top knot for a cute gift-ready look.
Pro Tips / Styling Ideas
- Create a family set with each member in a different color family for a cohesive desk decor.
- Pair with a tiny plant or succulent to make a mini desk garden duo.
End Note
Functional, friendly, and easy to adore. This craft folds into everyday life with a cheerful twist and a practical payoff that both kids and parents will love.
Conclusion
These seven ideas are designed to spark delight, not drama, and to fit neatly into a kid-friendly crafting rhythm. Each project offers a unique texture, color, and story, making them perfect for saving, pinning, and trying soon. Grab a table, gather a few supplies, and let your 7-year-olds lead the way—these crafts are too fun to pass up.