7 Simple Craft Ideas for an 18-Month-Old
Hey crafty parent friends! If you’re chasing simple, safe, and seriously adorable activities for your 18-month-old, you’ve landed in the right spot. These ideas are playful, mess-conscious, and built for little hands to explore with curiosity. trust me, you’ll both have a blast—and you might actually keep the living room decor intact.
1. Sensory Water Bead Rainbow Tray
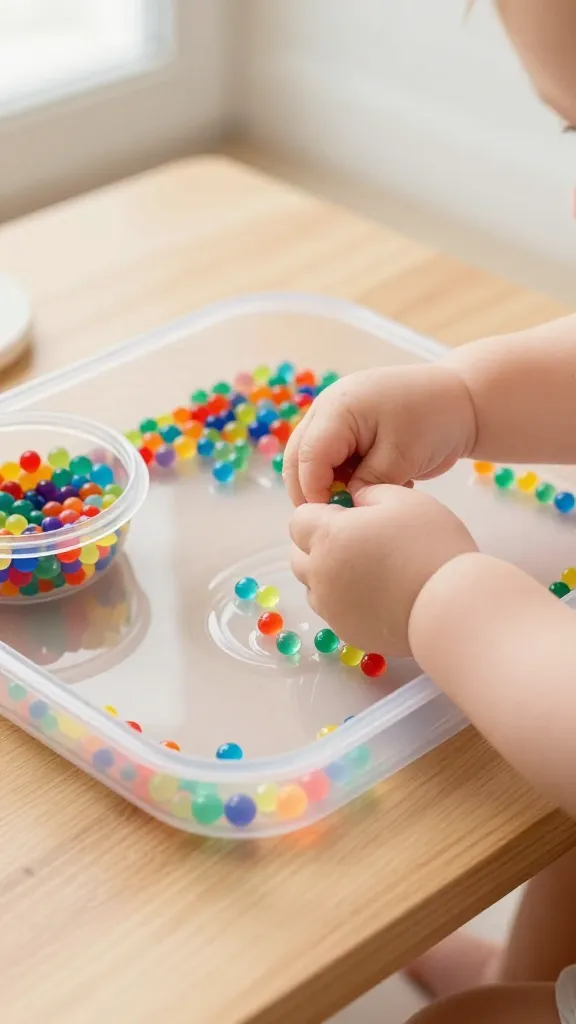
Picture this: a shallow tray filled with water beads in bright rainbow colors. Tiny hands pinch, squeeze, and squish while discovering textures and colors. The finished setup looks vibrant on a coffee table and doubles as a calming sensory moment.
Materials you’ll want:
- Water beads in several colors
- A shallow, wipe-clean tray or baking dish
- Wide, shallow bowl for extra color mixing
- Optional: droppers or plastic scoops
How to make it simple:
- Soak the beads as directed on the package until they’re squishy but not fragile.
- Spread them in the tray and add a few scoops of water for splashy interaction.
- Offer plastic spoons, droppers, and small cups for pouring and transferring.
Pro tips and styling ideas:
- Keep the session short and switch up colors to maintain curiosity.
- Place the tray on a washable mat or a towel to catch drips.
- After playtime, pour beads back into a storage container to reuse later.
Who’s going to love this? Your little one will adore the textures and colors, and you’ll appreciate how low-stress cleanup is. It’s a sensory-filled, giggle-worthy moment you can repeat weekly.
2. Texture-Cilled Block Collage Board
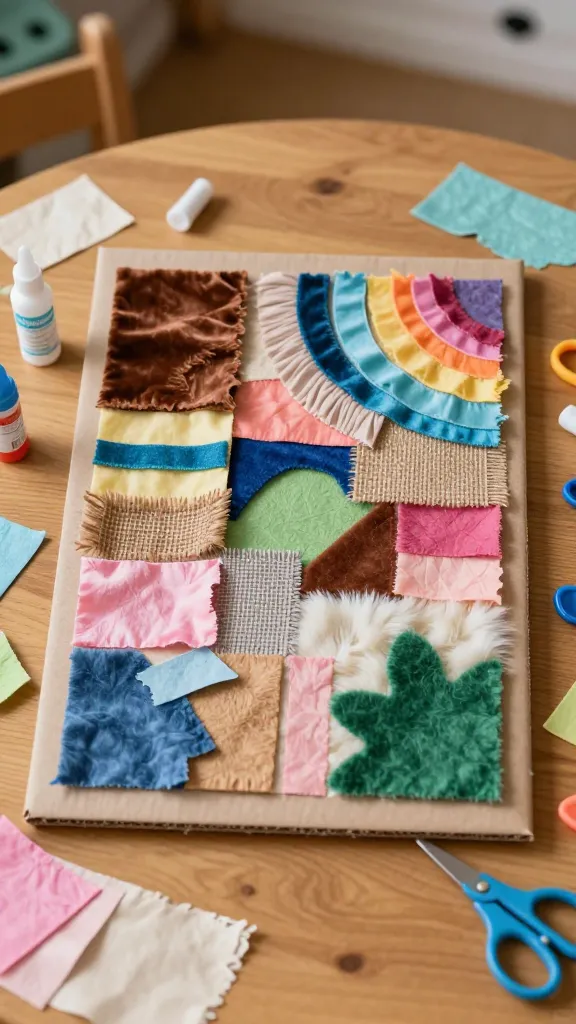
A tiny collage board lets your toddler explore different fabrics and textures while you sneak in some early cognitive fun. The finished piece becomes a treasured wall ornament or a desk topper for bright, cozy vibes.
Materials you’ll want:
- Cardboard or thick foam board
- Ribbon scraps, fabric swatches, felt, and textured paper
- Non-toxic glue sticks or a small bottle of washable glue
- Child-safe scissors (for adult use only)
How to make it simple:
- Cut the base to a kid-friendly size and secure a few anchor fabrics around the edges.
- Let your toddler press and stick different textures onto the board, creating a patchwork sensation.
- Encourage naming the textures to spark language and recognition.
Pro tips and styling ideas:
- Frame the board with a wide, colorful border for instant wall appeal.
- Use a gentle adhesive to avoid leaving sticky residues; let your child guide placement.
- Turn it into a seasonal piece by swapping textures with holiday fabrics or colors.
Who would love this? Tiny hands will happily explore while you build early sensory vocabulary and fine-motor skills. It’s a cozy, textural treasure you’ll want to display proudly.
3. Sticker Garden Sensory Scene
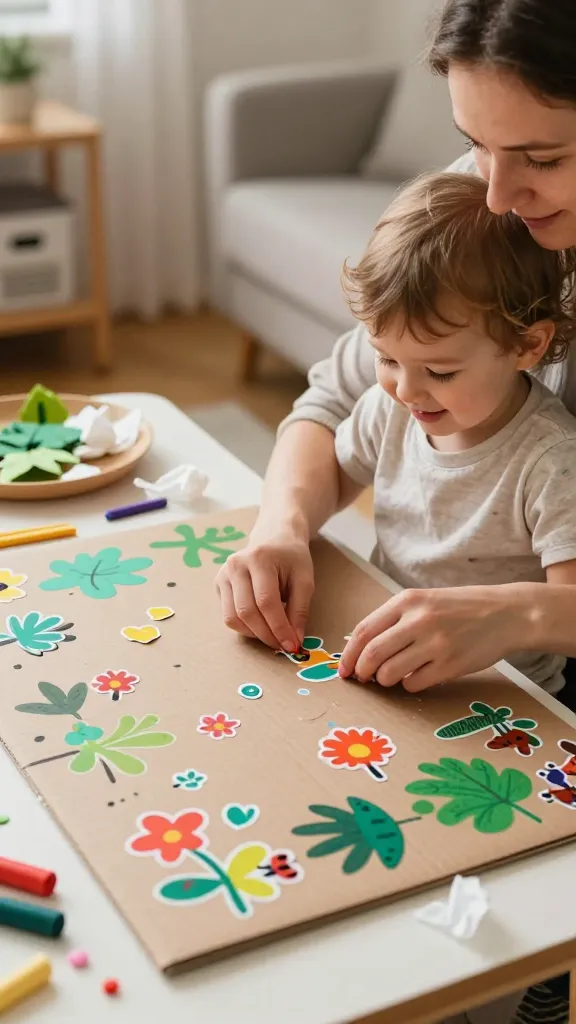
Imagine a small “garden” where you and your toddler plant stickers on a large poster or cardboard plant bed. It’s messy in the cutest way and doubles as a playful story prompt about seeds and growth. Your kiddo finishes with a vibrant, ready-to-hang piece.
Materials you’ll want:
- Poster board or kraft paper
- Non-toxic adhesive stickers (plants, insects, flowers)
- Washable markers or crayons
- Optional: small fabric leaves or tissue paper for texture
How to make it simple:
- Draw a simple garden scene with a few stems and leaves as a guide.
- Let your child place stickers along the scene, then add small details with markers.
- Encourage naming colors and objects as they go.
Pro tips and styling ideas:
- Laminate the final piece or tape it to a wooden board for a durable keepsake.
- Add a pocket of “soil” with brown construction paper crumbles for tactile play.
- Turn it into a seasonal display by swapping flowers and creatures.
Who would love this? It’s perfect for little nature lovers and anyone who enjoys a bright, cheerful wall display. A delightful gift with a personal touch too.
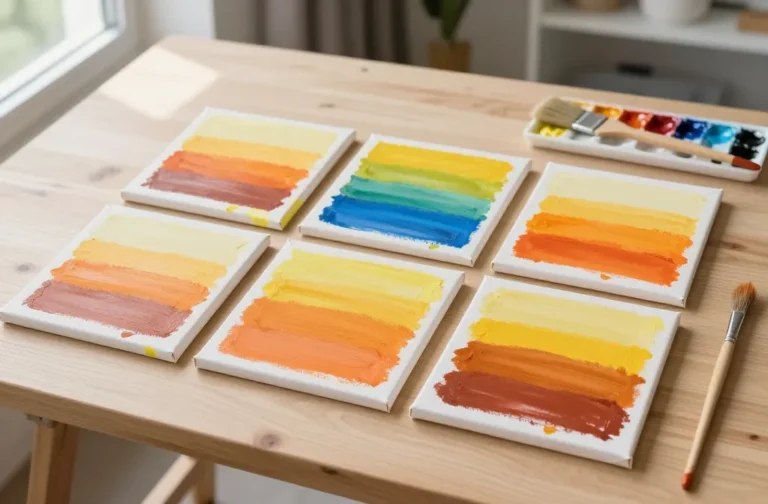
4. Bubble Wrap Stamping Parade
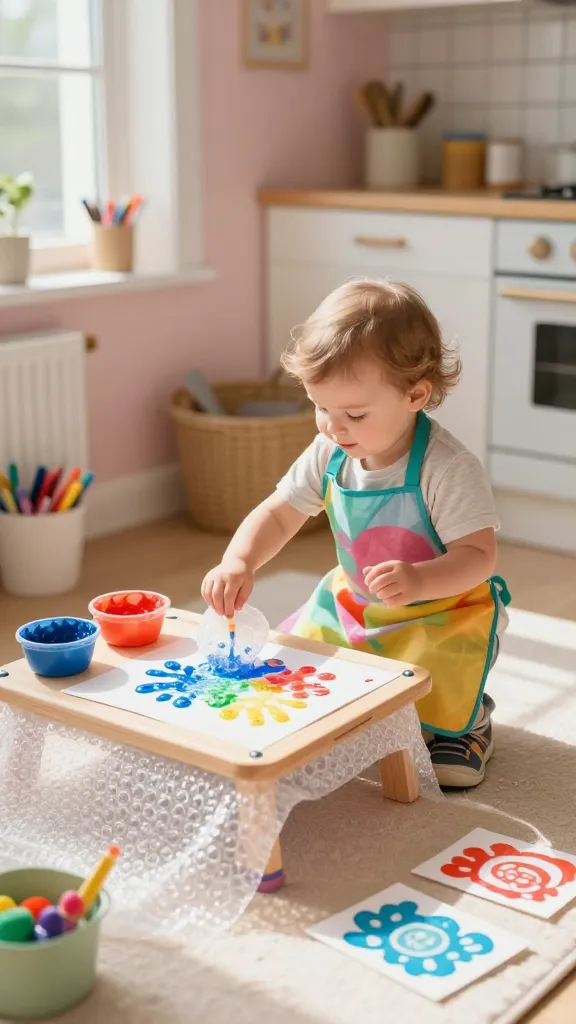
Bubble wrap is a magical tool in toddler land. Create a speedy, safe stamping station where your 18-month-old can press paint onto bubble shapes and leave a bubbly pattern on cards or wrapping paper. It’s fashion-forward, kid-friendly art that looks effortlessly modern.
Materials you’ll want:
- Bubble wrap cut into large, flat sheets
- Non-toxic washable paint in bold colors
- Piece of sturdy poster board or thick paper
- Old apron or smock to protect clothes
How to make it simple:
- Spread a thin layer of paint on a tray and press bubble wrap, shiny side down, onto the paper.
- Lift and reveal a playful, bubbly texture—watch the patterns bloom!
- Let dry and add a simple doodled frame or doodles with a marker.
Pro tips and styling ideas:
- Experiment with color combos like sunny yellows and ocean blues for a modern vibe.
- Offer a mini tray of glitter-safe confetti for tiny embellishments (optional).
- Use the stamps for gift tags or holiday cards—super cute and personal.
Who would love this? Little artists who love big, bold prints and the promise of a tiny mess—trust me, it’s part of the charm. It’s a quick art burst that yields big smiles.
5. DIY Shape-Match Texture Cards
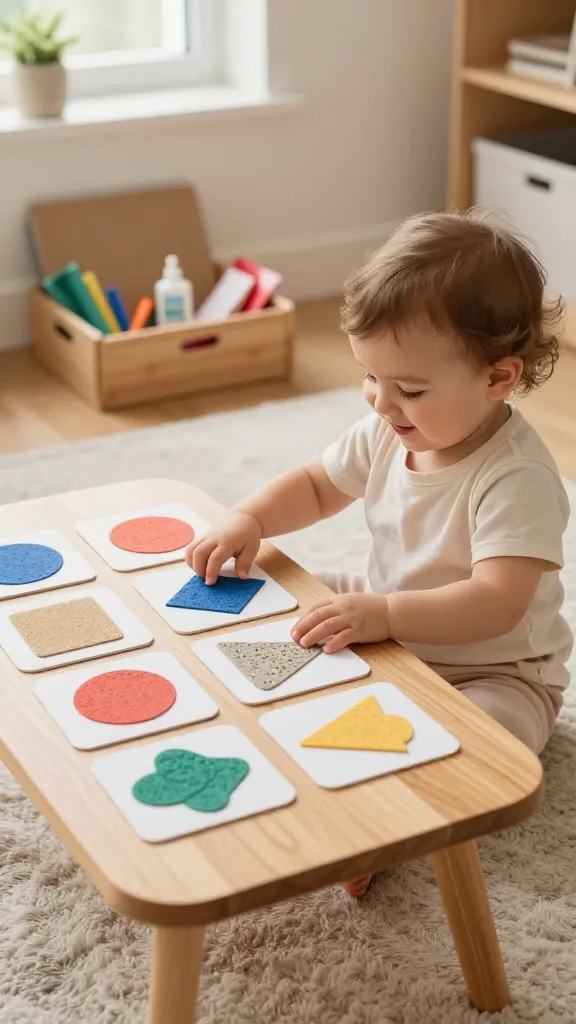
Your toddler can explore shapes and textures while you both practice early matching skills. A deck of cards with different shapes and textures becomes a beloved “memory” game and a nifty decor piece when finished.
Materials you’ll want:
- Blank cardboard or thick craft cards
- Fabric scraps, sandpaper, felt, ribbon, and foam shapes
- Non-toxic glue or glue dots
- Bright markers for labeling shapes
How to make it simple:
- Cut out simple shapes (circle, square, triangle) and attach texture patches to each card.
- Label shapes with big, friendly letters and let your child peep the textures.
- Once dry, practice matching cards by sight and feel, or simply admire the tactile differences.
Pro tips and styling ideas:
- Create a mini “texture library” by storing cards in a small basket for quick play sessions.
- Attach a ribbon loop for easy handling and display on a wall or shelf.
- Make seasonal texture sets—think wool for winter, linen for spring, etc.
Who would love this? Curious minds who love to feel and compare textures will be hooked. It’s a quick, educational, and tactile play time you’ll want to repeat weekly.
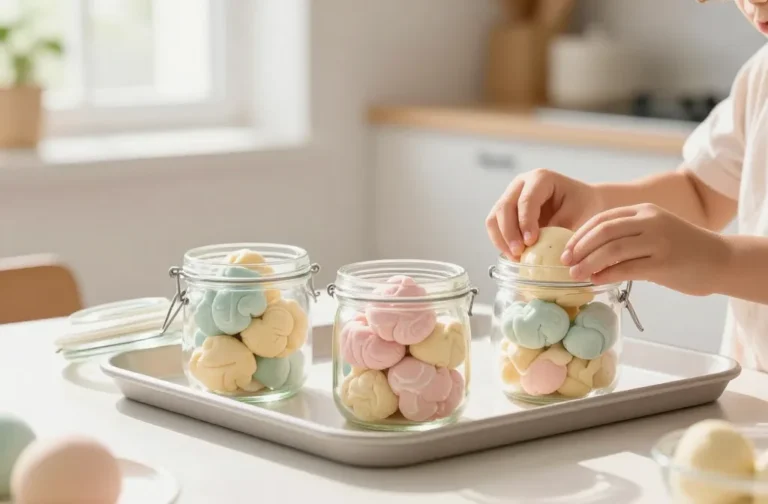
6. Mini Felt Food Play Kitchen Set

Cut, craft, and color come together to form a tiny felt-food feast for pretend play. It’s a darling addition to a play kitchen or a tabletop snack station and makes for incredibly cute photo ops.
Materials you’ll want:
- Colorful felt sheets
- Non-toxic fabric glue or needle-and-thread (for tiny stitches)
- Scissors (child-safe for basic snips, adult handles the cutting)
- Optional: embroidery floss for stitching details
How to make it simple:
- Cut simple shapes like bread slices, cookies, fruit halves, and veggie sticks.
- Glue or stitch edges to create soft, squashy felt pieces.
- Arrange on a tray to simulate a tiny meal scene or serve as a decorative display piece.
Pro tips and styling ideas:
- Pair with a tiny felt pot and spoon to encourage pretend cooking or shopping role-play.
- Add a small fabric napkin or plate to complete the setup.
- Use bright gradient colors to align with a modern, cozy kitchen aesthetic.
Who would love this? Tiny chefs and curious eaters who adore imaginative play and adorable props. It’s a wholesome, kitchen-inspired craft you’ll fall for instantly.
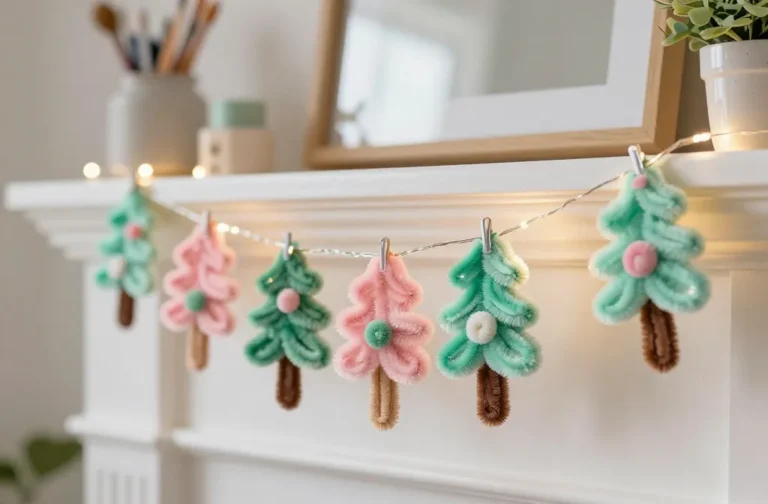
7. Glow-in-the-Dunke Shadow Box Scene
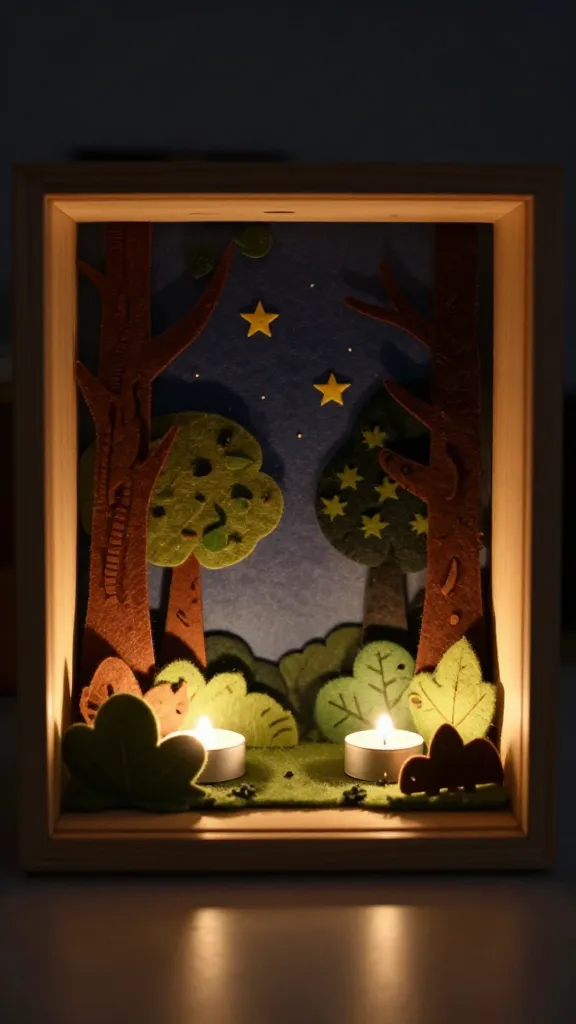
A simple shadow box becomes a magical stage for a leafy forest or a night-sky scene. With safe, soft lighting and gentle textures, it’s a cozy project that glows with personality once the lights go down.
Materials you’ll want:
- Small wooden or cardboard shadow box
- Assorted fabric scraps, felt shapes, and paper cutouts
- Battery-operated LED tea light or soft string lights (for safety, use remote or switch on outside)
- Glue and a dash of imagination
How to make it simple:
- Line the back wall of the shadow box with a dusk-colored paper or fabric.
- Arrange felt trees, stars, or animals as a layered scene using glue dots or a touch of glue.
- Secure a tiny LED light at the base or behind the cutouts to create a soft glow.
Pro tips and styling ideas:
- Leave the glow on a gentle timer for a peaceful transition to bedtime.
- Create a forest, ocean, or starry-night vibe—whatever suits your kid’s mood.
- Display on a dresser, shelf, or as a centerpiece during a cozy corner retreat.
Who would love this? Little dreamers who adore gentle light and a charming, story-driven piece. It’s a serene, captivating craft that doubles as a sweet bedtime cue.
Conclusion
These seven ideas prove that you can cultivate creativity with minimal prep, lots of color, and plenty of playful moments. Each project is crafted to be kid-friendly, safe, and visually appealing—ready to pin, save, and recreate anytime. Give one a try this week, or go all-in and turn your weekend into a mini craft festival with your little one. You’ll love the joy, you’ll love the mess (okay, maybe not the mess), and you’ll love how proudly your tiny artist shows off their finished masterpiece.